antibacklash ballscrew upgrade on RF45 ZAY7045 Milling machine – Part 1

Antibacklash ballscrew upgrade for RF45 ZAY7045 milling machine

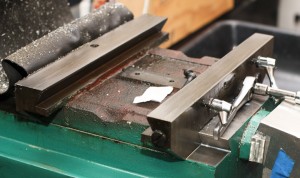
I converted my lathemaster ZAY7045 milling machine (a RF45 clone) to 3 axis CNC about 3-4 years ago with whatever parts and materials I had on hand as a proof of concept experiment.  The CNC conversion was one of the best things I have ever done.  I instantly fell in love with CNC machining.  At the time, I made the decision to run with the original very poor ACME threaded leadscrews with their 0.100″ pitch, AKA 10 turns per inch.  My original conversion could hardly be called more than a down and dirty hack but it did work.  Several problems with my original approach became apparent.  First and foremost  among my cnc machine woes was the ridiculous backlash on the factory parts, especially on the x axis leadscrew.   I programmed and tuned anti-backlash algorithms in my control software that are quite amazing, but they only compensate for the backlash rather then remove it.  With the extensive use the CNC mill gets  the backlash had been growing worse steadily. When the backlash reached 0.047″ I decided it was time to replace the x axis ACME threaded leadscrew with a nice anti-backlash ballscrew setup.


A 20mm diameter ballscrew and associated ballnut were the largest that would fit under the saddle.  As is often the way with tools, bigger is better when it comes to a ballscrew and it’s load handling ability.   In this case it had to move a few hundred pounds of table, motor, vice, stock, cutting fluid, etc.  I initially wanted to stuff a 25mm diameter ballscrew under the table, but after disassembly, careful measurement showed that it would not be physically possible to use 25mm diameter ballscrews.  The new 20mm ballscrew will have a metric thread pitch of 5mm, roughly traveling twice the distance per revolution as it did with the original acme leadscrew.  This is not a problem as the CNC software I use to drive my CNC mill can easily compensate for the change in the leadscrew thread pitch.  The calculations to determine the new movement per step are basic and straightforward.


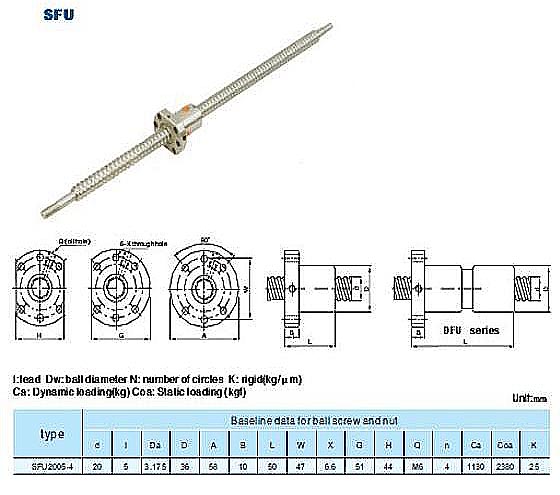
I don’t intend to wax poetic on the variety, quality, and types of ballscrews available. Plenty of companies offer excellent reviews of Ballscrew engineering calculations and selection criteria.  I chose to use a 20mm ballscrew with a 5mm pitch (Part #: SFU2005-C7 ) of 975  mm in length, available from kellinginc cnc. See the dimensions and specs below.

detailed specs for the SFU2005 ballscrew2005-c7-975mm ballscrew end machining drawings

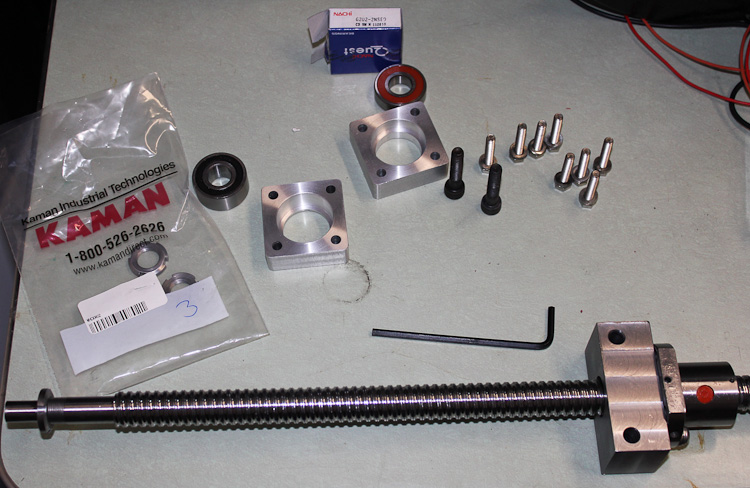
Dealing with Kelling Inc. is problematic at best. I have made four separate purchases from them, and twice I have had problems.  One time they sent me the wrong part and then tried to make me use what they sent instead of what I ordered in spite of it not working for my application.  Finally though,  Kelling Inc. resolved that particular issue by sending me the part I ordered but it was a hassle to get them to do so.  With the ballscrew, my issue was that unlike other vendors they do not including the 15mm x 1.0mm nut that threads onto the ballscrew to clamp it against a 5202 double angular contact bearing.  Having used higher end ballscrews for industrial repairs and machine designs in the past experience shows that other vendors include this nut (a sub 1$ part) with their ballscrews.  Kelling inc’s answer when I called to discuss this issue was that the nut is not included, nor available for sale individually, but I could buy their fixed end bearing mount BK15-C7 (Fixed End) for  $82.95 and then get the 15mm x 1.0 mm pitch bearing retaining nut I needed. I was not about to spend $83 for a $0.87 part.   With no solution offered by Kelling Inc. I set about finding the rare and elusive 15mm bearing retaining nut.  Scouring the net and my supplier database from the day job I found an industrial supply company that would sell me a few of the 15-1.0mm bearing retaining nuts manufactured by whittet higgins, part number KM-02. I ordered my 15mmx1.0 nut from the local KAMAN Industrial Technologies office down in Manchester as they would sell to me with no minimum order fee.


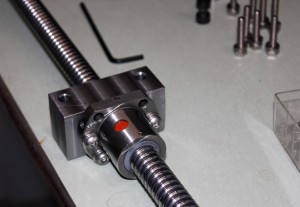
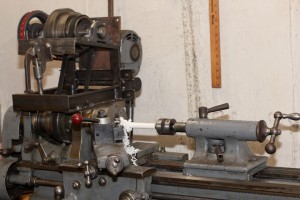
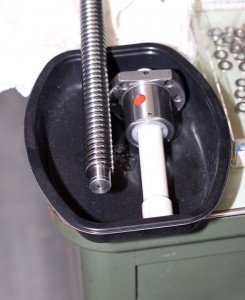
The ballnut came pre-installed on the SFU2005 ballscrew.  It was installed flipped 180 degrees from what was needed to work with my design for my CNC milling machine.  Removing a ballnut can be a lesson in frustration and hunting for hundreds of small ball bearings on the floor if you are not careful.  The short lesson on how to correctly remove a ballnut is as follows.  Machine a removal guide that fits over your machined ends and is the same outer diameter as the minor diameter of your ballscrews threading.  For my SFU2005-C7  ballscrew this minor diameter is 18mm.  I turned down a piece of sch 40 PVC pipe on my 100 year old lathe (yup it’s on the to be replaced tool list. As an  aside, it will go to an industrial museum as a donation when I do eventually replace it with the shiny new 14×40 Lathe I have already picked out for myself).  In the right hand pic above you can see that even though I used a ballnut removal tool, I still removed it over a tray.  This is just in case something goes wrong and all of the small steel balls fall out.  Better to be safe then sorry here, so use a tray.

   Upgrading to ballscrews on a RF45 ZAY7045 mill drill

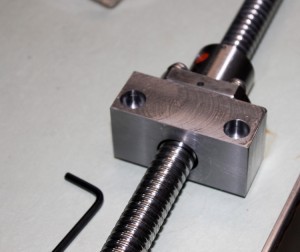
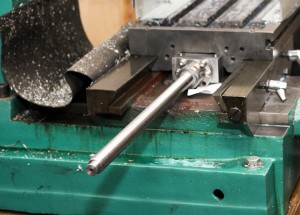
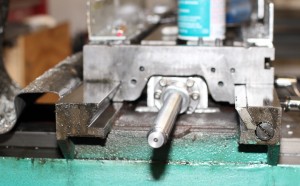
I designed the new ballnut mount  to fit the original 8mm mounting bolt holes on the saddle.  My ballnut mount design is such that there is no need to machine the ballnut. I did not want to risk contamination of the ballnuts internal raceway and bearing mechanism.   my design lowers the ballnut below the raised nut mounting boss on the saddle assembly. There is very little clearance in this set up, but it works well and does fit.   Here are technical drawings of my design: RF45 ZAY7045 mounting block for SFU2005-C7 ballscrew – sae units & in metric units   RF45 ZAY7045 mounting block for SFU2005-C7 ballscrew – metric units

As you can see in the upper left photo, I had to clip the corners of the ball nut mount.  This is not reflected in the above drawings, but you should machine the corners off the ballnut mount before disassembling your machine if you copy my design.  I did it by hand with a carbide burr and hand files.  Also note that I have not yet installed a zerk fitting into the ballnut. I hope I can find a tight M6-1.0 90 degree Zerk fitting that will fit and clear the table.  For now I plan to use grease on the ball nut.  In the future I will add a self oiling system to the CNC machine and will convert the ballnut over to oil lubrication at that time.  Oil lubrication is superior in that it tends to wash away contaminates from the ballnut rather then collect them as grease does.

That is all for part 1 of the ballscrew upgrade on my CNC milling machine. This post continues in part 2.
Making Apple Chips

ingredients used to make apple chips

I decided to try my hand at making some apple chips for this weekends up coming adventuring with friends.  I was originally inspired by my buddy’s wife’s facebook post on making fruit and veggie chips.  A few days later I saw another friends post on making apple chips on both facebook and then again later one on pinterest.  I decided I simply  had to give it a go and make some to try.   This post shares how I made them, what I learned, and what I would do differently next time.
I scoured the internet for “recipes” and procedures.  It seems everyone more or less follows the same basic process. Some use a quick lemon juice dip to prevent oxidation (browning).  Some use symple syrup dip, and others a solid sugar/spice mix.   It seems the sugar dip is somehow antimicrobial from what I read though I’m somewhat dubious of that fact.   I decided to use what I had on hand and went with a solid sugar/spice mix.   I figured some apples might make better chips then others. As I could find no clear consensus as to which apples worked best I went with my favorite Fuji apples.   I decided to use a blend of sugars and spices for my sugar coating.

apple chip recipe

  • 1 cup sugar
  • 2 tablespoons cinnamon
  • 2 tablespoons vanilla sugar
  • 1 largish pinch ground nutmeg
  • 1 tiny pinch cloves

Mix all of the above in a bowl.  Some suggest using a large ziplock bag for tossing your apple slices around in the sugar.  That can work as well but I had no large bags on hand.  Preheat your oven to 200 F when you start all of the prep work.

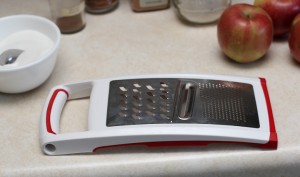
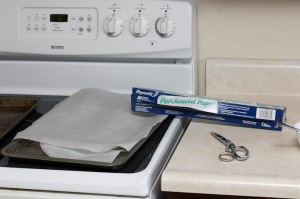
mandolin slicer for cutting apple chips   dry apple chips on parchment paper to prevent sticking

The other two kitchen items you need is parchment paper (so the apple chips don’t stick to the pan)  and a Mandolin type slicer.  You could make them with a knife if you are really good at cutting thin slices but the mandolin is fast and you get uniform slices.  I learned that having uniform slices is important.  I cut a few up by hand to try thicker slices and they do not dry out and get crispy.  Thicker slices are more like chewy apple bits, so if you prefer that cut thicker slices with a knife.

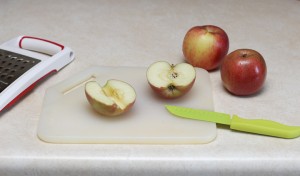
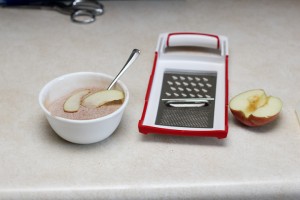
how to make apple chips   using a kitchen slicer to make thin apple chips

My mandolin is a combo grater and pretty small.  Much too small to slice a whole apple making the really cool round apple chips.  I suspect if I make Apple Chips regularly for hiking snacks I will by a single purpose larger mandolin with holder.  It’s pretty easy to slice the end of a finger off with a mandolin as the blade is razor sharp.  To accommodate my small mandolin I halved and cored my apples.  I sliced 3-6 slices at a time into my sugar/spice bowl.  Tossed each slice about with the spoon and transferred the coated apple slices to parchment lined baking pans.

     baking apple chips in the oven

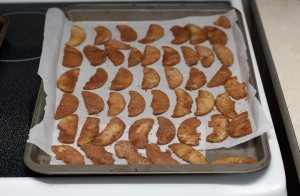
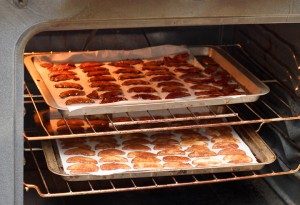
After I filled the baking pan with coated apple slices, I put them in the oven at 200F to dry.  Various recipes indicated different times for baking in the oven.  I checked the slices at 15 minute intervals after the 1st hour.  I pulled them out at 2 hrs 15 minutes. I suspect that the apple type (how much moisture it has) and relative humidity on the day of making these will both influence the drying time greatly.  I do not have a food dehydrator at this time, but those work wonderfully well according to my friends wife.  Three medium sized apples filled the two making trays in the photo above.

  apple chips made at home

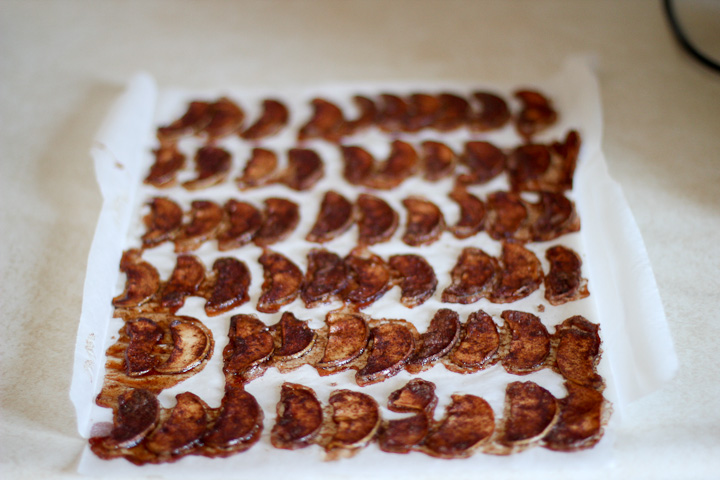
These are amazingly tasty.  Once fully cooled they popped off the parchment paper easily.  Trying to remove them early is a lesson in sticky mess.   The thicker slices I cut with a knife vs using the mandolin are almost like a chewy apple candy.  When I do this again, I think I will try to use a sifter to powder the apples vs dipping.  There was a bit more sugar stuck to them then I would like due to super juicy Fuji apples that  I used.  A less juicy apple might be a better choice for making apple chips.  I will experiment next time with 3 different varieties of apples to learn the differences.   I have stored these in a plastic container.  This weekend when I’m out adventuring with friends I’ll share with them and get some feedback from other people.   These were an easy to make snack that are light weight and super yummy.  Give it a try, you will not be disappointed.


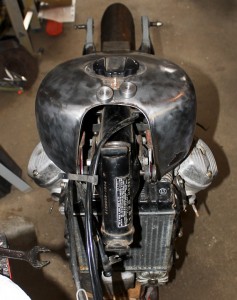
CX500C fuel tank swap on the Cafe Racer

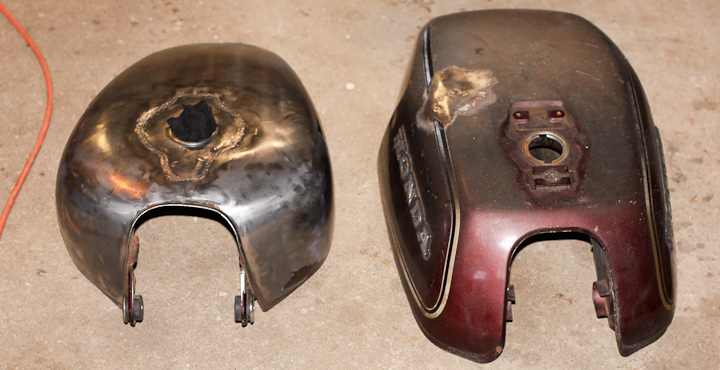
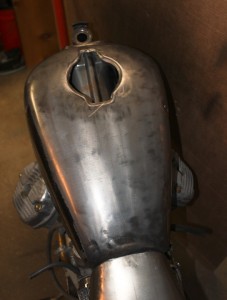
Early on in the process, I decided that the large square ugly gas tank would be swapped off with a custom tank on the Honda CX500 Cafe Racer build.  The photo above shows the original tank on the right, and the modified  later model CX500C tank on the left.   I cut out the recessed fuel cap, and installed a weld in fuel cap bung made by drag specialties that takes Harley Davidson 84-E96 vented right hand thread compatible fuel caps.  I wanted a nice clean looking tank and this seemed like the way to go.  The new tank is about half the volume, but I’m not concerned this is not going to be a touring motorcycle and 2.5 gallons of fuel is more then sufficient.

mounting CX500C tank on a Honda CX500   Custom CX500C tank mounting on CX500

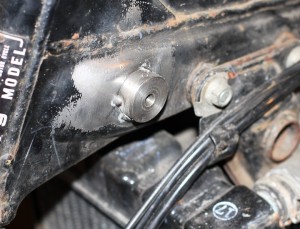
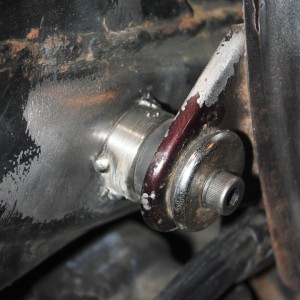
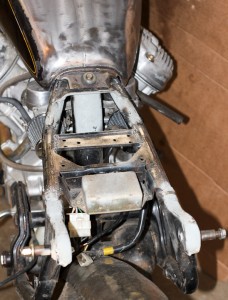
Somewhat surprising but two significant modifications had to be made to the frame to make the Honda CX500C tank fit and mount up on my CX500 model bike.  I initially thought that it would be an easy bolt on swap when I picked up the smaller much more attractive looking CX500 custom fuel tank.   I first moved the rear mount such that the tank would fit over the stock mounting points used on the original tank. I bored out the metal washers so they would fit over the studs.  I used this method to locate the rear mount, which I cut off the frame and ended up moving about 2″ forward.  This put the tank in the right spot such that the indents for the coils on the underside of the tank were in the correct location.  I turned some custom threaded bosses on the lathe for new front mounts.  Then I cut off the original studs and tack welded the new threaded bosses onto the frame located centered over the original studs location.  When the frame is stripped for painting I’ll finish weld the mounting bosses in place.

Custom fuel tank build CX500 Cafe Racer   Custom fuel tank build CX500 Cafe Racer

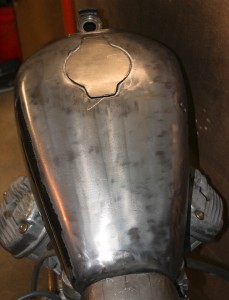
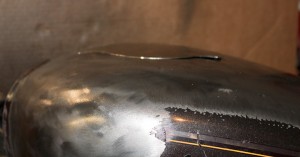
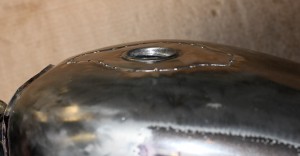
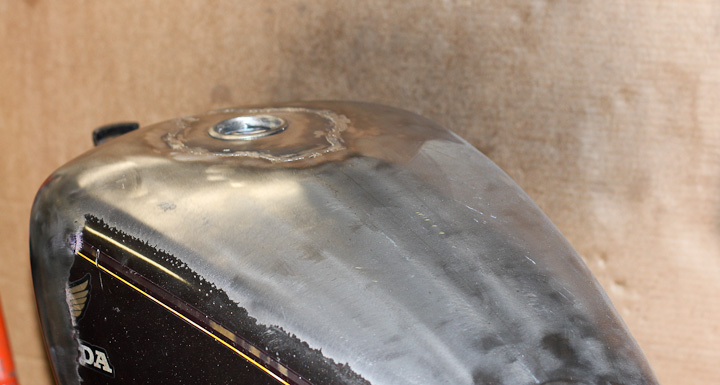
After I moved the mounts and the tank was mounted to the frame it was time to do a little custom work on the top of the tank.  I wanted a cleaner look then the ugly stock flap over locking fuel cap.   First I cut out some sheet steel to fit the opening roughly. Then I used the planishing hammer to form the compound curves.  It is harder to make a compound curved piece of metal then most people think.   A lot of careful hammering, planishing, and bending got the fit just right so the curves matched up perfectly.

   CX500C fuel tank modifications for harley fuel caps

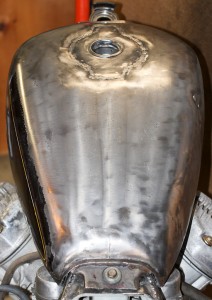
I left a bit of the recess lip on the inside of the tank.  This should provide additional strength to the top of the tank and help with any oil canning and distortion from welding.  This type of welding requires very large amounts of patience.  The goal is to keep the metal cool the entire time so you don’t get oil canning or warping of your metal due to excessive heat.  Lots of little spot welds with cooling time in between keeps things from getting too hot.

   Custom CX500 fuel tank modifications

The finished weld looks good.  Still needs some prep work prior to painting but nothing more then a skim coat of filler will be needed for a flawlessly perfect finish on the tank.

CX500 Cafe Racer fuel tank swap  Custom Cafe Racer gas tank install  Cafe Racer Modified rear CX500 frame

The tank is ready for final stripping, metal prep, priming and painting.  This is some of the last fabrication and customization of the original Honda CX500 frame.  Soon I’ll pull the motor and remaining parts to strip and paint the frame/rear swing arm and start the reassembly of the bike for spring riding.  I’ve been sandblasting restoring and painting the small parts all winter in preparation of the reassembly of the bike.

Tips for hanging wall cabinets

Tips on hanging cabinets

My buddy Joe hit me up to help him hang some wall cabinets above his washer and dryer in the laundry room.   It’s always fun to hang out and be productive at the same time.    It was a much better way to spend a Friday afternoon then slaving away at the day job.


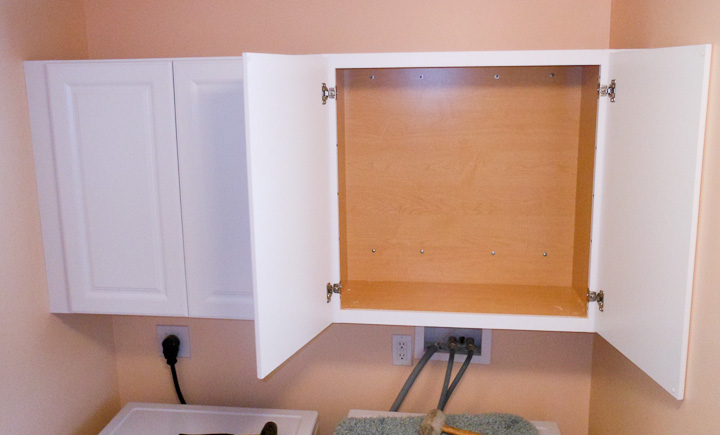
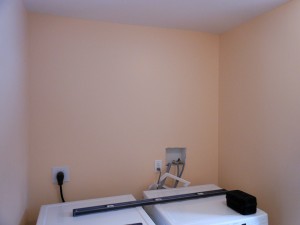
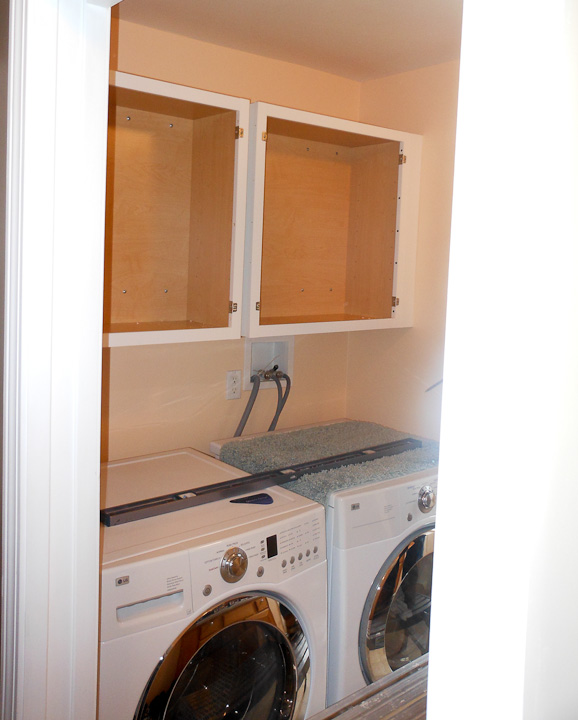
First steps is to measure the space and select a height.  There are rules for cabinet heights, but sometimes you don’t want to follow them.  Over the laundry was one of those times. It’s important to think about how you will use your cabinets and surrounding space before installing them.   We wanted to leave space to be able to put a laundry basket on top of the machine and still open the cabinets if needed.

how to install cabinets on the wall    installing cabinets using a temporary support rail

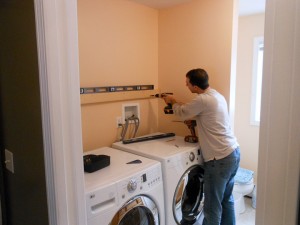
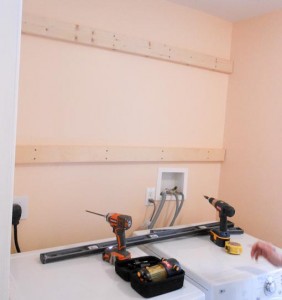
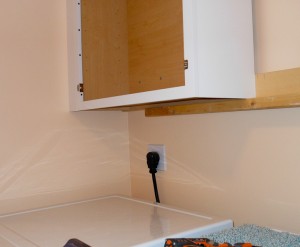
A good tip for installing wall cabinets it to put a couple of strips across the back into studs. You can easily shim and straighten the strips if the wall is wavy.  Then the cabinets attach easily to the straight, plumb, and level strips instead of struggling to shim each and every cabinet.  The strapping also allows you to have evenly spaced screws on the insides of the cabinets and also allows for additional screws versus screwing into the studs directly.  Sometimes strips are not feasible, in small kitchens/etc where the loss of 3/4″ space is critical. I did a kitchen on Beacon hill where every inch counted and we went into the studs directly. The down side is occasionally one cabinet only has two screws into a single stud to support it.   In this case, we used 2x4s to push the cabinets out a little bit.  The reach over the washer is difficult enough, so that extra 1.5″ out from the 2×4 goes a long way to make the cabinets more accessible.

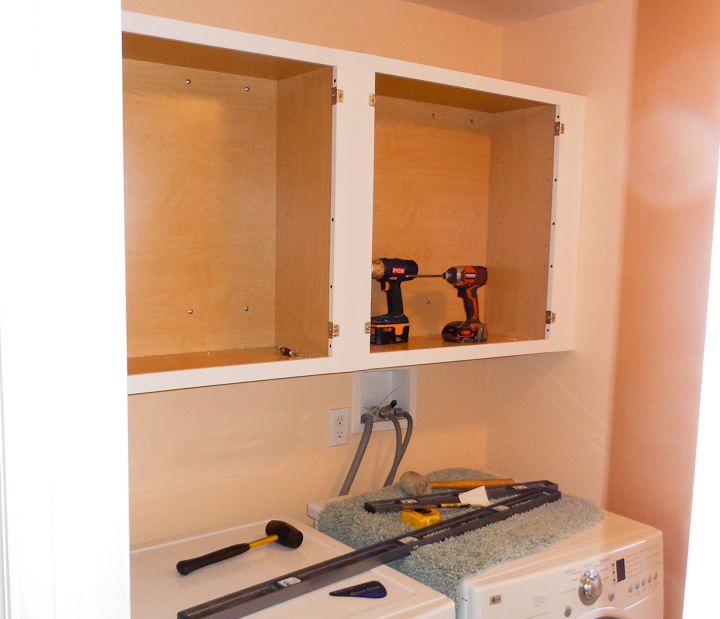
Another useful tip is to put up a temporary rail to rest the cabinets on when installing them.  The right photo shows the first cabinet resting on the rail we screwed into the strapping we installed.   Cabinets are heavy, and usually a two man job.  With both of these tips you can hang cabinets without help if needed.  It’s always better to have a friend come help you, but it is possible to put up cabinets well solo using these two tricks.

tips for installing wall cabinets

After hanging both cabinets, we had to make a filler piece.   This meant a round trip to my workshop where we carefully cut the center filler board to the correct width.  When putting in the last filler on a cabinet installation like this I find it works best to put a small taper ~5 degrees or less on one side.  I cut the board ~1/16″ over the measured width of the gap between the two cabinets.  When we got back to my buddy Joe’s place we did final fitment by hand with a small hand plane and a jig I made years ago.  Sadly I did not think to take a pic of the jig setup.  The jig is simply a board with a stop screwed in perpendicular to another board.  It is put up against a wall on the floor.  It allows you to easily plane down thin strips of wood that are often needed when doing cabinetry installs.

Install tips for cabinets on the wall

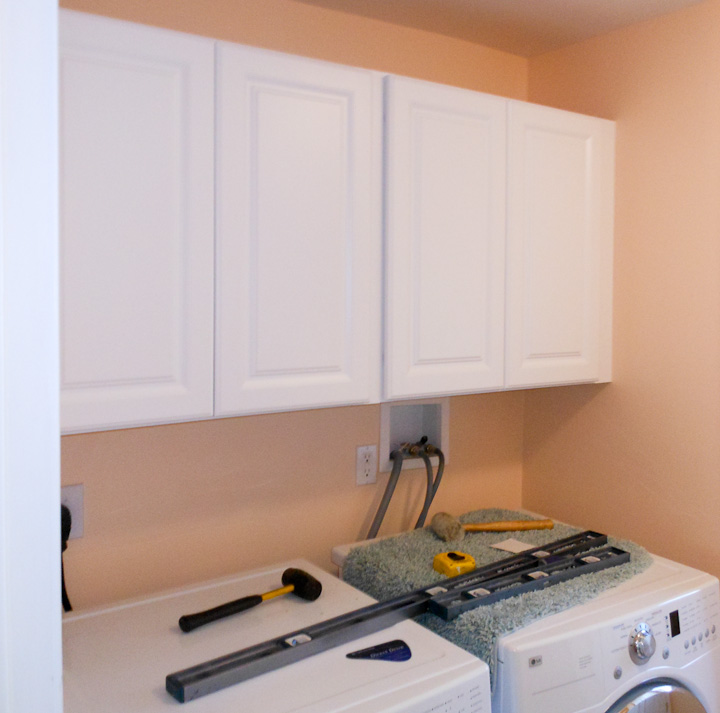
The tapered edge we put on the final filler board allowed us to sneak up easily on a perfect fitment of the filler board. The last think you want is to have an ugly gap or seam in between cabinets due to poorly fitting this piece.  Of course We did a good job of it. The install is seamless, right against the walls on both side and we didn’t use any caulk or putty filler to  hide any gaps.  This is the way cabinets should be when installed, the right way.  All that’s left  was to add the doors.

Tips for hanging cabinets on the wall

With the doors put back on the cabinets, our job was done.  We celebrated with a cold drink while standing back and  admired our days work.   It was a great day, a fun project, and every thing went smoothly.