Honda CX 500 Cafe Racer Parts
I am often emailed with questions on the price to make some of the custom parts I show in my blog posts. This page is to supply the answers for those wishing to do the same things on their project motorcycle. I am not in the business of making parts for profit but try to help out the community as I have been helped my many people over the years. I will gladly share my drawings with you if you want to make your own or modify my designs. New Custom CNC Machined parts are sold “as machined” (bare aluminum) and will require you to do finish work (sanding, sandblasting, cleaning, degreasing, etc) prior to painting them to match your CX 500 cafe racer custom motorcycle project. Lead times on these may be a couple weeks depending on my schedule. Price includes shipping inside the US. If you are outside the US send me an email for a quote on shipping costs.
If you are interested in one or more of these parts, please email me at:
New Custom CNC CX550 Motorcycle parts (made by Zac)
These parts come as machined. You will need to sand and paint them to match your bike. No hardware is included, just the bracket. THIS IS A DIY PART, not a kit.
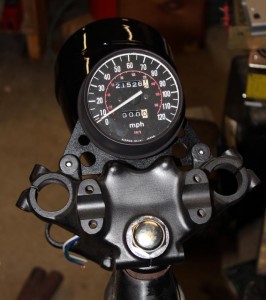
Single Gauge mounting bracket – $45
This single gauge bracket require you to eliminate the factory key/switch assembly. Look closely at the photo and you will see there is no space for it. The factory gauge is mounted by the two rear lugs that mount the gauge into it’s chrome gauge pod, so you have to remove it from the outer shell. Also you have to get a bit creative with routing the speedo cable. I have made a few of these for other people, one person was unhappy as he expected it to just work as a drop in part with no other changes to the bike. That is not the case. Think of these as more DIY parts that require some additional modification to your bike to install.
See the blog post on making this single gauge mounting bracket for more info
Custom Headlight mounting bracket – $40 No hardware is included, just the bracket. THIS IS A DIY PART, not a kit.
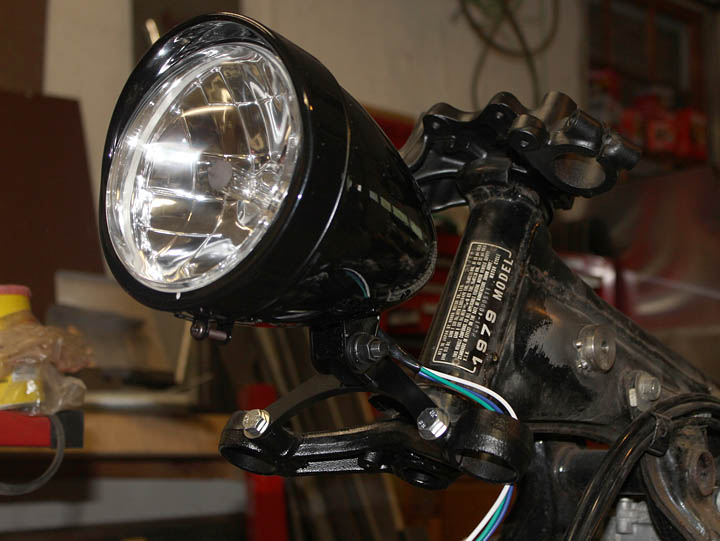
This is pretty straightforward to install. You will have to remove the factory parts and relocate the horn somewhere. This is the website where I purchased the headlight used on my bike: Demonscycles.com.
See the blog post on making this headlight bracket for more info
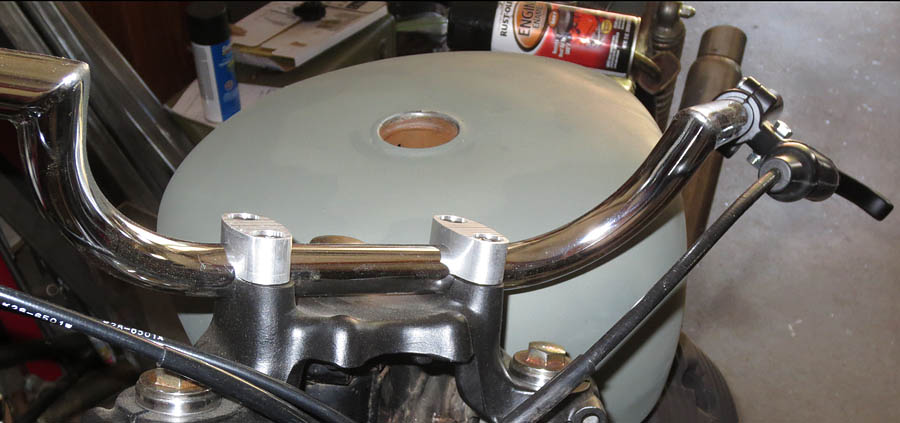
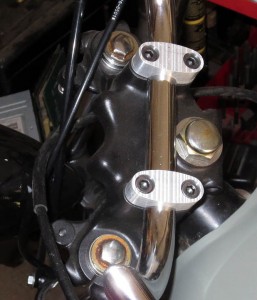
Handle bar clamps – $95 No hardware is included, just the bracket. THIS IS A DIY PART, not a kit.
Interested in one of these parts? Please email me.
Does your headlight mount come with hardware? Also, could you tell me the headlight in the picture of the CX500 on your website?
Ken, no there is no hardware included with any or my parts. As I state on my page. The parts are shipped in as machined state. Think of these as more DIY parts then buying a finished kit from a business. I put them up for sale on the site because I was sick of answering the same questions again and again in emails. I’m not in the business of making bike parts, kits, etc. but I don’t mind helping out people from time to time if they really really want a part. You can also take the drawings I shared at the end of my post and have them made at a local machine shop. The headlight came from Demonscycles.com but they do not seem to have this exact one in stock anymore
I was wondering where and how you relocated your fusebox. Just curious, I like how clean your handlebar clamps are.
Zach,
I used in line fuse holders, and eliminated one of them. You don’t really need a whole lot of fuses. I have one for the lighting system, one for everything else, plus the original ones off the charging/battery system. I’ll make a post in the future (time has been limited for sharing here) with my greatly simplified wiring diagram for the bike.
Are you still able to manufacture the speedo bracket? Is the speedo used off a CX? How much would it cost for postage to the UK?
Hi, I could make you one if you want to use it for your bike. They come raw, as machined so you need to finish and paint them It uses the stock speedo, but you have to remove it from the factory shell. I think I sealed the back of mine where the screws were with small dabs of black rtv. You’ll have to adjust, rerout, or get a new cable as well. Also please note, this does not allow for the use of the factory ignition switch. Shipping is likely in the $20 range. I mailed a small (<1lb) package to the UK recently and it was like 18 and change.
That sounds great. Do want to reply via email and can sort out payment via paypal if thats ok?
Nice bike and great work! Will surely check your blog to find more information on the cafe racer bike!
hello,
I’m interested in purchasing a single gauge mounting bracket, though i have a few questions. what is the distance between the gauge mount holes. I’m trying to retro fit a modern gauge to my cx500 and the distance for mounting is 53mm, overall diameter of the gauge is 95mm. would this work with your style of bracket?
Hey Zac
I love your bike. Can I purchase one of your CX500 gauge mounts?
What is the diameter of gauge that I need for this?
Thanks
Todd
Hi Todd,
I’m not able to make these at this time. You can take the drawings and make your own. I’m pretty sure they are shared here somewhere. This bracket uses the stock CX500 guage, with the outer shell removed.
Hi Zac,
I just recently came across your speedo gauge mount and I am interested in making my own. I see that you are no longer making them so I was wondering if you still have your cut file? I am interested in the dimensions you used. I have access to a machine shop so I plan on eventually making my own after I have the dimensions figured out.
Thanks!
Tom
The DXF files are at the bottom of the post: http://www.projectsbyzac.com/500/cx500-cafe-racer-build/how-to-cnc-machine-a-part-from-start-to-finish
Do you have a simplified wiring diagram for the CX500?