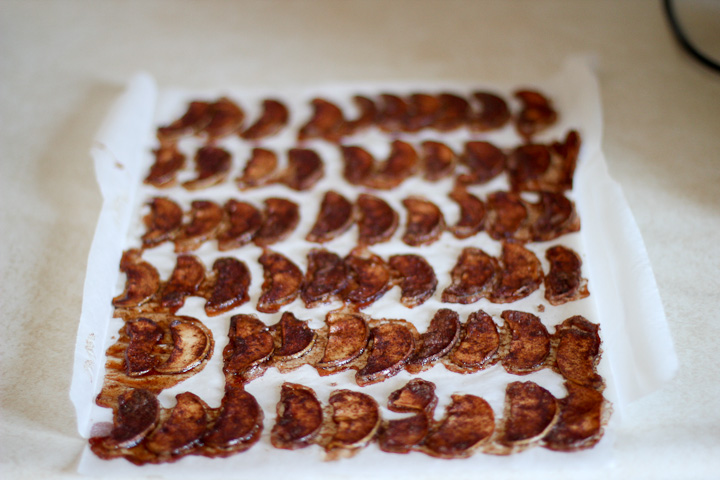
I decided to try my hand at making some apple chips for this weekends up coming adventuring with friends. I was originally inspired by my buddy’s wife’s facebook post on making fruit and veggie chips. A few days later I saw another friends post on making apple chips on both facebook and then again later one on pinterest. I decided I simply had to give it a go and make some to try. This post shares how I made them, what I learned, and what I would do differently next time.
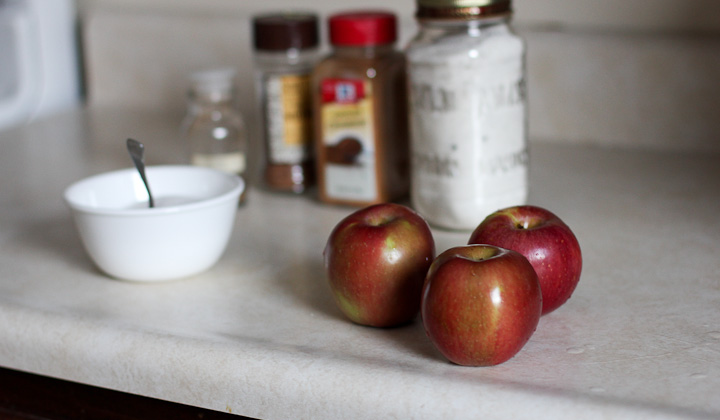
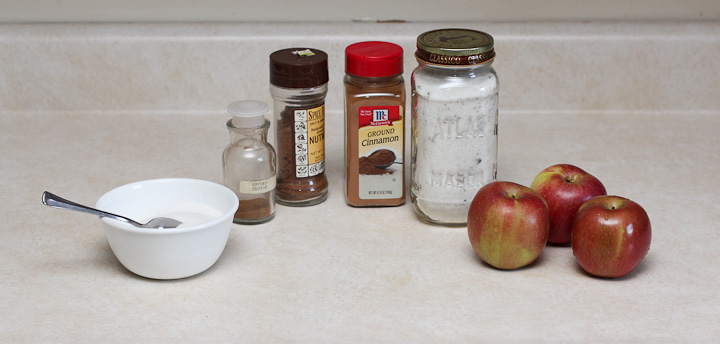
I scoured the internet for “recipes” and procedures. It seems everyone more or less follows the same basic process. Some use a quick lemon juice dip to prevent oxidation (browning). Some use symple syrup dip, and others a solid sugar/spice mix. It seems the sugar dip is somehow antimicrobial from what I read though I’m somewhat dubious of that fact. I decided to use what I had on hand and went with a solid sugar/spice mix. I figured some apples might make better chips then others. As I could find no clear consensus as to which apples worked best I went with my favorite Fuji apples. I decided to use a blend of sugars and spices for my sugar coating.
apple chip recipe
- 1 cup sugar
- 2 tablespoons cinnamon
- 2 tablespoons vanilla sugar
- 1 largish pinch ground nutmeg
- 1 tiny pinch cloves
Mix all of the above in a bowl. Some suggest using a large ziplock bag for tossing your apple slices around in the sugar. That can work as well but I had no large bags on hand. Preheat your oven to 200 F when you start all of the prep work.
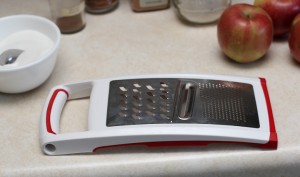
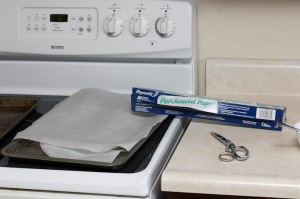
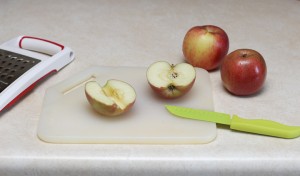
The other two kitchen items you need is parchment paper (so the apple chips don’t stick to the pan) and a Mandolin type slicer. You could make them with a knife if you are really good at cutting thin slices but the mandolin is fast and you get uniform slices. I learned that having uniform slices is important. I cut a few up by hand to try thicker slices and they do not dry out and get crispy. Thicker slices are more like chewy apple bits, so if you prefer that cut thicker slices with a knife.
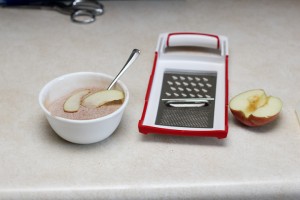
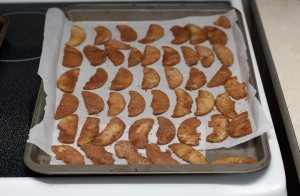
My mandolin is a combo grater and pretty small. Much too small to slice a whole apple making the really cool round apple chips. I suspect if I make Apple Chips regularly for hiking snacks I will by a single purpose larger mandolin with holder. It’s pretty easy to slice the end of a finger off with a mandolin as the blade is razor sharp. To accommodate my small mandolin I halved and cored my apples. I sliced 3-6 slices at a time into my sugar/spice bowl. Tossed each slice about with the spoon and transferred the coated apple slices to parchment lined baking pans.
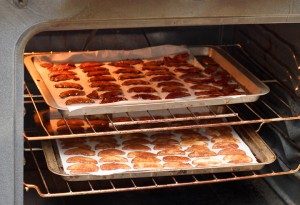
After I filled the baking pan with coated apple slices, I put them in the oven at 200F to dry. Various recipes indicated different times for baking in the oven. I checked the slices at 15 minute intervals after the 1st hour. I pulled them out at 2 hrs 15 minutes. I suspect that the apple type (how much moisture it has) and relative humidity on the day of making these will both influence the drying time greatly. I do not have a food dehydrator at this time, but those work wonderfully well according to my friends wife. Three medium sized apples filled the two making trays in the photo above.
These are amazingly tasty. Once fully cooled they popped off the parchment paper easily. Trying to remove them early is a lesson in sticky mess. The thicker slices I cut with a knife vs using the mandolin are almost like a chewy apple candy. When I do this again, I think I will try to use a sifter to powder the apples vs dipping. There was a bit more sugar stuck to them then I would like due to super juicy Fuji apples that I used. A less juicy apple might be a better choice for making apple chips. I will experiment next time with 3 different varieties of apples to learn the differences. I have stored these in a plastic container. This weekend when I’m out adventuring with friends I’ll share with them and get some feedback from other people. These were an easy to make snack that are light weight and super yummy. Give it a try, you will not be disappointed.
