Category Archives: Woodworking and Furniture

Tips for furniture finishing demonstrated on the American Girl Doll Bunk Bed I made

American Girl Doll Bunk Bed Dimensions

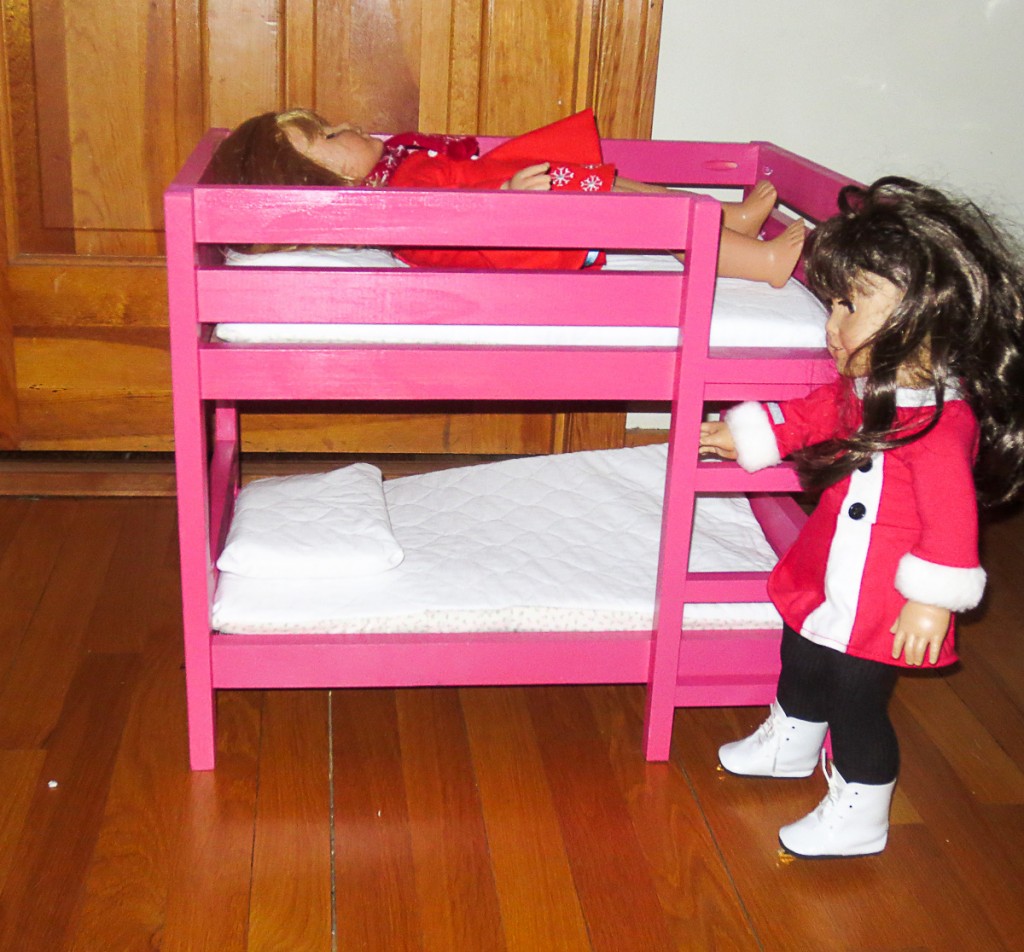
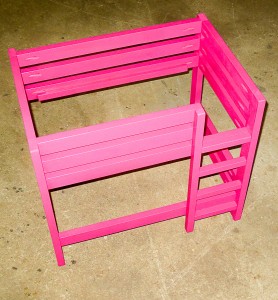
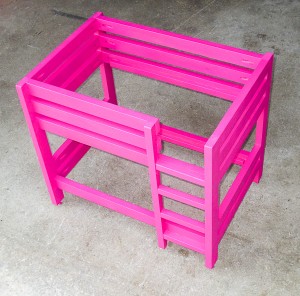
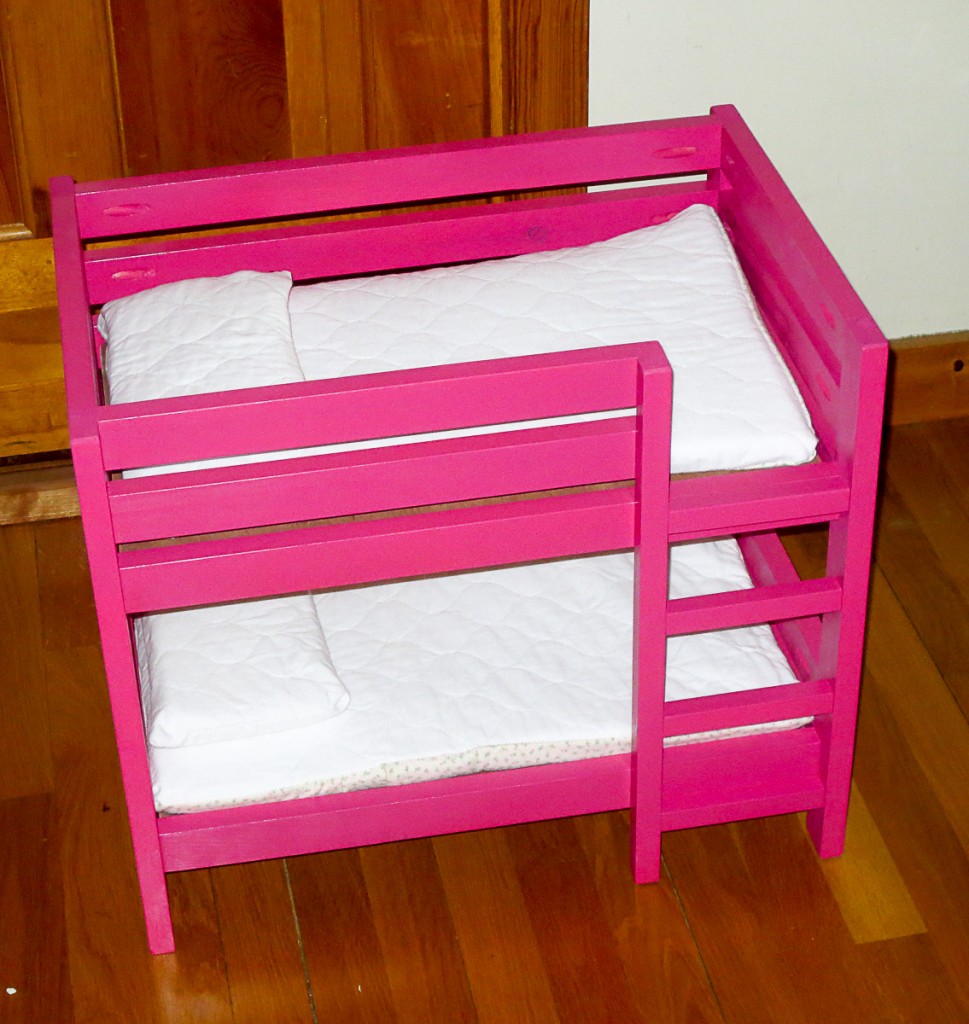
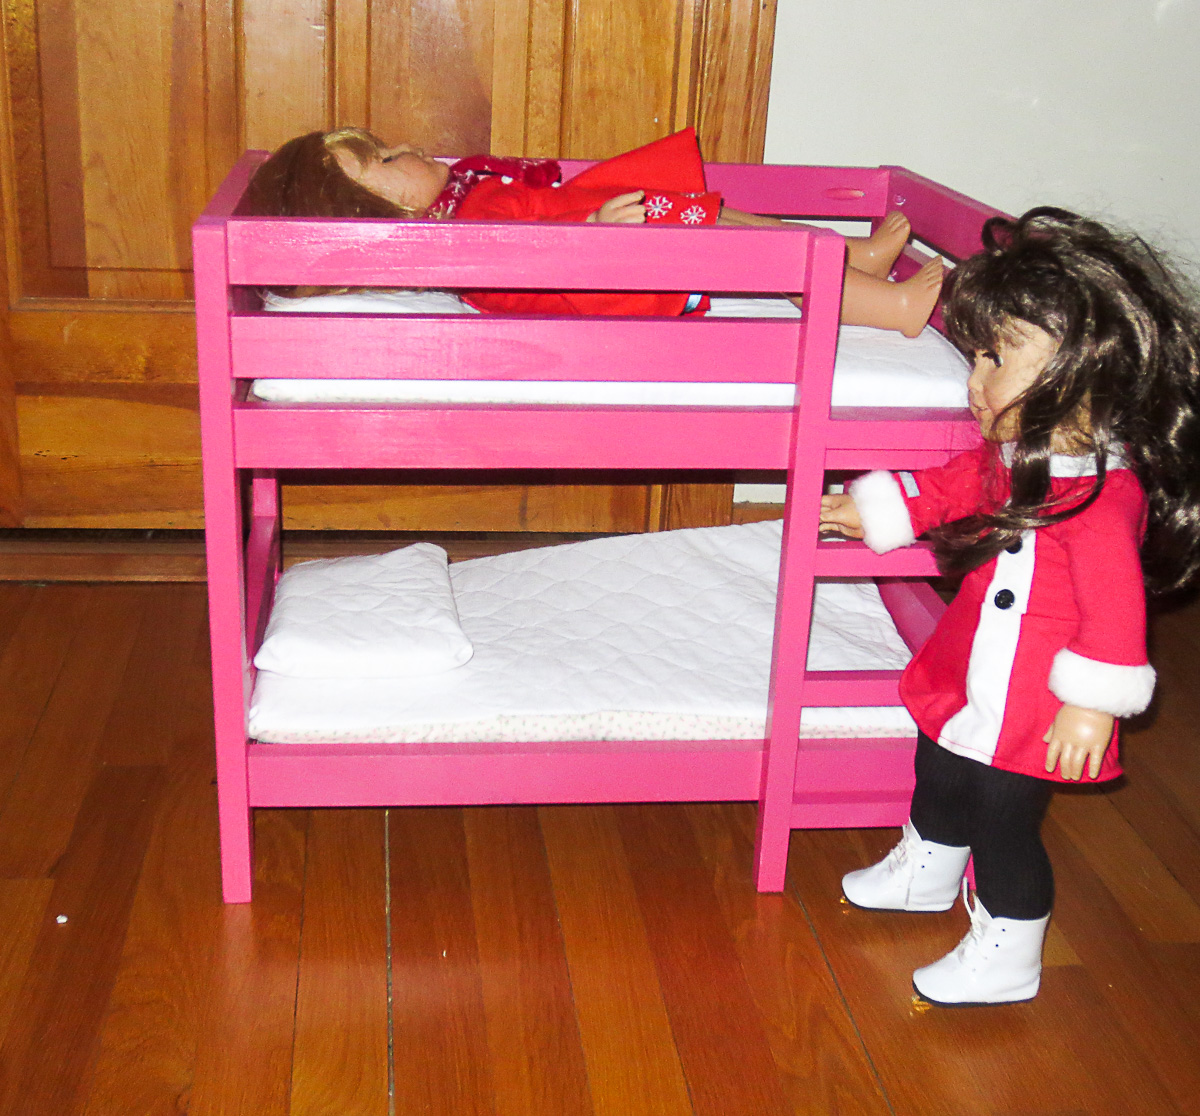
For the second Christmas in a row I was asked to make an American Girl Doll Bunk Bed for my nieces “Babies”.  They were sleeping three to a single bed on their side and she really wanted a bunk bed, and it HAD to be pink.   This post is 20% showing off the bed I built for her, and 80% about a furniture finishing tip that is useful for when you are pressed for time, or working with a special finish that needs a single wet coat application for it to work.

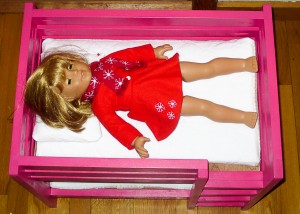
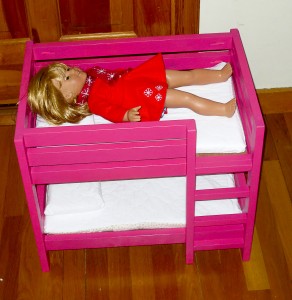
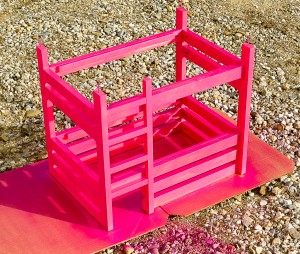
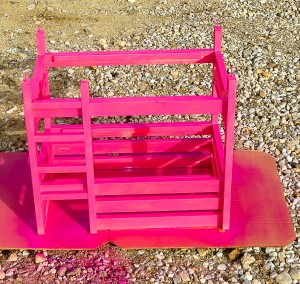
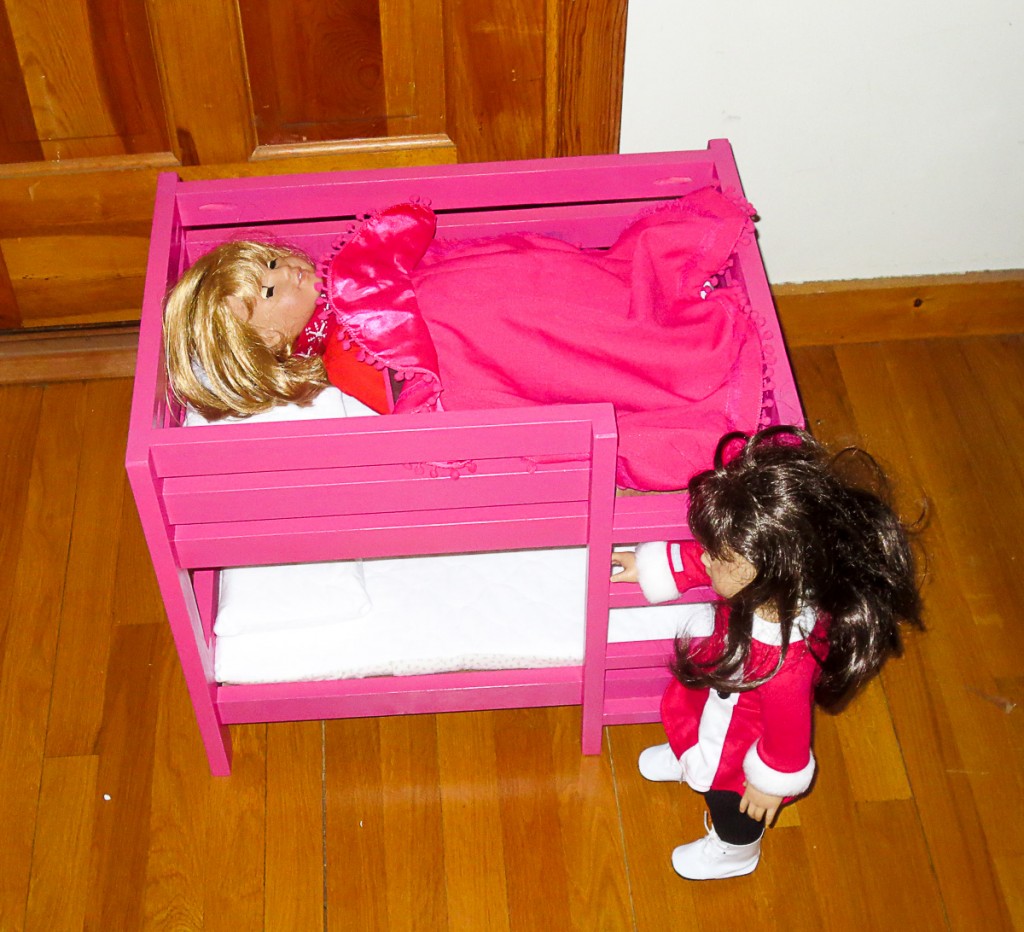
I want to share this bit of knowledge,  Dimensions for an American Girl Doll bed should be 12″x19.5″.  This is the inside “mattress size”, not the outside dimensions of the frame.  You could make it a little bit larger, but I would not make it any smaller.  As you can see in the photos below this is a good fit for the dolls. I had a surprisingly hard time finding any size or dimensions for  an American Girl Doll bed online.  I  hope this info helps someone else build a bed.

010216  Build an American Girl Doll Bed Dimensions-4223       010216  Build an American Girl Doll Bed Dimensions-4222

As I said, this is mostly a post about a tip on furniture finishing, not the American Girl Doll bed I designed and built to match the real bed.  I picked this tip up somewhere, and I have used it many times on both large and small projects.  It works great and allows you to get that nice perfect single coat finish on projects.

Building American Girl Doll Bunk Bed

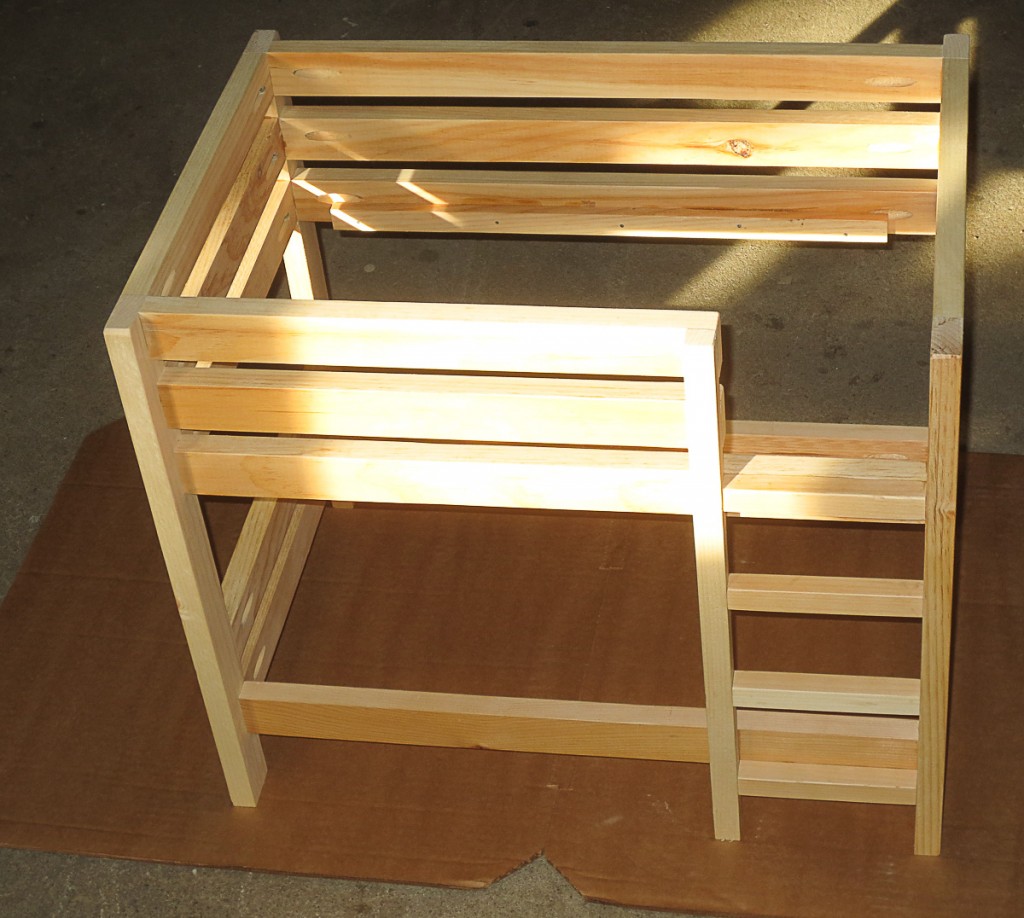
You need your unfinished bit of furniture.  Doesn’t matter if you built it yourself, or bought it at one of those unfinished furniture outlets.  I of course designed and built this bed to match my nieces real bunk bed.  I suppose I could draw up plans if anyone is interested, leave me a comment.  If there is interest I’ll put together a post with plans in the future.

Tips for Painting unfinished furniture     Tips for Painting unfinished furniture

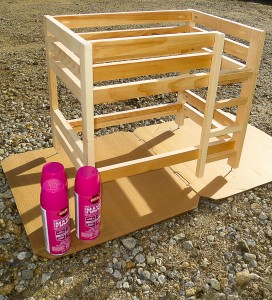
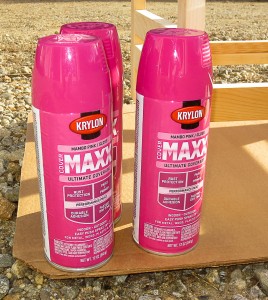
Next you need to select your finish for the project.  I was pressed for time on this project and went with a quick drying spray paint.  Christmas was fast approaching and I was way behind on all my holiday gift making.  I selected Krylon Cover Max Paint in Mambo Pink Gloss for the American Girl Doll bed I built.   I get asked which paints I prefer quite often.  In general,  I prefer to use Krylon brand spray paint over Rustoleum Brand paints.  Both will give you a great long lasting finish.  The Krylon paints always dry tack free so you can handle them at considerably shorter times then Rustoleum spray paints.  Historically in my project experience faster drying = higher likely hood for a successful finish free of defects.

Tip for Painting furniture

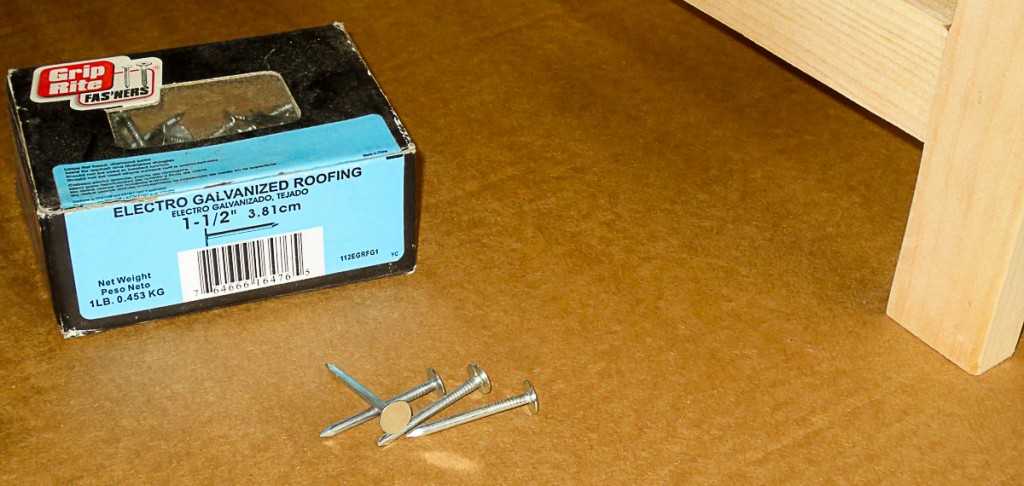
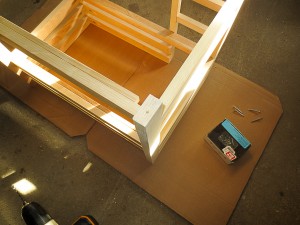
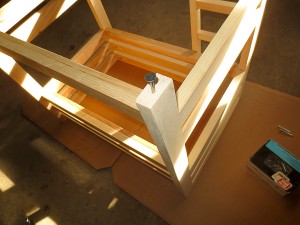
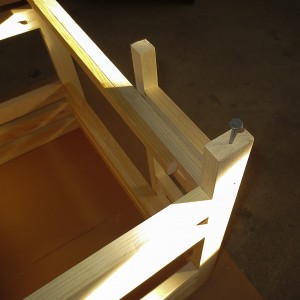
These roofing nails are your friend.  Get yourself a box to have on hand.    These nails are handy for many things in the shop, but no use is better then the one I’m about to share.  The broad flat heads act as nice temporary standoffs for your furniture project during finishing. The thing about furniture type projects is they almost all have legs of feet that will be on the floor.  This is the perfect place to use these nails as standoffs for finishing your project.  I almost always put felt pads or sliders on everything, so even the whole is hidden if perchance a project is flipped up side down.

 010216  Build an American Girl Doll Bed Dimensions-4191    010216  Build an American Girl Doll Bed Dimensions-4192

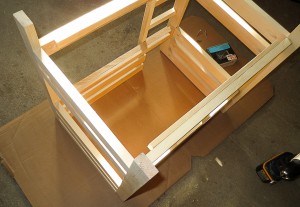
Flip your project over onto a nice safe surface, I’m using some scrap cardboard I saved for this purpose.  Mark the center of the legs, or base of your project, where it contacts the floor and drill a short ~0.5″ hole the diameter of your roofing nail, ~0.125″ in this case.  This lets your nail stay in and support your project without any chance of splitting the wood, falling out, etc.  You want to easily remove the nail later.  Drilling the hole is the trick to being able to easily remove it while allowing the nail to provide adequate support.

010216  Build an American Girl Doll Bed Dimensions-4193     010216  Build an American Girl Doll Bed Dimensions-4194

Put a roofing nail in each whole you drilled at every corner of your projects.  While it is usually sufficient, very large projects may require more then the 4 corners be supported with nails.    The nails will keep your project off the ground, allow the paint to dry and you to finish in one single go, rather then waiting for it to dry between flipping it over and doing all the surfaces.

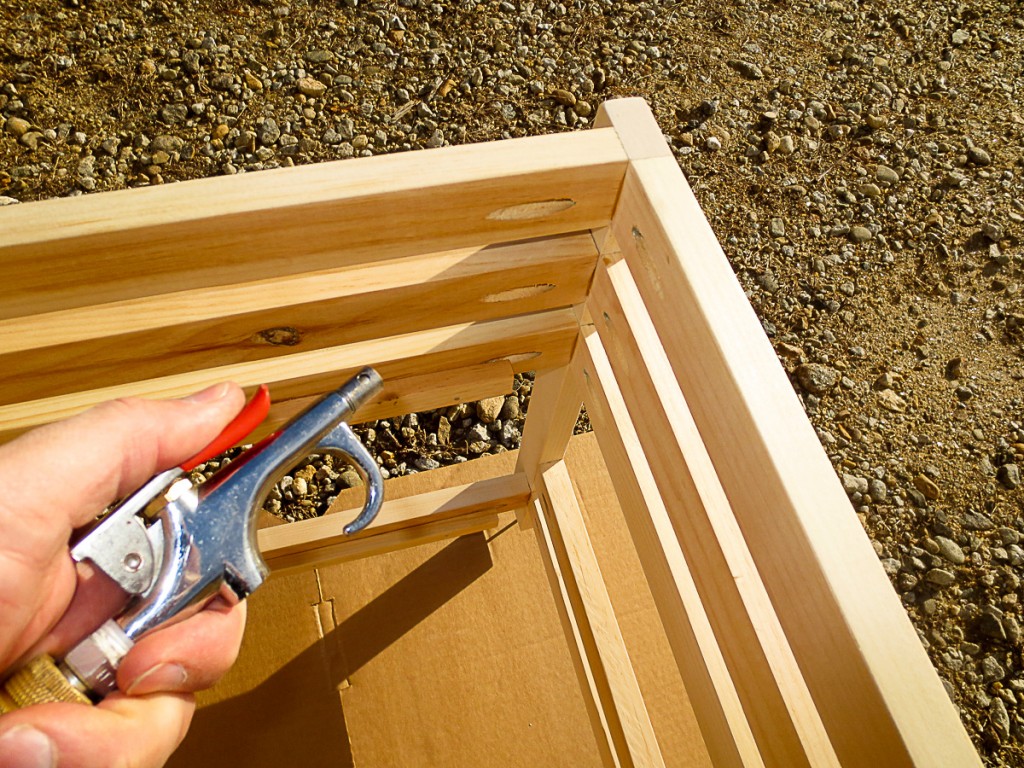
010216  Build an American Girl Doll Bed Dimensions-4196

Make sure you remove any bits or dust from your project.  Tack cloths are great at this, but so is blowing the project clear of dust with an air gun.  In the best case, blow it clean, then use a tack cloth to get any particles that stuck in the fiber.  I used pocket hole joinery in this project.  Pay special attention to removing dust and wood particles from the pockets.   Often there is buildup from sanding or drilling in these pockets.

American Girl Doll Bed Plans        American Girl Doll Bunk Bed dimensions

Starting with your project upside down,  paint all of the surfaces that are “up” in this orientation.  These are the bottom of the project, and you want to get them coated first.

010216  Build an American Girl Doll Bed Dimensions-4203      010216  Build an American Girl Doll Bed Dimensions-4206

Finish up by flipping the project over and continuing to apply your paint or coating to the top sides.  This lets you get a nice single coating on the entire project.   In this project I am spray painting from a can.  Single wet coating is less important in this case.  For some fine finishes, wet look epoxy for example,  having a single wet coating in one step is critical.  This tip is a must for those situations.

DIY MAtress for American Girl Doll bed

The bed is finished up with 1/4″ plywood paneling cut to size and dropped into place.   I chose to leave the panels loose.  It’s a kid’s toy and I expect it to get stepped on as a stool or something in the future and the panels to break.  Loose panels are easy to replace in this case.  The American Girl Doll Bed mattresses are made from 1″ Polyurethane foam I purchased in the craft section of Walmart.  I cut the foam to size, 11.75″x19.25″ with a sharp project knife.   I used the serger I rebuilt in an earlier post with some scrap quilted batting to sew up a split back pillow case style mattress cover for the bed.  The pillows are made exactly the same way.    I am off the hook for bedding as they have several  blankets/sheets  for the existing single doll bed.

DIY American Girl Doll Bunk Bed

I got lots of love from the lil one for making her this pink bed.  She loves that it matches her bed, and that her babies are not sleeping three to a bed stacked on their side like sardines anymore.  Mostly she loves that it is pink.    Hope you found this post on furniture finishing useful, and it can help you with your projects.
My Custom Designed 25W RMS ipod/mp3 Player Speaker Sound System

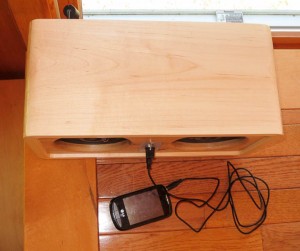
mp3 speaker dock sound system

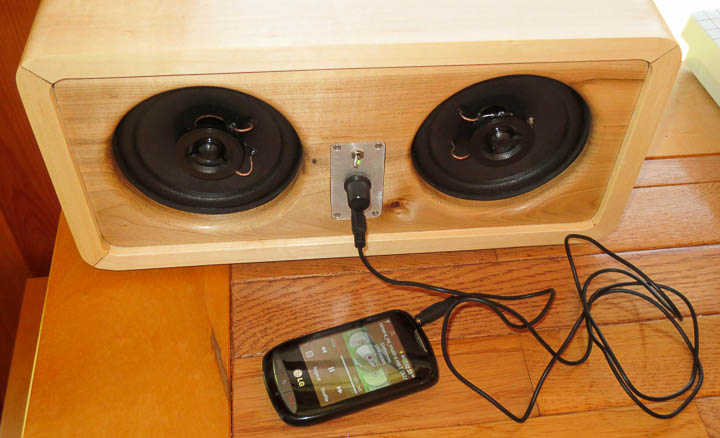
I’m big on recycling and feel the highest form of recycling is to re-purpose and reuse things that would otherwise be discarded.  This project is built largely from re-purposed recycled components. It’s fabrication used 3d printing, cnc machining, electronics, and woodworking.  The inspiration came about when I was visiting my buddy and he asked me to help him move a giant older DLP television out of his basement to the curb.  Realizing it was going to the dump, I asked if I could take a few useful parts from it.  Originally planning to only grab the connector plate off  the back that I needed for another project, we ended up taking the TV apart and I recovered the power supply unit, speakers, some circuit boards and the connectors I was originally after.  Research online showed that the speakers were really quite nice units, fully shielded with decent Theile/Small specifications.  There was an onboard self contained amplifier chip in the TDA family that was easily desoldered and built into a small stand alone audio amp.   I had been wanting a small nice powered speaker unit for some time and  I now had all the parts I needed to build myself one.
Desktop Active Speakers -0811      Desktop Active Speakers -0810

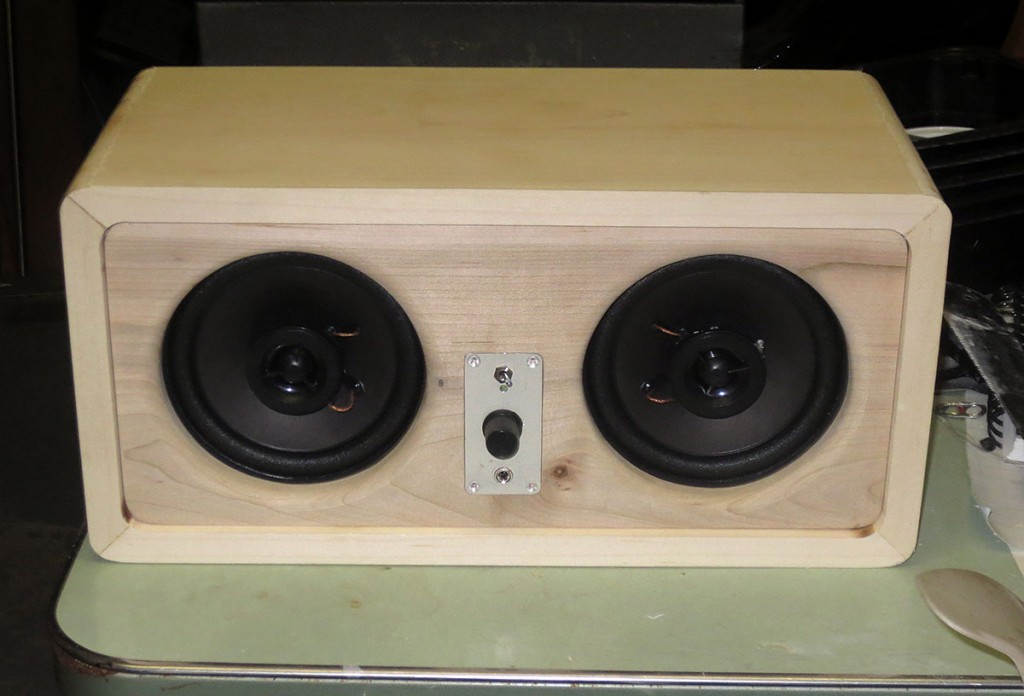
I went with a slightly retro design for this unit.   I didn’t really reference anything outside of some basics, like the golden ratio and standard speaker enclosure practices.  I’m very happy with how it looks and sounds.  I think it’s very attractive, fitting well with the rest of my things.


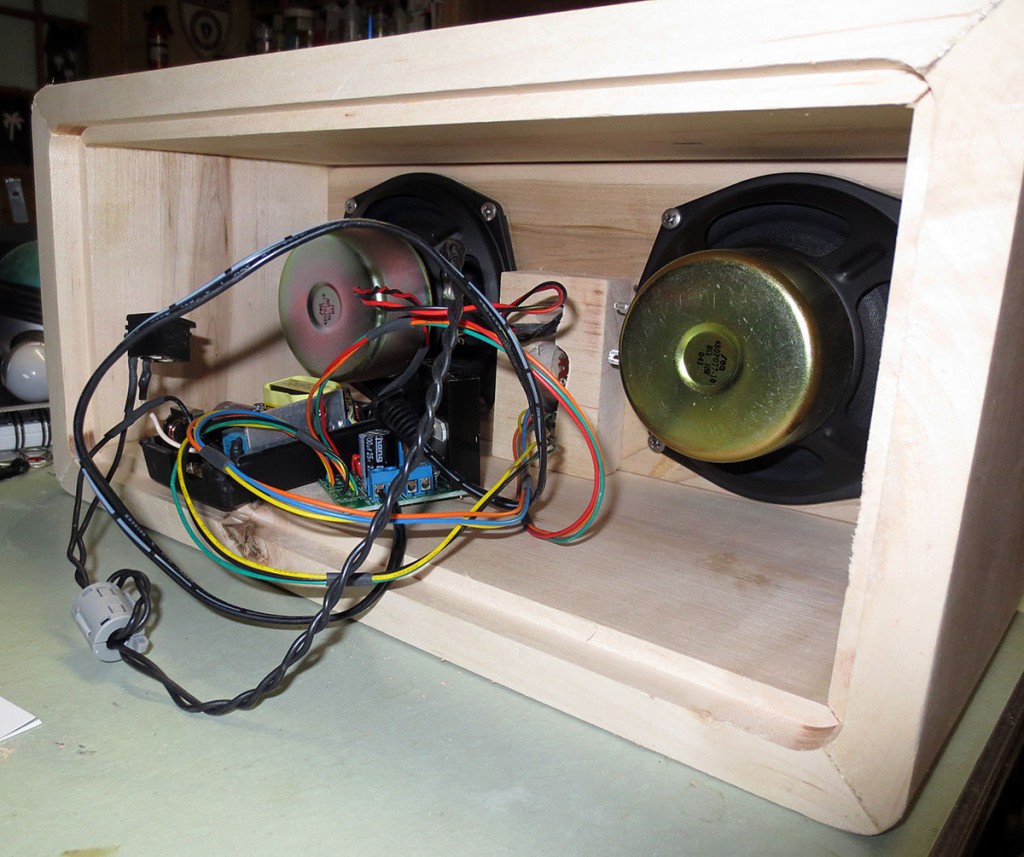
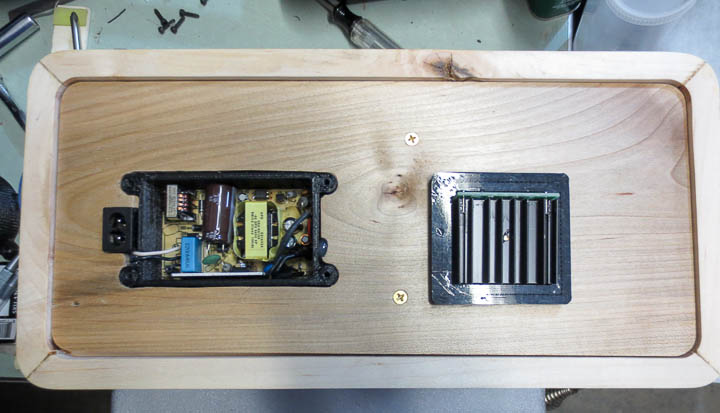
Maple desktop powered speaker system - insides

Before buttoning it all up there was several rounds of testing out the electronics, switches, power supply, etc to ensure everything worked correctly.  In the end I removed the screw terminals on the PCB and soldered the wires directly worrying that they might come loose with vibration from the music.


Desktop Active Speakers -0635        Desktop Active Speakers -0751

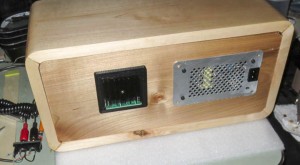
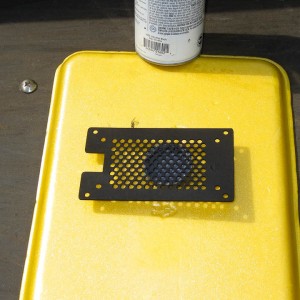
The amplifier housing on the left is 3d printed in ABS, as is the power supply housing on the right in the above photo.  I went with a machined metal vent/cover plate milled on my converted CNC machine.  I’m a big fan of Krylon’s ultra Flat Black paint and used this on the back cover for a nice matte black finish.


Desktop Active Speakers -0749

The power supply is a standard unit I kept from some piece of electronics that was out dated.  A few minor modifications, remote plug, switched line inputs and an active LED on the front panel all were done the power supply.   Then I designed and 3D printed a case to mount it safely into the speaker unit.


Maple desktop powered speaker system

The lighter wood for the outer bodycame from a storm downed maple that I milled into lumber three or so summers ago and dried.   The front and back boards came from a log off a riverland maple my lifelong friend’s father let me take when he cleared some off his property a couple years ago.  Even the front plate is machined from aluminum recycled from an old PC case.


Desktop Active Speakers -0814

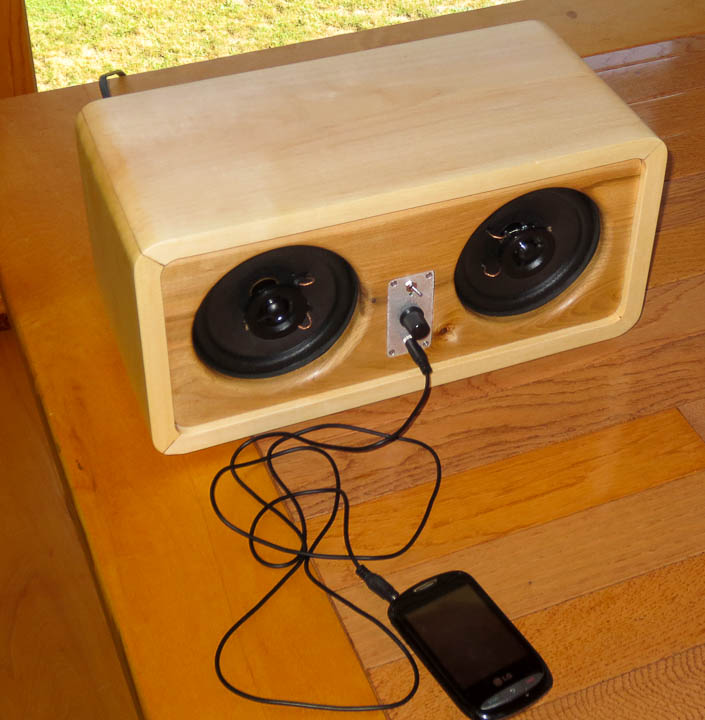
The finished speaker unit sounds amazing.  I missed a few pictures in the build process. The inside is fully sealed with a divider keeping the two chambers separate.  I also used some polyester batting as internal dampening to increase the effective internal  “volume” of the speaker enclosures.  This unit survived a 48 hrs continuous stress test without any issues.  I love how it looks as well as how good it sounds!

Child Safe Natural Wood Finish – by weight this time

Kid safe wood toy finish

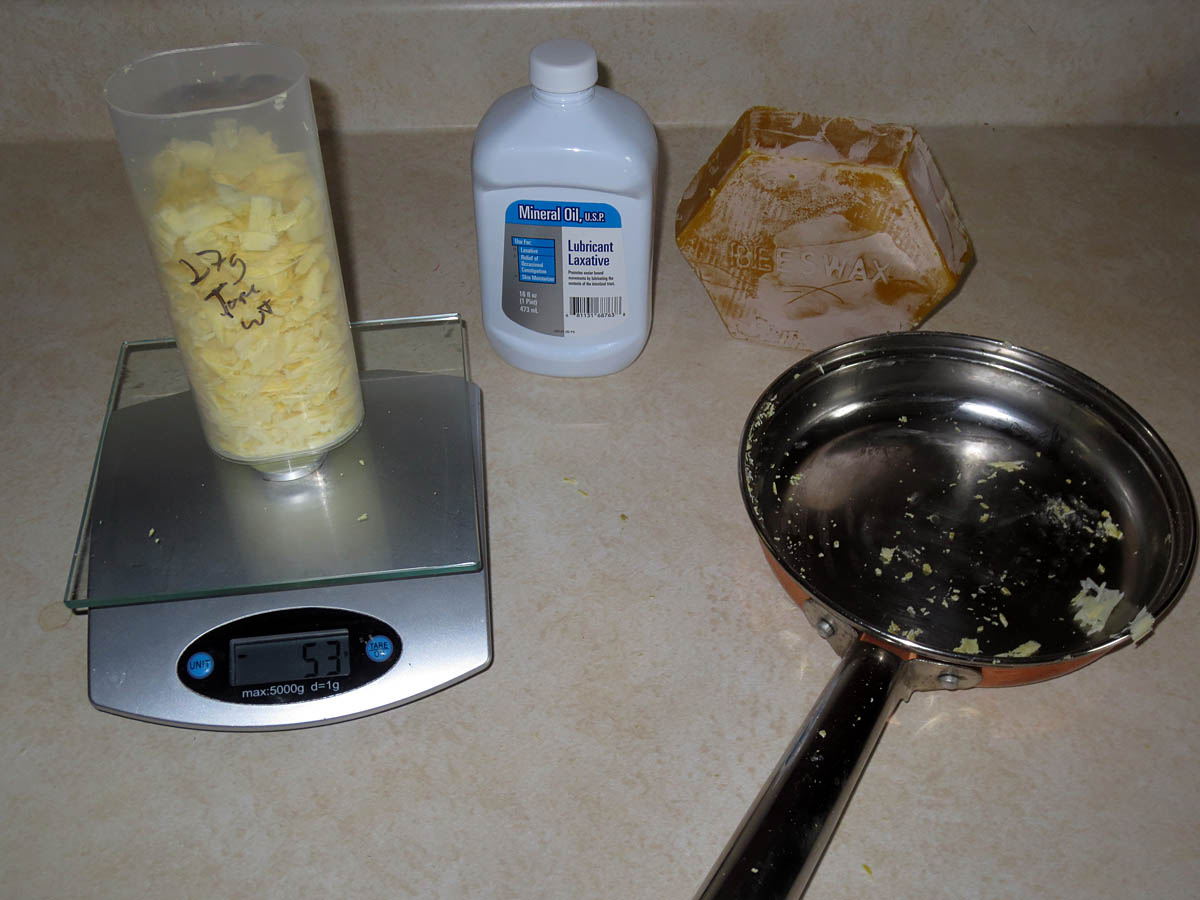
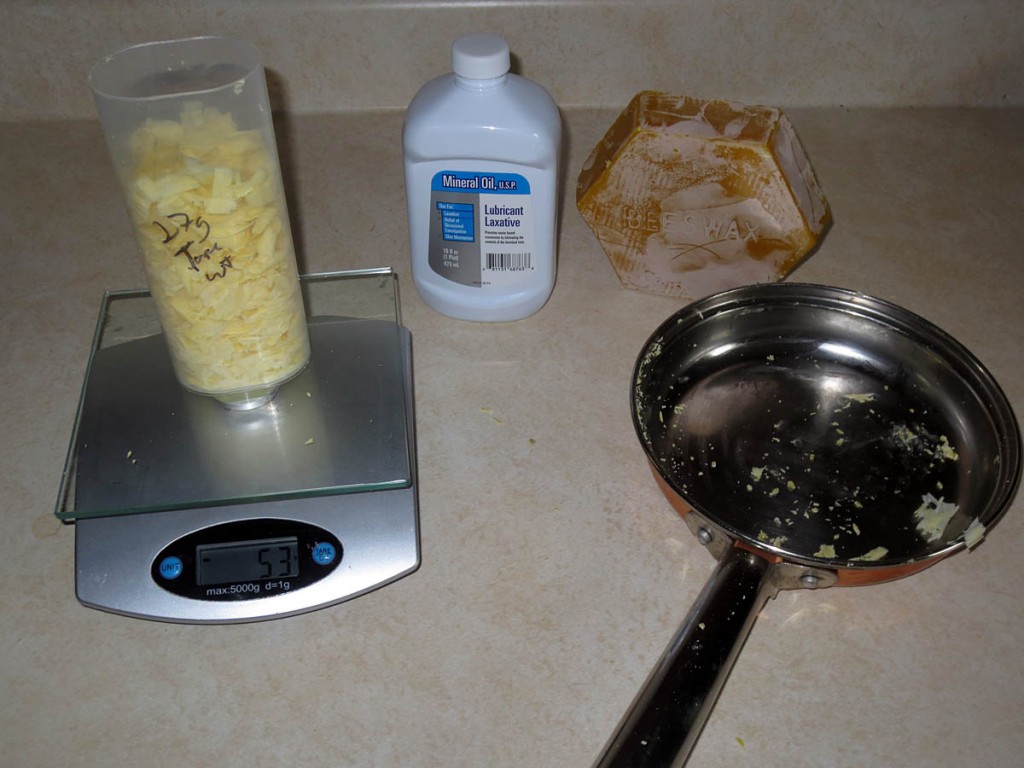
In my earlier post, I shared details of how I make the child safe wood finish made from purified beeswax and mineral oil that I use on my wooden creations meant for little ones.  In the past year I’ve had several emails asking for a more specific ratio of wax to oil.    As I needed to make more of this kid safe finish for my wooden toys available in my etsy shop, I used a scale and took notes while cooking up a batch.

1 pint of Mineral Oil  ~ 380g

Shaved purified Beeswax ~ 25g

Making it about 6% beeswax.  I hope this helps answer your questions if you want to make larger batches or be more precise in mixing up this nontoxic finish that works great on wooden toys you may be crafting.


***  Using hot oil and wax over an open flame can be dangerous.  If you have a gas stove, you should use extreme caution or a double boiler.  It’s not really any different then deep frying with oil or crisco on your stove top but I had a friend who suggested I put a warning up here about using oil on a stovetop and I think he is correct.  An alternative method is to use a double boiler with a jar as your container for the wax and oil.   As with all things, use your head, be smart when doing projects at home, and above all BE SAFE! 


Simple Jig for Hand Sharpening Planer Blades

Sharpening planer blades by hand    Every serious woodworker has a thickness planer in their shop.  The best lumber is often sold rough, allowing the craftsman to plane it down to the perfect thickness without having to worry about getting nicks or scratches in the surface while storing/transporting it.  Since I have been milling my own lumber I rarely buy wood but all of my wood needs to be planed smooth to thickness.  This has resulted in significantly more wear on my thickness planer blades and an increase in frequency to my sharpening the planer blades.  To help with the sharpening chore I built a hand sharpening jig out of stock I had in the materials bin using my CNC Milling machine.

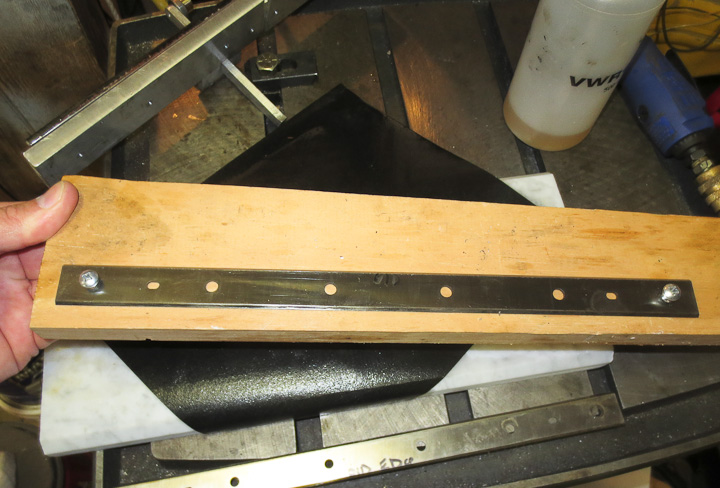
13 planer blade sharpening jig-2134    My planer blades are 13.5 inches of double edged sharper then a razor tool steel about 1/8″ thick. I found the best way to handle, move and store them between the planer and sharpening is by attaching them to a bit of scrap wood.  This eliminates any chances of accidental cuts or chipping the cutting edges.   After a couple hundred board feet of lumber goes through the blades need to be honed to allow for perfectly smooth surfaces on the boards.  As the edge dulls or worse gets a nick, it leaves raised marks and imperfections along the length of the lumber as it passes through the thickness planer.  It can be surprisingly hard to remove the marks left on the surface by sanding, making regular sharpening of the blades a must.

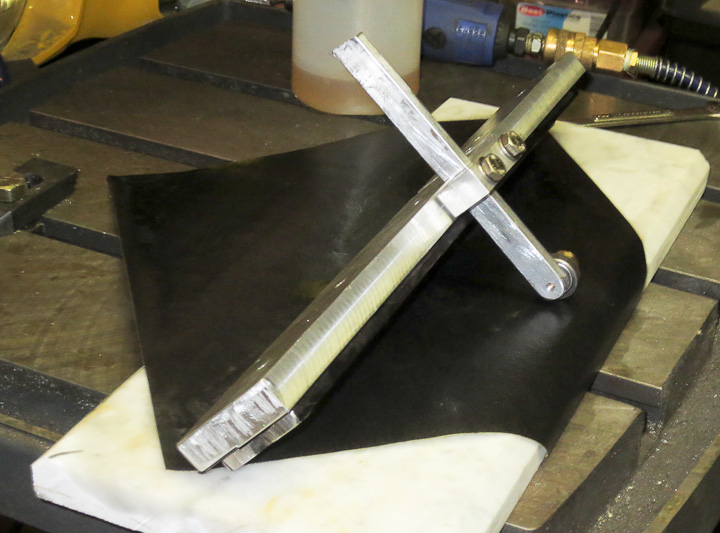
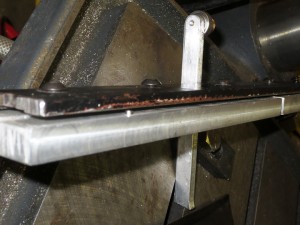
Hand sharpening planer blades  The sharpening jig I designed and built is pretty simple. I believe my original idea came from something I saw in Woodsmith or Wood magazine years ago.  In the past, it was reasonable to have my planer blades professionally sharpened (~$15 a pair)  or purchase (~$30 a pair) but today with rising prices (almost 50 bucks for sharpening and 90 for new blades) coupled with the increased frequency I need to sharpen them I can not justify the cost.  The jig consists of a bearing mounted on the end of an adjustable arm that allows for changes in the sharpening angle.  The arm is attached to the body which is essentially a stiff clamp that holds the blades parallel using two dowel pins for alignment.

How to sharpen 13 inch planer blades    13 planer blade sharpening jig-2133

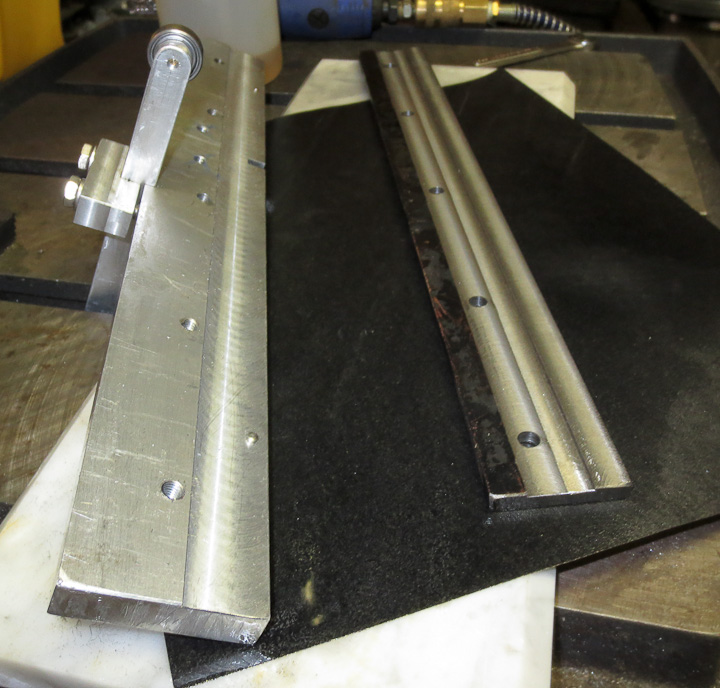
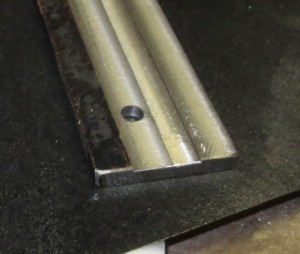
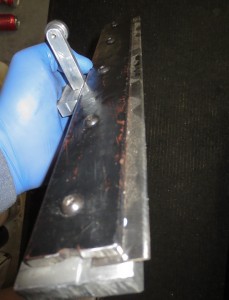
The above left photo shows the clamping piece,  it’s machined flat where it clamps down on the blade.  In addition the center is milled out so all of the clamping force from the machine screws goes onto the center of the blade. This is an important feature.  If you use a piece of unmmachined flat stock you risk having your planer blade rocking or being loose during sharpening.

a simple jig for hand sharpening planer blades

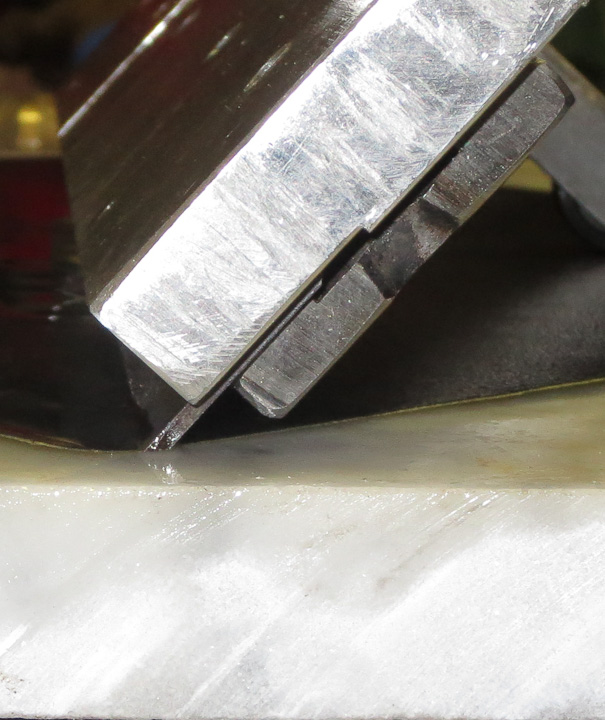
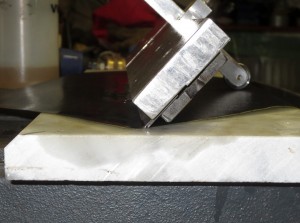
The above close up photo shows the blade clamped in the jig from the end.  You can see the milled slot and how it functions to hold the planer blade completely flat against the other half of the jig.

13 planer blade sharpening jig-2132      13 planer blade sharpening jig-2135

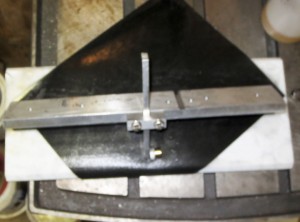
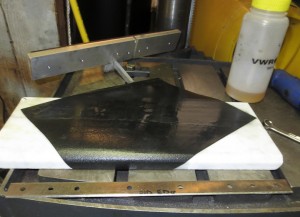
For a sharpening surface I’m using a piece of mirror polished Marble I had left over from some restoration work I helped a friend in Beacon Hill with a couple years ago.  It’s a hard flat surface.  I’m using wet or dry sand paper and emery (for the rougher treatments) to sharpen the blades on the marble slab.  Turned diagonal a standard sheet of sandpaper is wide enough to allow me to sharpen my 13.5″ planer blades.  Use plenty of light oil or WD40 to keep the metal particles from clogging the paper.

How to sharpen 13 inch planer blades     13 planer blade sharpening jig-2137

After careful initial setting of  the angle by adjusting the length of the bearing arm,  sharpening is simply a matter of olling the blade forward and back across the paper with light pressure.  This method takes 10-15 minutes of time  but the results are spectacular.  I usually go from 120 up through 800 grit paper when sharpening my edges.   As I have only used this jig for my longer planer blades to date, after the initial angle setting I have not had to change the angle again and a resharpening goes quickly.  I may make a second smaller unit for sharpening my 6 1/4″ jointer blades in the near future.   This handy little jig cost me nothing, as I made it from materials on hand, and has been used numerous times to quickly sharpen my blades saving me the time and expense of sending them out to be sharpened.