My buddy Joe hit me up to help him hang some wall cabinets above his washer and dryer in the laundry room. It’s always fun to hang out and be productive at the same time. It was a much better way to spend a Friday afternoon then slaving away at the day job.
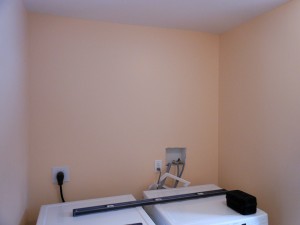
First steps is to measure the space and select a height. There are rules for cabinet heights, but sometimes you don’t want to follow them. Over the laundry was one of those times. It’s important to think about how you will use your cabinets and surrounding space before installing them. We wanted to leave space to be able to put a laundry basket on top of the machine and still open the cabinets if needed.
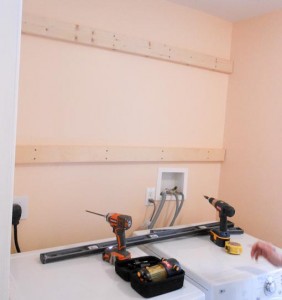
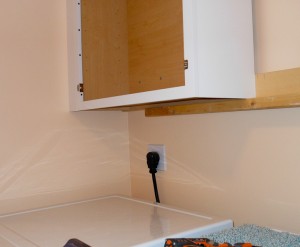
A good tip for installing wall cabinets it to put a couple of strips across the back into studs. You can easily shim and straighten the strips if the wall is wavy. Then the cabinets attach easily to the straight, plumb, and level strips instead of struggling to shim each and every cabinet. The strapping also allows you to have evenly spaced screws on the insides of the cabinets and also allows for additional screws versus screwing into the studs directly. Sometimes strips are not feasible, in small kitchens/etc where the loss of 3/4″ space is critical. I did a kitchen on Beacon hill where every inch counted and we went into the studs directly. The down side is occasionally one cabinet only has two screws into a single stud to support it. In this case, we used 2x4s to push the cabinets out a little bit. The reach over the washer is difficult enough, so that extra 1.5″ out from the 2×4 goes a long way to make the cabinets more accessible.
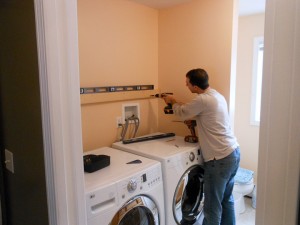
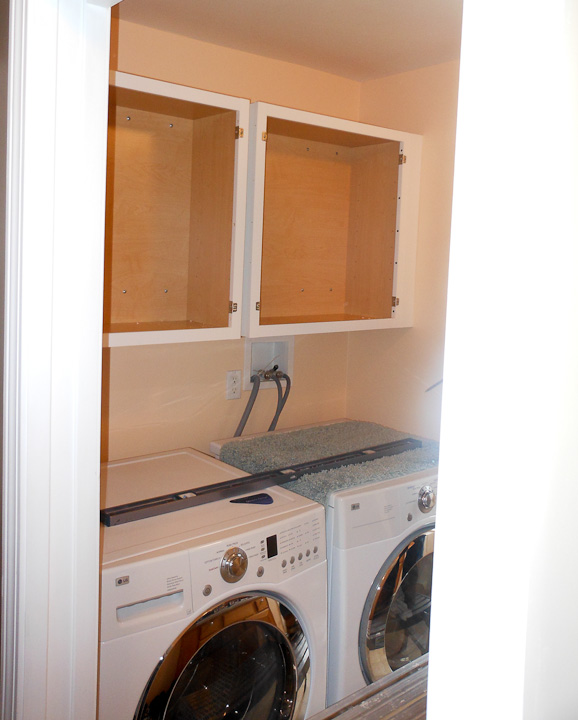
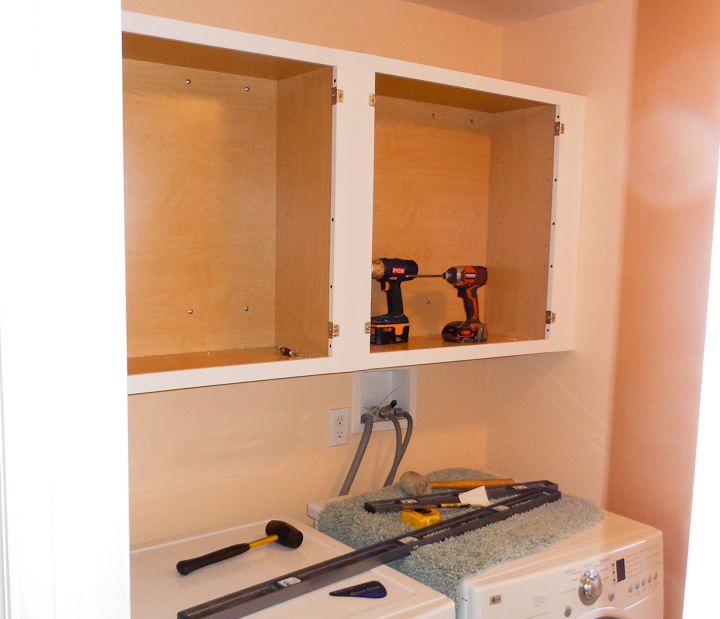
Another useful tip is to put up a temporary rail to rest the cabinets on when installing them. The right photo shows the first cabinet resting on the rail we screwed into the strapping we installed. Cabinets are heavy, and usually a two man job. With both of these tips you can hang cabinets without help if needed. It’s always better to have a friend come help you, but it is possible to put up cabinets well solo using these two tricks.
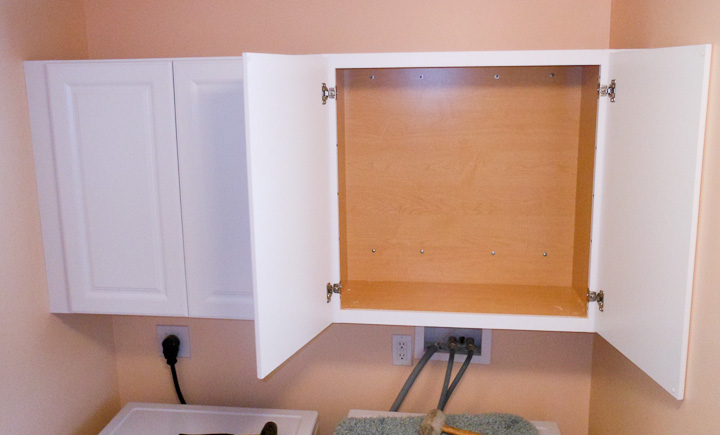
After hanging both cabinets, we had to make a filler piece. This meant a round trip to my workshop where we carefully cut the center filler board to the correct width. When putting in the last filler on a cabinet installation like this I find it works best to put a small taper ~5 degrees or less on one side. I cut the board ~1/16″ over the measured width of the gap between the two cabinets. When we got back to my buddy Joe’s place we did final fitment by hand with a small hand plane and a jig I made years ago. Sadly I did not think to take a pic of the jig setup. The jig is simply a board with a stop screwed in perpendicular to another board. It is put up against a wall on the floor. It allows you to easily plane down thin strips of wood that are often needed when doing cabinetry installs.
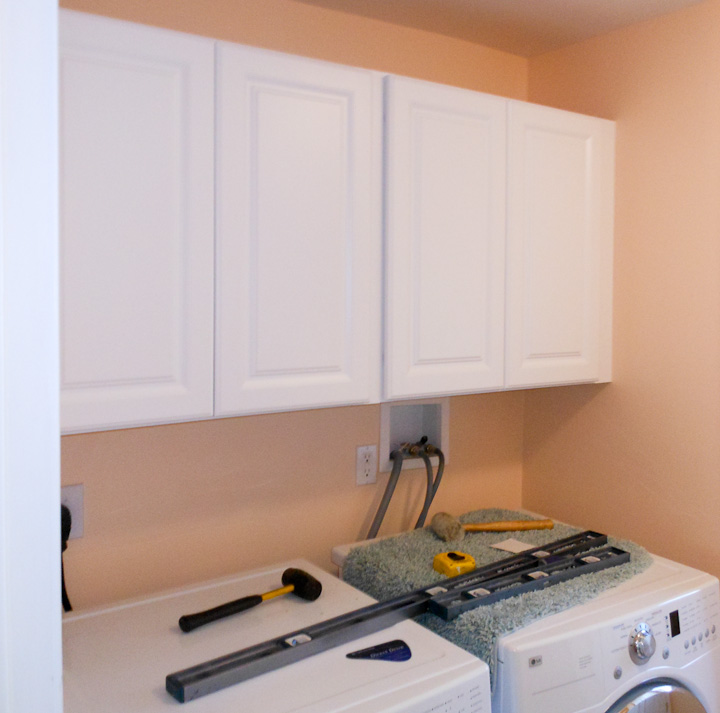
The tapered edge we put on the final filler board allowed us to sneak up easily on a perfect fitment of the filler board. The last think you want is to have an ugly gap or seam in between cabinets due to poorly fitting this piece. Of course We did a good job of it. The install is seamless, right against the walls on both side and we didn’t use any caulk or putty filler to hide any gaps. This is the way cabinets should be when installed, the right way. All that’s left was to add the doors.
With the doors put back on the cabinets, our job was done. We celebrated with a cold drink while standing back and admired our days work. It was a great day, a fun project, and every thing went smoothly.
Thank you very much for your advice. Adding strips of wood is a great idea.
Glad you found it helpful. It’s nice to hear from people who visit my site that they find what I share useful.
Thank you for putting the instructions in easy to follow steps (along with pictures). I have been waiting for my husband to put up cabinets for over a year, so I have now put up the cabinets.
Glad you found my post useful Lisa. It’s nice to hear people find my project sharing useful. I think it’s awesome that you put up the cabinets yourself too. 🙂
Hey Zac,
Using mounting strips is a great idea, especially in a small laundry
room like that. Do you have any equally clever tips on mounting a
corner cabinet on walls that are not exactly perpendicular? When I
hang the cabinet flush with the long wall, there is an unsightly 3/8″
gap between the other wall and the back edge of the cabinet. Plus
there is a window opening an inch to the right of that back edge. If I
shim that back edge and add a trim piece to cover the gap, the cab
to the right of that window may look a little recessed from the corner
cabinet on the left of that window opening. Ideas, tips and tricks are
welcome. Thanks, Paul
Paul, usually you can buy strips that match the cabinets where you bought them. Then you have to carefully cut or plane down the strip to fill that gap. I typically then attach the filler strip to the cabinet with a few screws before installing the cabinet. This gives you a nice clean look that can hide the fact that your wall is less then perpendicular. It’s common for poorly mud and taped corners in sheetrock walls to be built up a fair bit, making a corner cabinet not mate up with the walls I have used this trick in those circumstances
Did you attach the temporary resting rail to the back wall strips or to the wall itself just below the strips?
Into the studs on the wall. You don’t want any strips you use to level the cabinets to stick down below the bottom of the cabinets and be seen. You only need a couple screws, and filling two or three small holes in sheet rock before painting is easy enough. It makes putting up large heavy cabinets a lot easier to use the resting rail.
Hey Zac,
Thanks for your great advice! I have a question about hanging our laundry room cabinets. Yesterday, we held the corner one up to screw in place and I was disappointed to see that if I held it against the wall on the left, there was an uneven gap at the top along the ceiling. If we held it along the ceiling, then it wasn’t flush against the wall on the left. We considered keeping it down from the ceiling a little, but we have a very small home with 5 children and space is limited :). If I were to keep it down from the ceiling just a little bit, is there some way to close that gap with crown molding? If so, how much room do you allow for that molding? Thanks! Larry
you can level them, leaving like minimal gap at the top enough to have them level. Then as you said, buy some trim to hide the gap, or just cut a board down on a table saw to the right size to hide any gaps. In old homes cabinets can be frustrating. IF you line the top with the gap with a bit of molding it makes it look nice and not obvious that the ceiling/wall is not square.
Is it better to not have the washer and dryer in place when hanging the cabinets, or is it OK to leave them in place?
It’s ok to leave them if you are careful. However, cabinets are heavy and if you drop one you are going to damage your washer/dryer. I suggest that at the very least you put some plywood over them to protect them in case you drop anything while working on the cabinet install.
I really like your tip to install a temporary rail to rest cabinets on during the installation process. I also like what you said about putting up strips up on the wall you’re mounting the cabinet on for more support and strength. Thanks for the article, I’ll be sure to refer to it more whenever we are undergoing a new cabinet installation.
Hi Zac,
Thanks for posting these tips & photos. I’m feeling more confident to tackle the project myself vs. hiring someone to do it. Can you tell what size wood you used for the temporary rail to rest the cabinets on? Also, in the photo it looks like the rail is resting directly below the bottom 2×4. Would it be possible to mount the resting rail to the bottom of the 2×4 rather than the wall studs? Might save the step of patching & paiting the holes in the wall…
Thanks!
Frank
Sure, you could mount the temporary rest into the cabinet mounting boards (usually this is 1×4 or 1×6 maple when I do cabinets). The resting rail we used was a bit of ripped 2×4. I think it was an almost square section profile. Some left over scrap I had on hand as I recall. Just remember all of the cabinet weight will be only held by the threads biting into the wood, rather shear on the screws into studs on the wall. If you have big heavy cabinets, and use a soft weak pine cabinet mounting board it might strip the screws out of the wood causing big problems and possibly damage to all the things.
Our front-load washer and dryer are each on pedestals, raising them up 14″ more than a floor level installed set. They extend 34″ from the wall. Using your mounting method wouldn’t quite work for us, since it only bumps the cabinets out 1 1/2″ from the wall. Do you have any ideas about how these cabinets could be safely mounted 5″ to 6″ out from the wall so we could have better access to the contents? They are in our garage in a corner, so we only have one side wall to use. The other side has a utility tub and HVAC air handler/duct work. Any suggestions or pathway to other links would be so appreciated. By the way, the cabinets are coming from my sister’s house and are in great condition. She had an insurable loss and new cabinetry is part of the fix.
You could have some big steel L brackets fabricated to push the cabinets out that far maybe? Or build out a spacer with 2×6 or 2×8’s maybe. It starts to become pretty tricky in terms of load on the wall as you move the cabinets further out, especially if you plan on filling them with heavy things. This is especially true if you do not have any side walls you can use to share the load out on the front of the cabinets, even on one side this goes a long way. I suggest you find a competent engineer and ask them to come evaluate your situation in person and make suggestions for a good solution.