Category Archives: projects

Trackmaster bulldozer Transmission bottom half REassembly and painting

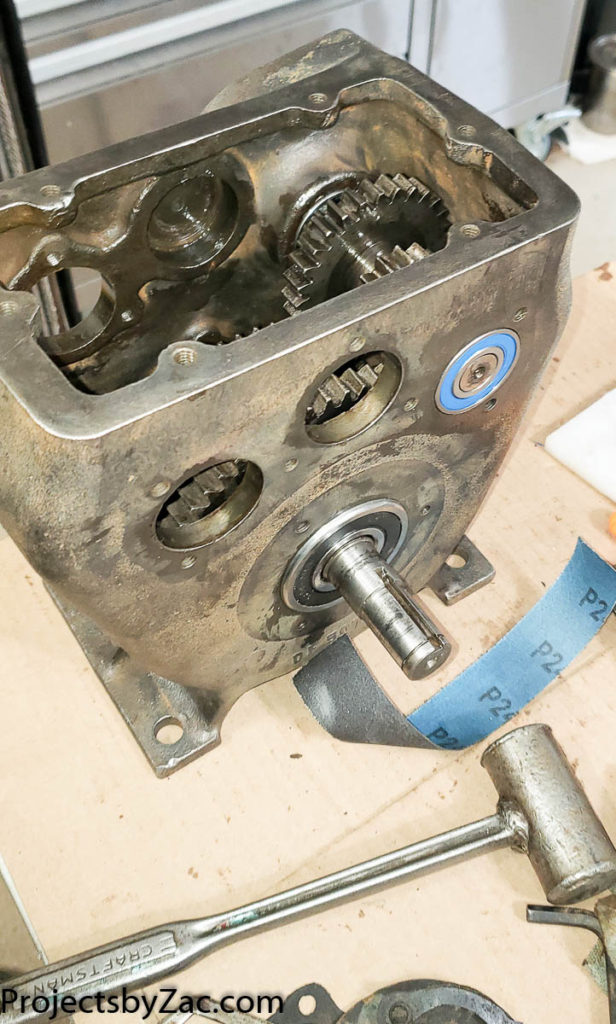
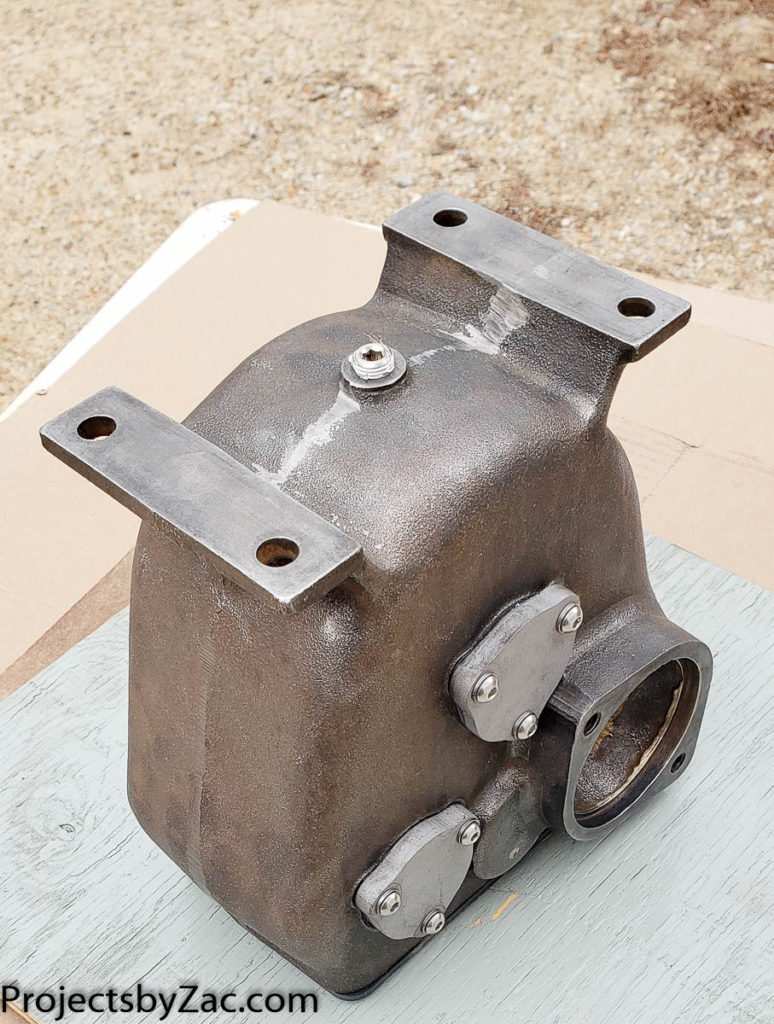
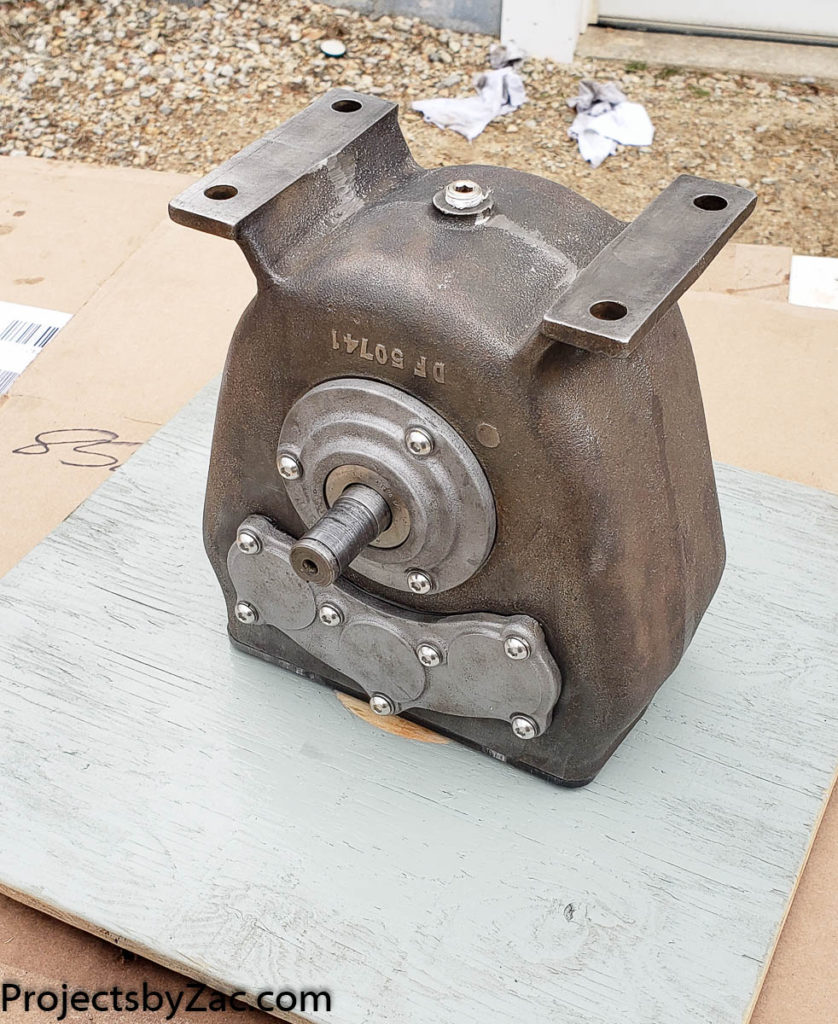
After dissassembly of the Tiny Dozer’s 3 speed transmission I cleaned, polished, removed rust, and carefully filed (or ground) off any burrs on each component of the drivetrain. I have this great tool I build for the bridgeport restoration last winter, it’s a heavy belt driven bench mount wire wheel. I used this a lot again on this project. The fat welded wire wheel makes quick work of rust, paint, and any gunk left after solvent soaking parts.
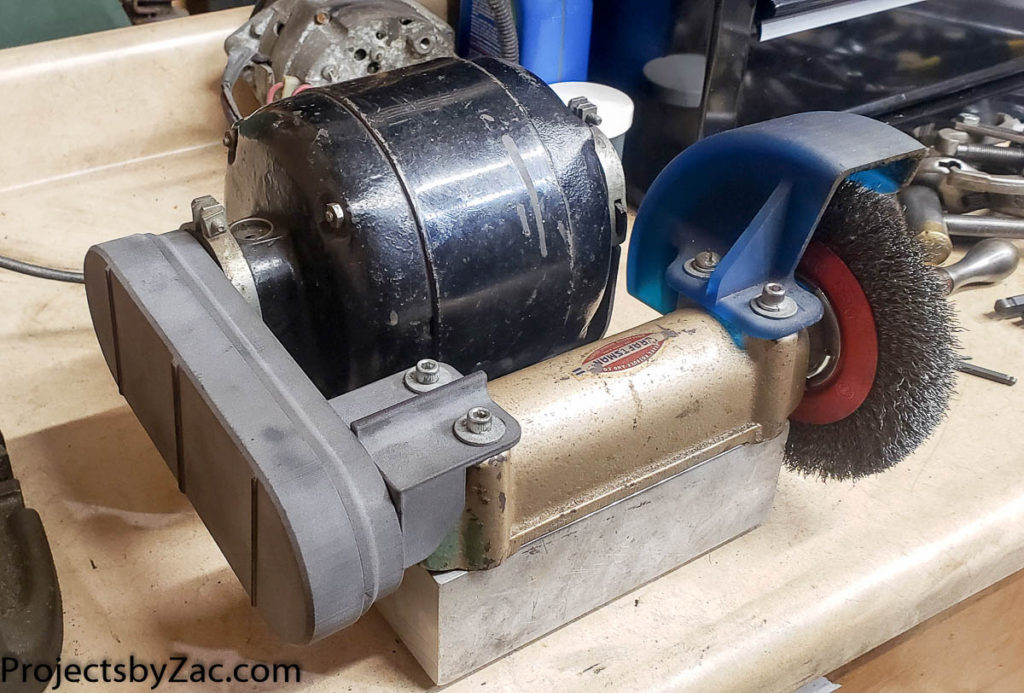
Bench wire wheel polishing machine – Priceless for any type of restoration of old iron. Quickly removes dirt, rust, burrs, paint and caked on yuck from your steel parts. Operated with a momentary when pressed type foot switch. Complete with Formlabs Tough resin shield for the wheel, and a Fuse1 print (SLS Nylon) belt guard for safety.

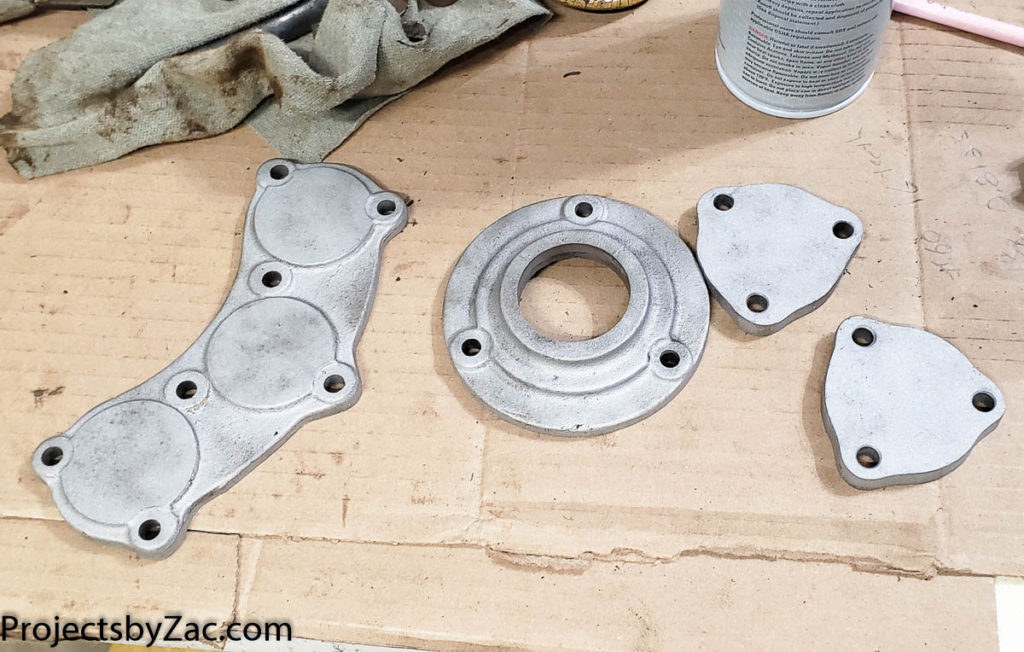
I chose to laser cut new gaskets. Thankfully the ones I had were ok enough to scan. The process for making new ones is Scan, Clean up the file, turn to vector paths, make into PDF, import into Laser cutter software, cut from gasket material. I’m using Cometic Gasket Fiber Gasket Material (Part # C15385) that I picked up at my local Autozone.
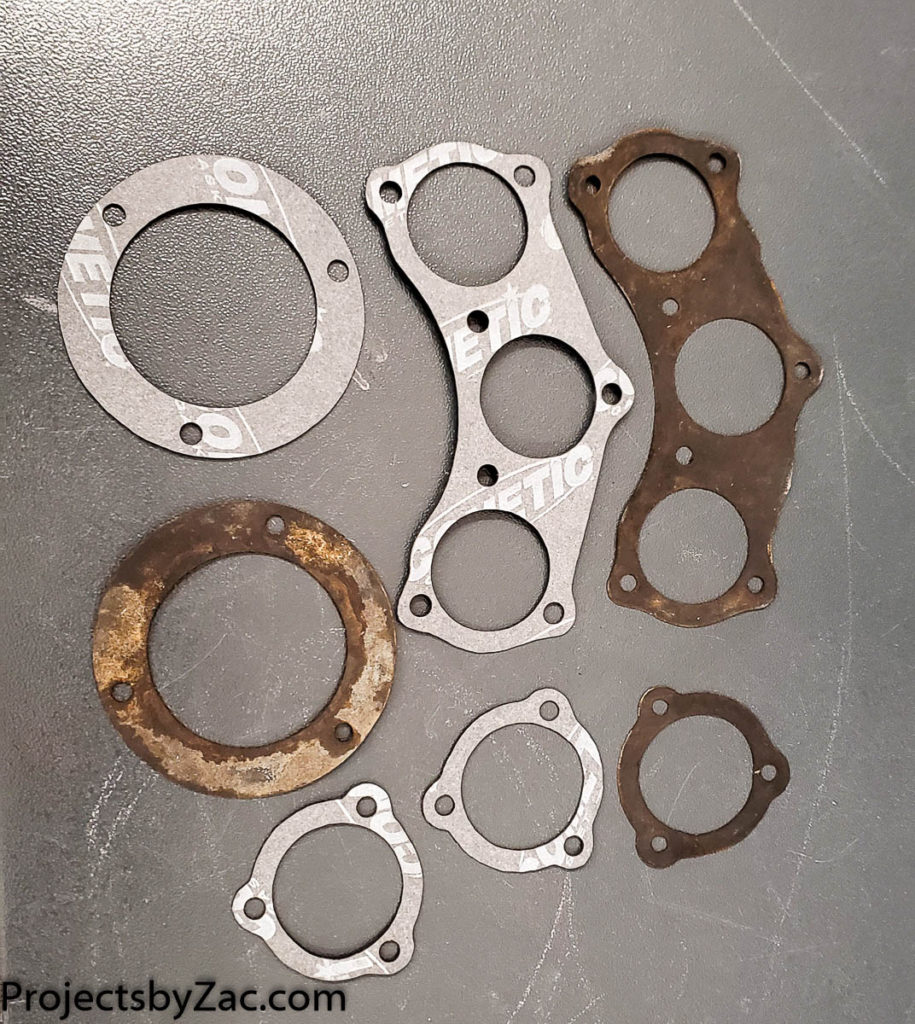
New laser cut gaskets for the Trackmaster Bulldozer Transmission.

Here is the pdf of the Gasket cutting file for you to use if you would like to laser cut your own set of gaskets. You can also print this out and use as a template to cut by hand with a bit of care to get new gaskets for your transmission rebuild. <INSERT FILE HERE>
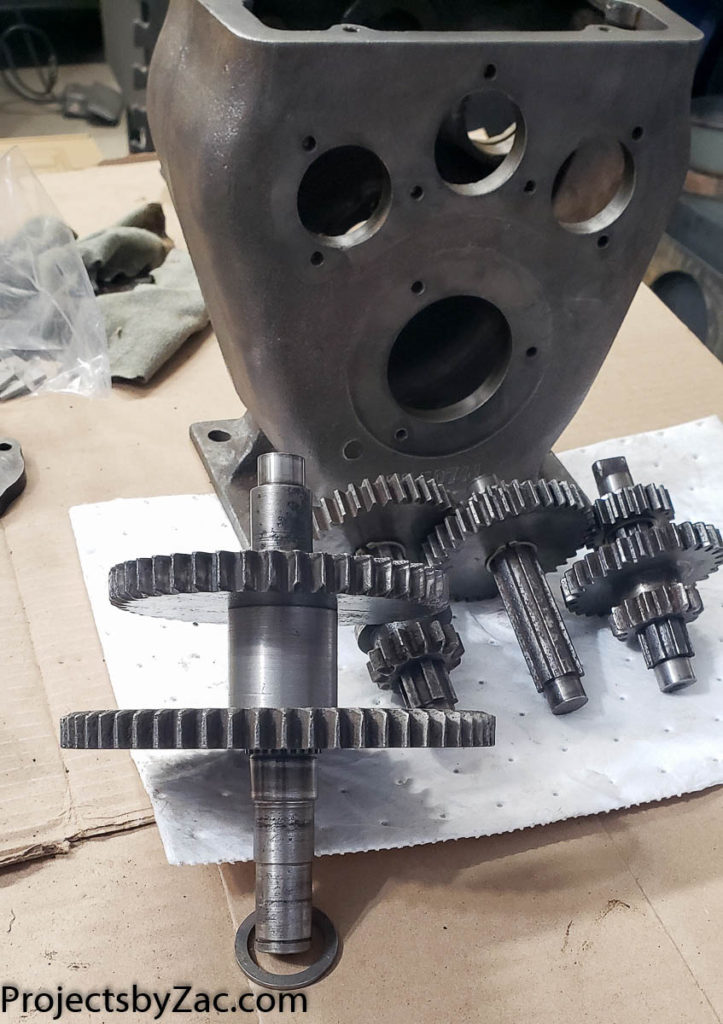
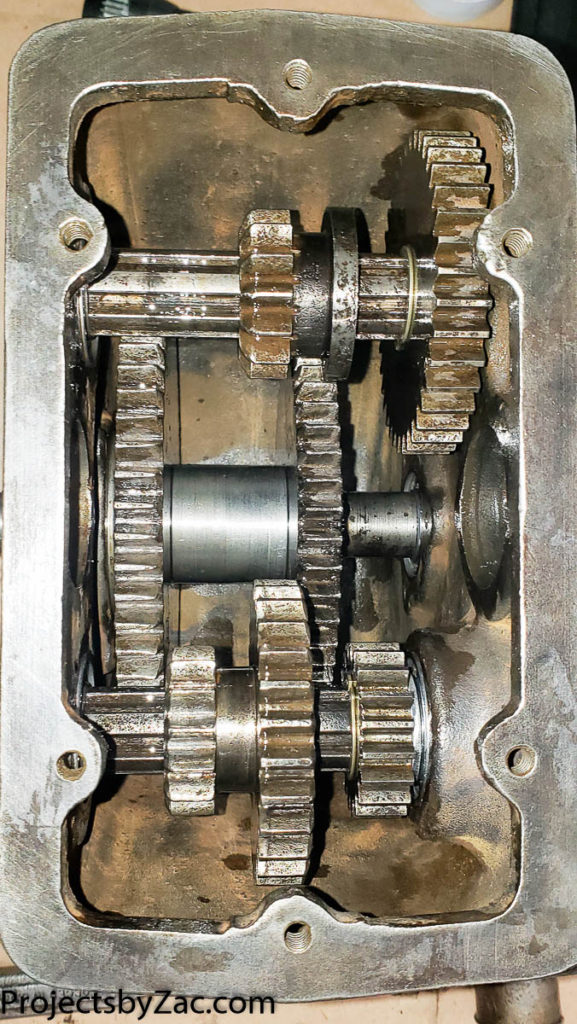
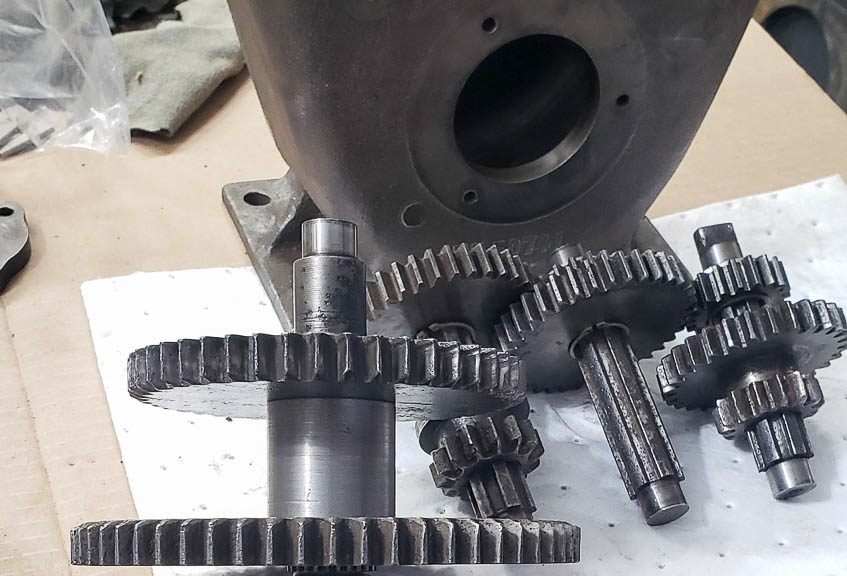
The cleaned up transmission internals ready for reassembly. The parts are layed out as they fit in the transmission.

The reassembly starts with laying everything out as it will go together and making sure you have all of the parts. It was at this point that I realized many of the stand off spacer washers were badly worn. They were stampings from 1/8″ steel. I decided to quickly cad up and water jet some new spacer washers before assembling everything.
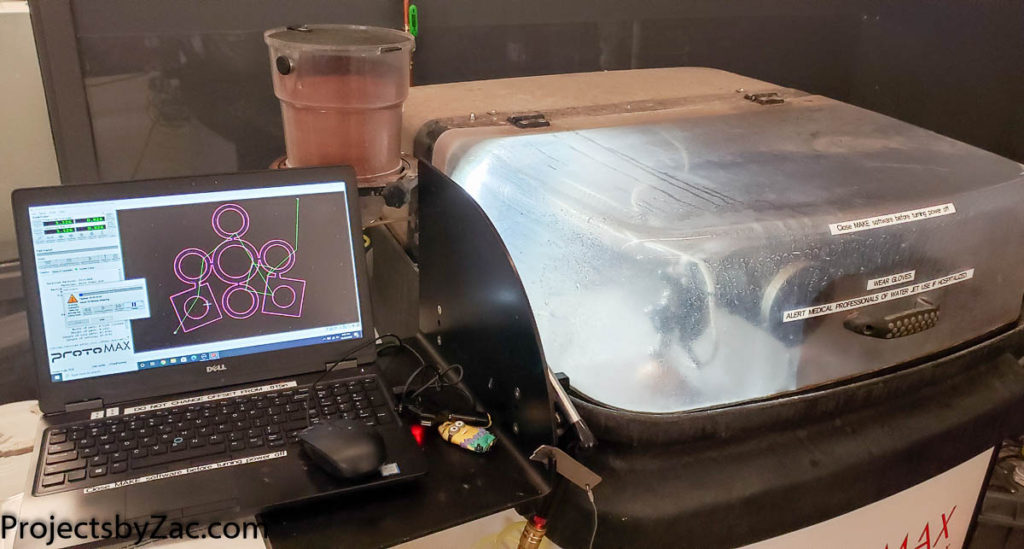
Small OMAX water jet, priceless for cutting some new washers for the transmission (the square bits are for my track puller I fabricated and you’ll see these in a later post)

With new spacer washers made I was ready to figure out how to get it togethere. The spacer washers ensure the gears are not rubbing on the bearings/sidewalls of the housing body. I would like to say I nailed assembly after this dry fitup without bearings, but as you’ll see below, I did not get it on the first go.
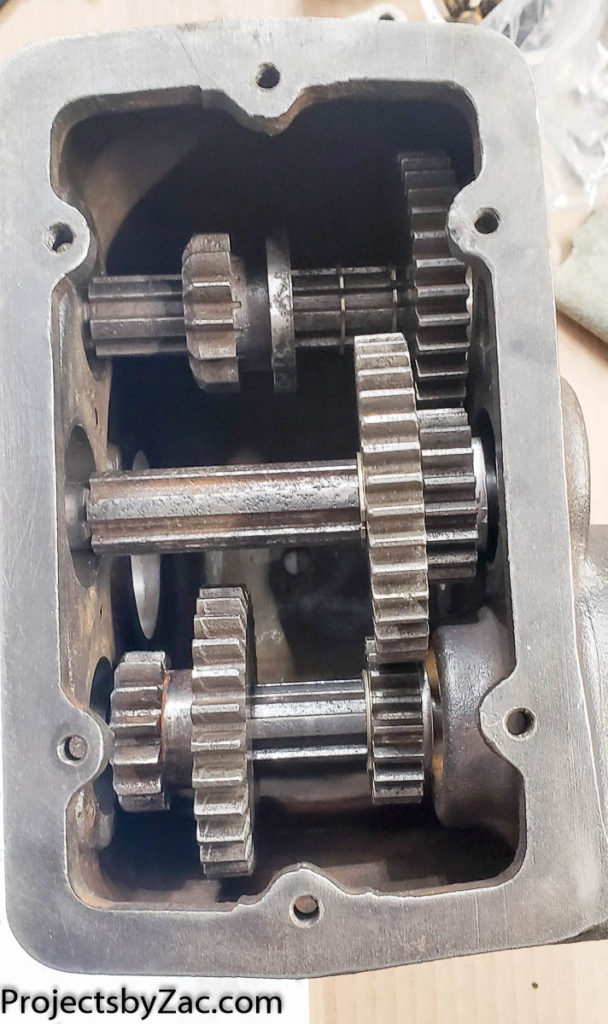
Dfab Trackmaster bulldozer 3 speed transmission rebuild internals loose fit during reassembly.

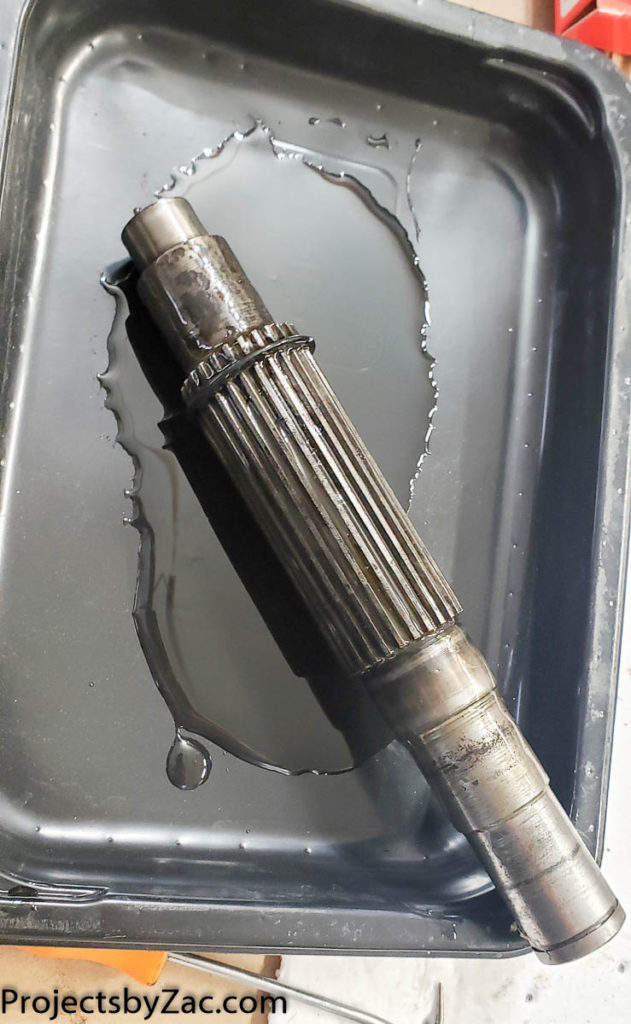
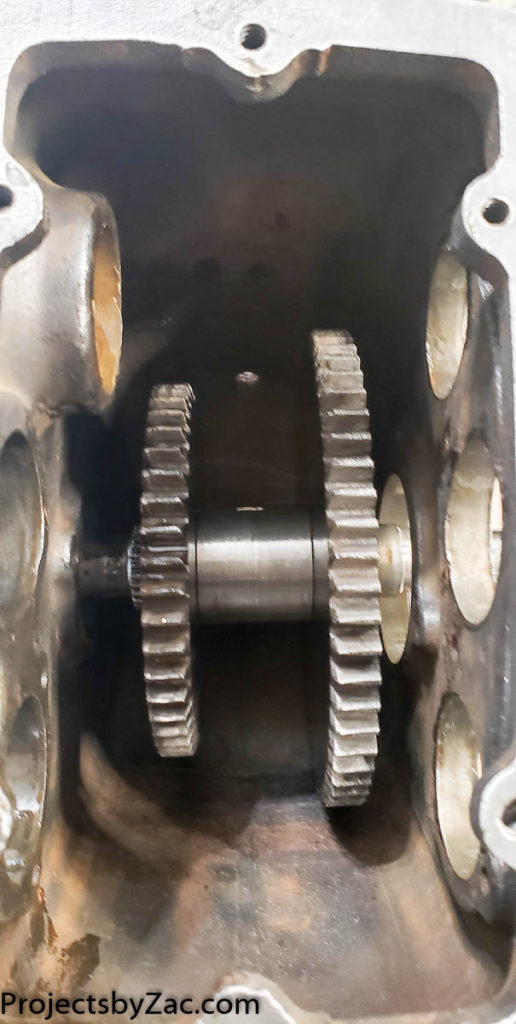
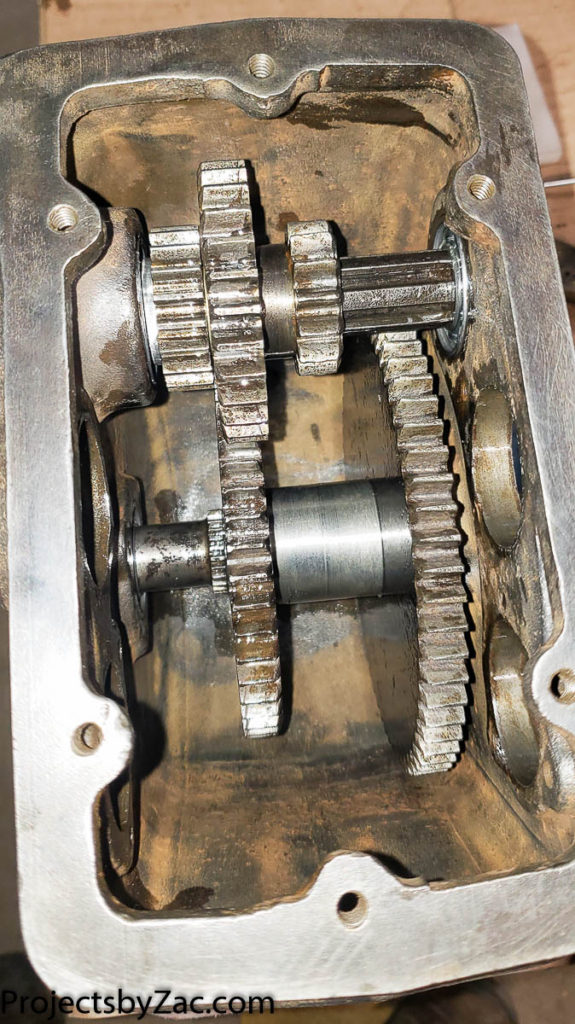
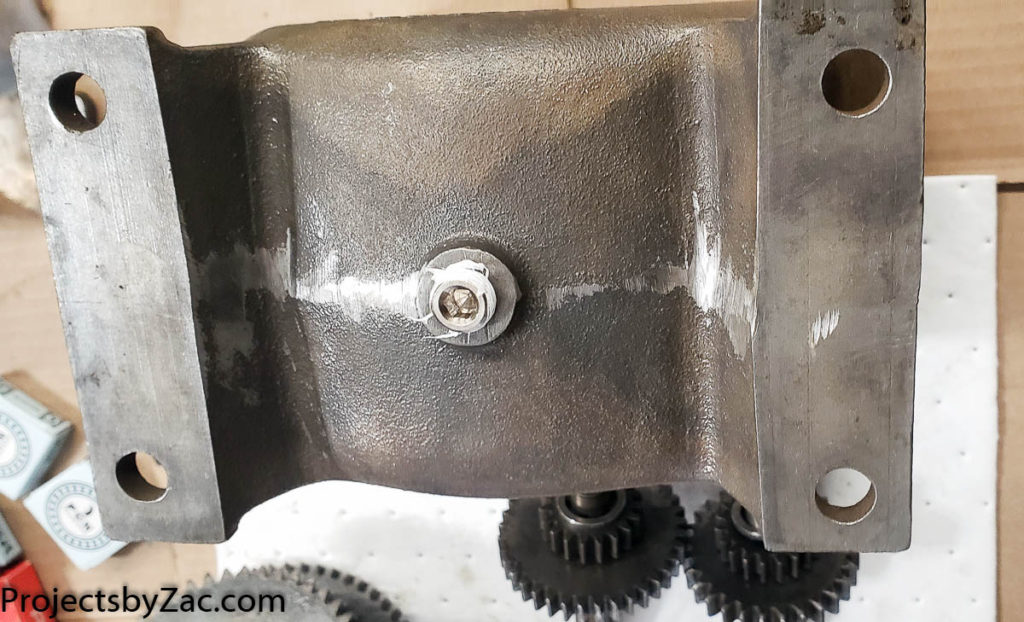
After loose fitting everything, I took it all apart, and got ready for the final assembly. I started with the lower output shaft with the two large gears. I did replace the snap rings throughout. I happened to have a bag of the appropriate sized snap rings in stock. Most of them are for 3/4″ Shafts. The one on the main shaft is a 1.25″ shaft (a 32mm snap ring will work as well if you have one). I put replaced the 1/4″ npt drain plug with a SS hex plug. I really hate cast iron square plugs.

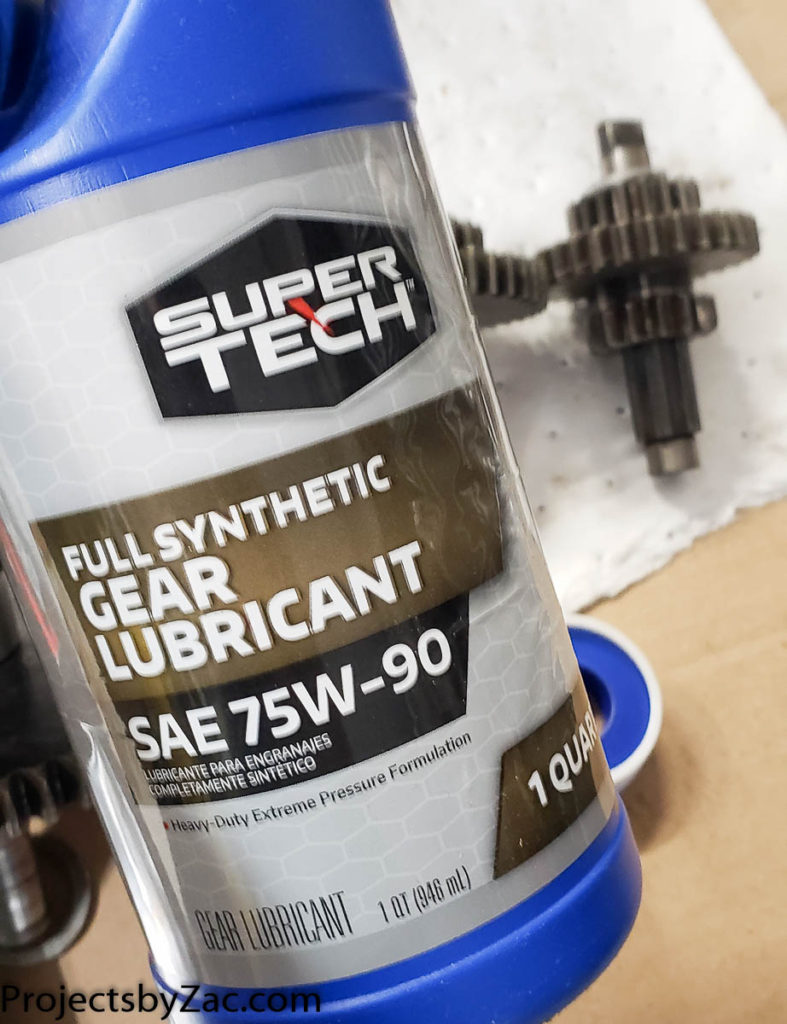
I’m using a cheap GL5 gear oil with lower viscosity. I plan to change this out multiple times post rebuild after very short operating period of an hour or two. This will help wash out any bits that I might have missed cleaning pre assembly. Be sure to lube everything up as you assemble it. I made care to get lots of the gear lube in the splined areas on the gears and the shafts. GL5 type oil is ok, as there is no copper, or copper alloys in this transmission anywhere. The EP additives in GL5 can corrode and destroy copper alloys quickly. If I end up making a cast barillyum copper shift arm (I can’t cast steel/iron but need the strength) I’ll switch to a GL 4 or standard motor oil lubricant.

One note on assembly, don’t think you will casually knock this together with a hammer and block of wood. The press fit clearances are pretty tight. I ended up using my big 20 ton hydraulic press to get most of this together (no photos of this as I didn’t have a tripod or photo taking helper available with Covid pandemic in full swing)

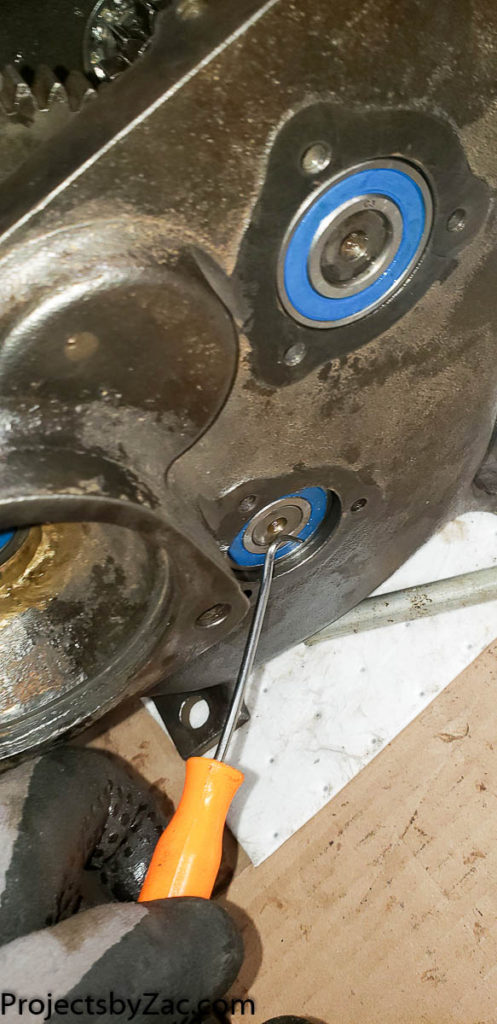
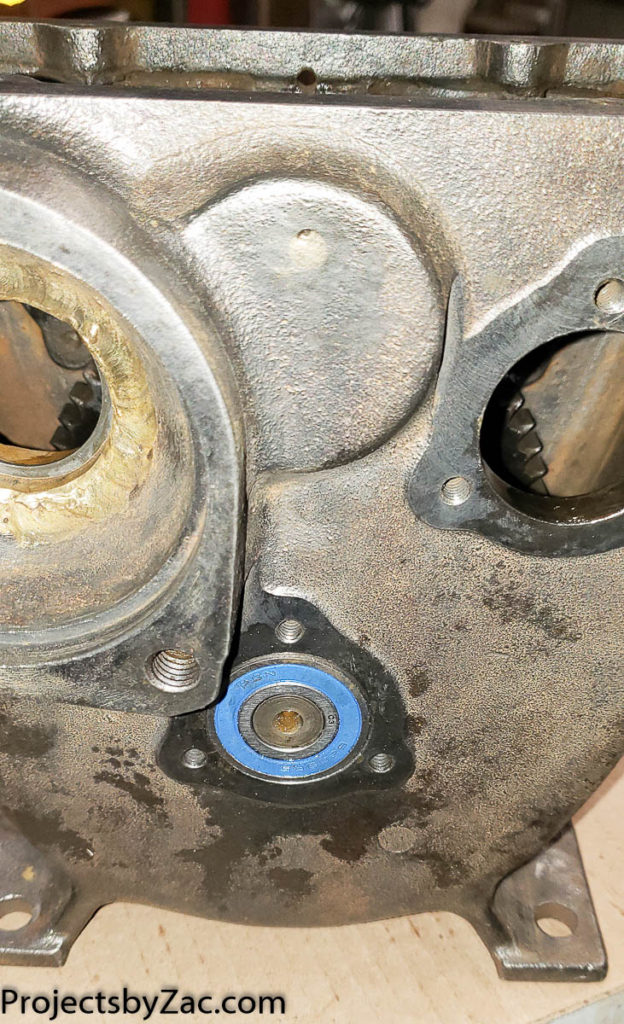
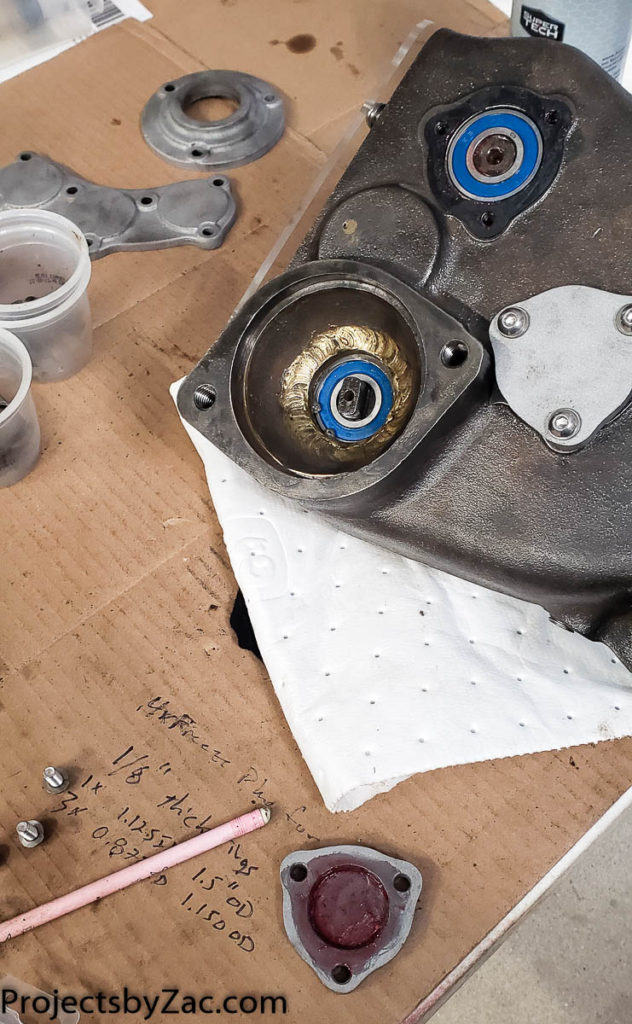
A quick note on the bearings. When I took the 3 speed transmission for the bulldozer apart, all of the bearings were open race with no shields or seals. I decided there was no reason the outer side should be open race. Also I could not find affordable good bearings that were not shielded. It’s pretty easy to pull a shield off of a bearing, and I did this on the internal side for each of the seven 6203 bearings as I assmebled them with a hook pick tool.
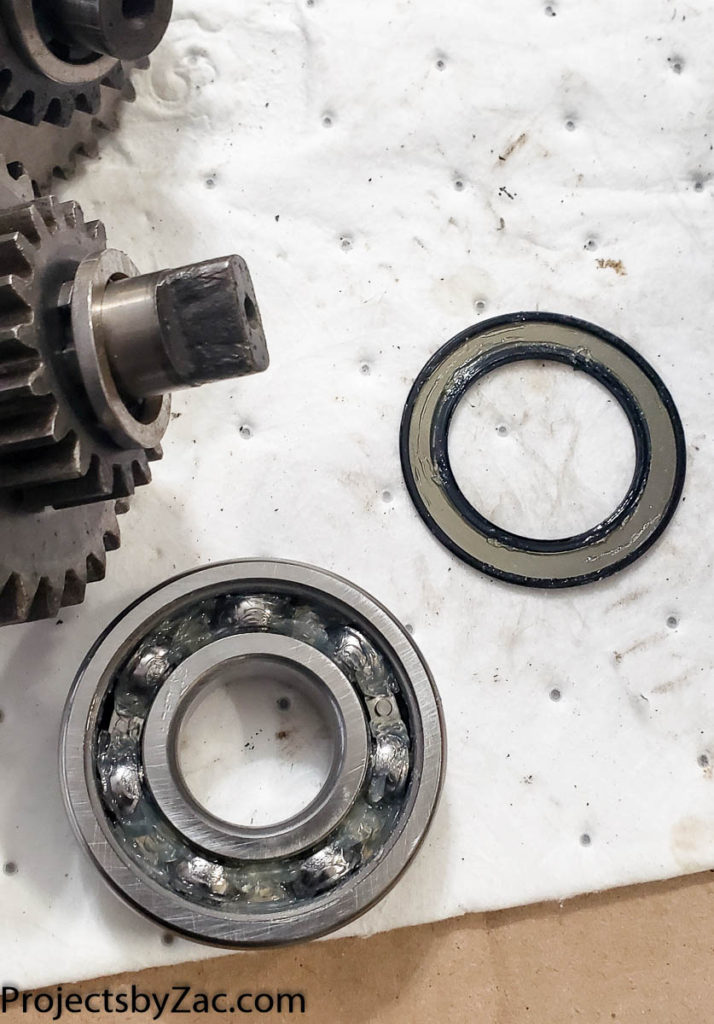
pulling one of the “Sealed” shields off on the inside of the bearing during assembly. This will allow oil lubrication, and flush out any contaminates should they end up in the transmission. I plan to change the fluid regularly and often in an effort to keep this 3 speed living a long happy life after the repairs are completed.

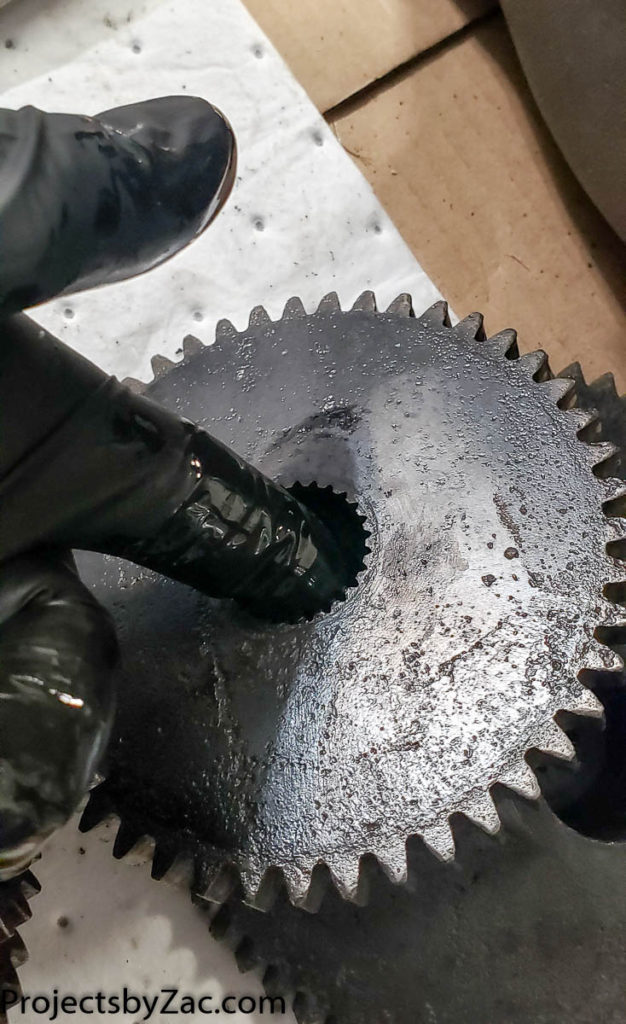
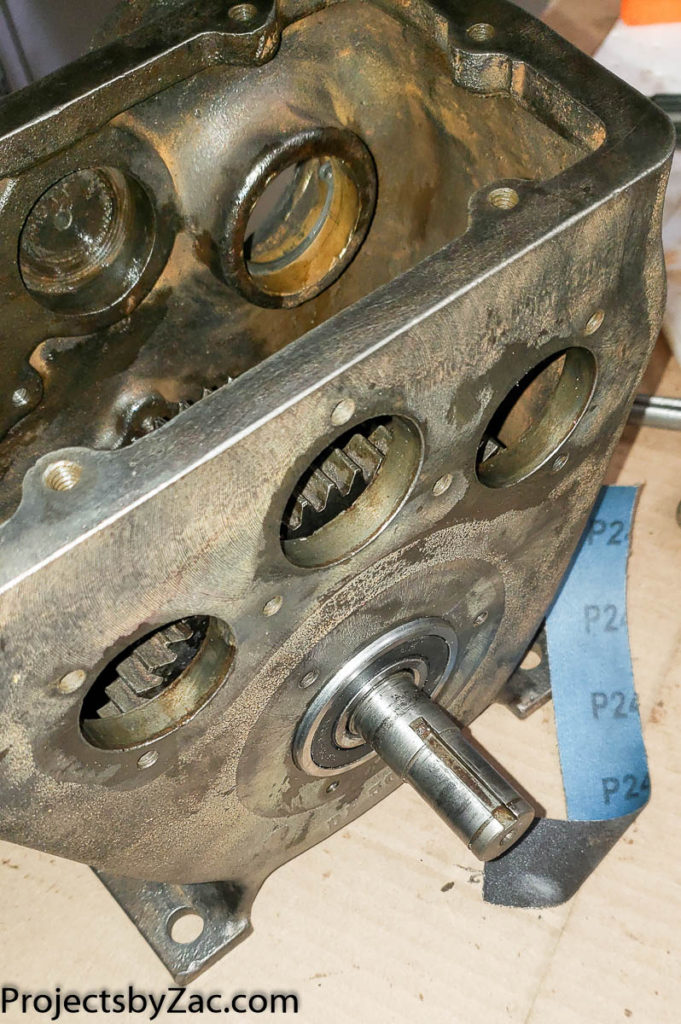
The first shaft assembly went together well. I thought I was home free. Things went ok, until I got to the last shaft, and then it didn’t work. I’m sure if there was a manual they would explain the proper assembly, but I have no information on this thing. In the end I had to press a bearing most of the way out to get the shafts and bearings all assembled. The photos below have me pointing at this bearing/shaft I had to shift with the hook pic tool.

Other than the above, the assembly was straightforward. I’ll drop pics in the gallery below for your education and enjoyment. Drop a comment if you have any questions.

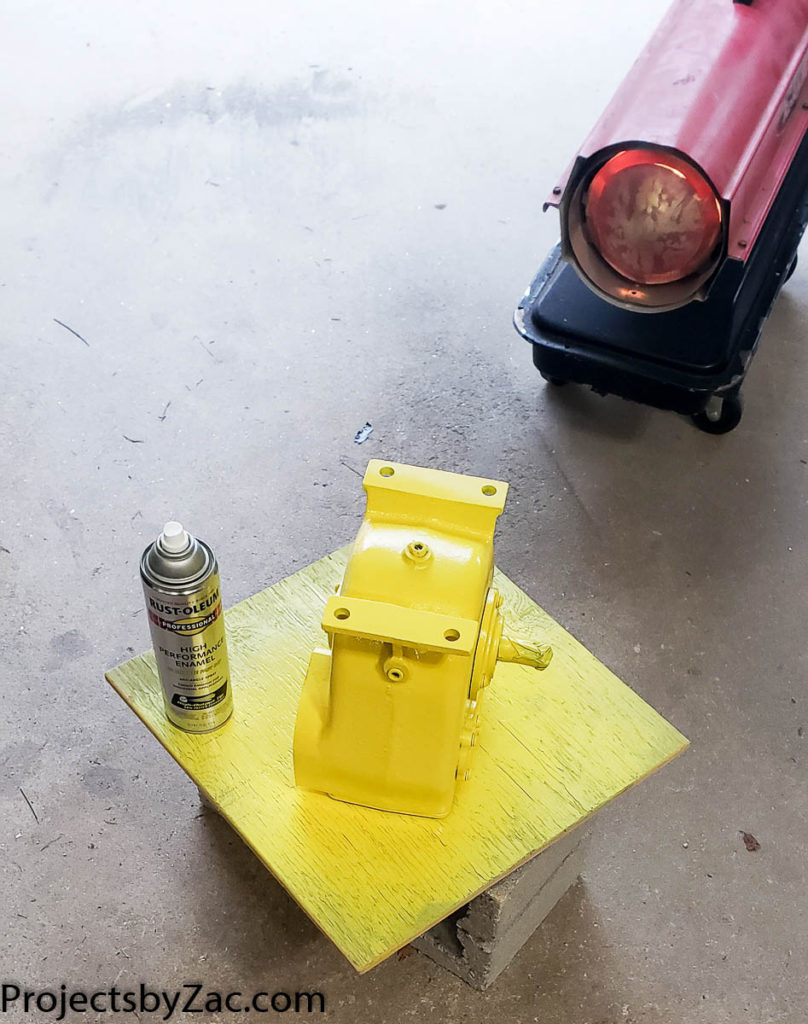
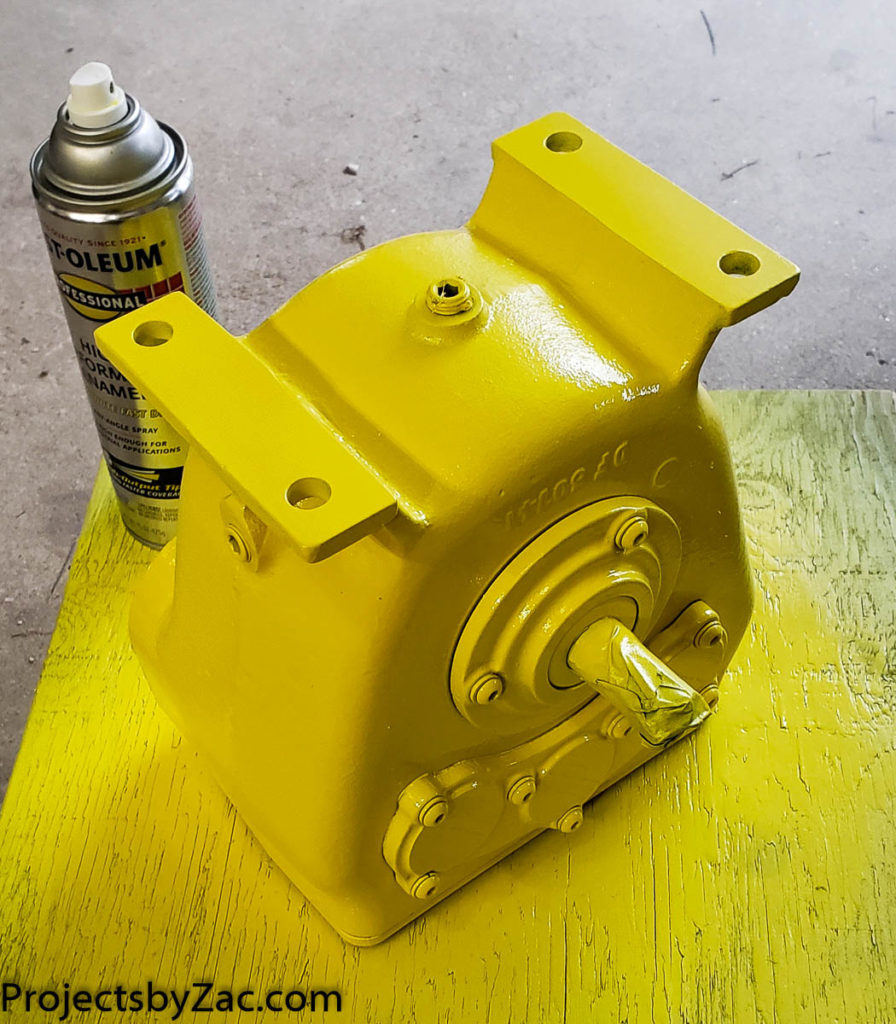
Painting in the winter is tricky, I often spray outside and then quickly bring the part in for heated curing. A big torpedo type heater 3 feet away goes a long way to cure and dry the paint quickly. I’m not sold on this safety yellow collor. I’ve left the botom end masked for now, as I suspect I’ll paint it with a different color yellow.

As always if someone stumbles across this page with any information about these Trackmaster d-Fab Engineering by Fruehauf Trackmaster Dozers Crawlers, I’d love to know more about them. I’d be happy to host manuals and or parts catalogs here on my blog if you have them and are willing to share them with me. Please leave me a comment or email me at my website name on Gmail (no dot com there). I don’t check often, but I eventually will get back to you to host the information. Thanks!
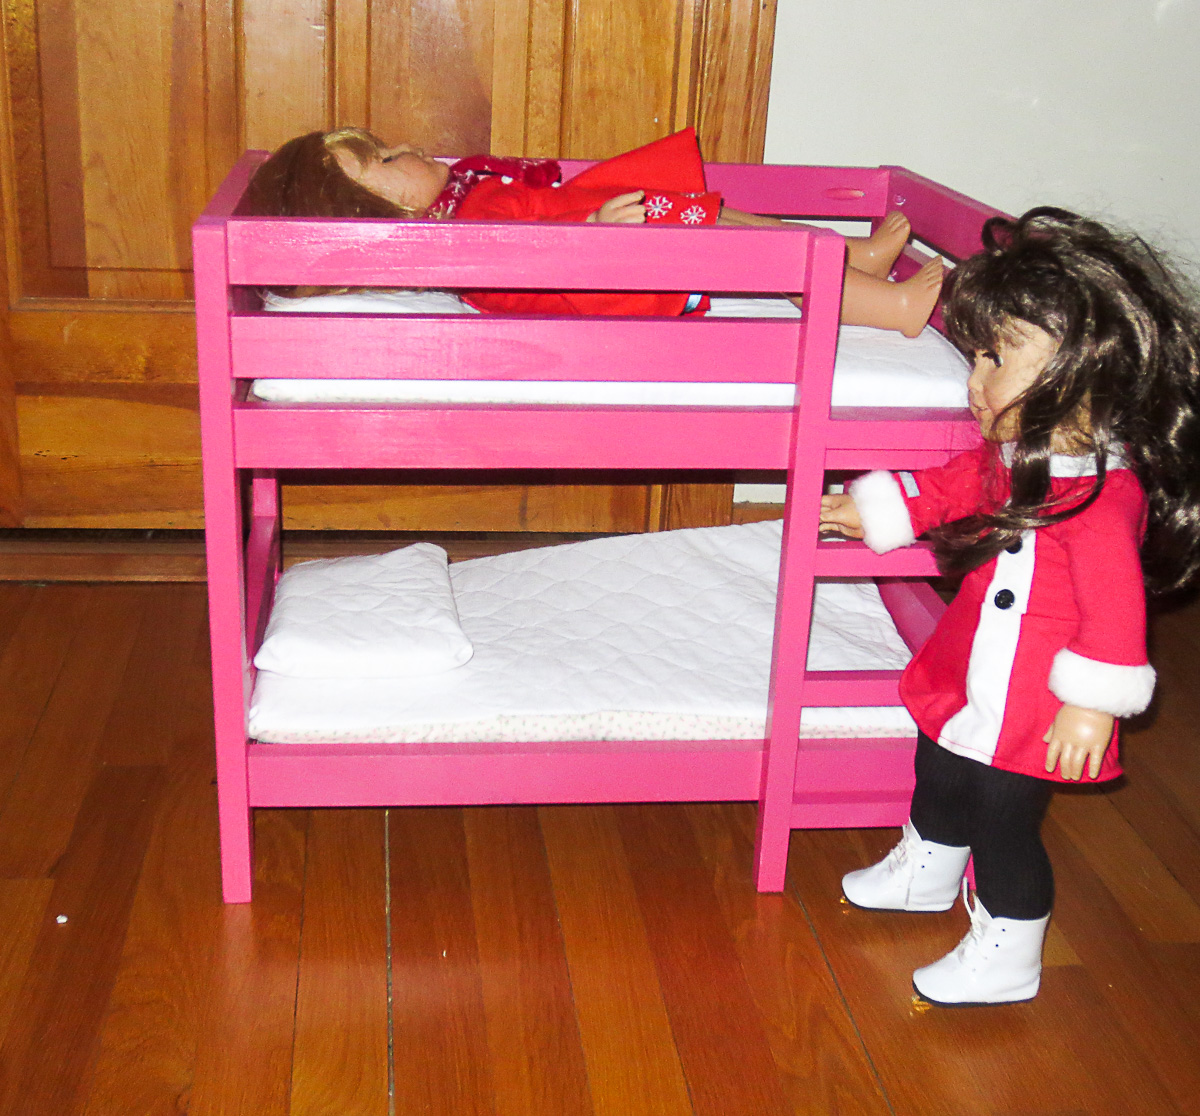
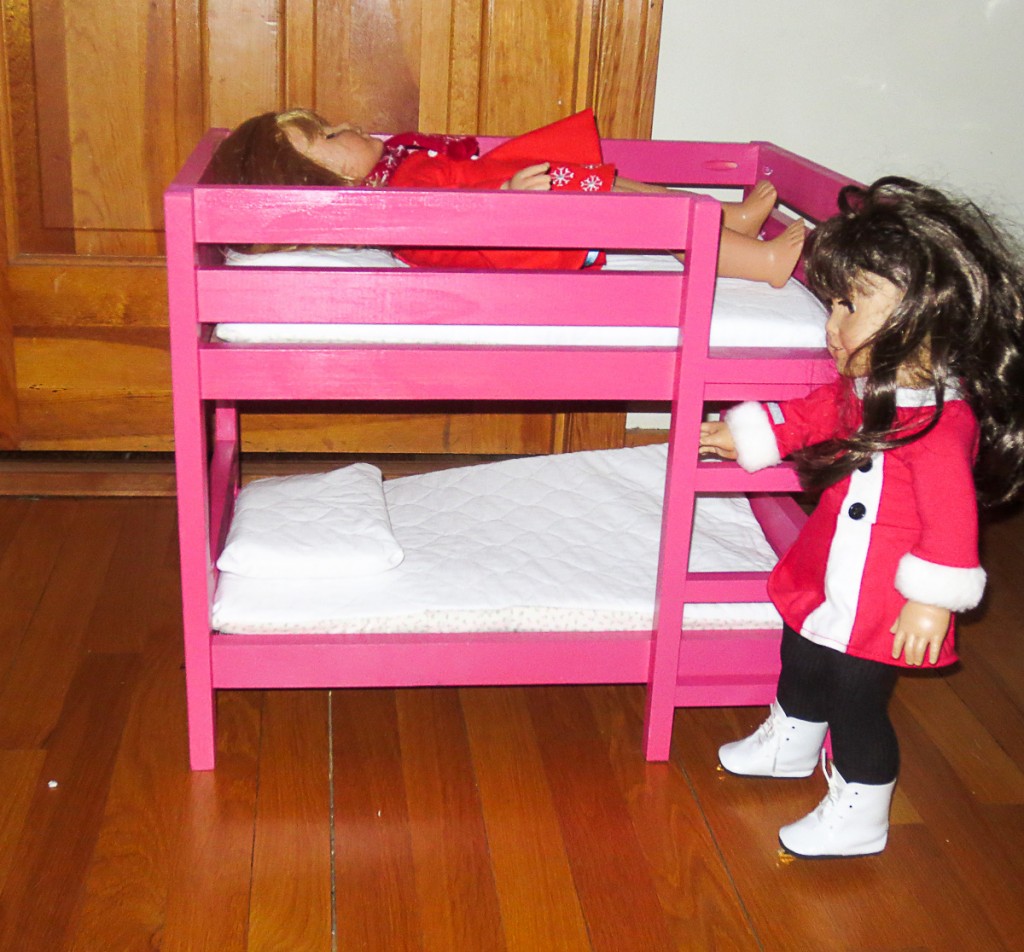
Tips for furniture finishing demonstrated on the American Girl Doll Bunk Bed I made

American Girl Doll Bunk Bed Dimensions

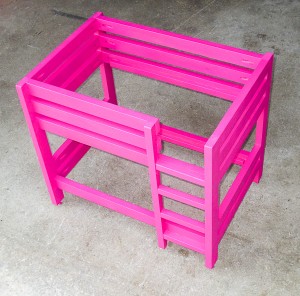
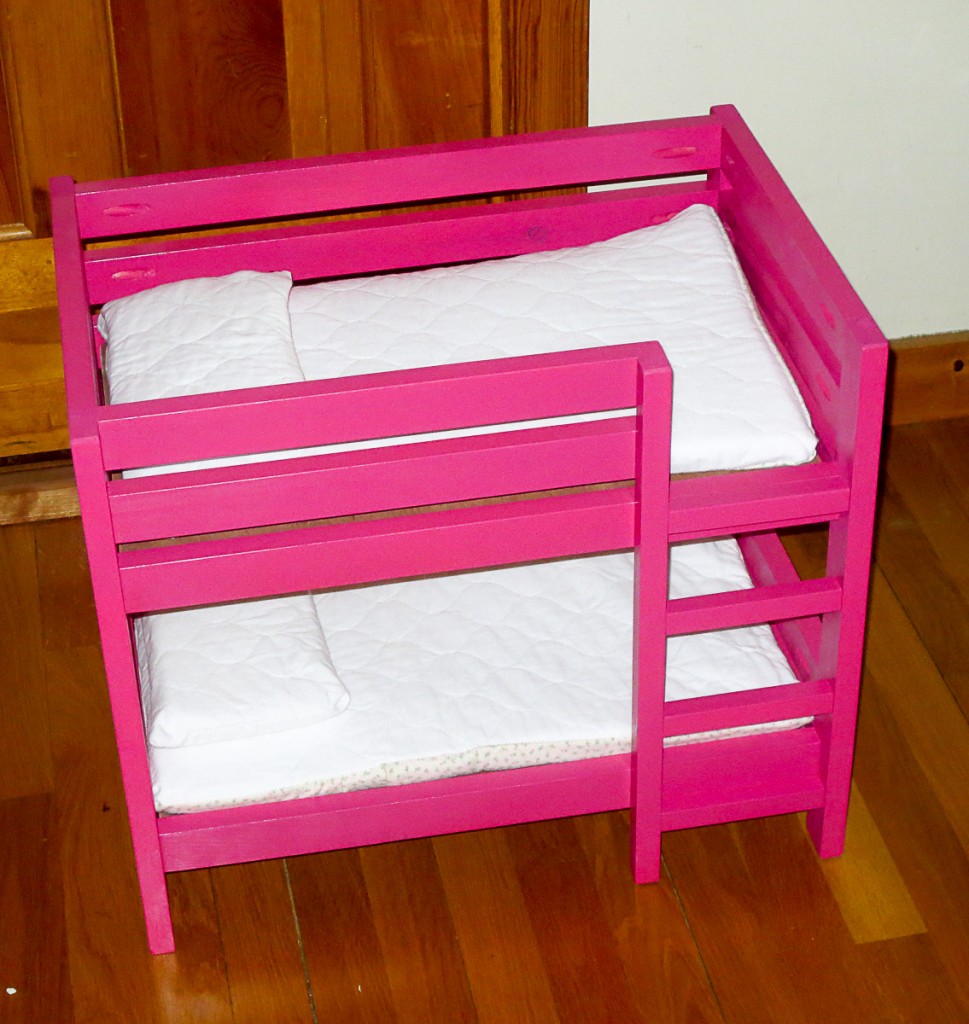
For the second Christmas in a row I was asked to make an American Girl Doll Bunk Bed for my nieces “Babies”.  They were sleeping three to a single bed on their side and she really wanted a bunk bed, and it HAD to be pink.   This post is 20% showing off the bed I built for her, and 80% about a furniture finishing tip that is useful for when you are pressed for time, or working with a special finish that needs a single wet coat application for it to work.

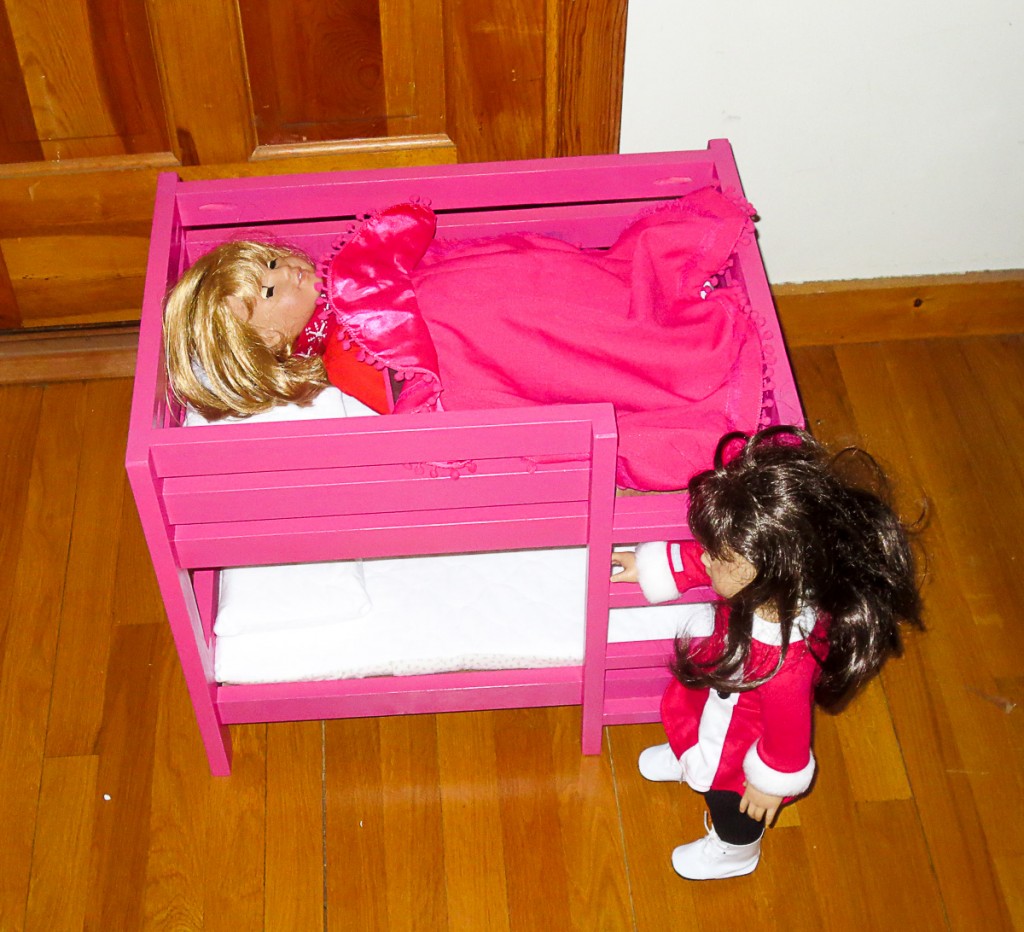
I want to share this bit of knowledge,  Dimensions for an American Girl Doll bed should be 12″x19.5″.  This is the inside “mattress size”, not the outside dimensions of the frame.  You could make it a little bit larger, but I would not make it any smaller.  As you can see in the photos below this is a good fit for the dolls. I had a surprisingly hard time finding any size or dimensions for  an American Girl Doll bed online.  I  hope this info helps someone else build a bed.

010216  Build an American Girl Doll Bed Dimensions-4223       010216  Build an American Girl Doll Bed Dimensions-4222

As I said, this is mostly a post about a tip on furniture finishing, not the American Girl Doll bed I designed and built to match the real bed.  I picked this tip up somewhere, and I have used it many times on both large and small projects.  It works great and allows you to get that nice perfect single coat finish on projects.

Building American Girl Doll Bunk Bed

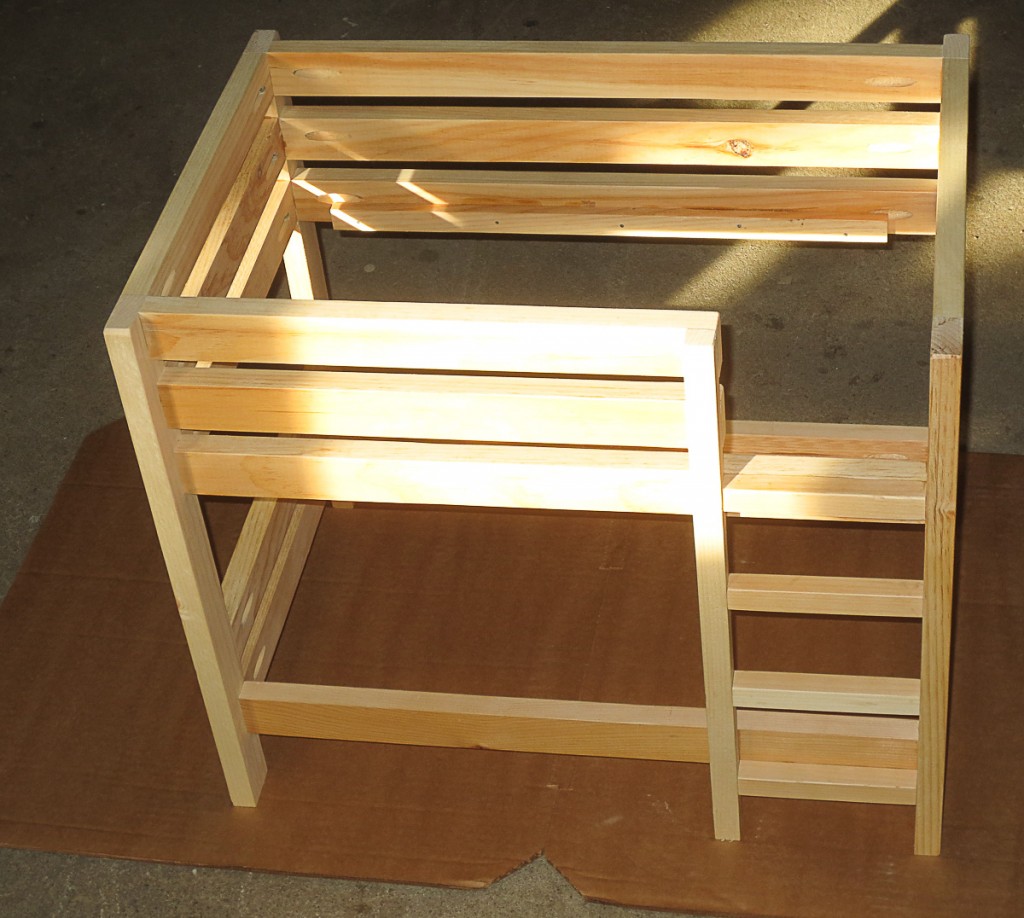
You need your unfinished bit of furniture.  Doesn’t matter if you built it yourself, or bought it at one of those unfinished furniture outlets.  I of course designed and built this bed to match my nieces real bunk bed.  I suppose I could draw up plans if anyone is interested, leave me a comment.  If there is interest I’ll put together a post with plans in the future.

Tips for Painting unfinished furniture     Tips for Painting unfinished furniture

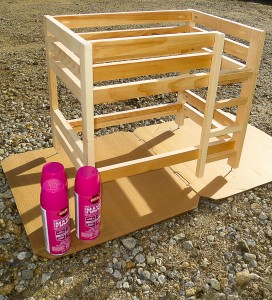
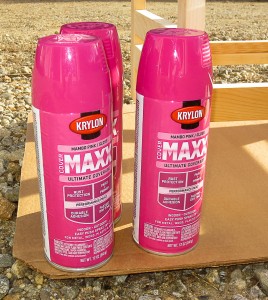
Next you need to select your finish for the project.  I was pressed for time on this project and went with a quick drying spray paint.  Christmas was fast approaching and I was way behind on all my holiday gift making.  I selected Krylon Cover Max Paint in Mambo Pink Gloss for the American Girl Doll bed I built.   I get asked which paints I prefer quite often.  In general,  I prefer to use Krylon brand spray paint over Rustoleum Brand paints.  Both will give you a great long lasting finish.  The Krylon paints always dry tack free so you can handle them at considerably shorter times then Rustoleum spray paints.  Historically in my project experience faster drying = higher likely hood for a successful finish free of defects.

Tip for Painting furniture

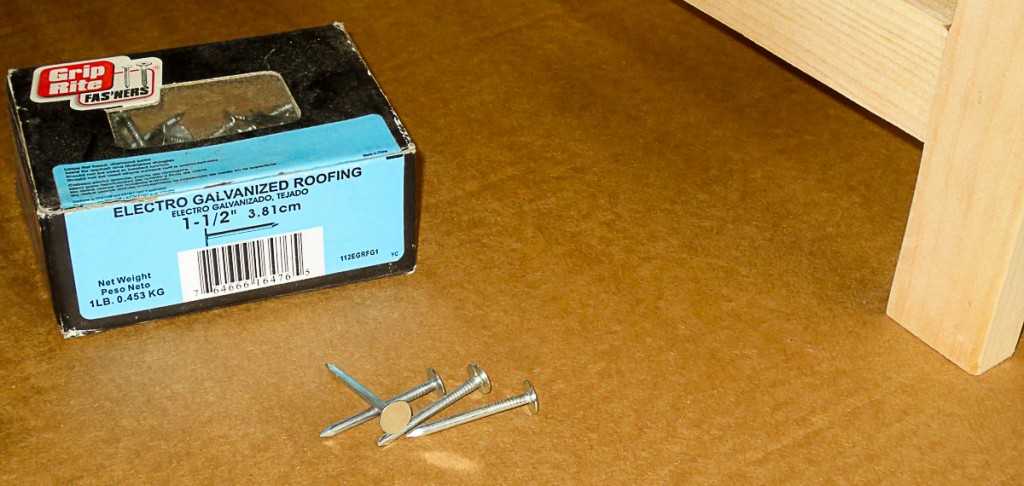
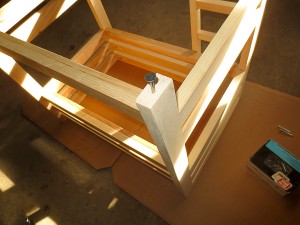
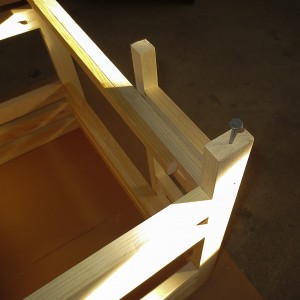
These roofing nails are your friend.  Get yourself a box to have on hand.    These nails are handy for many things in the shop, but no use is better then the one I’m about to share.  The broad flat heads act as nice temporary standoffs for your furniture project during finishing. The thing about furniture type projects is they almost all have legs of feet that will be on the floor.  This is the perfect place to use these nails as standoffs for finishing your project.  I almost always put felt pads or sliders on everything, so even the whole is hidden if perchance a project is flipped up side down.

 010216  Build an American Girl Doll Bed Dimensions-4191    010216  Build an American Girl Doll Bed Dimensions-4192

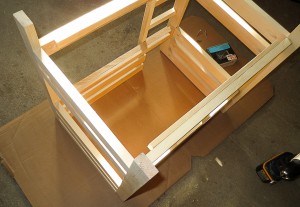
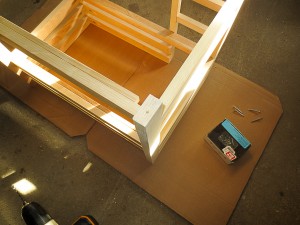
Flip your project over onto a nice safe surface, I’m using some scrap cardboard I saved for this purpose.  Mark the center of the legs, or base of your project, where it contacts the floor and drill a short ~0.5″ hole the diameter of your roofing nail, ~0.125″ in this case.  This lets your nail stay in and support your project without any chance of splitting the wood, falling out, etc.  You want to easily remove the nail later.  Drilling the hole is the trick to being able to easily remove it while allowing the nail to provide adequate support.

010216  Build an American Girl Doll Bed Dimensions-4193     010216  Build an American Girl Doll Bed Dimensions-4194

Put a roofing nail in each whole you drilled at every corner of your projects.  While it is usually sufficient, very large projects may require more then the 4 corners be supported with nails.    The nails will keep your project off the ground, allow the paint to dry and you to finish in one single go, rather then waiting for it to dry between flipping it over and doing all the surfaces.

010216  Build an American Girl Doll Bed Dimensions-4196

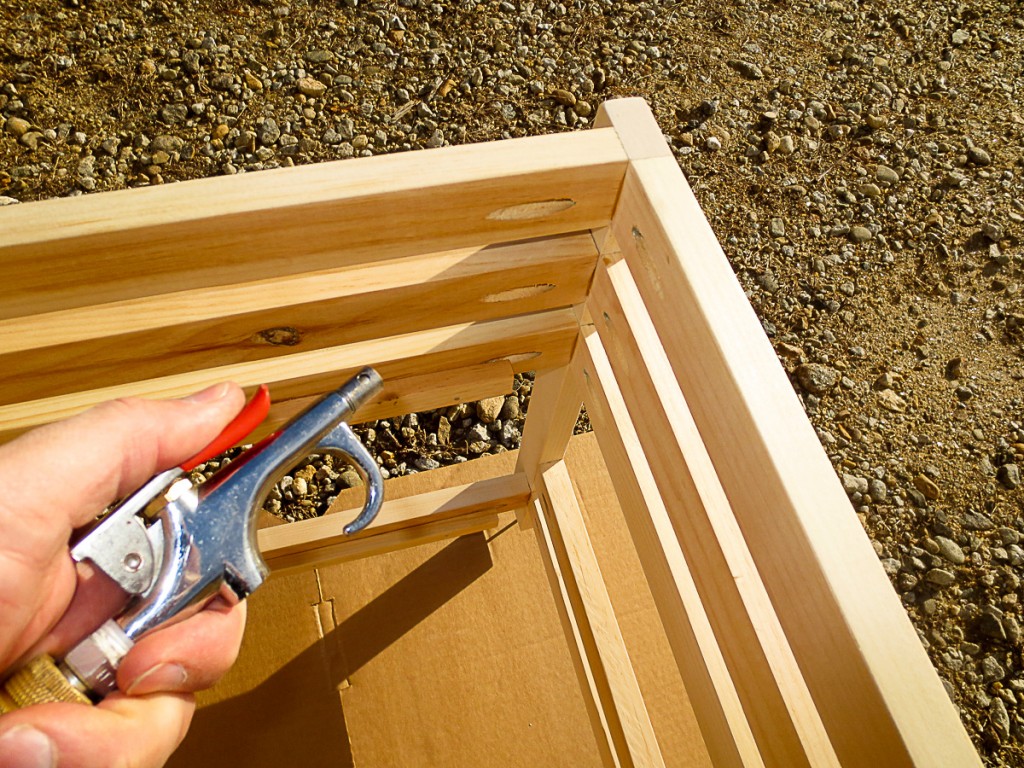
Make sure you remove any bits or dust from your project.  Tack cloths are great at this, but so is blowing the project clear of dust with an air gun.  In the best case, blow it clean, then use a tack cloth to get any particles that stuck in the fiber.  I used pocket hole joinery in this project.  Pay special attention to removing dust and wood particles from the pockets.   Often there is buildup from sanding or drilling in these pockets.

American Girl Doll Bed Plans        American Girl Doll Bunk Bed dimensions

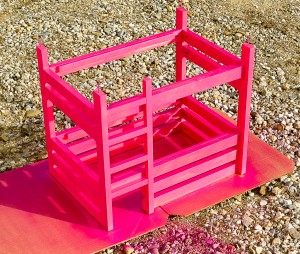
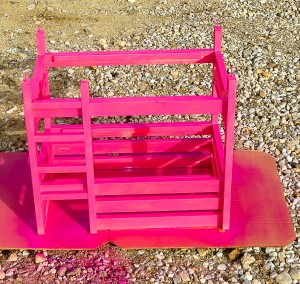
Starting with your project upside down,  paint all of the surfaces that are “up” in this orientation.  These are the bottom of the project, and you want to get them coated first.

010216  Build an American Girl Doll Bed Dimensions-4203      010216  Build an American Girl Doll Bed Dimensions-4206

Finish up by flipping the project over and continuing to apply your paint or coating to the top sides.  This lets you get a nice single coating on the entire project.   In this project I am spray painting from a can.  Single wet coating is less important in this case.  For some fine finishes, wet look epoxy for example,  having a single wet coating in one step is critical.  This tip is a must for those situations.

DIY MAtress for American Girl Doll bed

The bed is finished up with 1/4″ plywood paneling cut to size and dropped into place.   I chose to leave the panels loose.  It’s a kid’s toy and I expect it to get stepped on as a stool or something in the future and the panels to break.  Loose panels are easy to replace in this case.  The American Girl Doll Bed mattresses are made from 1″ Polyurethane foam I purchased in the craft section of Walmart.  I cut the foam to size, 11.75″x19.25″ with a sharp project knife.   I used the serger I rebuilt in an earlier post with some scrap quilted batting to sew up a split back pillow case style mattress cover for the bed.  The pillows are made exactly the same way.    I am off the hook for bedding as they have several  blankets/sheets  for the existing single doll bed.

DIY American Girl Doll Bunk Bed

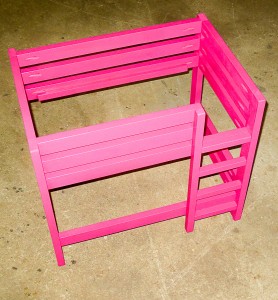
I got lots of love from the lil one for making her this pink bed.  She loves that it matches her bed, and that her babies are not sleeping three to a bed stacked on their side like sardines anymore.  Mostly she loves that it is pink.    Hope you found this post on furniture finishing useful, and it can help you with your projects.