Category Archives: restorations

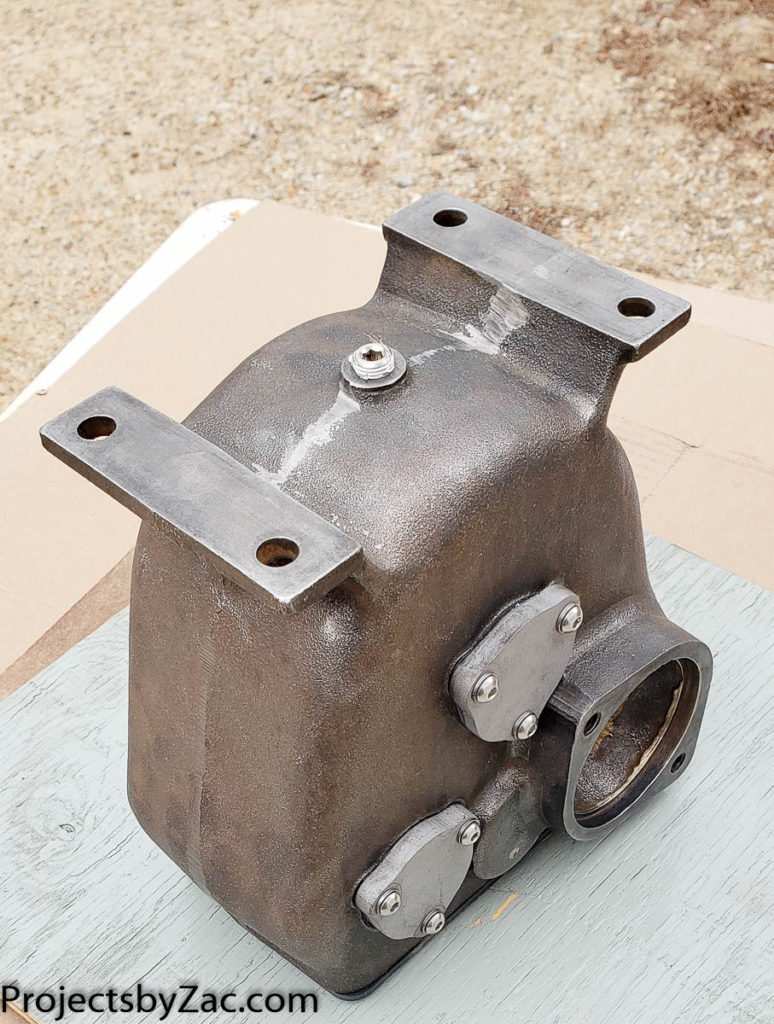
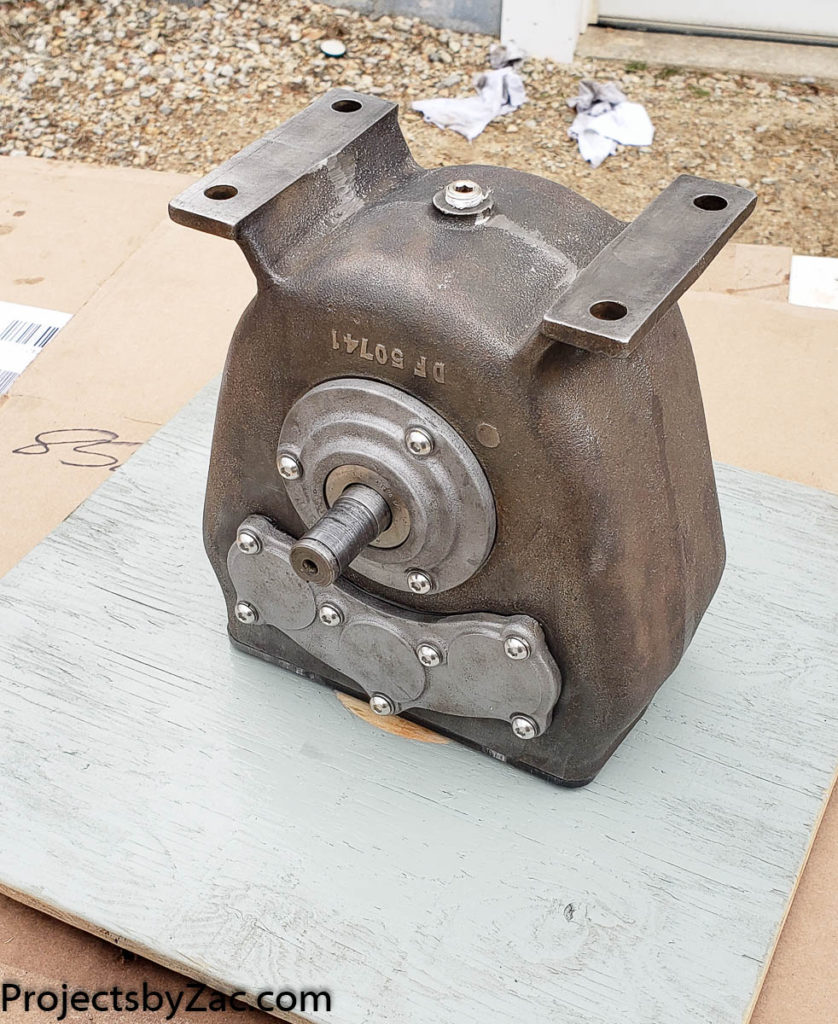
Trackmaster bulldozer Transmission bottom half REassembly and painting

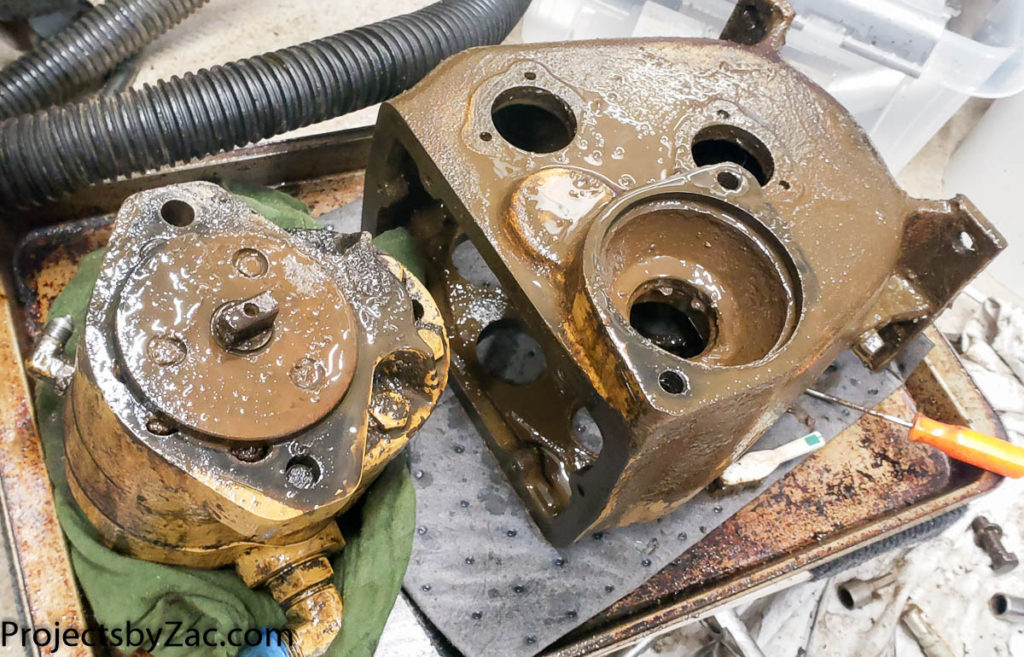
After dissassembly of the Tiny Dozer’s 3 speed transmission I cleaned, polished, removed rust, and carefully filed (or ground) off any burrs on each component of the drivetrain. I have this great tool I build for the bridgeport restoration last winter, it’s a heavy belt driven bench mount wire wheel. I used this a lot again on this project. The fat welded wire wheel makes quick work of rust, paint, and any gunk left after solvent soaking parts.
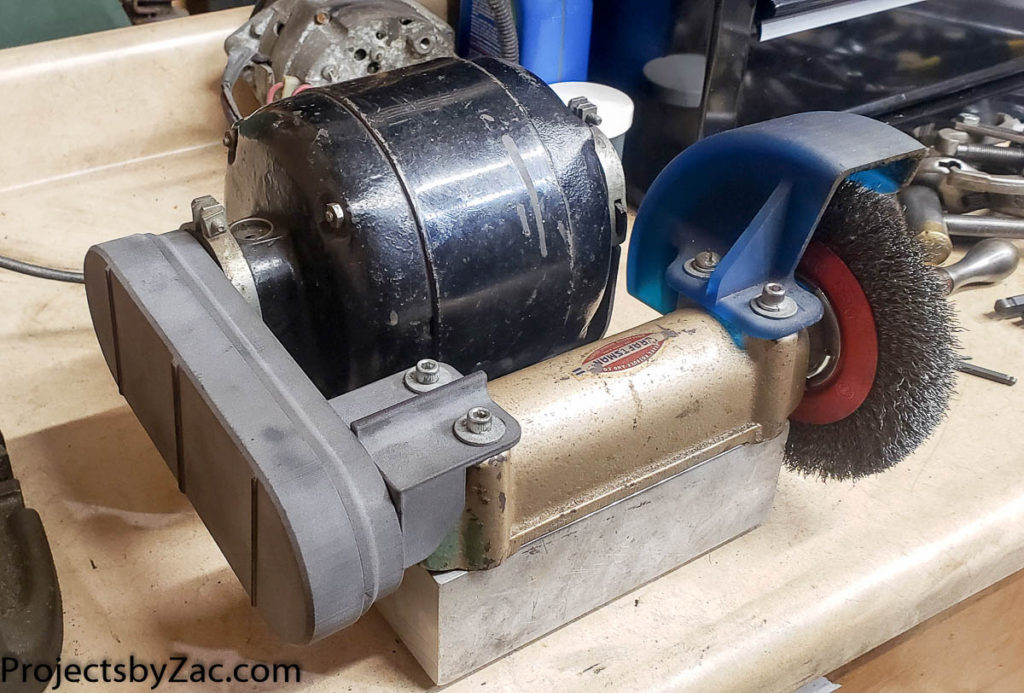
Bench wire wheel polishing machine – Priceless for any type of restoration of old iron. Quickly removes dirt, rust, burrs, paint and caked on yuck from your steel parts. Operated with a momentary when pressed type foot switch. Complete with Formlabs Tough resin shield for the wheel, and a Fuse1 print (SLS Nylon) belt guard for safety.

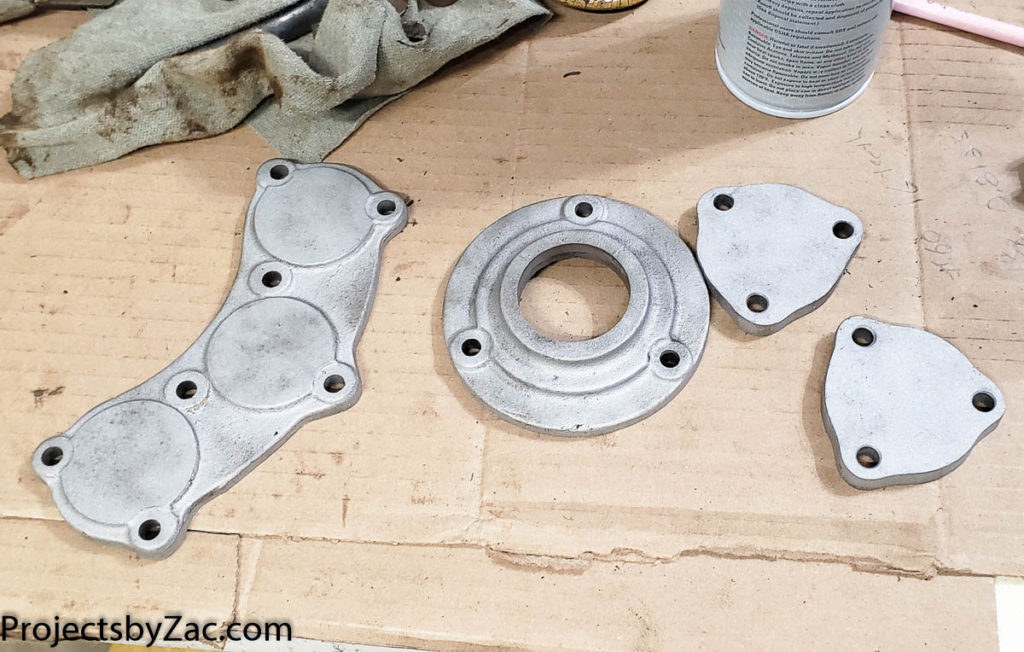
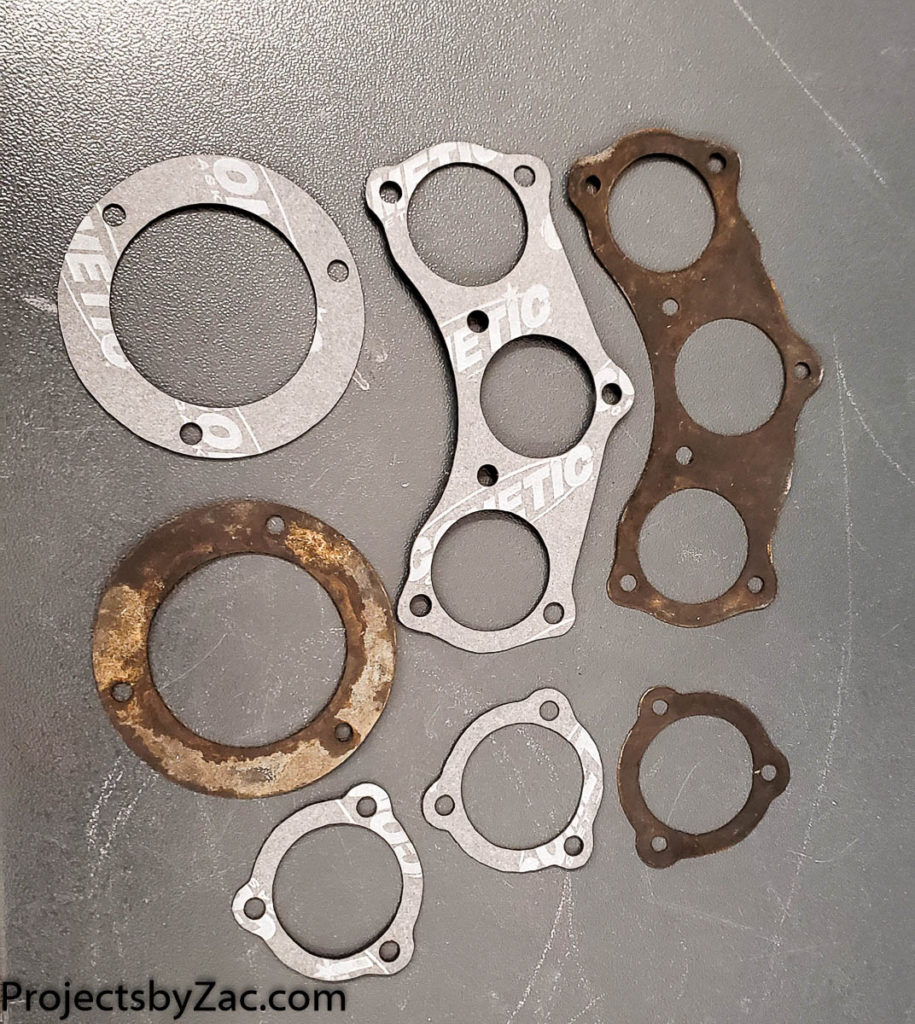
I chose to laser cut new gaskets. Thankfully the ones I had were ok enough to scan. The process for making new ones is Scan, Clean up the file, turn to vector paths, make into PDF, import into Laser cutter software, cut from gasket material. I’m using Cometic Gasket Fiber Gasket Material (Part # C15385) that I picked up at my local Autozone.
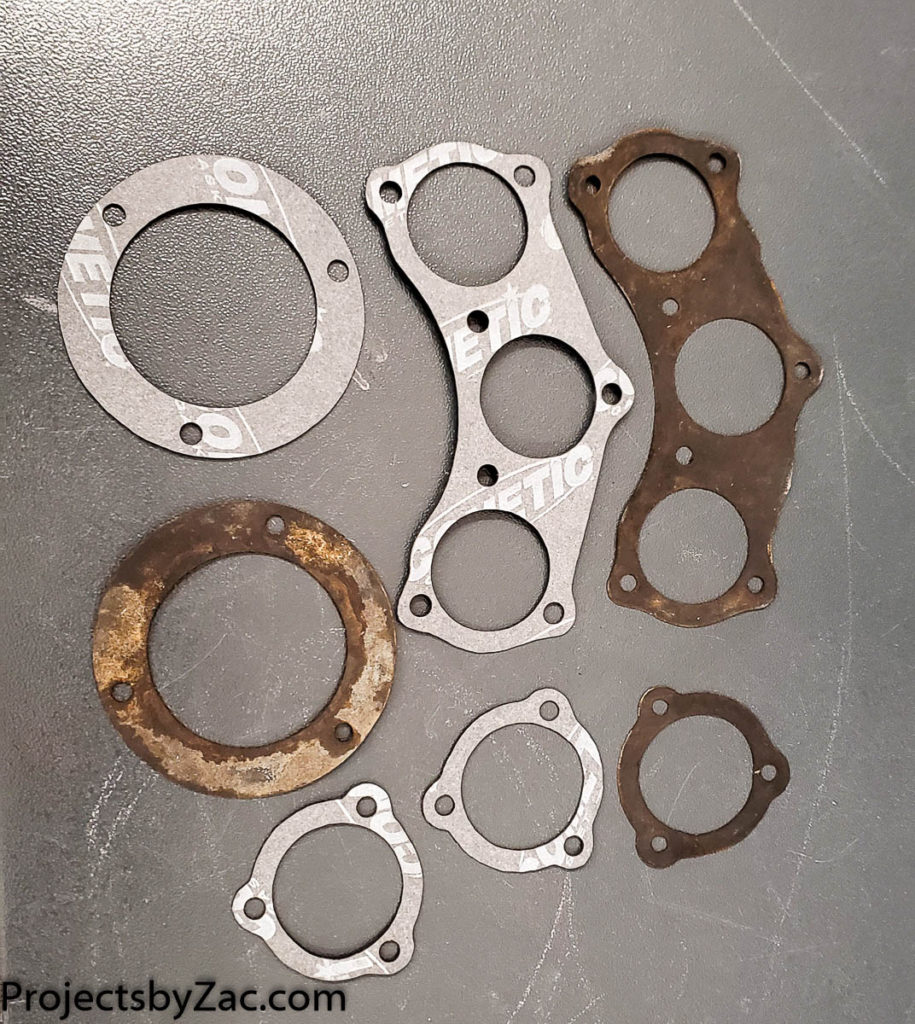
New laser cut gaskets for the Trackmaster Bulldozer Transmission.

Here is the pdf of the Gasket cutting file for you to use if you would like to laser cut your own set of gaskets. You can also print this out and use as a template to cut by hand with a bit of care to get new gaskets for your transmission rebuild. <INSERT FILE HERE>
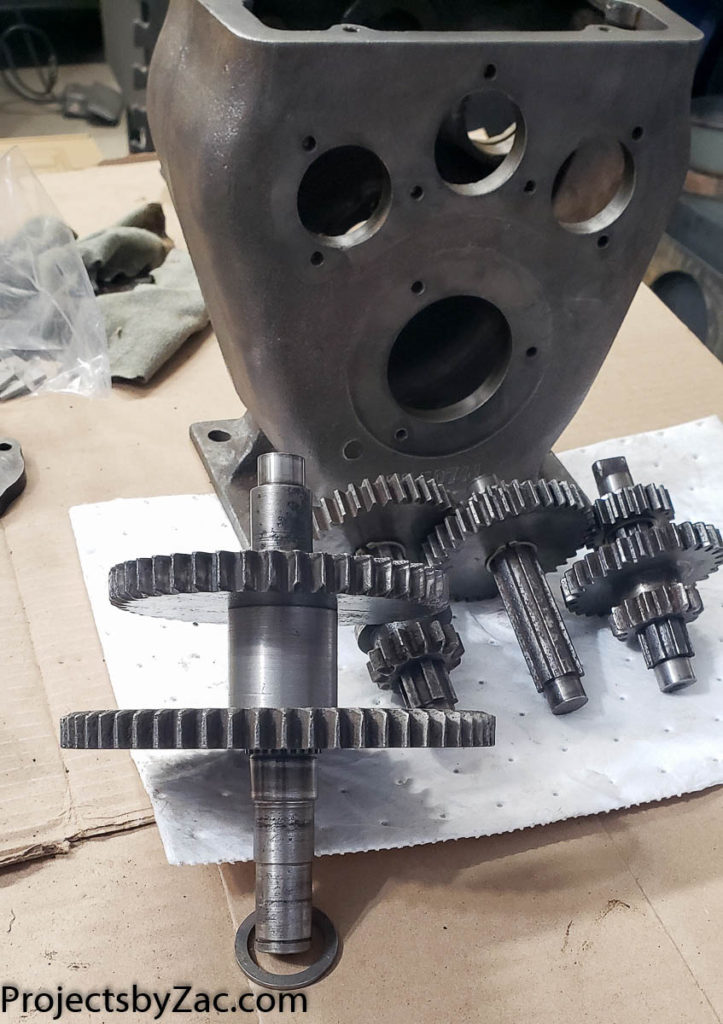
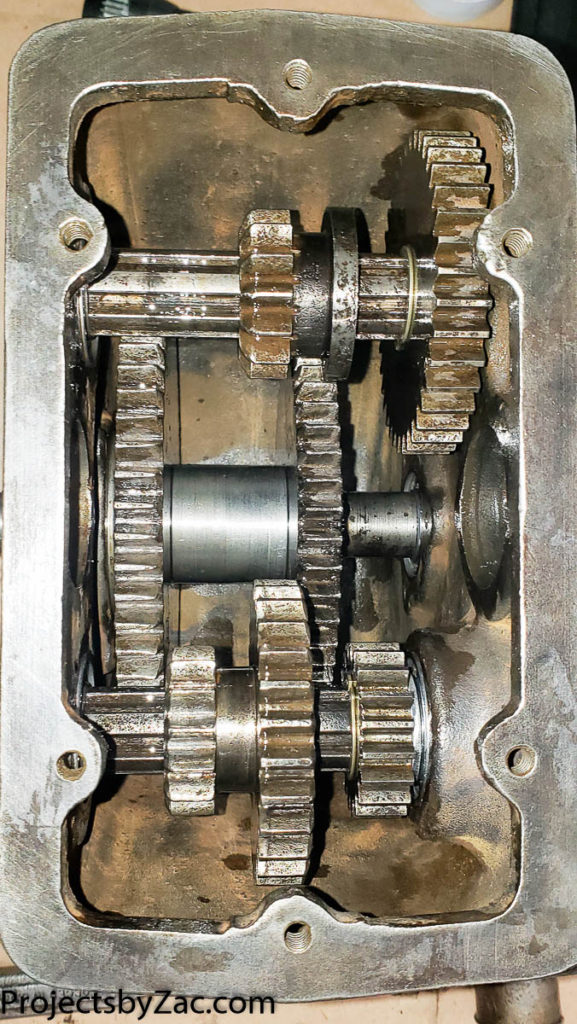
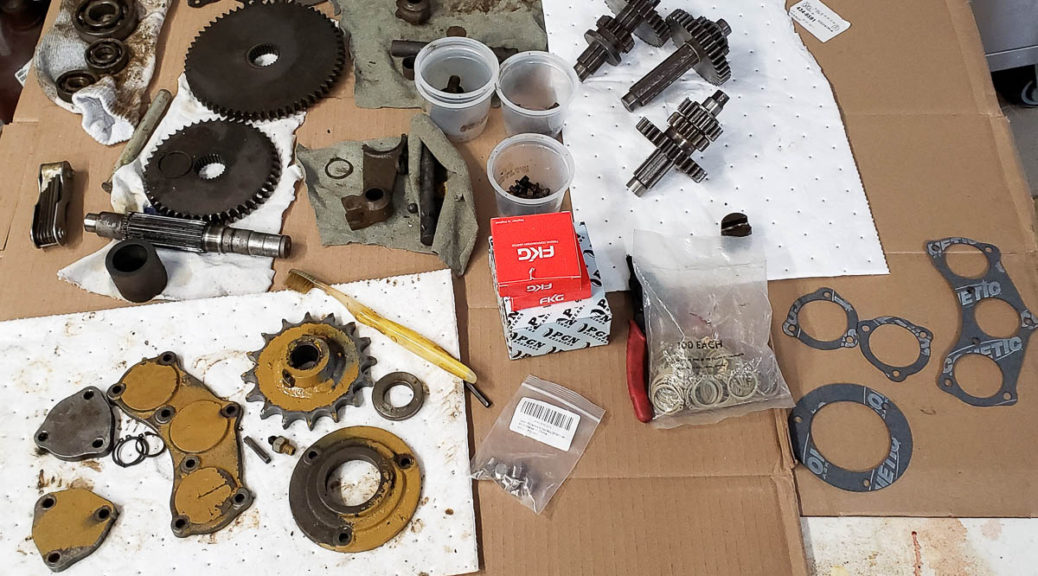
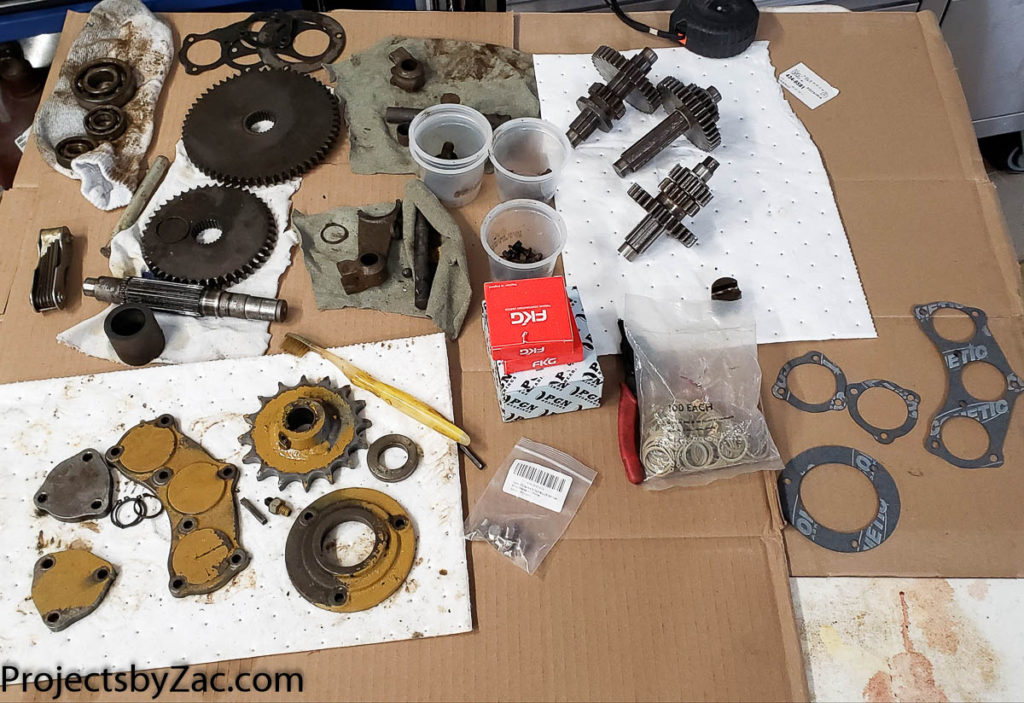
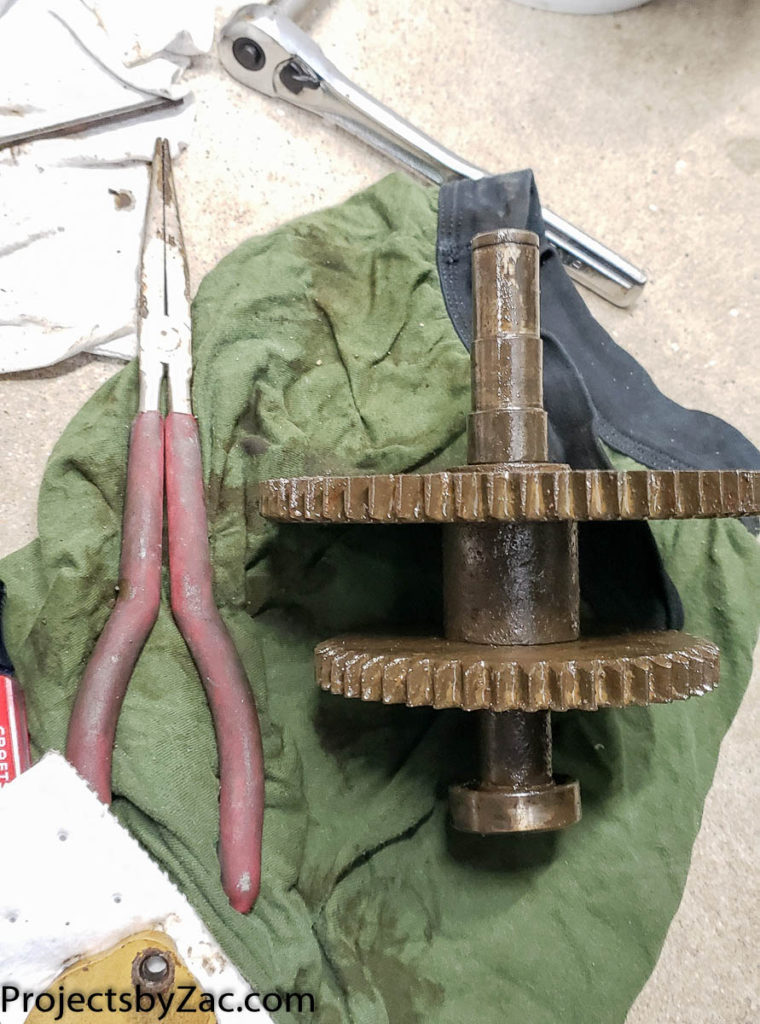
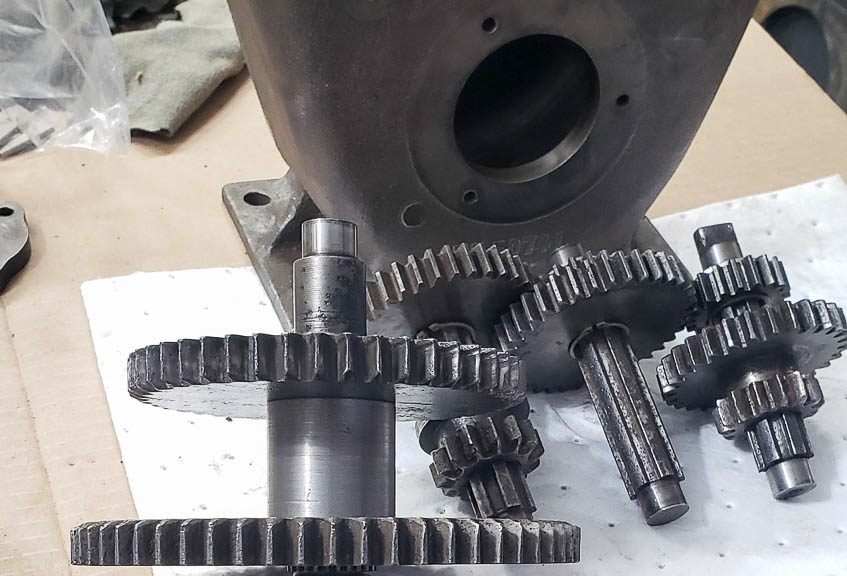
The cleaned up transmission internals ready for reassembly. The parts are layed out as they fit in the transmission.

The reassembly starts with laying everything out as it will go together and making sure you have all of the parts. It was at this point that I realized many of the stand off spacer washers were badly worn. They were stampings from 1/8″ steel. I decided to quickly cad up and water jet some new spacer washers before assembling everything.
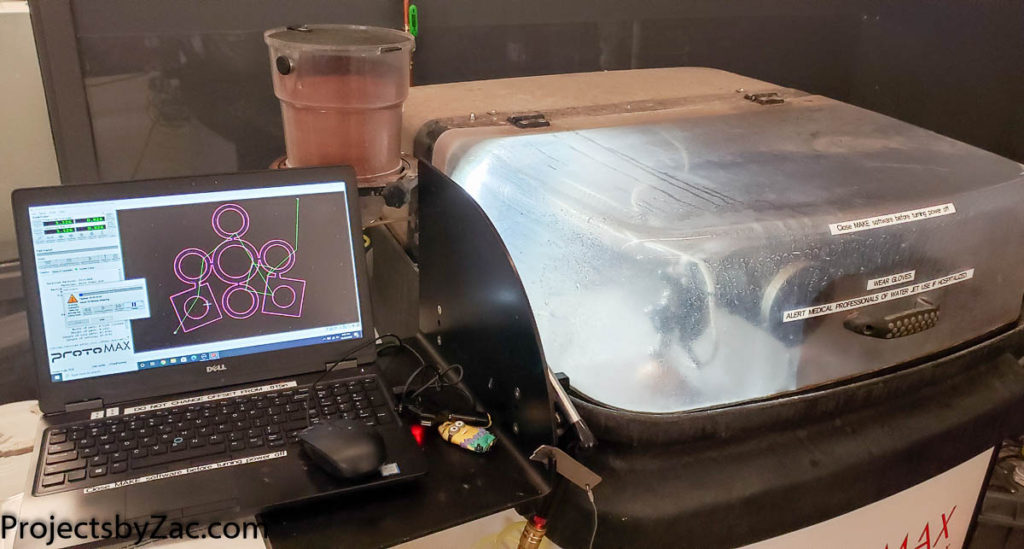
Small OMAX water jet, priceless for cutting some new washers for the transmission (the square bits are for my track puller I fabricated and you’ll see these in a later post)

With new spacer washers made I was ready to figure out how to get it togethere. The spacer washers ensure the gears are not rubbing on the bearings/sidewalls of the housing body. I would like to say I nailed assembly after this dry fitup without bearings, but as you’ll see below, I did not get it on the first go.
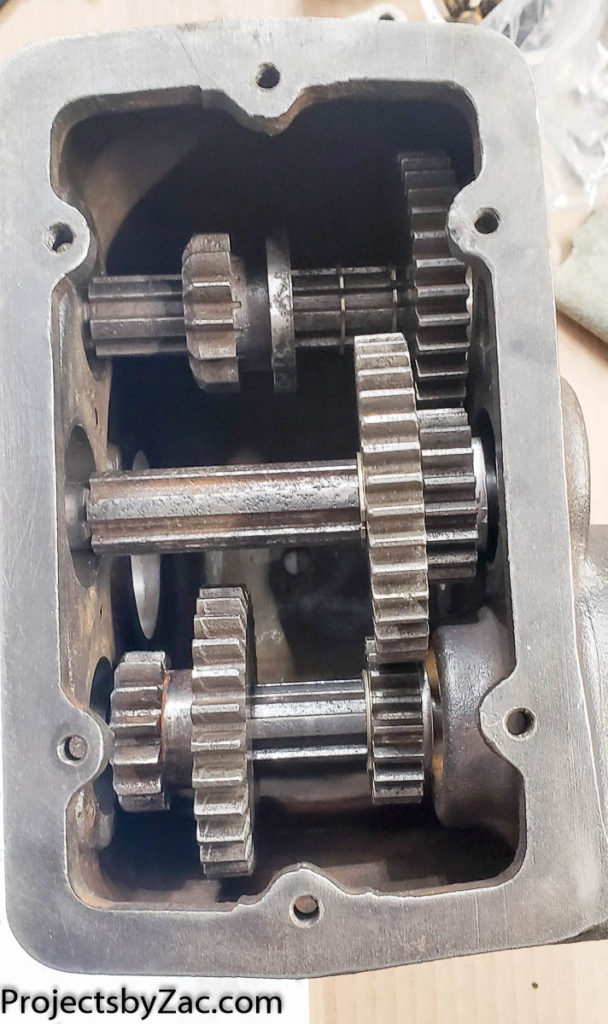
Dfab Trackmaster bulldozer 3 speed transmission rebuild internals loose fit during reassembly.

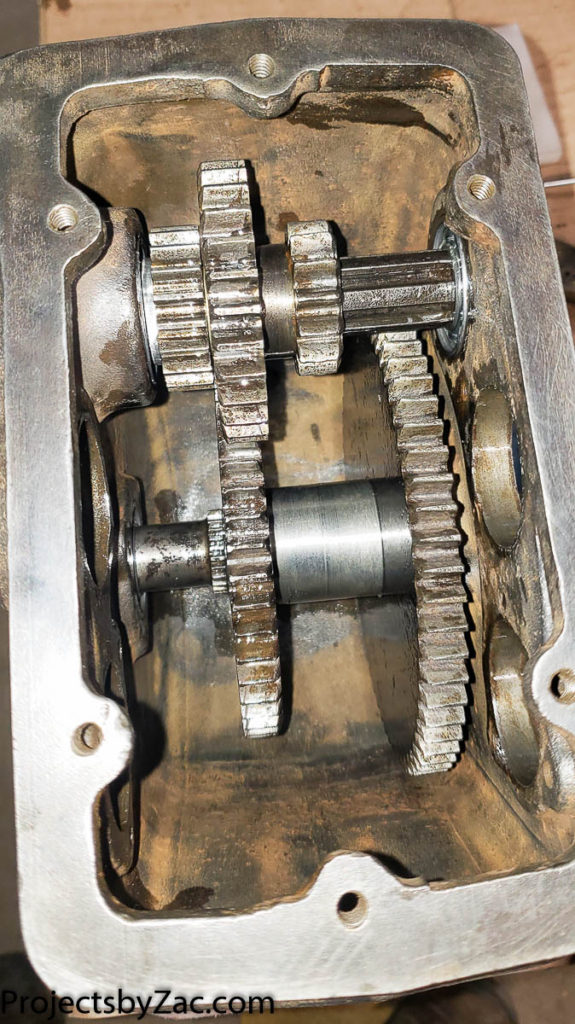
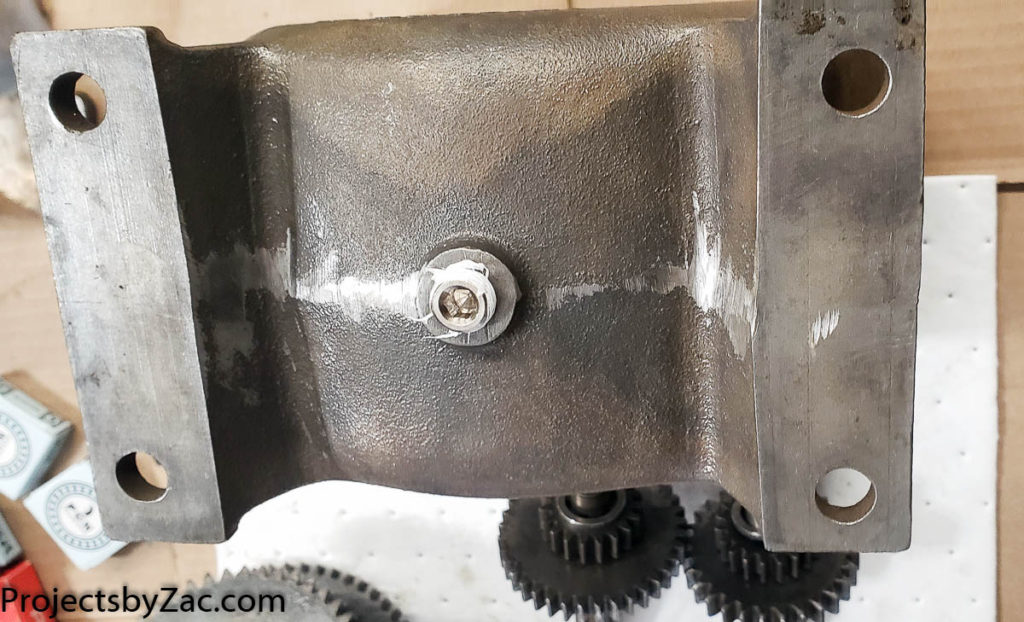
After loose fitting everything, I took it all apart, and got ready for the final assembly. I started with the lower output shaft with the two large gears. I did replace the snap rings throughout. I happened to have a bag of the appropriate sized snap rings in stock. Most of them are for 3/4″ Shafts. The one on the main shaft is a 1.25″ shaft (a 32mm snap ring will work as well if you have one). I put replaced the 1/4″ npt drain plug with a SS hex plug. I really hate cast iron square plugs.

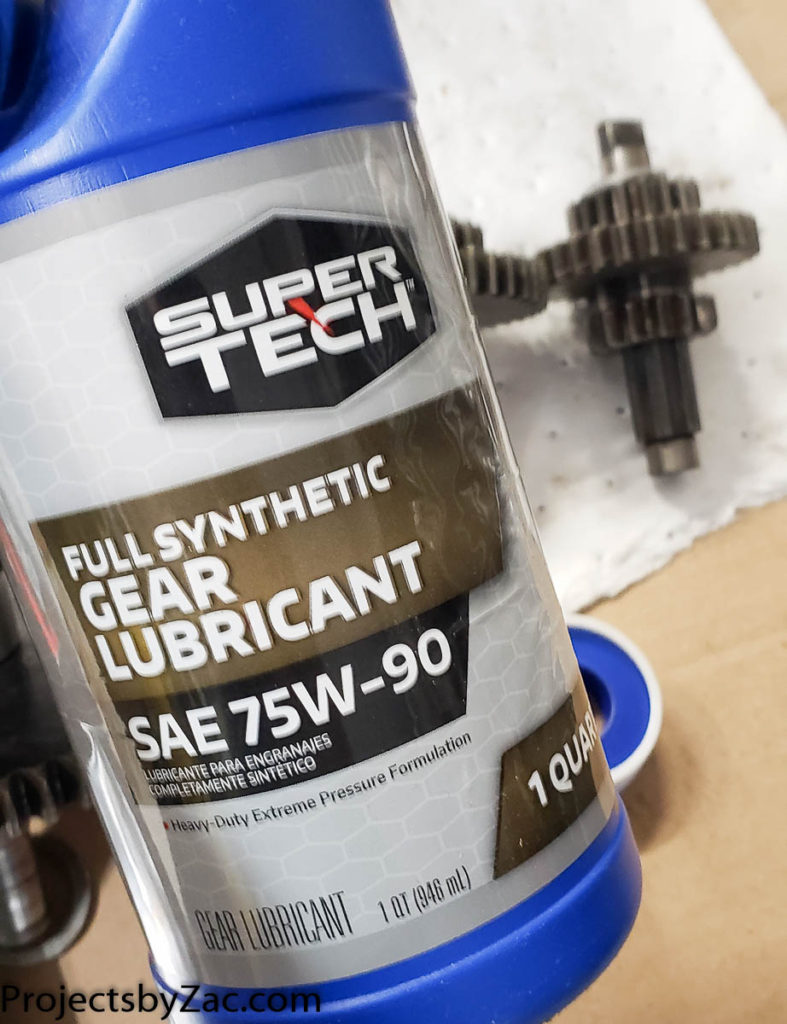
I’m using a cheap GL5 gear oil with lower viscosity. I plan to change this out multiple times post rebuild after very short operating period of an hour or two. This will help wash out any bits that I might have missed cleaning pre assembly. Be sure to lube everything up as you assemble it. I made care to get lots of the gear lube in the splined areas on the gears and the shafts. GL5 type oil is ok, as there is no copper, or copper alloys in this transmission anywhere. The EP additives in GL5 can corrode and destroy copper alloys quickly. If I end up making a cast barillyum copper shift arm (I can’t cast steel/iron but need the strength) I’ll switch to a GL 4 or standard motor oil lubricant.

One note on assembly, don’t think you will casually knock this together with a hammer and block of wood. The press fit clearances are pretty tight. I ended up using my big 20 ton hydraulic press to get most of this together (no photos of this as I didn’t have a tripod or photo taking helper available with Covid pandemic in full swing)

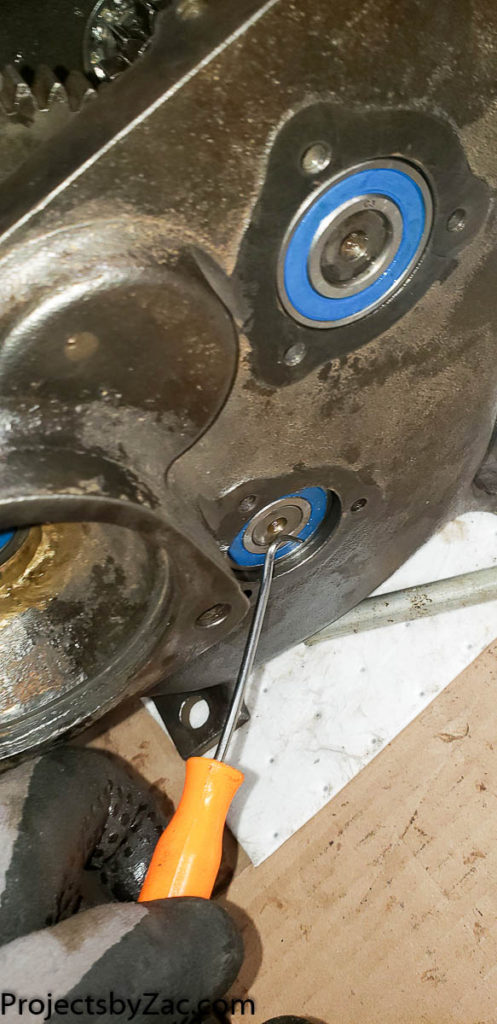
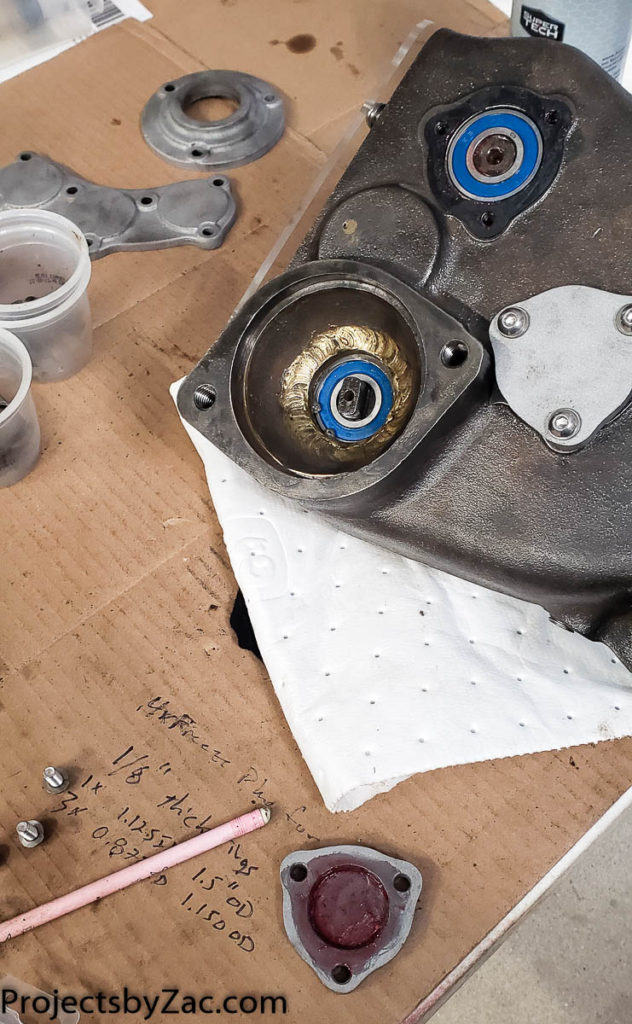
A quick note on the bearings. When I took the 3 speed transmission for the bulldozer apart, all of the bearings were open race with no shields or seals. I decided there was no reason the outer side should be open race. Also I could not find affordable good bearings that were not shielded. It’s pretty easy to pull a shield off of a bearing, and I did this on the internal side for each of the seven 6203 bearings as I assmebled them with a hook pick tool.
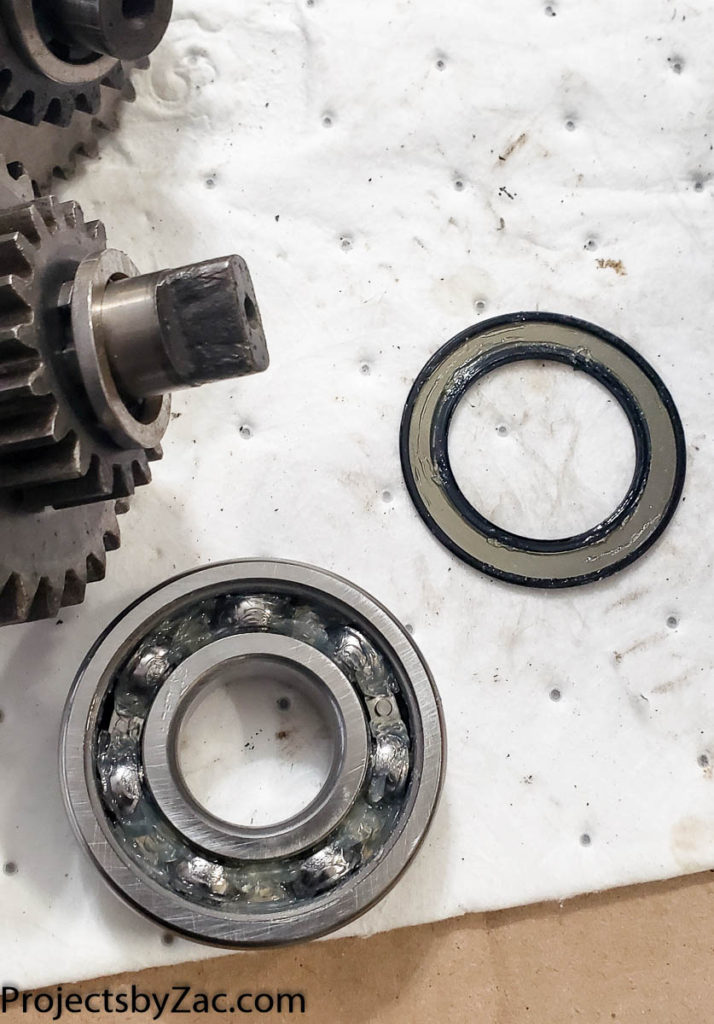
pulling one of the “Sealed” shields off on the inside of the bearing during assembly. This will allow oil lubrication, and flush out any contaminates should they end up in the transmission. I plan to change the fluid regularly and often in an effort to keep this 3 speed living a long happy life after the repairs are completed.

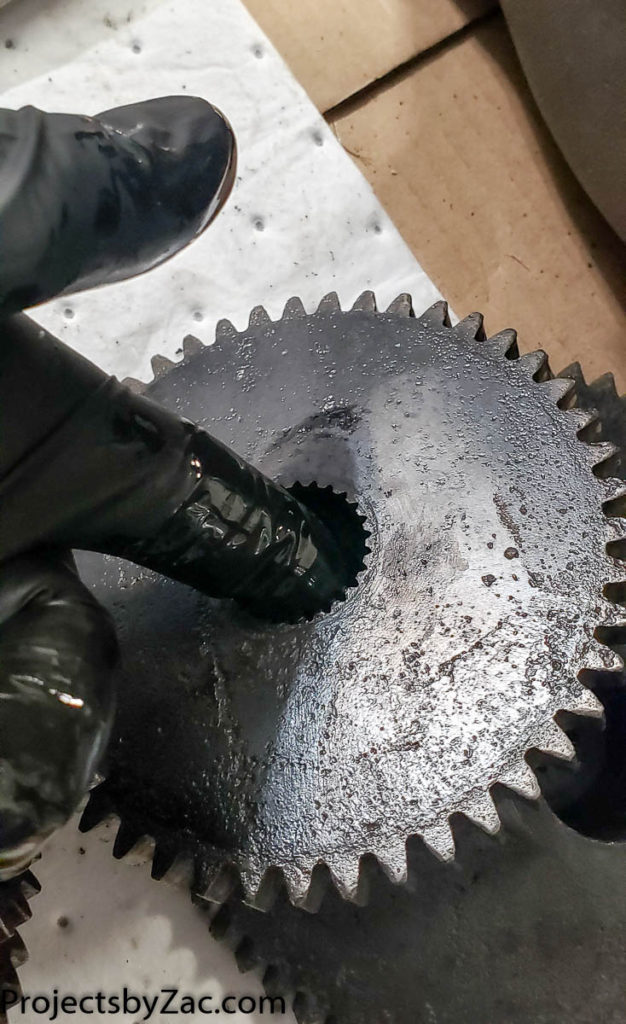
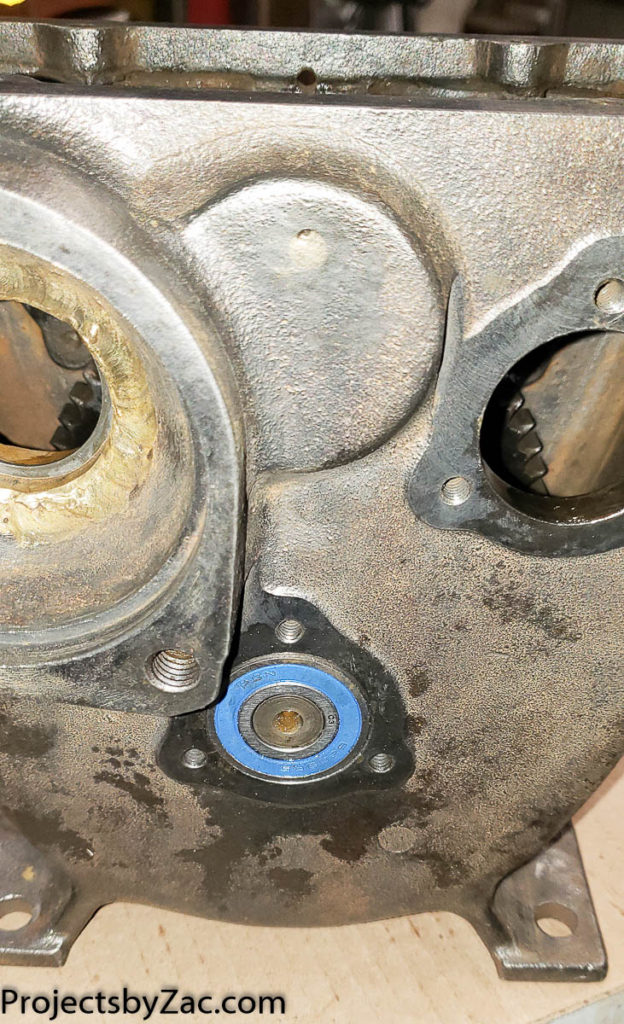
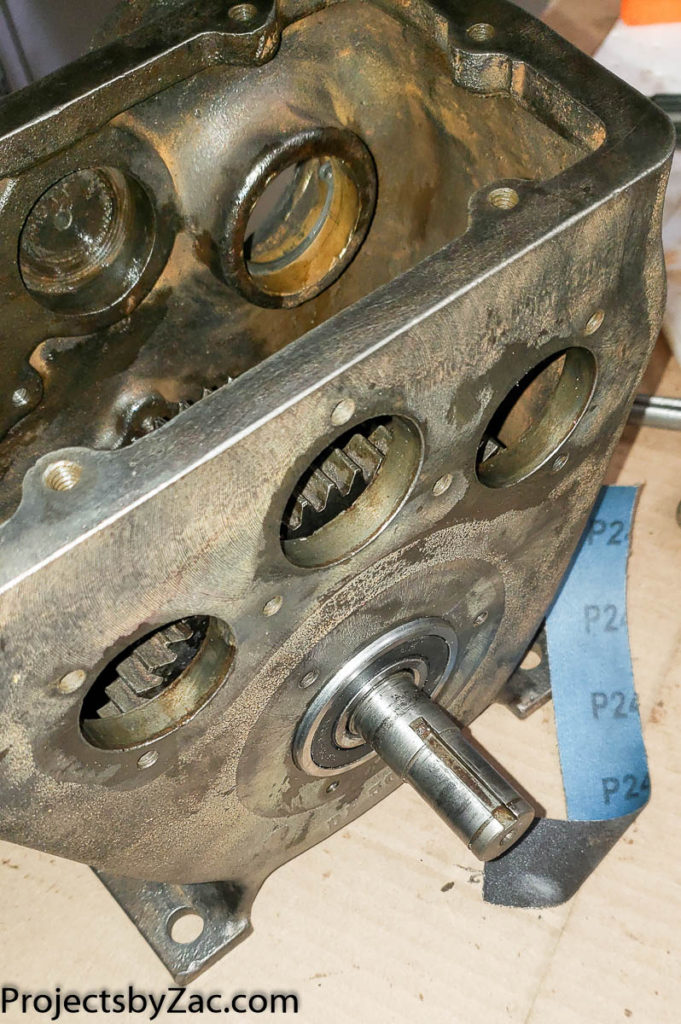
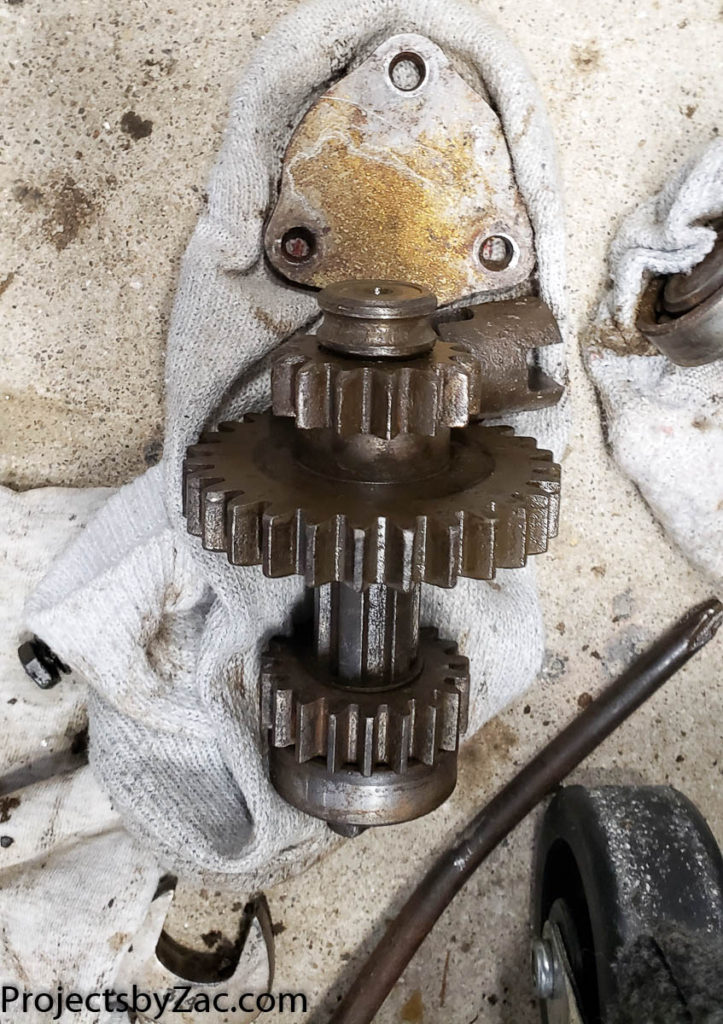
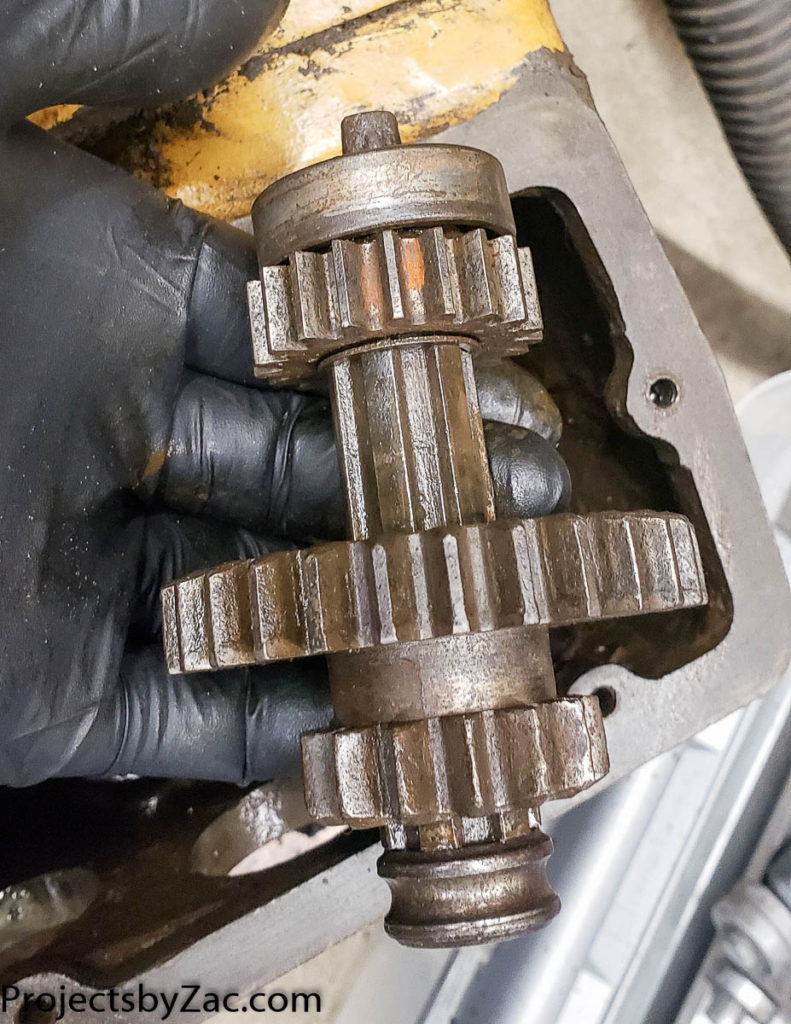
The first shaft assembly went together well. I thought I was home free. Things went ok, until I got to the last shaft, and then it didn’t work. I’m sure if there was a manual they would explain the proper assembly, but I have no information on this thing. In the end I had to press a bearing most of the way out to get the shafts and bearings all assembled. The photos below have me pointing at this bearing/shaft I had to shift with the hook pic tool.

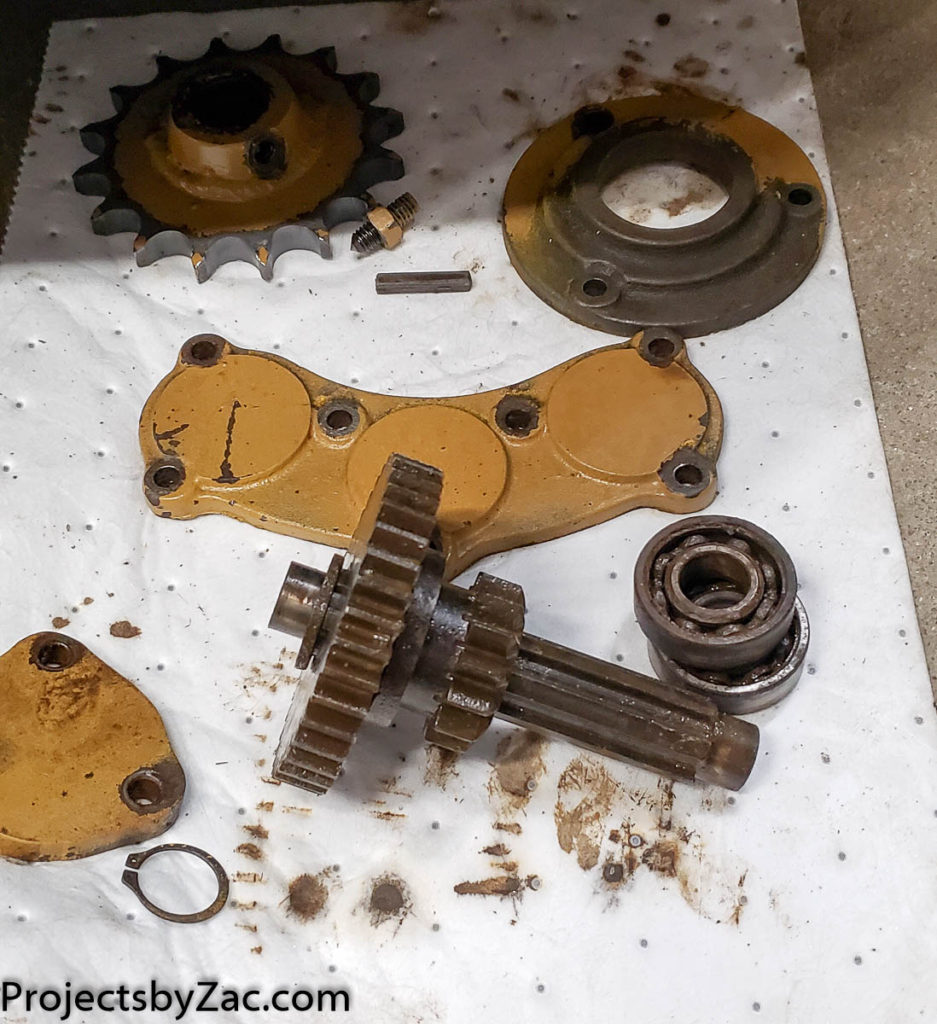
Other than the above, the assembly was straightforward. I’ll drop pics in the gallery below for your education and enjoyment. Drop a comment if you have any questions.

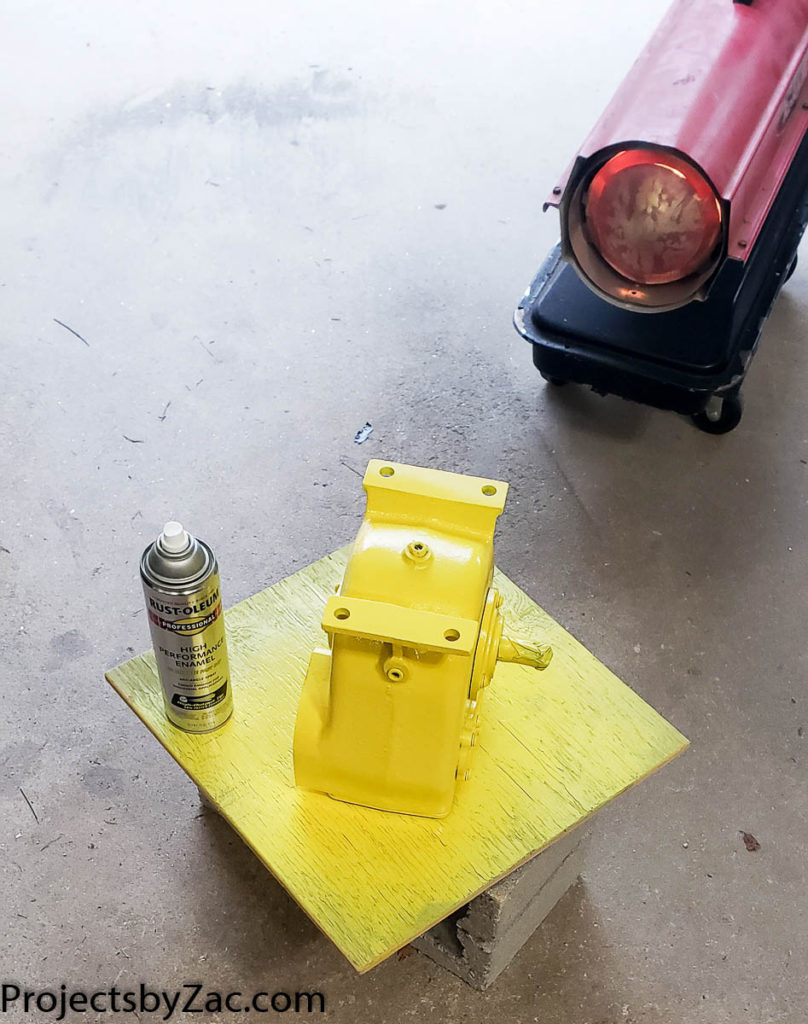
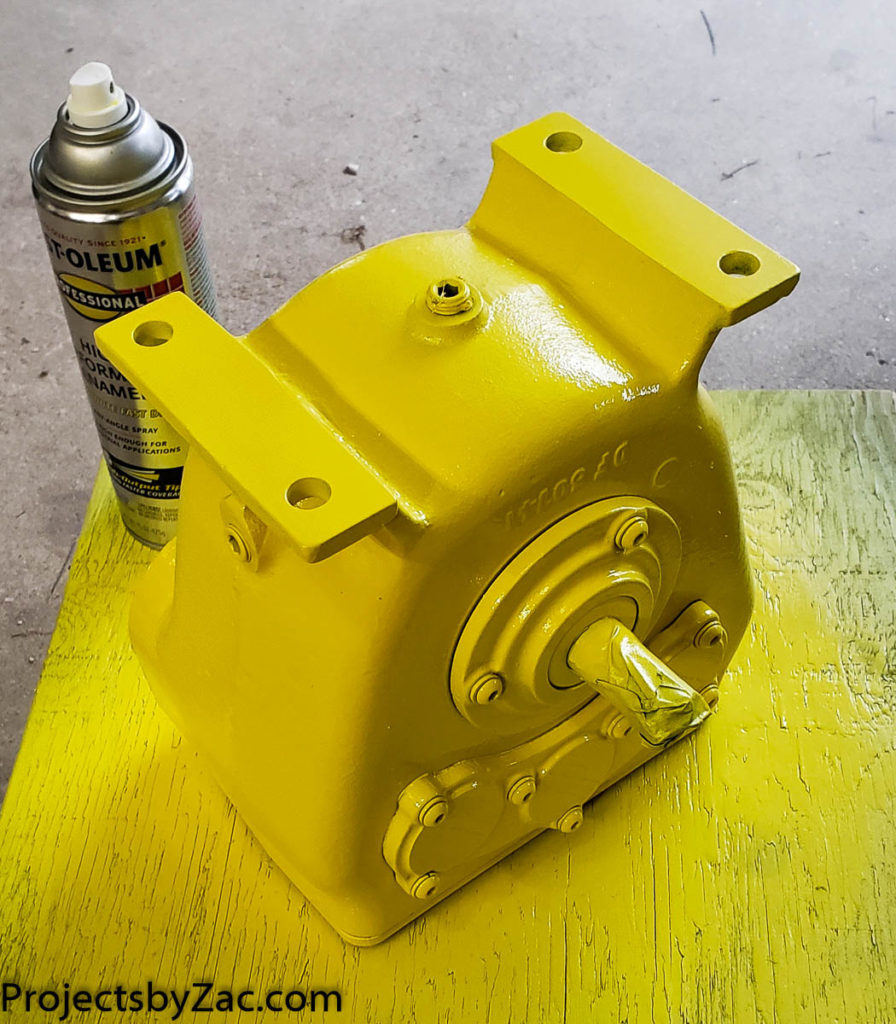
Painting in the winter is tricky, I often spray outside and then quickly bring the part in for heated curing. A big torpedo type heater 3 feet away goes a long way to cure and dry the paint quickly. I’m not sold on this safety yellow collor. I’ve left the botom end masked for now, as I suspect I’ll paint it with a different color yellow.

As always if someone stumbles across this page with any information about these Trackmaster d-Fab Engineering by Fruehauf Trackmaster Dozers Crawlers, I’d love to know more about them. I’d be happy to host manuals and or parts catalogs here on my blog if you have them and are willing to share them with me. Please leave me a comment or email me at my website name on Gmail (no dot com there). I don’t check often, but I eventually will get back to you to host the information. Thanks!
Trackmaster bulldozer Transmission rebuild 02 – restoration, cleaning, fabrication

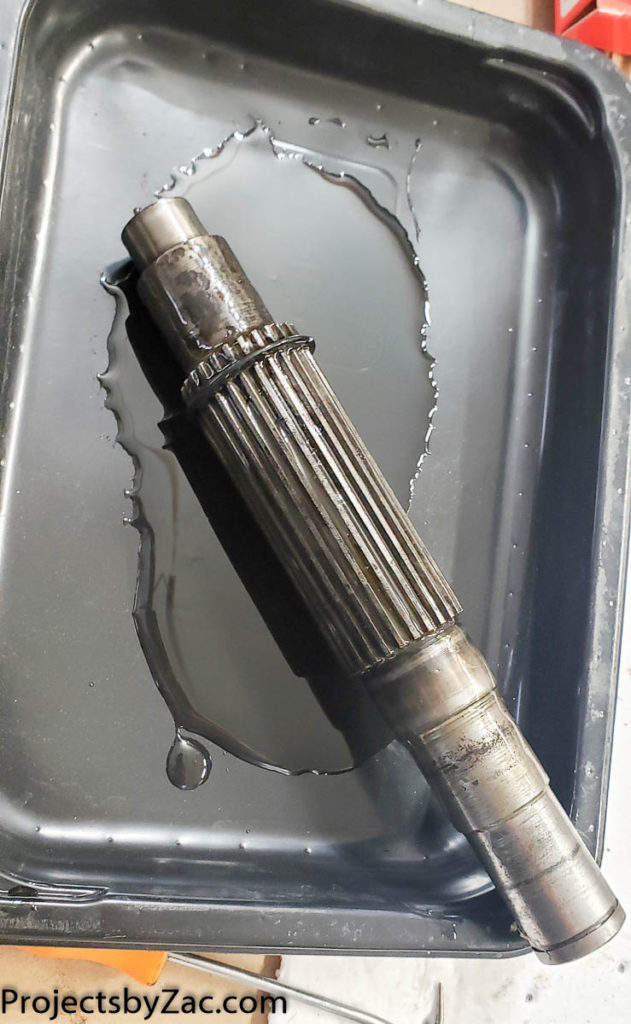
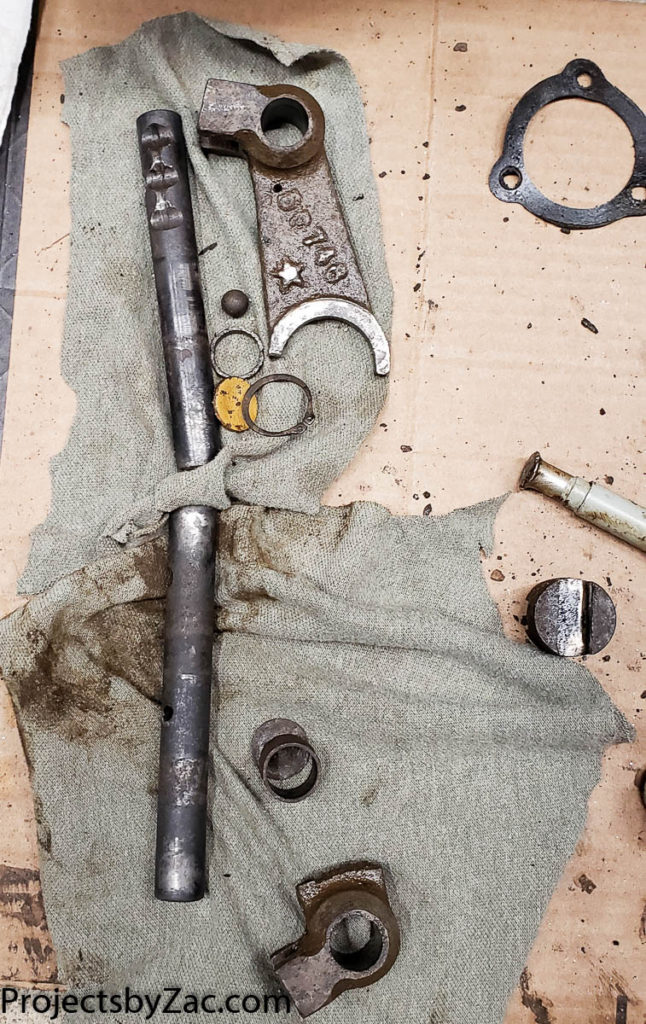
The transmission mechanicals were surprisingly not that badly damaged. It did take an enormous amount of elbow grease to clean all of the grimy oily emulsified yuck off of and out of everything. After cleaning, inspection, polishing, identification of replacement components and so on took place.

Parts laid out from the transmission rebuild. I take a lot of photos so I can reassemble everything. It’s a good way to take anything apart, take all the photos you can.

A bit about what I know about this transmission after taking it apart and studying it. I could find ZERO information online, and I write this stuff up in hopes that it helps someone in the future.

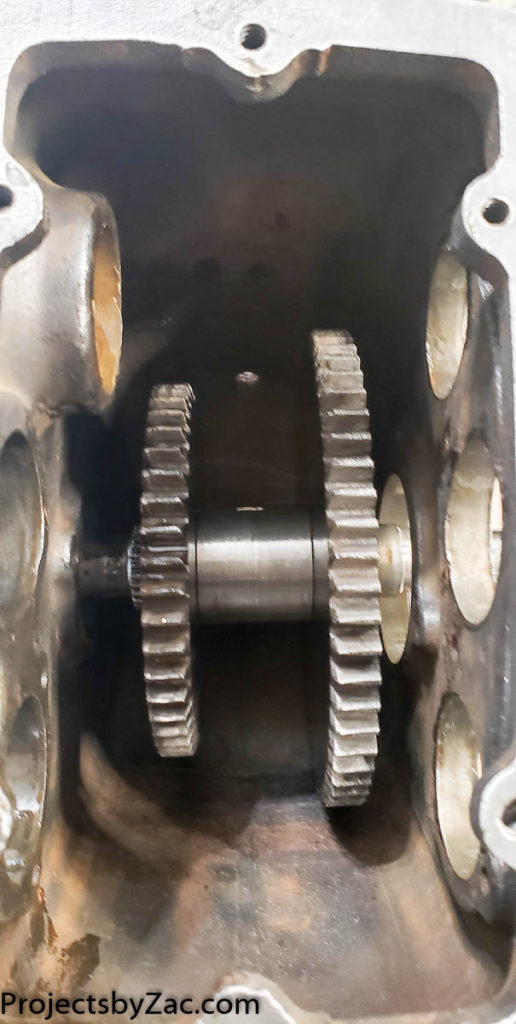
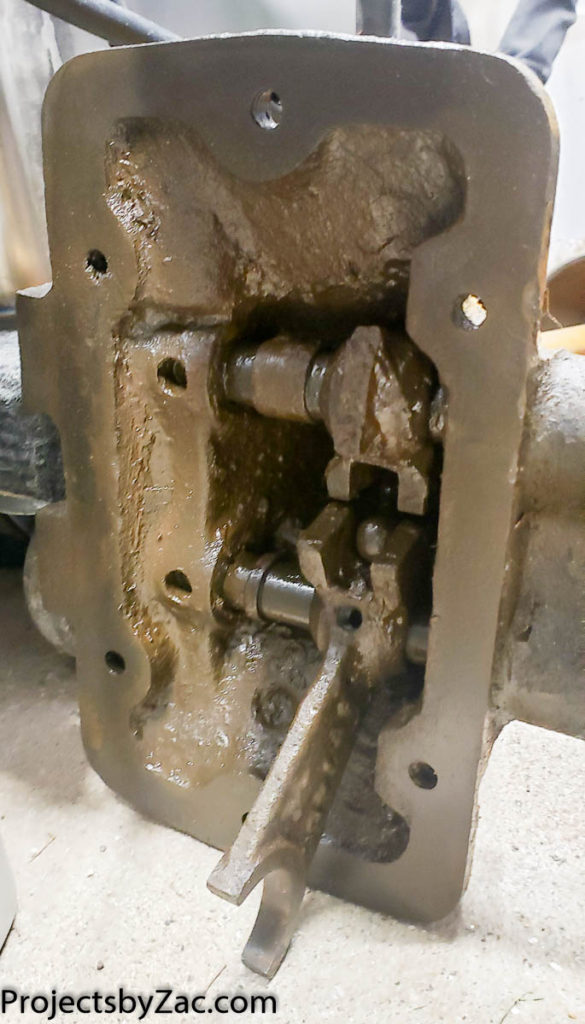
The 3 speed transmission is a symetrical standard splined shaft transmission using sliding standard spur gears. There are two shift forks, and two movable sliding gears. One gear only has one position, the other has two locations. It is a very simple and robust transmission design, with nothing broken and no unbearable wear or damage despite it’s poor condition when I took ownership.

Shafts, splines, sprockets, snap rings are all standard ANSI and SAE. Only the bearings are metric 6000 series items. The three gear reductions of the tranmision are 1.5:1, 4.5:1, and 18.5:1. These are counted manually by turning the input shaft and counting after rebuild and can have a bit of innaccuracy.

The main output shaft is 13/16″ for the 16 tooth sprocket for #60 chain. The bearing on the main shaft is a standard 6305 with bearing dimensions 25x62x17mm Deep Groove Ball Bearing. All of the other bearings, 7 in total, are the same and are 6203 Bearings with dimensions 17x40x12mm. There is one oil seal on the output shaft. This oil seal is an old out of production part: Chicago Rawhide Oil Seal 8774. A modern replacement oil seal I found was a SKF 8796 LDS & Small Bore Seal, R Lip Code, CRW1 Style, Inch, 0.875″ Shaft Diameter, 1.624″ Bore Diameter, 0.25″ Width . I ordered this, and then found an original NOS part on Ebay and ordered that as well. Both have the same dimensions and basic design.

A quick trick for pulling blind ball bearings

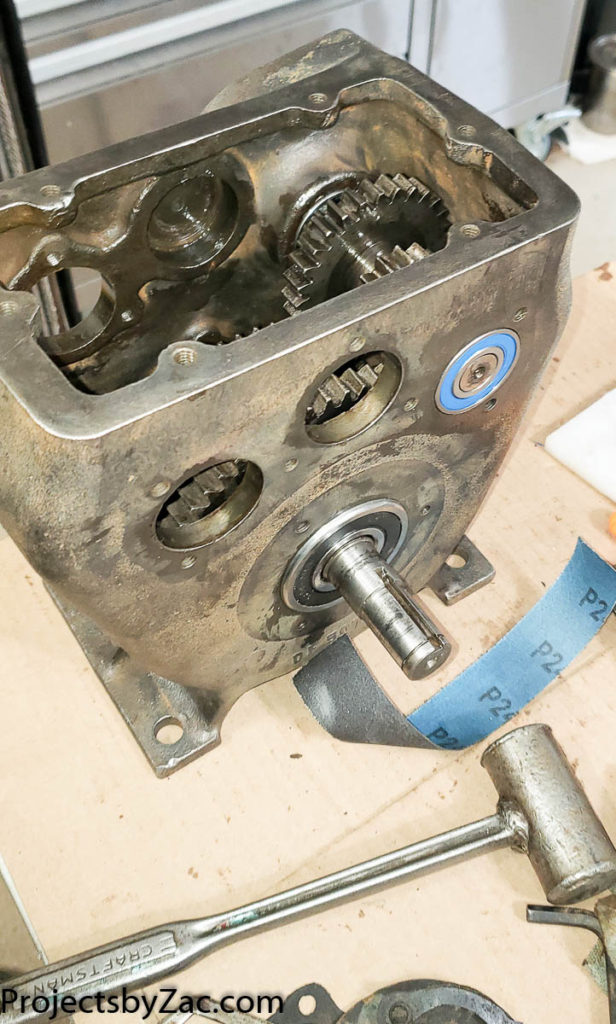
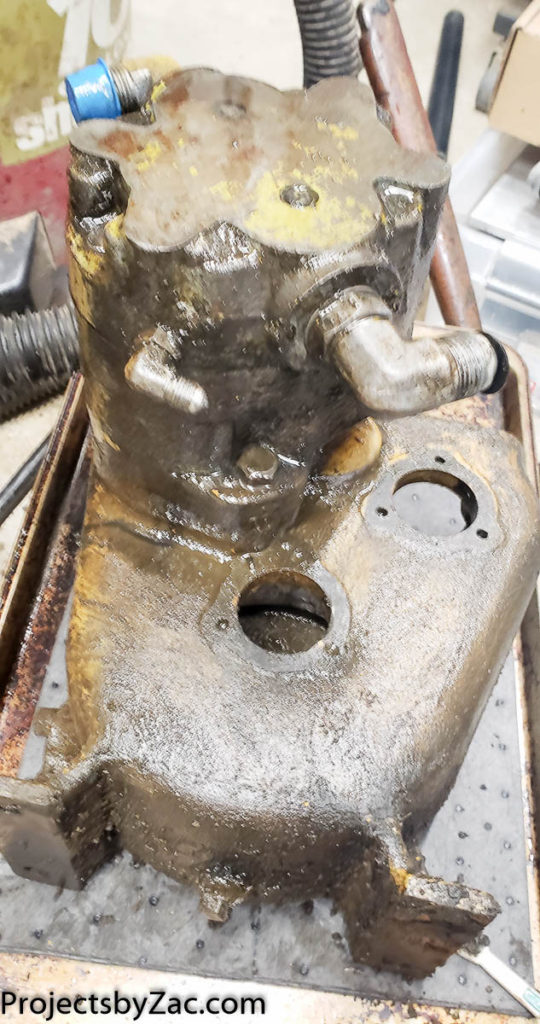
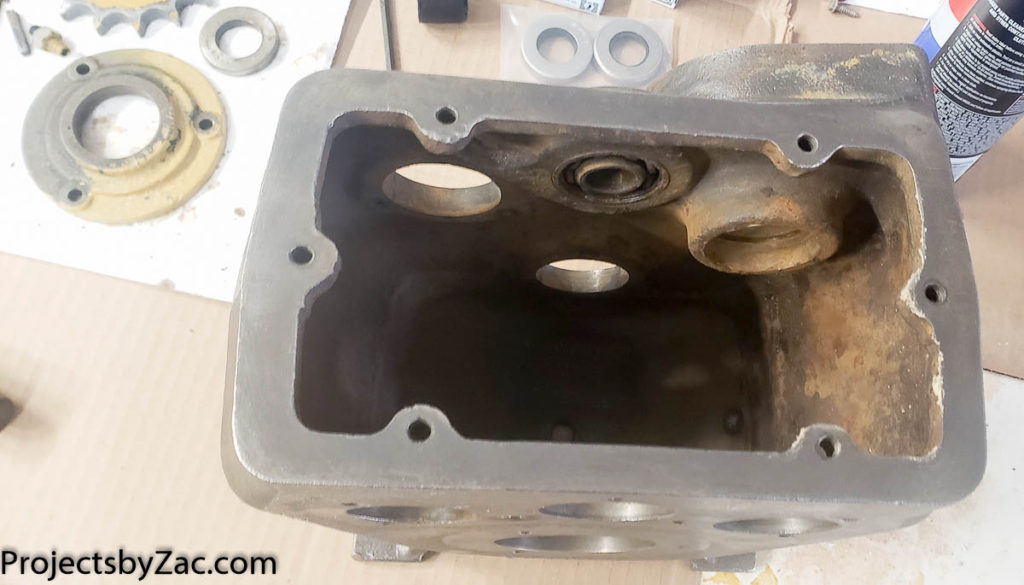
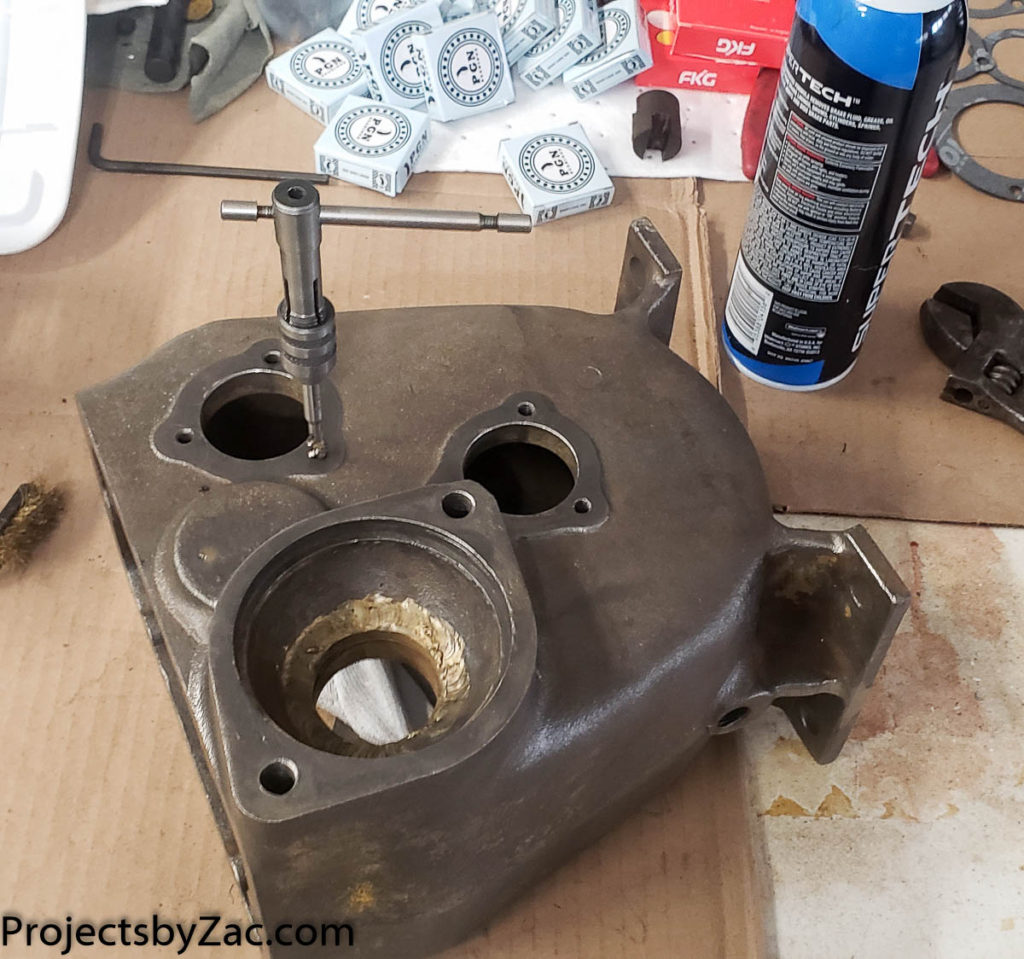
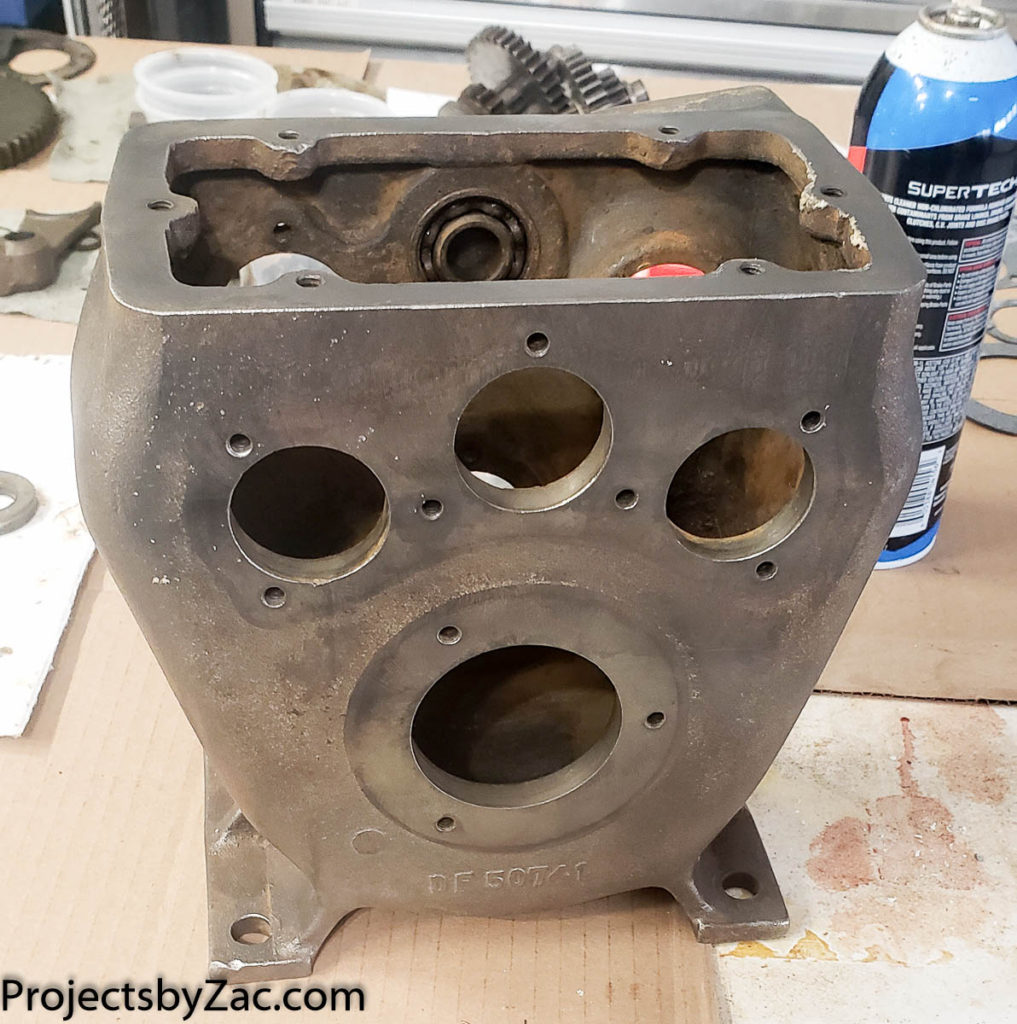
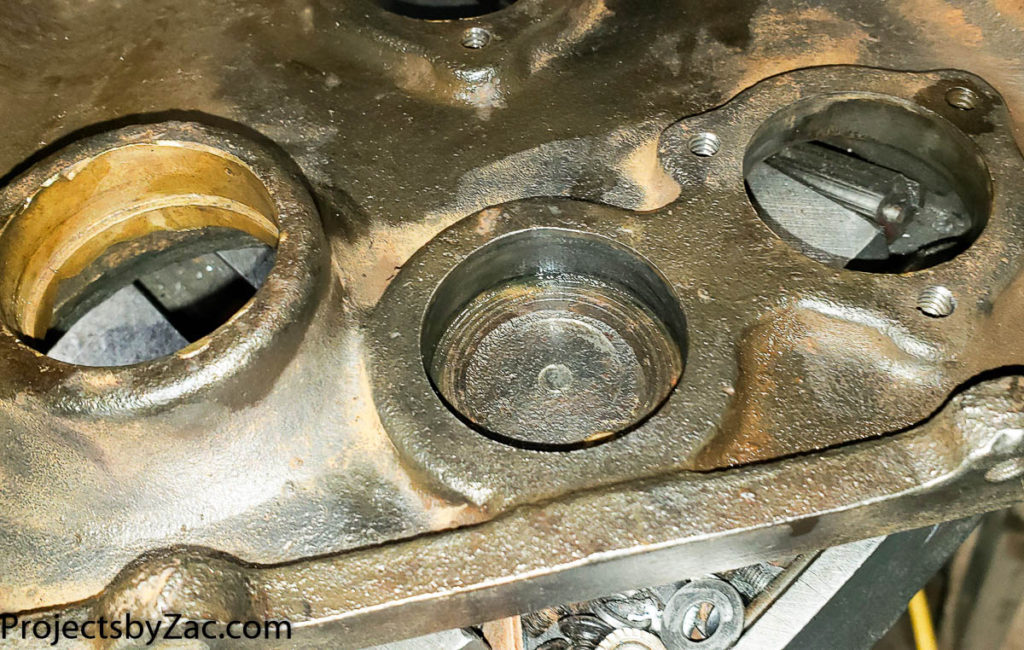
It often happens as you are working on rebuilding or restoring some old iron, machine tool, etc that you come across a blind bearing in some machined pocket. These can be a real bear to remove, especially if as in the case of my 70’s era Trackmaster bulldozer it’s a nasty mess in need of restoration. You can see the blind bearing in the top middle of the photo below.

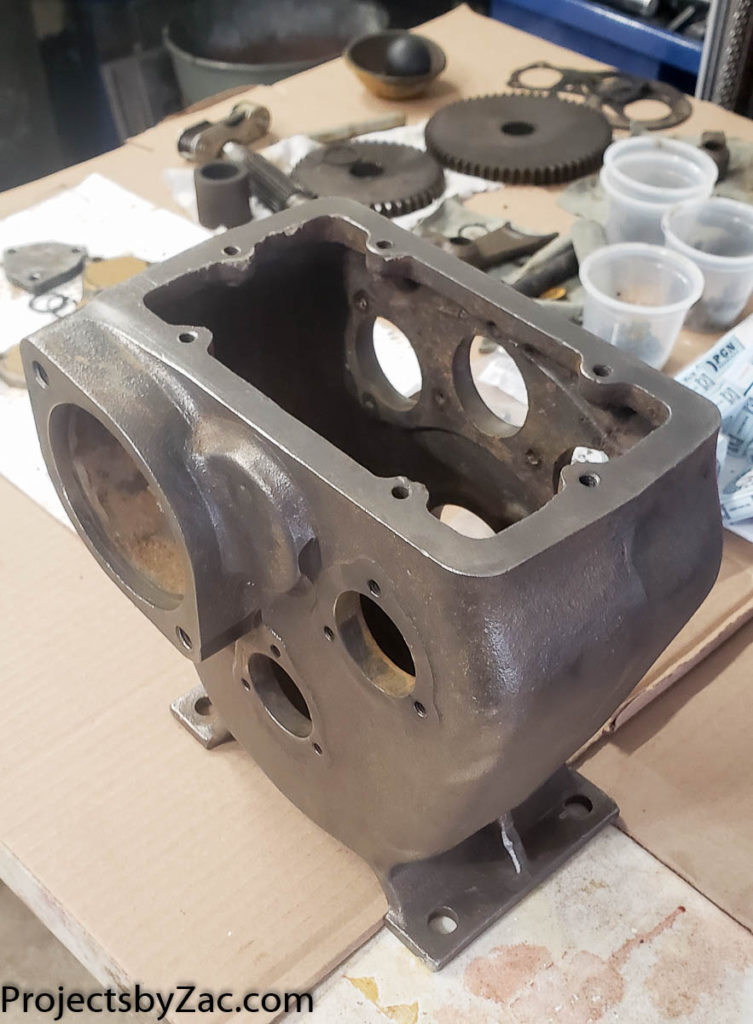
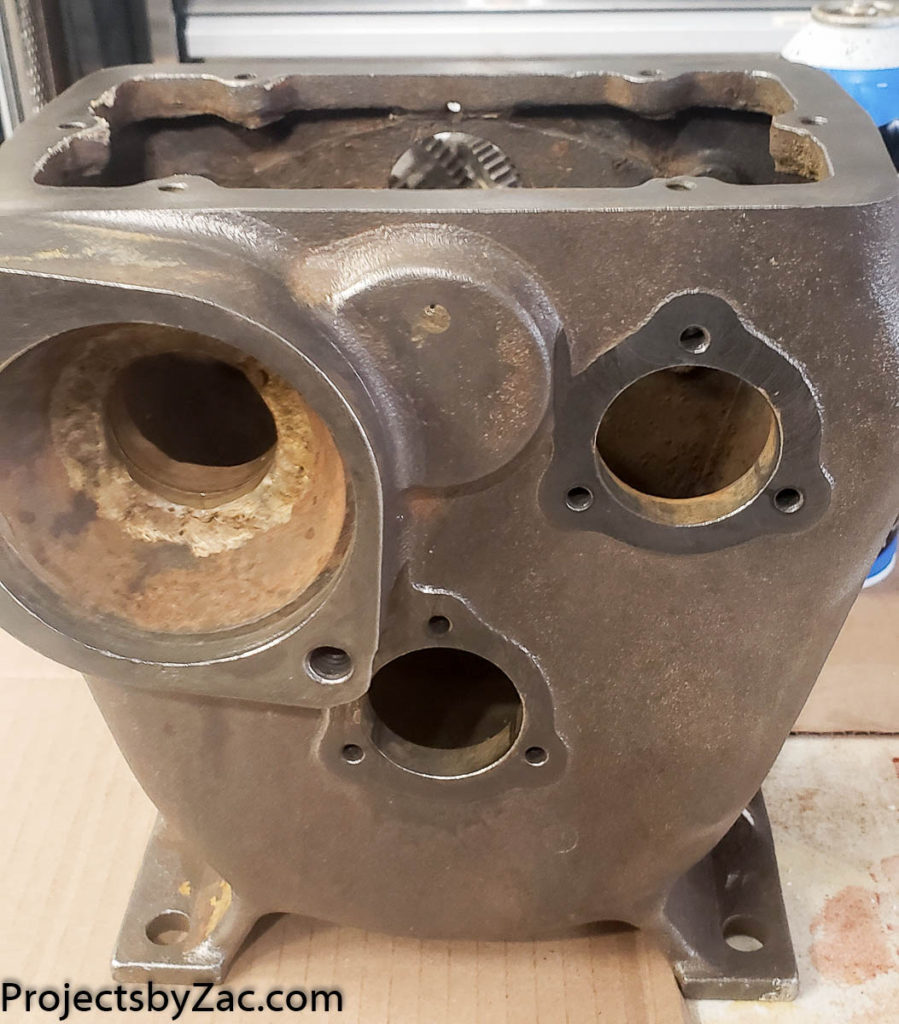
Trackmaster dozer transmission housing by d-Fab Engineering a devision of Fruehauf Corp Route 202, Montgomberyville, Pennsylvania USA

I looked for a puller tool, they make them but even cheap ones are still a bit pricey for a single pull. This bearing, like all of the others was trashed, so I knew I wasn’t going to be reusing it, and as such I went with the tride and true method. I’ll share with photos below the details of one of the best ways to get a stuck bearing out.

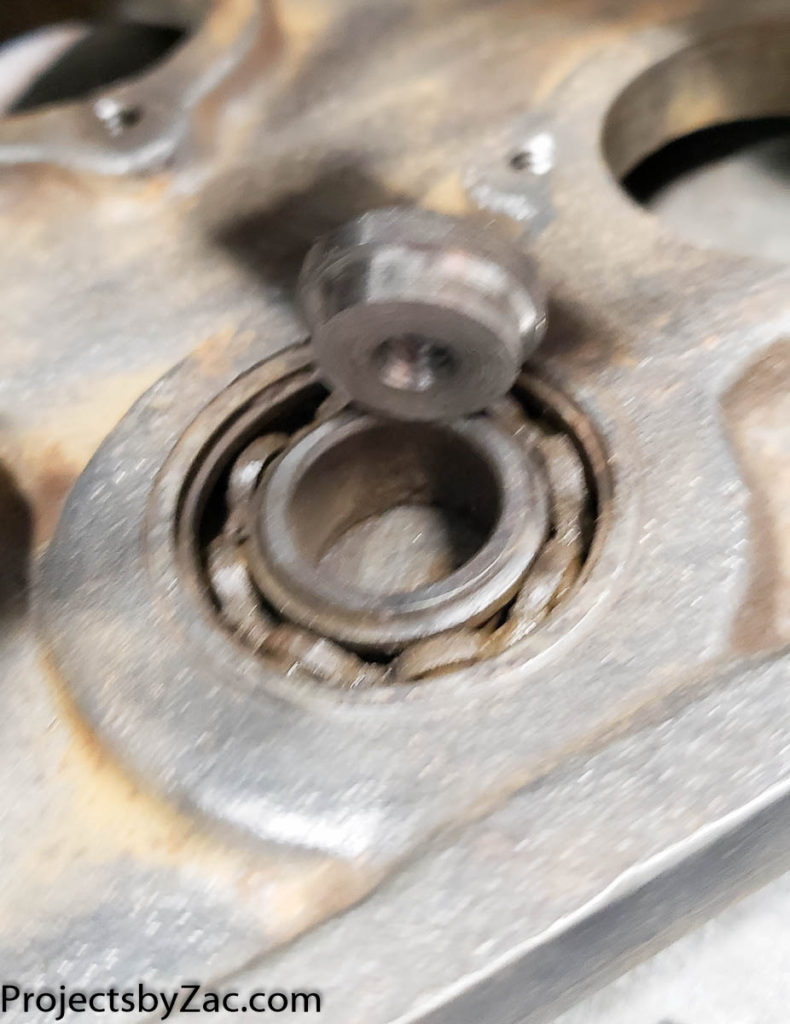
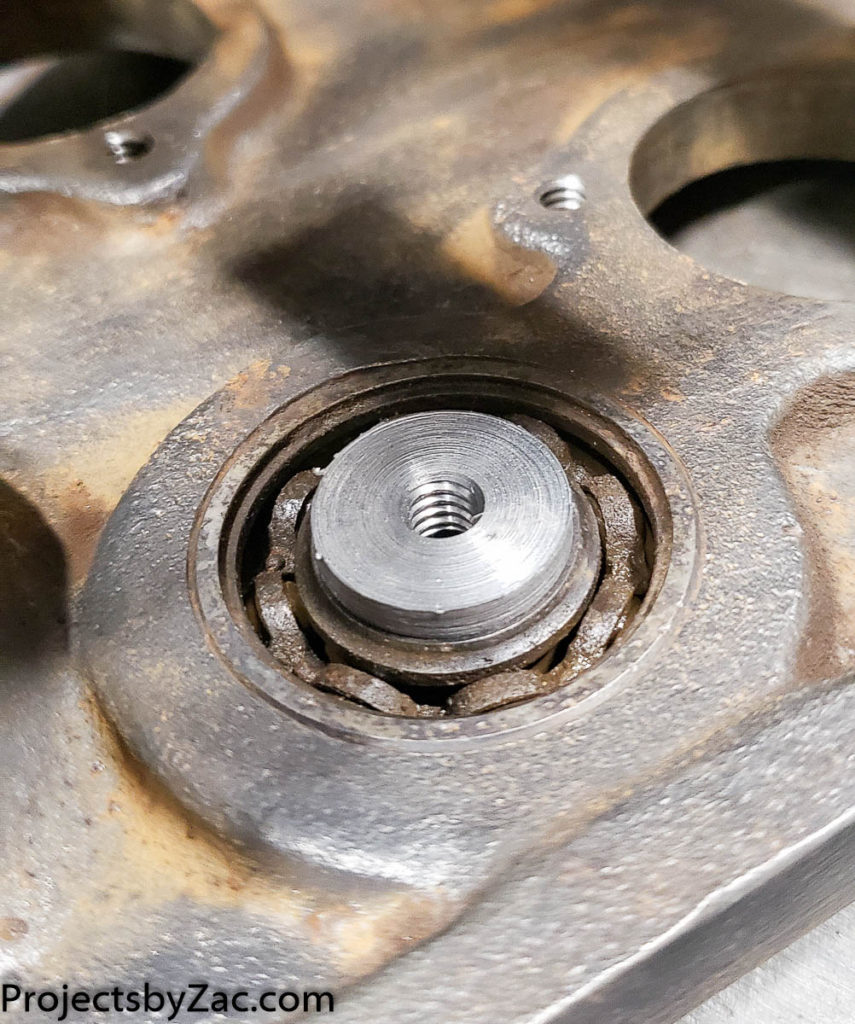
Blind bearing removal Tip Step 1: make a threaded bushing for the ID of the bearing, or use a nut that fits the opening well enough.
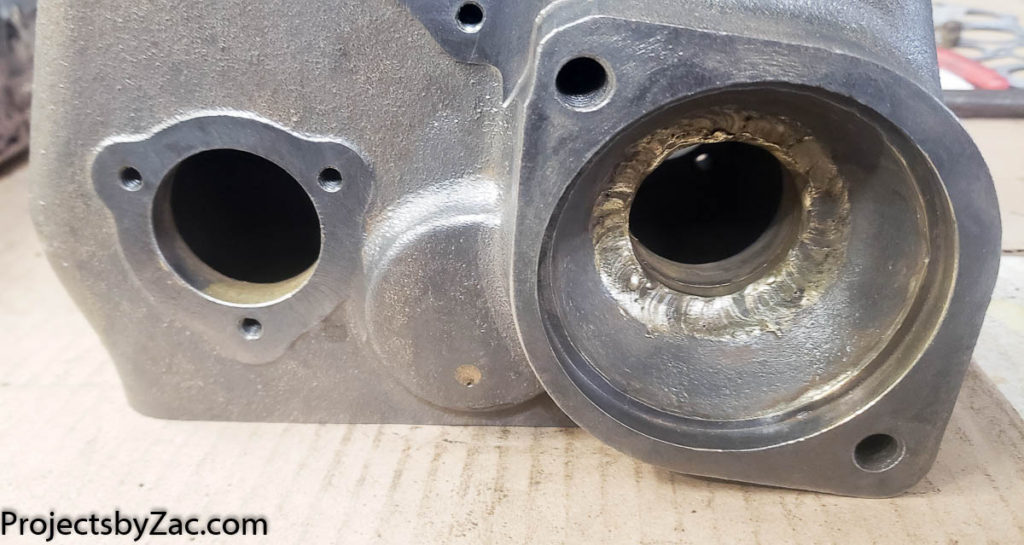
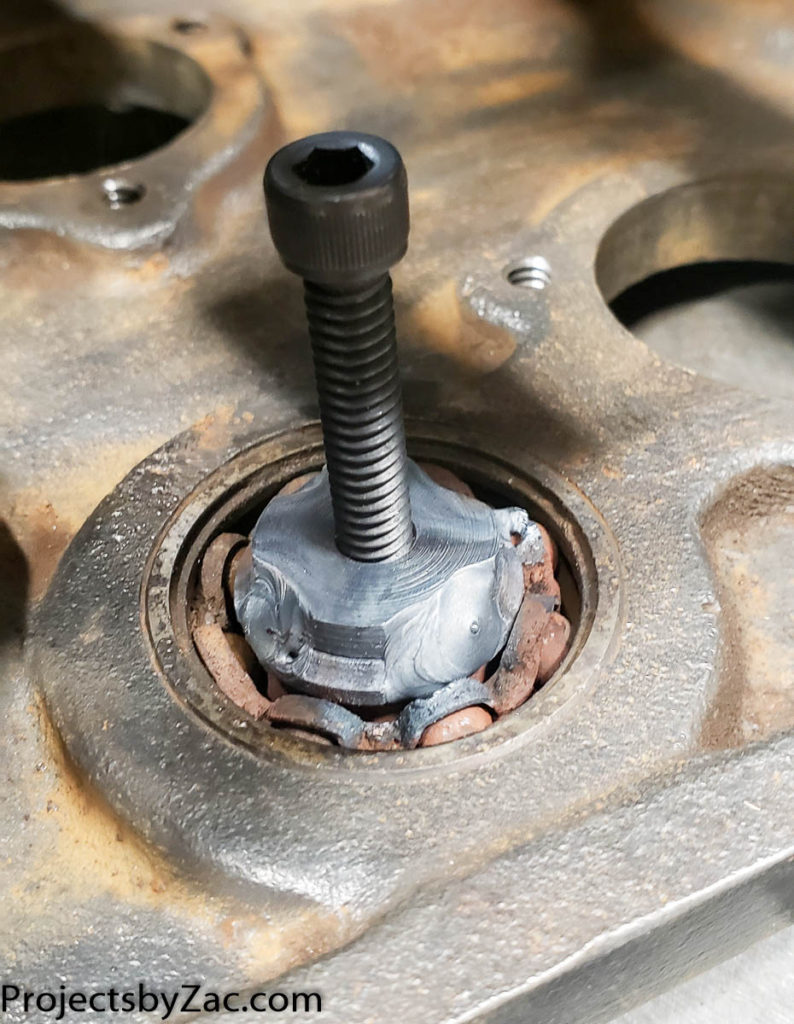
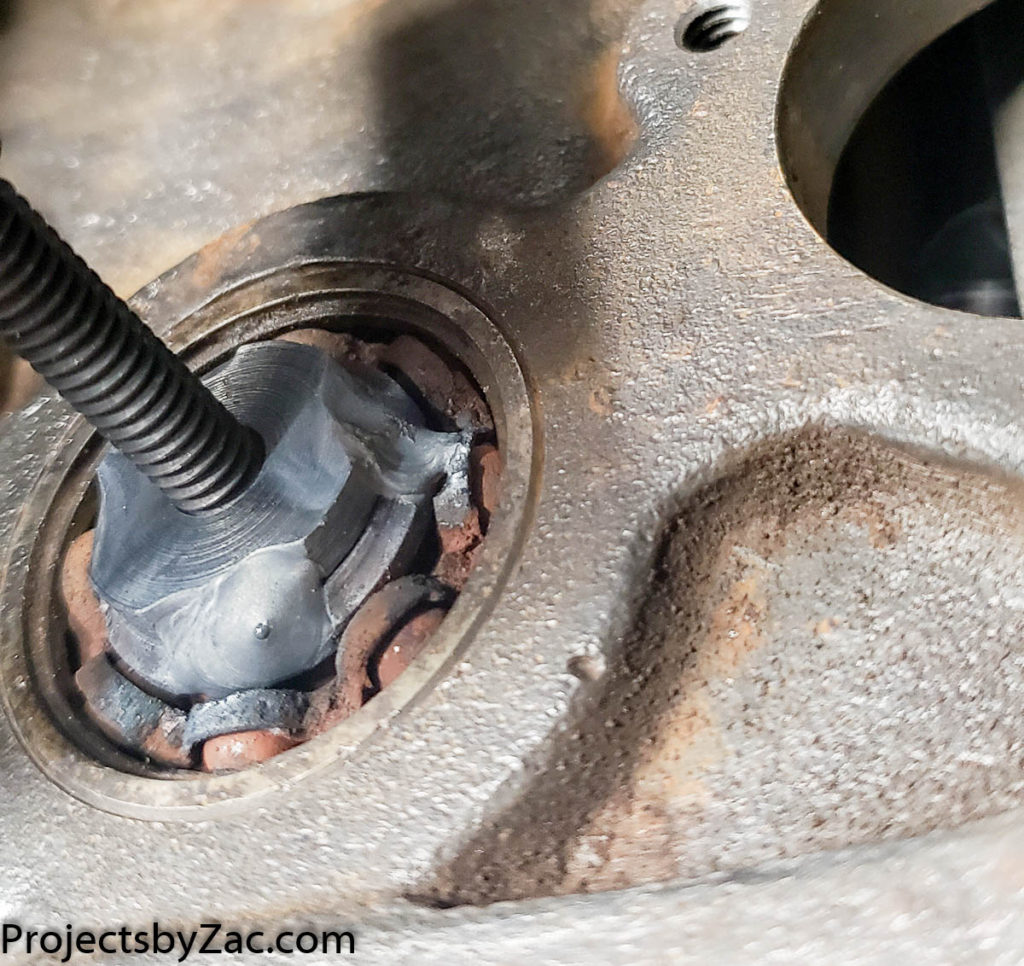
Blind bearing removal Tip Step 2: insert your a threaded bushing and weld it carefully to the inner race, you can mig or tig depending on what you have.
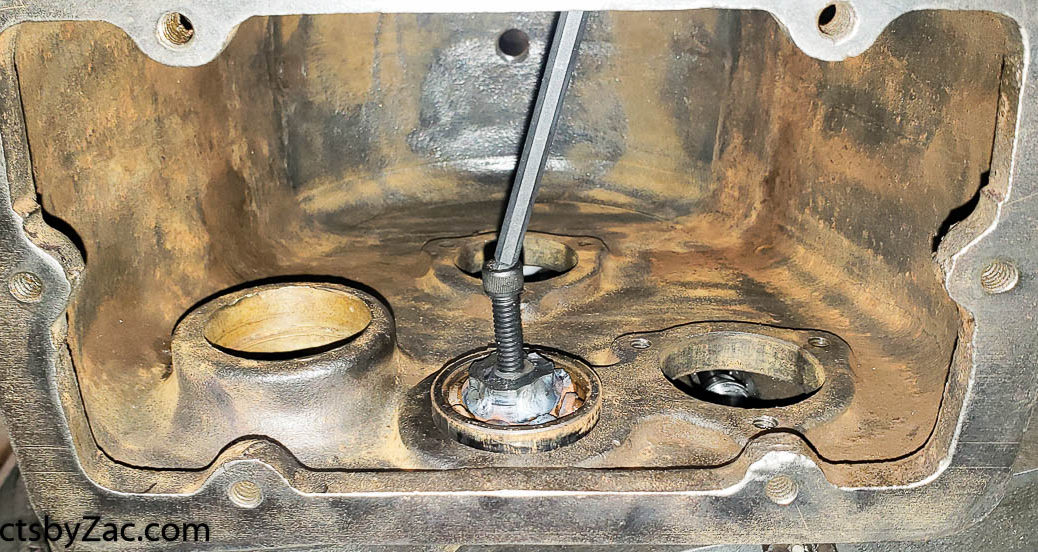
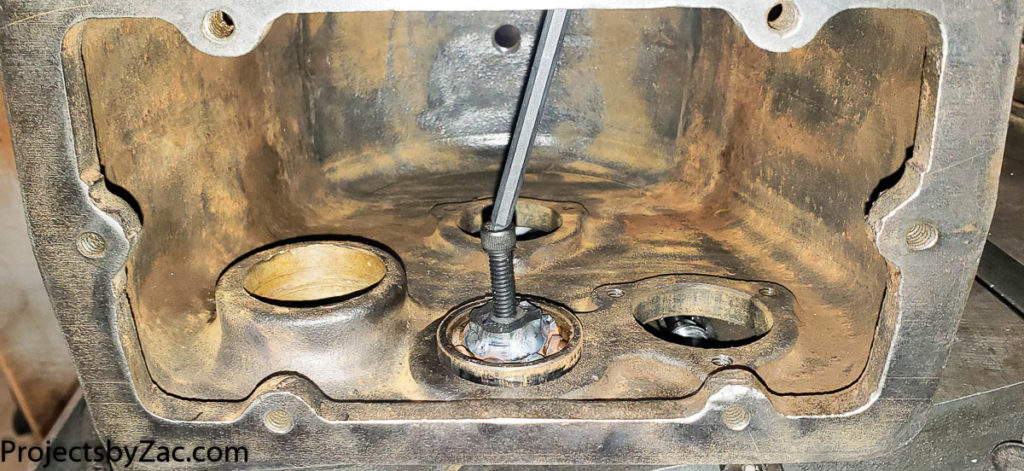
blind bearing removal trick step 4: screw in your bolt, and press out the bearing from the blind pocket. Even if it was stuck before, often the heat from welding and cooling will allow it to press right out. Never discount the force generated from an inclined plane wrapped around a cylindrical axis in any pressing operation. *Wear eye protection. Every now and again the bearing explodes into shards of sharp metal that fly everywhere.
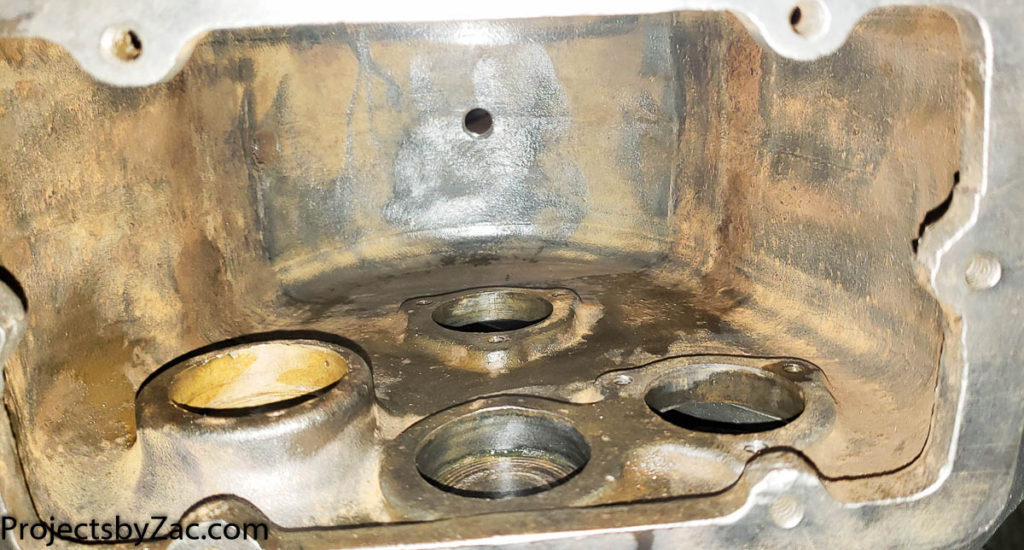
The inside of the 3 speed bulldozer transmission has cleaned up relatively well. A bit more work cleaning and it will be ready for the reassmbly.

Summing up my favorite blind bearing removol trick in steps:

  1. Make a threaded bushing for the ID of the bearing, or use a nut that fits close enough.
  2. Place in or on the bearing with the threaded hole centered as best you can.
  3. Weld in place, and let everything cool fully. (you don’t have to go nuts, three good spot welds spaced are usually enough)
  4. After it cools, thread in a good quality bolt with some crease or oil on the threads
  5. Start turning and let the screw press out your blind bearing.

This of course requires a welder, but many of the tools I looked at cost as much as a cheap HF welder. Go buy the welder, you will be happy you purchased it rather than a fancy one time use blind bearing removal tool.

Bridgeport Mill Restoration: Part 4 Refinishing the Hardware – Black Oxide surface

I’m skipping ahead in regards to order things happened in the rebuild as many friends are interested in this particular topic and I do not want to write to each of them explaining how it works.

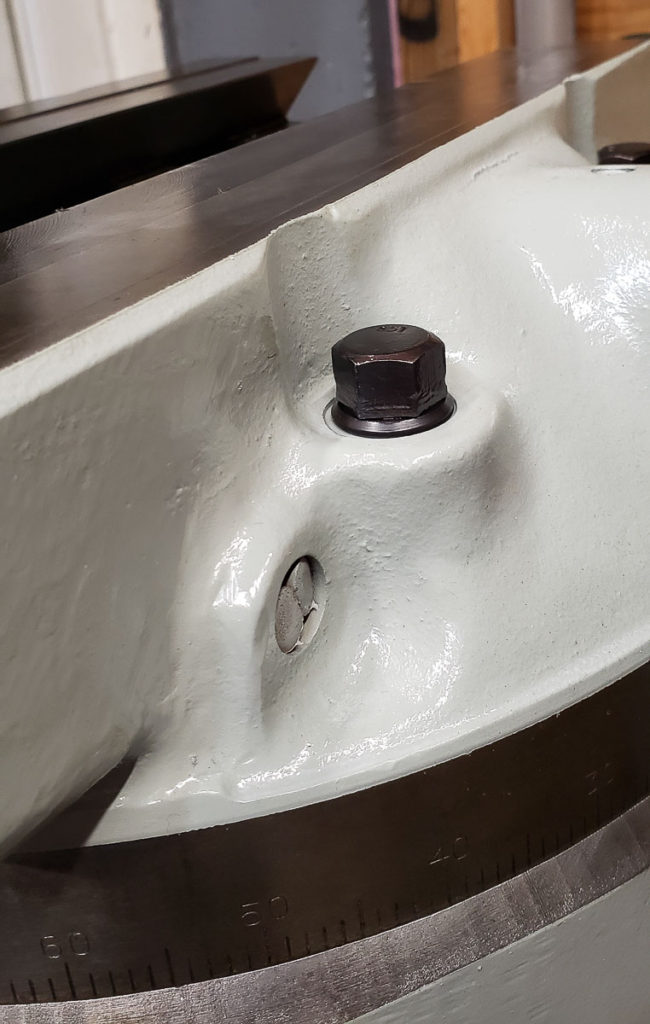
Freshly refinished Turret Bolt in Black Oxide. Contrasts nicely with the Industrial Light Machine Grey Paint.

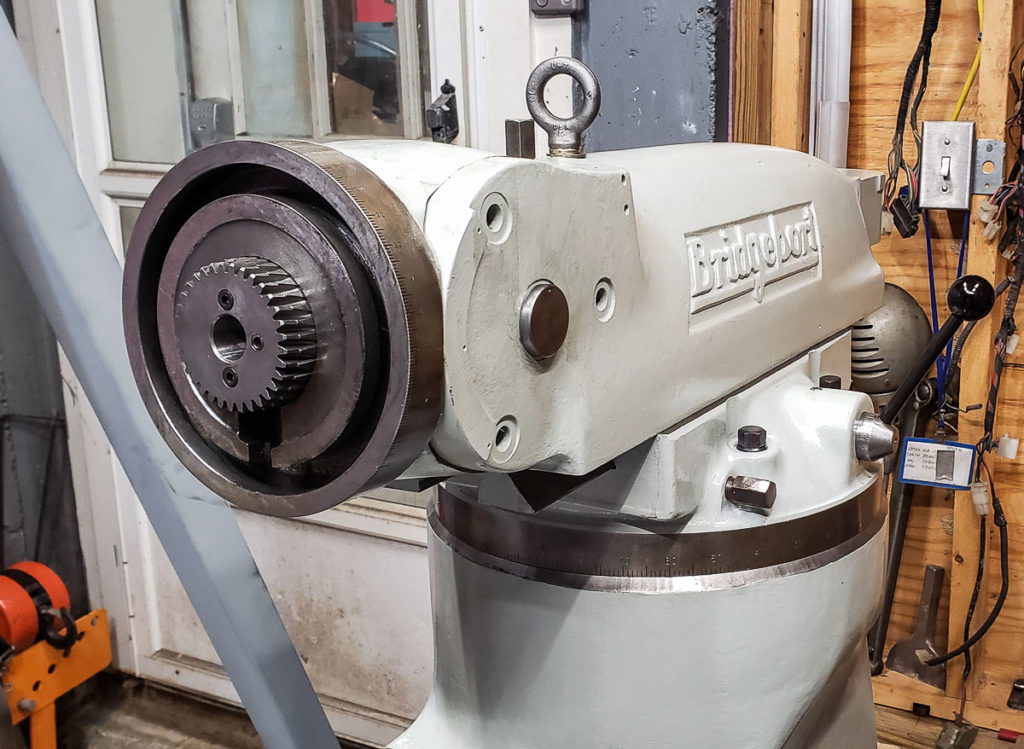
In addition to restoring the castings and mechanicals on my Bridgeport Milling Machine I scrounged late last year, I needed to restore or replace the hardware. Replacing hardware can get expensive quickly. The hardware on the mill was all very servicable, but very ugly. I opted to clean, polish, and refinish all of the hardware. I am a huge fan of Black Oxide or Blued finishes on steel. While not suitable for exterior applications, this helps keeps hardware used inside from rusting prematurely. Plus, as you see in the photo above, the black hardware contrasts nicely with the Industrial Light Machine Grey paint I used on the castings after stripping them.

degreasing hardware prior to polishing for refinish
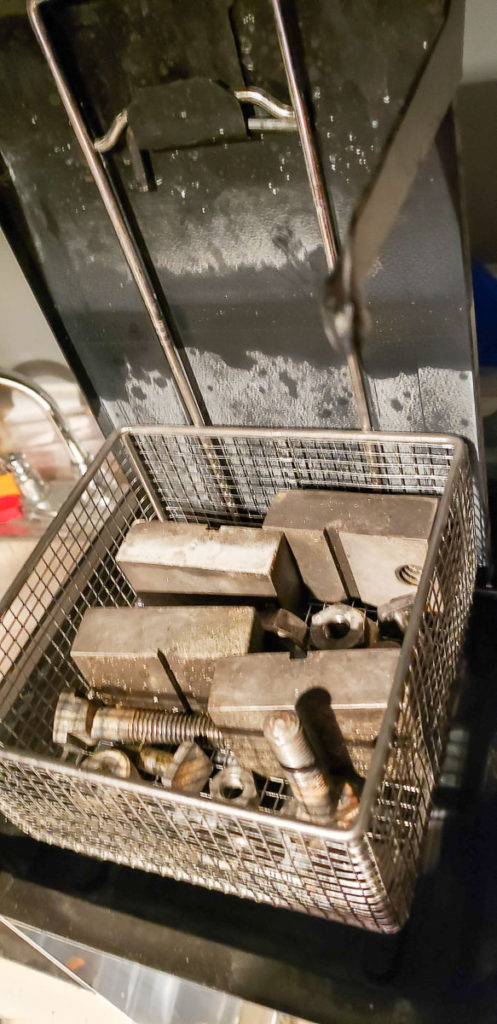
Degreasing hardware in a FormWash with Purple Degreaser

Refinishing hardware is a bit labor intensive. Thankfully the Bridgeport uses relatively few nuts, bolts, and washers in assembly. I start hardware restoration by bulk degreasing and washing all of the parts in an old FormWash which agitates the bath and has been modified to heat the de-greaser to better clean components. I use either Simple Green or Castrol Superclean without dilution as a degreaser which works well, especially heated up to about 50C. You can degrease a surprisingly large number of really nasty dirty parts and engine bits in this before you need to change out your degreaser.

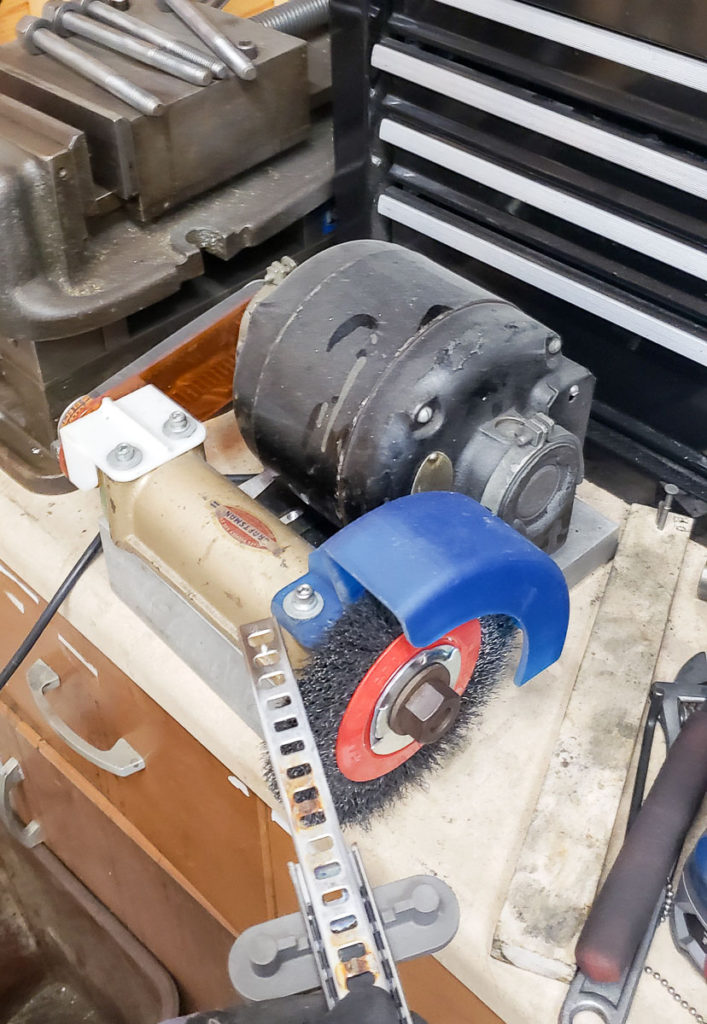
The small wire wheel buffer I made from mu parts piles at the start of this project. It’s been priceless in restoring all of the smaller hardware by polishing it to shiny bare metal.

After degreasing, I spend a few minutes on the wire wheel buffer I built polishing the hardware to shiny bare metal. I’m not looking for mirror finish on the parts, but I do ensure no grit, grime, rust, dirt, or burrs remain. I will touch up dings and “Gorilla wrenching” marks with a fine double cut file and rebuff when I find them. I run taps through the nuts to ensure the threads are cleaned out.

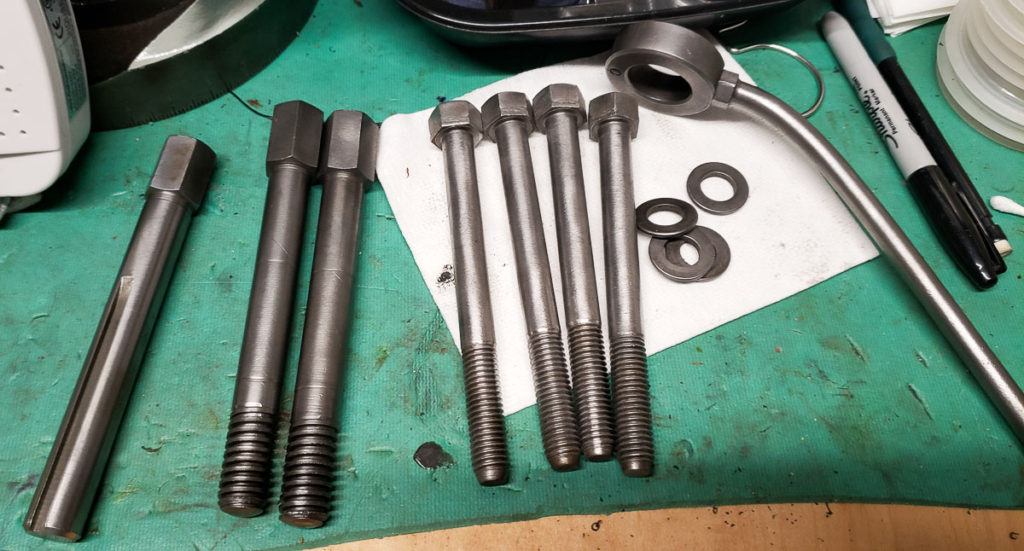
polished and wire brushed clean hardware pre black oxide treatment
Post degreasing and wire brush polishing the bolts are shiny bright metal
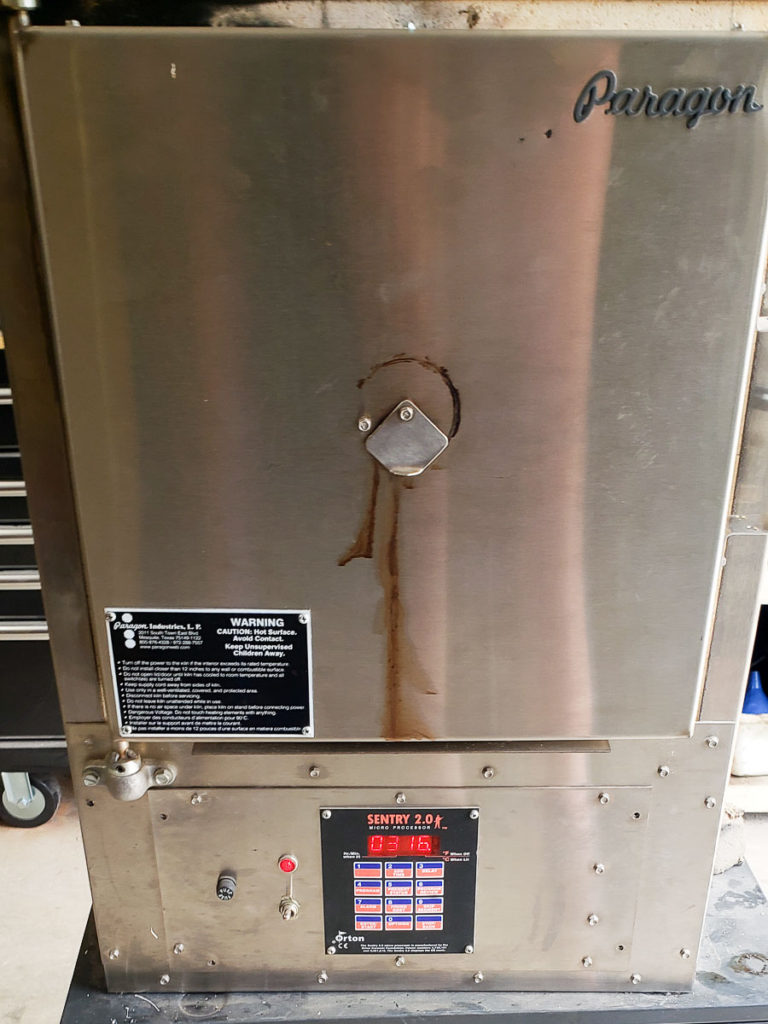
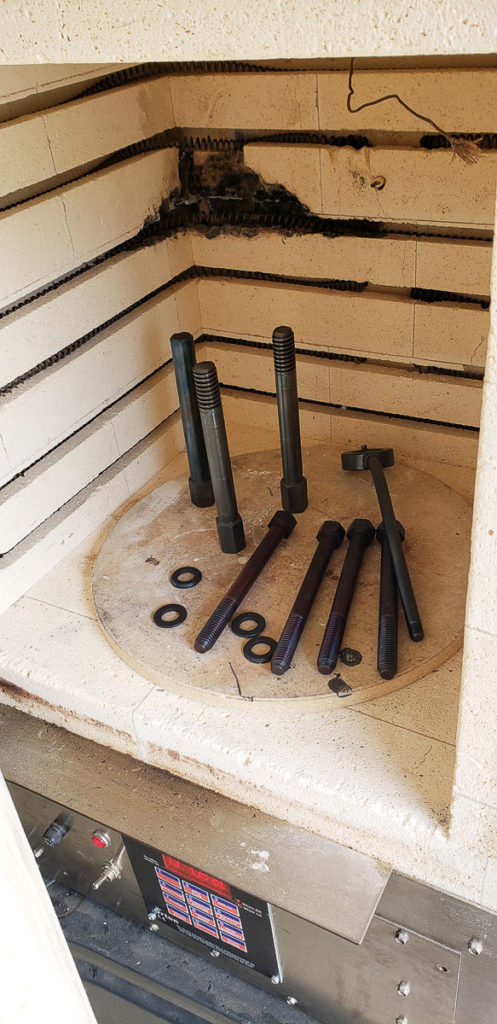
Furnace oxidation temperature of 300C for black oxide steel
Preheating the furnace to 300C (550-600F) for black oxide coating of steels.

After cleaning and prepping the hardware the next step is to preheat your furnace to 300C. I have a very nice Paragon furnace I scrounged. It was wrecked when I got it due to some experiment gone horribly wrong. I managed to restore and fix this furnace to almost perfect working condition with very little cost. It’s quite large inside and capable of holding temperatures up to about 1100C.

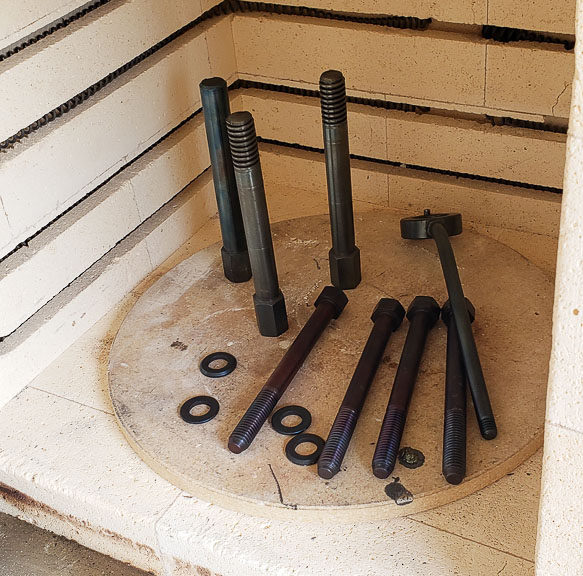
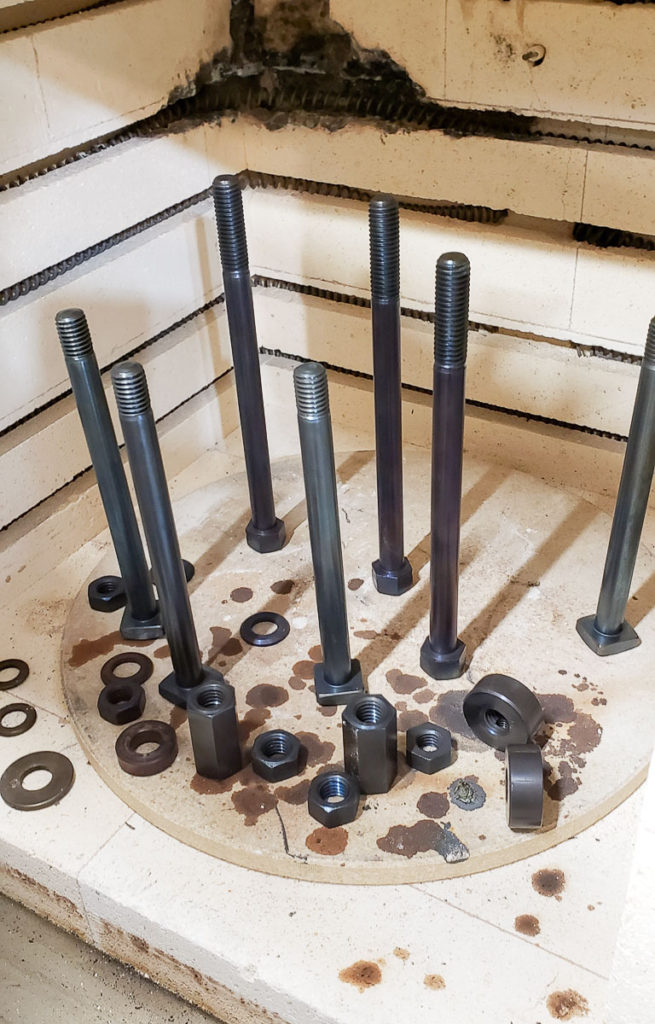
Hardware in the furnace to get black oxide finish restored
Hardware in the furnace turning black.

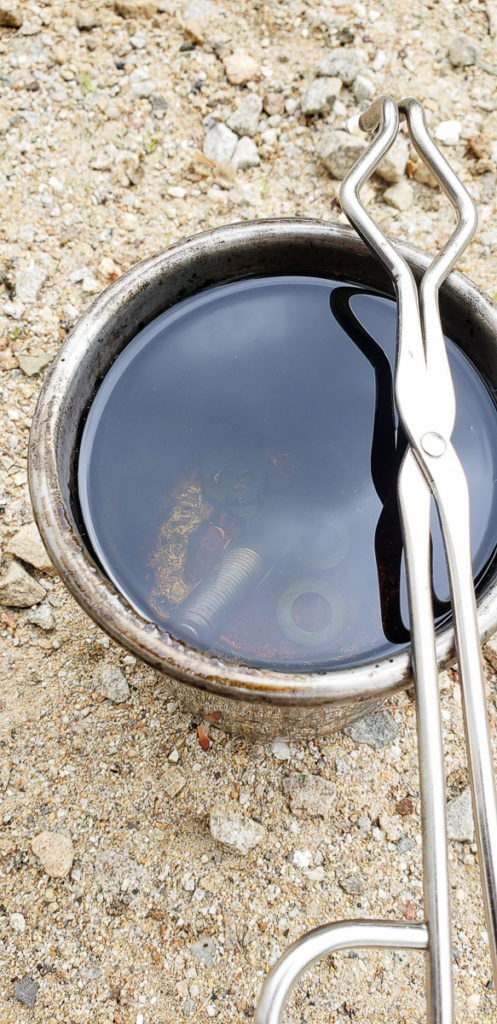
This is not the modern process of blackening steels that uses salt solution baths. This is more of the DIY, slower old school method. The process involves heating your clean, dry, parts at 300C for an hour or two, then you dunk them in a nice oil. I am a fan of Canola (rapeseed) oil for this dunking. You can repeat these steps if you want a darker heavier finish. This process leaves a nice hard blue-black finish on your steel. The alloy and part size and shape do affect this process a bit. So all of your parts may not end up quite the exact same shade of black. Dwell time and contaminates can cause differences in color as well.

Canola oil for dunking hot steel into in blackening
Use a metal container for your oil bath, 300C steel will melt right through most plastic containers.

I originally saw this process in a video restoration of an old Vise that my buddy Brian shared with me. This is that vice restoration video which is wonderfully put together: https://www.youtube.com/watch?v=U2jNeObHnZY The video is well worth the time to watch as it is very well done.

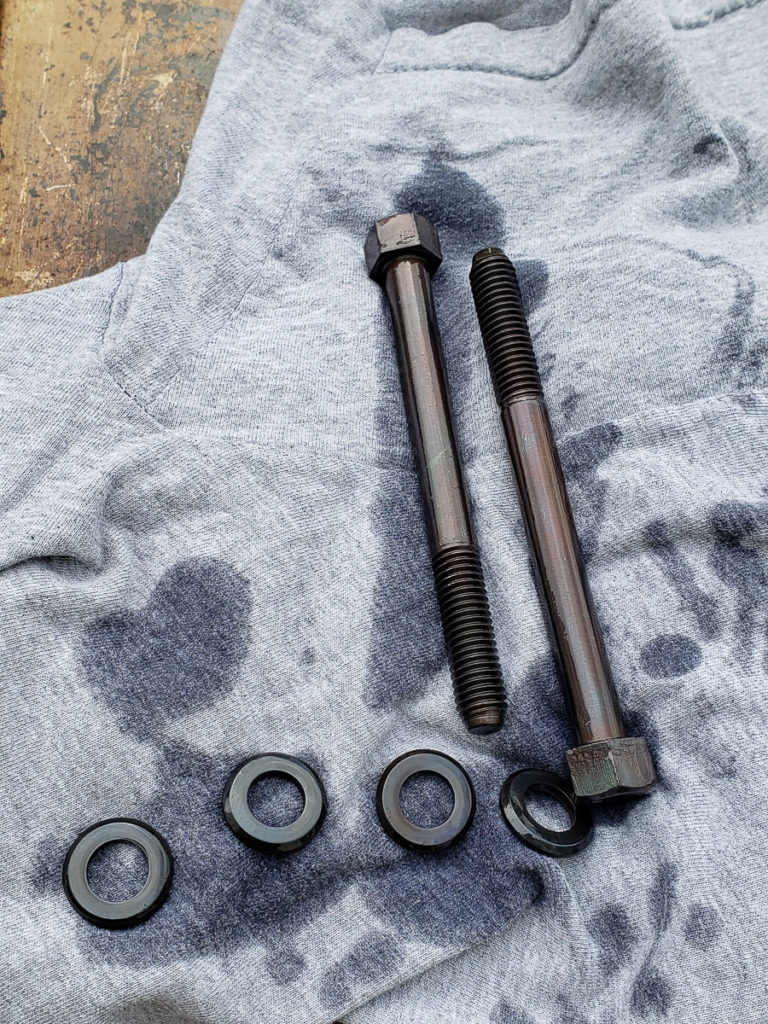
Finished parts come out very nicely with a hard black oxide coating. They look like new.
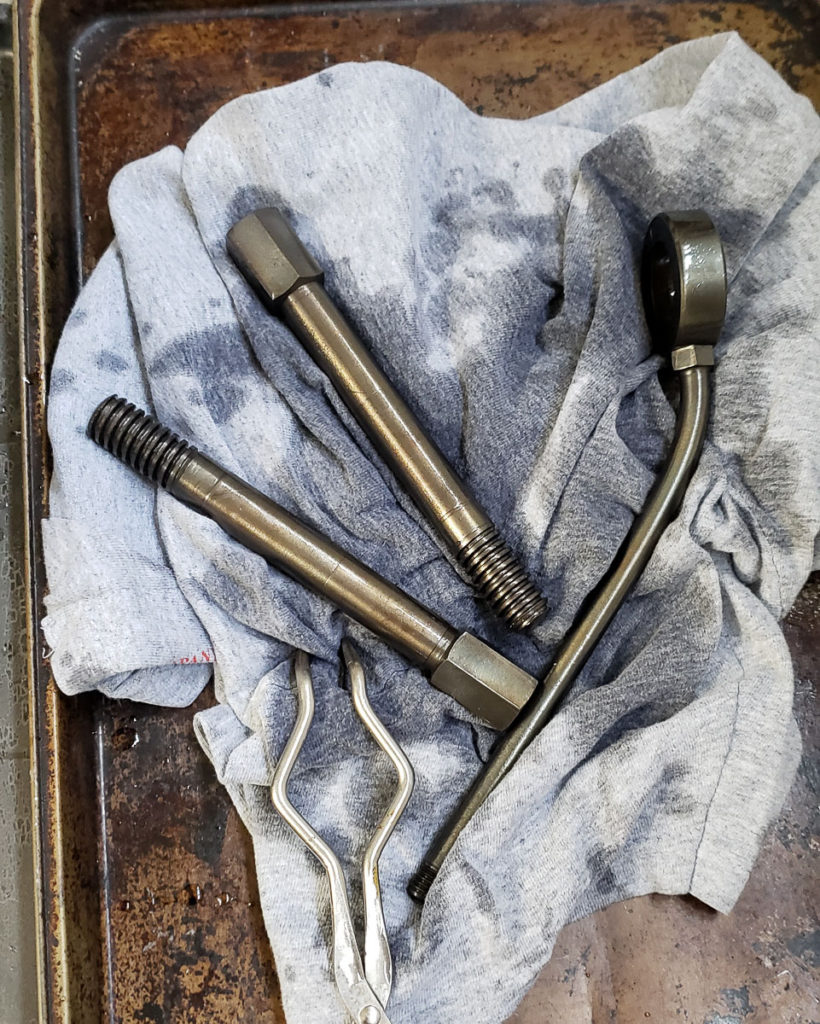
There are slight differences in the black levels on different parts. Some due to alloy, and some due to part mass/dwell time I believe. I have not extensively investigated this process and the effect of variables like temperature and time have on the resulting finish.

The newly blacked parts get sprayed with a solvent wash to remove the canola oil residue which might varnish over time. I then liberally coat them with Vactra way oil or a nice 30W motor oil before installing them back into the mill.

You can see the black hardware contrasts and looks great with the light grey paint on the freshly restored castings.

On the mill the freshly blackened hardware looks fantastic. I am glad to share this trick. It is a nice quick way to give old hardware a new fresh look in a restoration. I like that it doesn’t require multiple baths of nasty caustic and salt solutions compared to the modern industrial process of hot or mid temp chemical conversion coating to black oxide.

More hardware in the oven for blackening
Another batch of hardware in the furnace for treatment.