 I have been helping a small NYC based startup build and develop new online outlets for their products. One of the items we discussed was uniformity of their online shop’s product photographs. It is important that the primary shop photos tie together brand image and clearly portray the product for sale. Additional, less focused photographs showing models wearing their products and full displays with products in use environments can be shown on each individual products page along with more details and specifications in text. The owner decided they wanted to go with all white (high key) product images to draw focus to their products for the primary shop photos. Not having the money to hire a professional to redo all of their product photos, nor wanting to invest in and store a bulky commercial light tent setup in their shop, I shared with them something I came up with years ago. I call it the poor mans lightbox. Made from a piece of poster board, tape, and string, this white high key set up will allow you to take excellent product photos, using a point and shoot camera hand held. It’s perfect for taking photos of small items you built, to list on Ebay, or as I did with the images taken during this post, use for your Etsy shop.
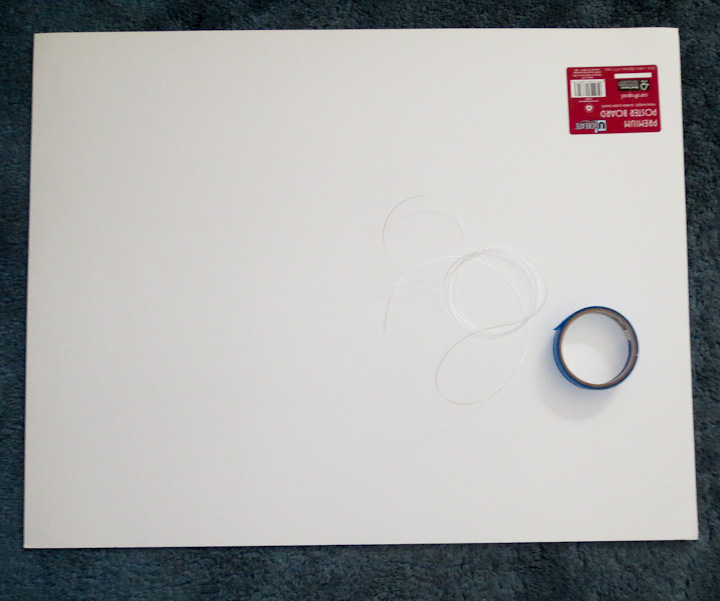 First step is to gather materials. You will need a piece of white poster board, or you can use a colored poster board if you so choose. Approximately 7-8 feet of string or in my example photos fishing line, and some tape. These three items are the only items you need to make a quick photography light tent.
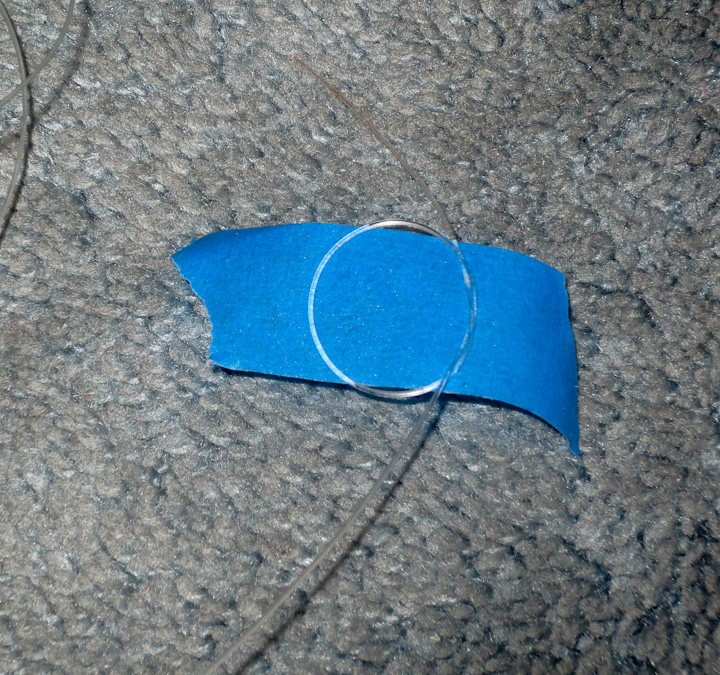

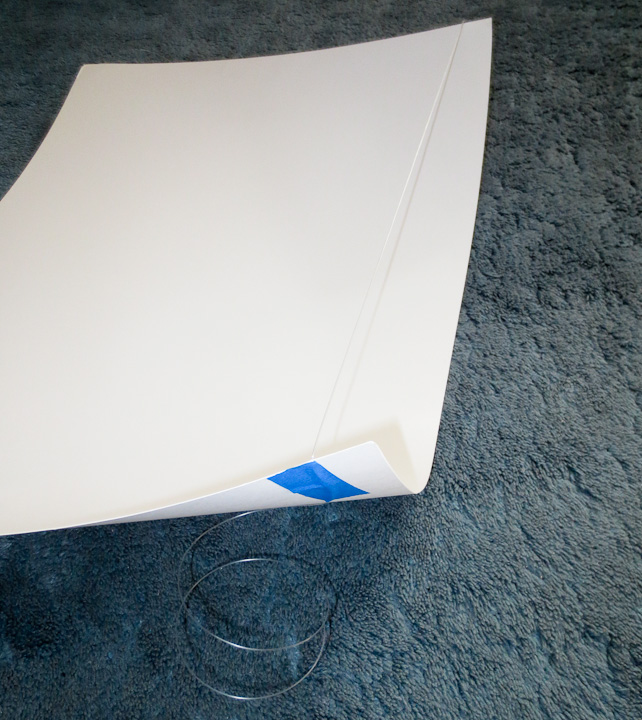
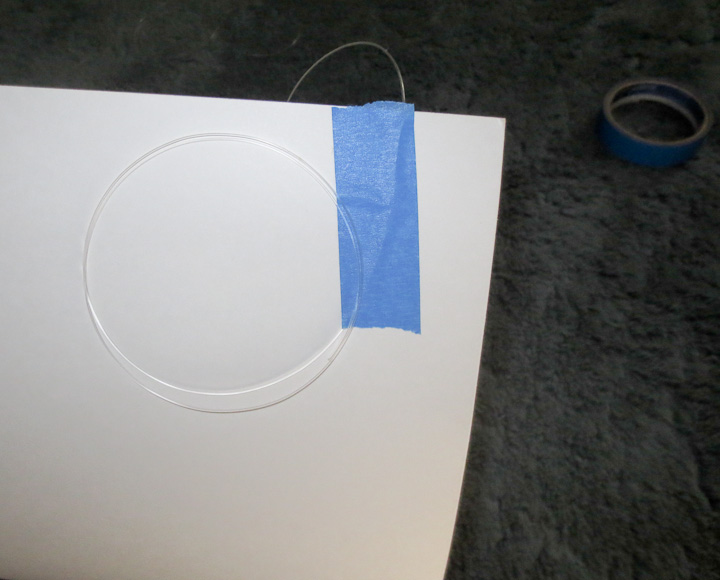
Make a loop on one end of your string and put it on some tape as in the above left photo. I’m using blue masking tape but any tape will do the trick. I’m a huge fan of blue painters tape. In my book it is even better then the almighty and venerable Duct Tape. The loop keeps the string from slipping. You want one side of your string to be firmly attached. Tape it to a corner with the string coming out the short side. This will become the top of your lightbox.
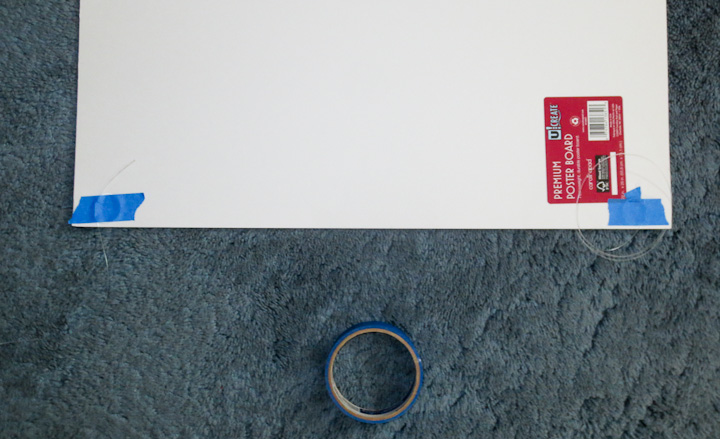 Repeat for the other side so your posterboard looks like the above photo. Cut your string in half.
Take the free end of the string from one of the corners and pull it around the “bottom” (the other short side) of your posterboard. Put a piece of tape over the string, this time not making a loop. By not making a loop you can pull and adjust the tension on the string allowing you to adjust the light box later. Repeat this for the other string.
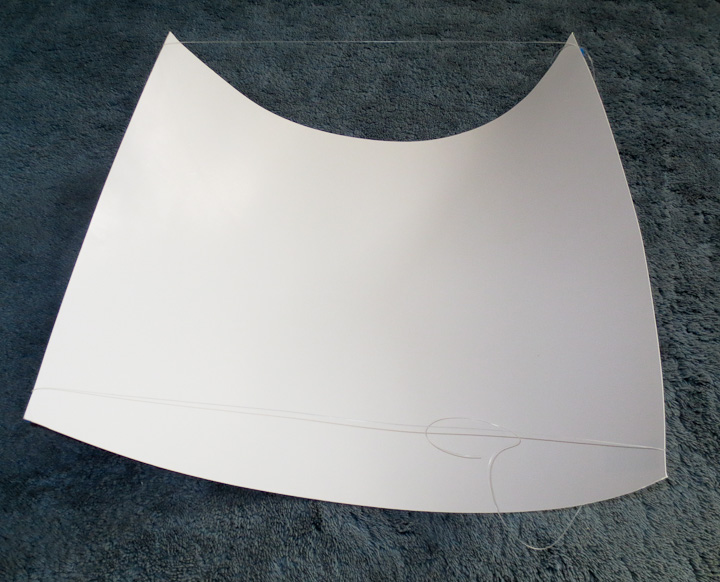
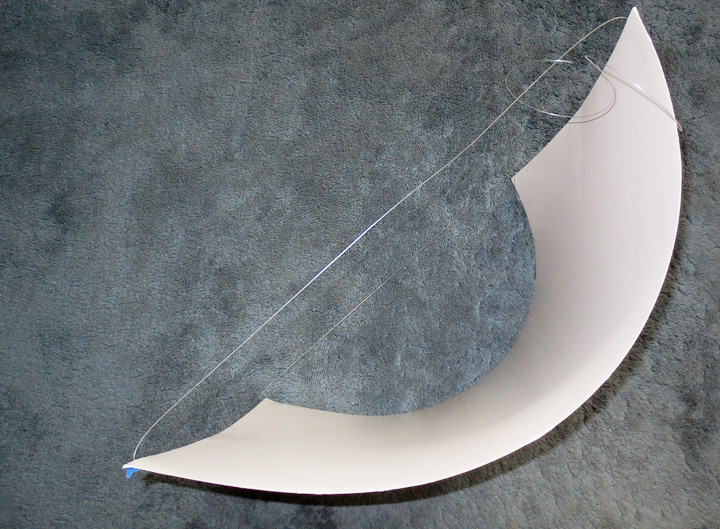
Pull the second side until your poster board is bent as in the above photos. You want both strings to be approximately the same length so the bend goes across perpendicular to the long edge of the poster board.
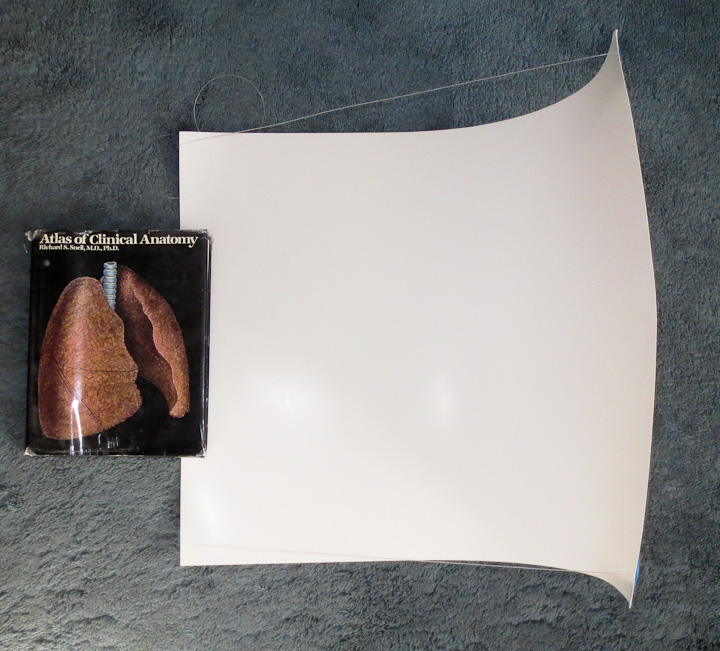
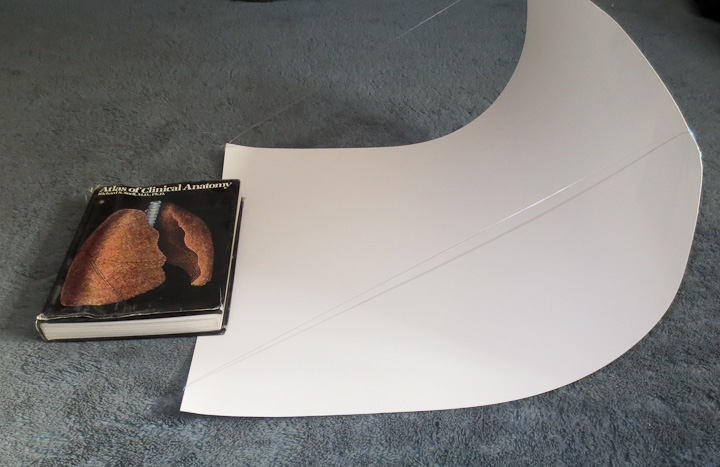
Find something heavy and flat to hold the bottom of your lightbox down. I’ve used shoes in the past (on the road traveling for work) but I usually find a book or short stack of magazines to hold down the bottom. Gravity and tension do the rest. You now have your very own mini high key photography lighting set up.

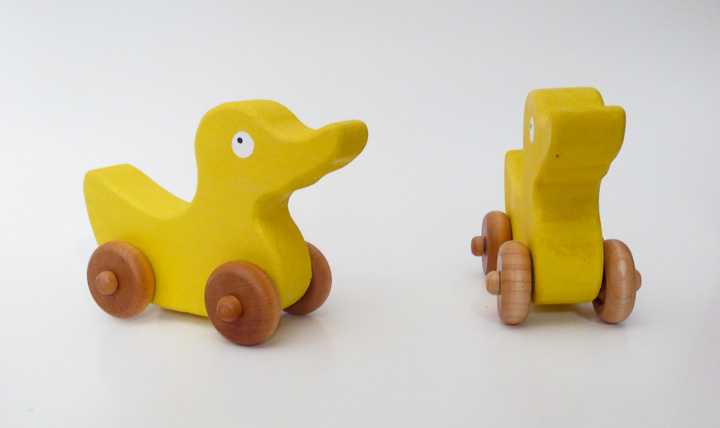
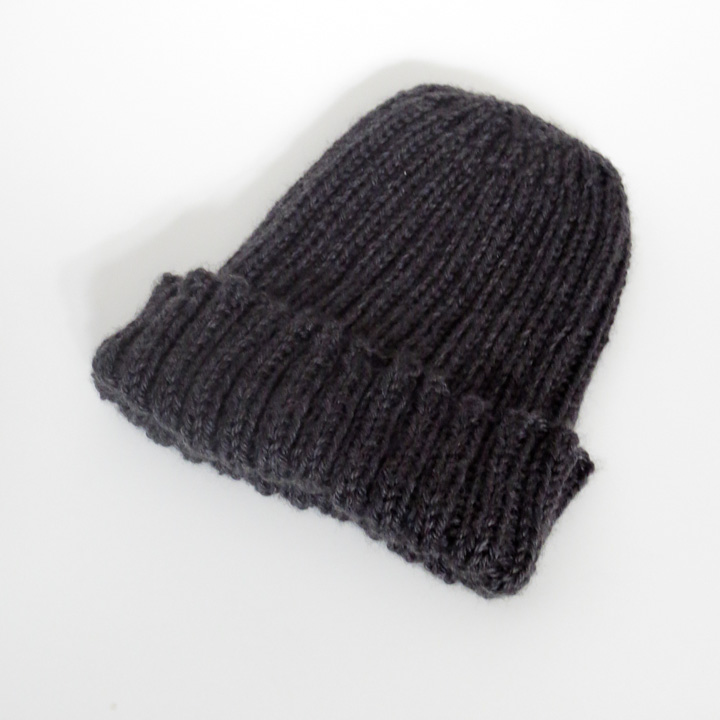
The above photo shows the set up in use. Ideally you want to place your objects near the front/bottom of your lightbox. This allows the background to be a little out of focus if you use a Macro mode on your camera. If you can, adjust the exposure up +1 stop on your camera. I took the above right photo of my wooden rubber ducky roller toy for sale on Etsy using an Cannon Elph 110 HS Point and Shoot Camera to prove that this works perfectly, even with a simple point and shoot camera. In fact, all of the photos for the painted rubber ducky inspired wooden toy were taken with this set up rather then my typical set up which uses a dSLR, a large light cube, and 1000WS white lighting studio strobes.
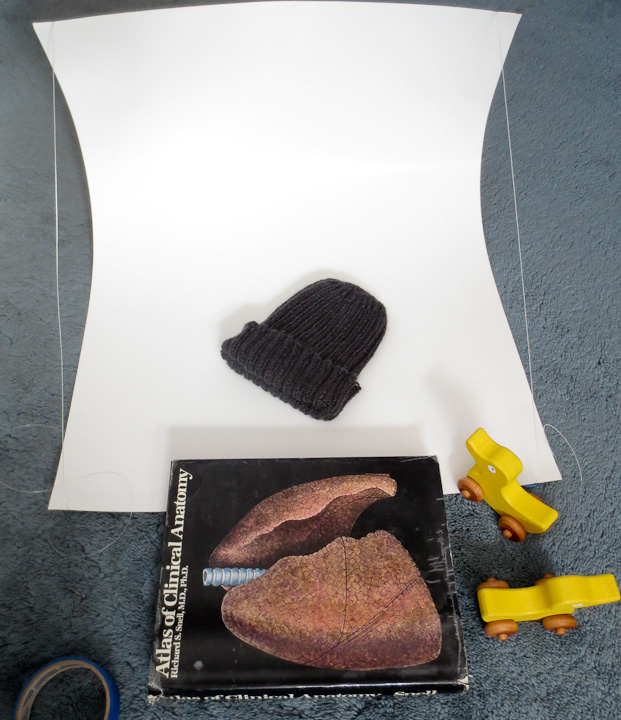
Another example of product photography using the same set up. You can get very nice results, placing this set up on a table or the floor out of the path of direct sunlight but with the primary light source to the front. Even using the on camera flash if you want, although be careful to avoid harsh shadows, and over exposed “burnt” highlights. I hope this post helps you take some better pictures of your crafts for sharing online, or items for sale. When you are done using your poster board lightbox, simply pull the strings loose and stick it behind a desk, couch, etc for easy storage.