I’ve often said, a Chemical Engineer is nothing more then a glorified plumber. Having designed and built numerous industrial and laboratory chemical reactor set ups I find it to be true in some regards. Last saturday I spent a great day shopping for micro four thirds cameras, and test driving Porsches with my friends. I returned home in the early evening to find the first floor ceiling on the floor and water coming out of it. With some reluctance and a good bit of colorful language I ripped open the access panels to determine exactly what was going on. Turns out it was the shower valve inside the wall. The toilet had died several weeks before and I had simply been procrastinating the repairs. Since I was now forced to deal with the plumbing by the new issues I decided it was time to take action.
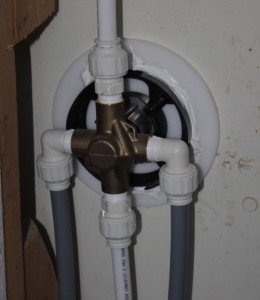
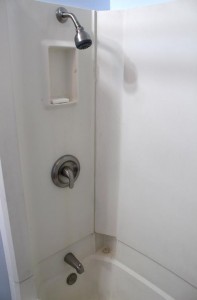
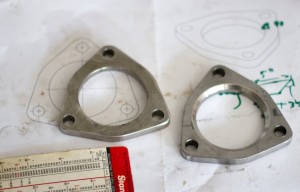
At some point in the past a less then adequate plumbing repair was made to the shower. This made things fun for me. In addition, it turns out the old panel mount shower fixtures used much larger openings, causing a real problem. I decided to machine a new adapter ring. I went to Plastic Supply in Manchester, NH (it’s in the industrial park dr area) and Derek let me look through their drops bin for some cheap plastic to machine. I picked some Acetal sheet up, along with some delrin and acrylic pieces I need for laser cutting stepstruder heads on the Reprap 3D printer project. Other then machining the adapter (the white flange in the left pic above) the install of the shower was basic straight forward plumbing 101.
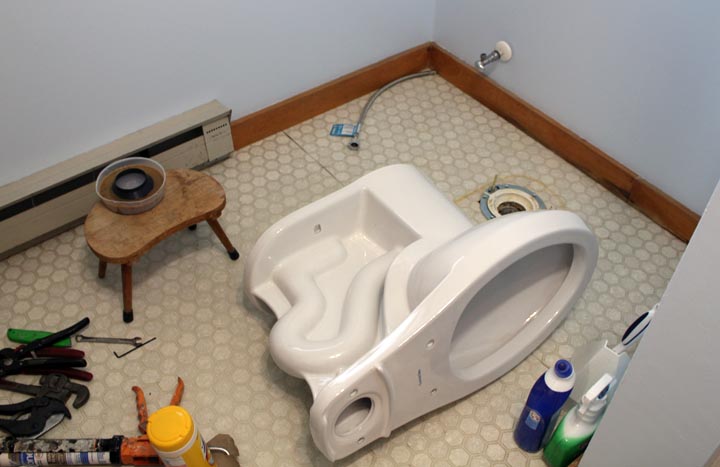
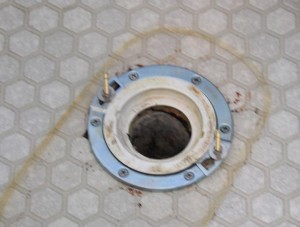
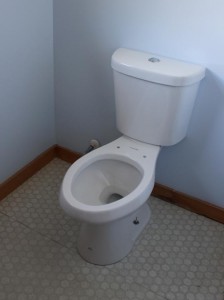
The toilet project was not as simple as the shower. While unlike the last toilet replacement 6 months ago, there was no damage to the subfloor on this toilet, the closet flange was 100% corroded away underneath this toilet. Why people would use a painted steel flange I will never understand. I generally prefer the all PVC flanges for residential and recently replaced a cast iron one in a friends flat in the city. Both are much better alternatives to the painted steel ring flanges at Home Depot and Lowes. I bought a repair flange, realizing it will likely only last so long. I plan to redo the flooring in this bathroom next year sometime so I will replace the entire flange at that time. The toilet I selected is the same model I used in another bathroom I recently renovated completely. It’s a Glacier Bay Model N2316 High Efficiency Elongated Dual Flush All-in-One Toilet that works well and is a large improvement over the early 1970’s model that was in her before. My month of touring Europe introduced me to the dual flush toilets. I think it’s great, and at the same time will conserve water and reduce pumping costs. Very happy with the new install.
A Tip about successful wax ring sealing on a toilet install. The trick to a successful toilet install is to have everything good and warm. With electric heat in the bathroom I just turned it up to 85 F and came back 4 hrs later. Everything in the room was toasty warm and equilibrated to 85F. I know all wax rings say have the ring at least 70, but warmer is better. I’ve done 6 wax ring installs this way and every time it’s worked perfectly with a 100% success rate. So use electric heaters, run hair driers, whatever you have to do to get the bathroom hot. Preheating the entire room, including the closet flange, the toilet and ring to 80+ will work wonders and insure a successful wax ring seal around the bottom of the toilet.
A second tip, that a reader suggested I should mention and I overlooked, is to use a nut and washer on the bolts on top of the closet flange. This helps to keep the T bolts from shifting and moving around when you need to drop the toilet onto the wax ring.
