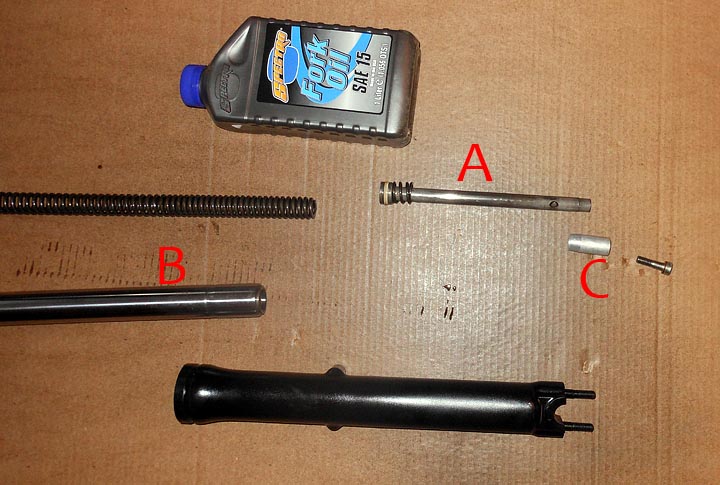
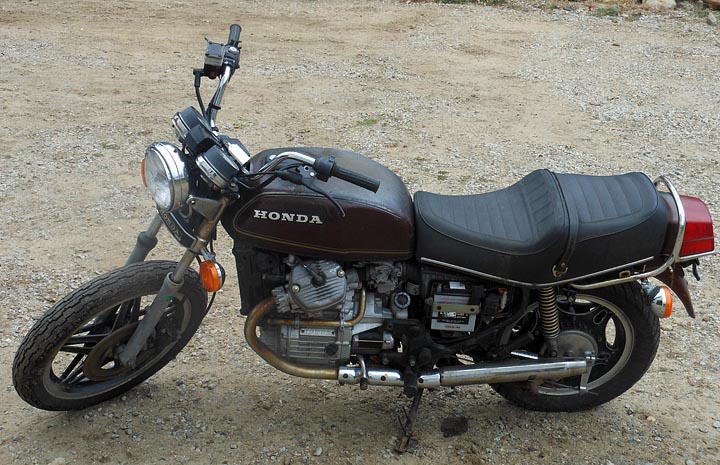
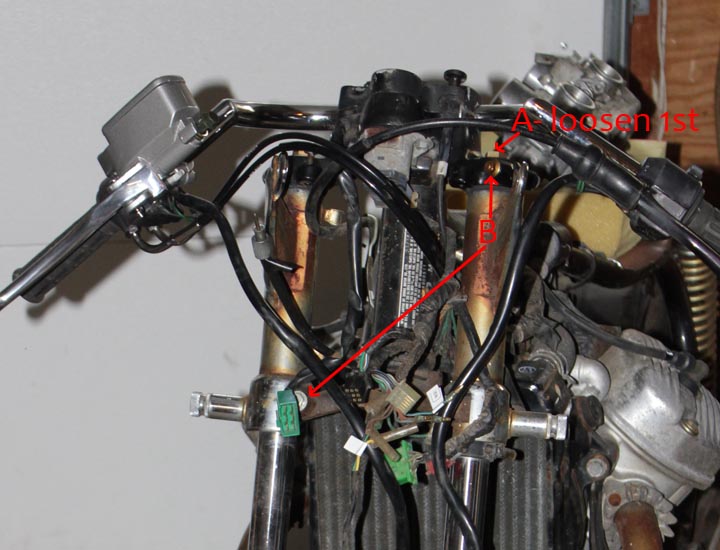
 Part of turning my Honda CX-500 into a cool Cafe Racer is restoration work. The front forks did not leak even a bit, but I felt it was worth the time while I had the bike apart to clean and rebuild them. Also disassemble and cleaning would allow me to clean sandblast and paint the lower fork bodies to go with the rest of the bikes new cafe racer look. This starts with removing the front forks from the bike. First remove everything from the front end (wheel, brakes, etc) and supported the bike under the engine. It’s important to loosen/break free the top bolt on the fork (labeled with the red A in the above picture) before loosening the upper and lower triple clamp bolts (labeled B above). It can be quite hard, even impossible to do this later. My bolts were not particularly tight nor stuck so I was in luck and they loosened easily.
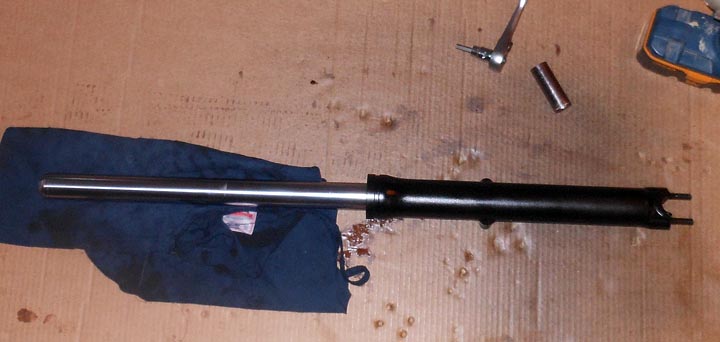
After the fork is off the bike, and before you take the top bolt off completely clamp the lower body carefully in a vice. There is a socket head cap screw on the bottom of the fork that you need to loosen with a 6mm allen wrench or equivalent tool. Then while pressing down (use some rags and a leather glove) you can unthread the top tube cap. It is under quite a bit of pressure from the compressed springs so be careful not to let it fly off into never never land when you reach the last thread.
Clean all of the parts in clean ATF, solvent, or your favorite degreaser. I took the lower tube and sandblasted and painted it with engine enamel in a semi gloss black. Note the bottom of the larger coil spring is somewhat tapered on one end. The tapered end goes against part A (above) which goes inside the fork tube B and then part C goes on the outside. I was a bit confused about this as some time had passed between disassembly and assembly.
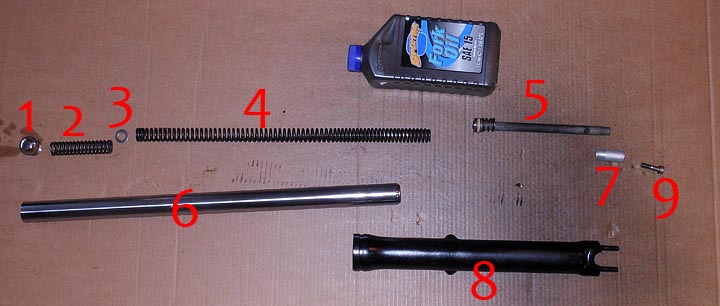
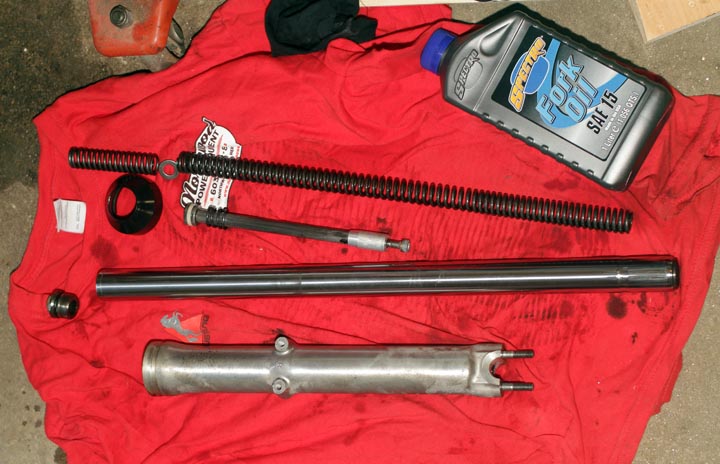
These are all of the parts shown (minus the fork seal as it is installed in part 8) in order of which they go. I tried to lay it all out as in an exploded diagram but it was ridiculously long. This should get you the right assembly order to put your front fork back together should you have forgotten how it goes. Be sure to pour the new fork oil in before screwing the top cap back on but after tightening the lower socket head cap bolt part #9 above). The Factory service spec calls for 135cc of fork fluid on a dry rebuild. I wanted to stiffen up the fork a bit and added another 25cc on top of that. The extra fluid decreases the free volume of air in the fork and acts to increase the dampening rate. Decreasing the free volume is a trick to stiffen up a front fork a bit. It is challenging to get the top cap (part #1) on as you have to compress the springs while threading it onto the fork tube. I managed solo but it took some gorilla like effort on my part. Enlisting the aid of a friend would make this step easier and I recommend it.
My shiny newly rebuilt front fork is ready to be put back on the CX500 Cafe Racer. Spring is just around the corner and I aim to have the bike ready for April 1st. I’m leaning towards using bellows type dust seals on the forks in place of the factory/stock dust seals. Hope this article helped you if you are looking to rebuild your forks. If you have any questions, leave a comment below and I’ll do my best to answer promptly.
