Many years ago I ordered hardened wheels so I could build myself a bench top English Wheel. Since that time they’ve sat on the shelf in the garage waiting for motivation and need. For those of you that don’t know an English Wheel is a metal forming tool that allows you to gently stretch and form curves in sheet metal. I’ve found ways around using one many times in the past. The CX-500 Cafe Racer build is the straw that broke the camels back and has motivated me to finally build one for myself. I often use a pneumatic plannishing hammer up until now to form compound curves into sheet metal. However to make the fenders fit tightly to the wheels for the Cafe Racer I need an english wheel. With no way around it, I got to building.
I used whatever I had on hand for the C frame. In this case, 2×4 and 2×3 tubing. I’ll reinforce the structure beyond this quite a bit with 45 degree corner gussets and possibly full lengths of 2″ x 1/4″ angle iron. At this point the frame is just tacked together to make sure that it all fits and works. The bracing and reinforcing will be done after I’ve finished with the mechanisms. It is important to make sure everything fits and is aligned correctly before you weld up all the joints. It is a lot easier to cut a few solid spot welds then to cut fully welded seams when you realize something’s off a bit in the end.
The upper wheel is very heavy. Not a surprise at 6″ in diameter, 3″ wide and solid alloy steel. The upper mount is fabricated from some 2″ x 1/4″ angle iron. The pin I turned from some 1″ rod I found in the stock rack. It’s been there for ages from the amount of dust on it. I”m not sure what it is, but I needed Carbide tooling to turn it and bi-metal hack saw blades weren’t hard enough to cut it. Whatever alloy it is certainly something hard and strong. Hopefully suitable for the 3/4″ pin that the wheels will rotate on. If it bends I’ll just make another set of pins from something stronger like 4140.
More on this project soon as I hope to finish it in the coming week
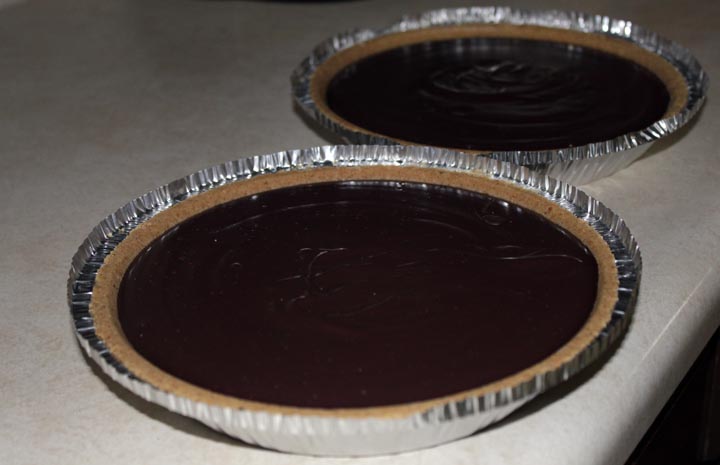
Happy Thanksgiving everyone! On this most auspicious eating holiday, I look forward to nothing more then the desserts. My contribution to Thanksgiving Dinner this year is my infamous, Ultimate Chocolate Pie of Dooooooooommmmmm……. I’ve you’ve never had one of my ultimate snacks of doom I am sad for you. If there’s one thing I know well, it’s snacks. For a snack to receive the ultimate snack of doom title means it’s something pretty special, has spent years in development, and has enough calories to supply a small village with sustenance for a week. Ultimate chocolate pie of doom is my own secret recipe, developed over years by making and consuming many hundreds of chocolate pies. Yes hundreds! Have you seen me? If you have, you’d believe it. 😉 People think cooking is all about the recipes, but the reality it’s all about the ingredients. Especially the secret ingredient. The pies will get topped with fresh whipped cream and some shaved chocolate just before being served after dinner.
Thanksgiving is about giving thanks. This year I’m most thankful for having some pretty amazing friends who help me out when I’m desparate, put up with my BSR, and support me in my crazy ideas/projects. I’m also thankful for my family, my health, my super cute niece and nephew, and of course I’m thankful for Ultimate Chocolate Pie of Doom for desert today.
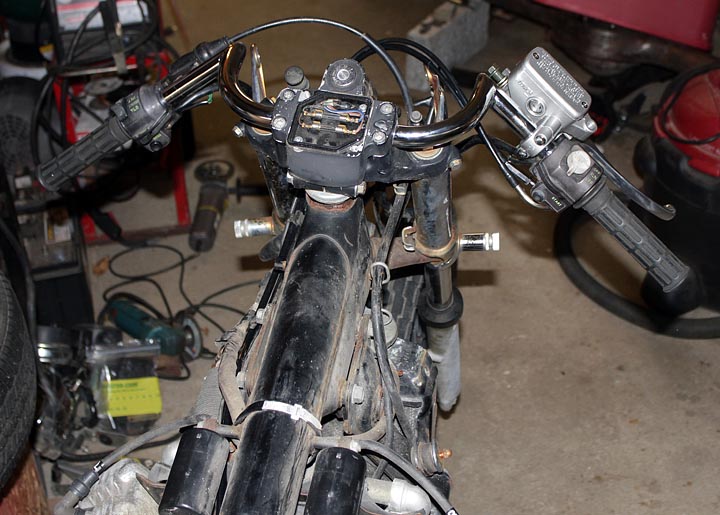
Clubman style handlebars installed. I was ordering replacement cables, filters etc and this handlebar was just what I needed to get free shipping on the order. Essentially adding it to the cart resulted in free new handlebars. I’m thinking about firing up the CNC machine and making clamp ons for the forks for this bike but for now this is pretty good. I like the way the bars are pushed forward about 4 inches. I don’t like the downward sweep of the bars though. They would be better if it was about half the current angle. I also have some concerns with the front brake master cylinder sucking air if I’m not careful with this set up.
Along with the new bars, I installed the new push pull throttle cables. The rebuilt carbs were also reinstalled. My plan is to fire her up on a lil mini zacbuilt fuel tank to change the oil out post warm up and possibly ride her on the driveway a bit.
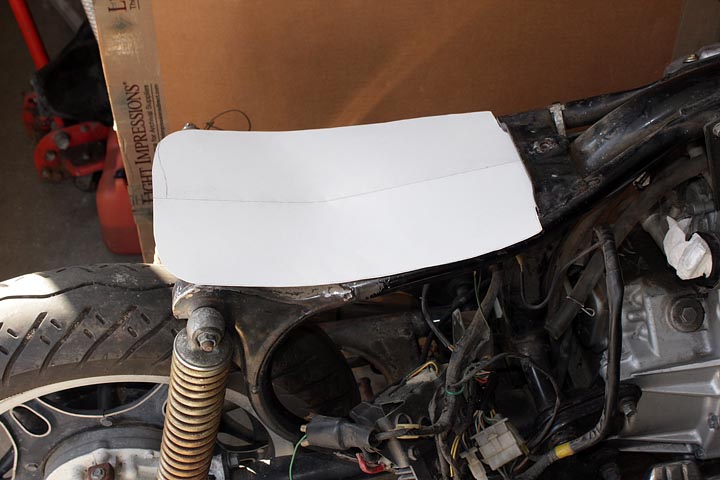
The first step in any one off fabrication process is to make some templates. I always have foam core, heavy poster board, and cardboard stock on hand for making quick templates. In this case I started with cardboard, but it was too rigid and didn’t fit the contours of the frame well enough so I switched to poster board. The result is the poster board template you see above in the picture.
The template is then used to transfer the pattern onto some 16 ga cold rolled steel. There are many ways to cut sheet steel. I have a plasma cutter but you can see the rough hard raised edge it leaves on the left most part of the template picture above. I chose to use an air nibbler to cut this template out. The air nibbler allows for good clean edges and tight radius cuts without any distortion as you would get from shearing. The next step was to run it through the plannishing hammer to shape the pan to fit the frame. A bit of work with some slappers and it’s all tightly rolled up around the frame rails and fits well.
As you can see, the seat pan fits well. I’m still debating on edge treatment. I think I might run a weld bead along it to round it some or possibly fold some 22ga steel over it and tack weld it in place so when I stretch the vinyl over the seat pan it does not wear and rip over time. I’ve also started the rear fender as you can see above. I’m thinking about tucking it up into the seat pan and welding the two together into one part, or possibly keeping it tight one the tire and mounting it to the rear swing arm.