Tag Archives: cafe racer build

Honda CX500 Cafe Racer Build Progress

Drilling the rotor Honda CX500 Cafe Racer build

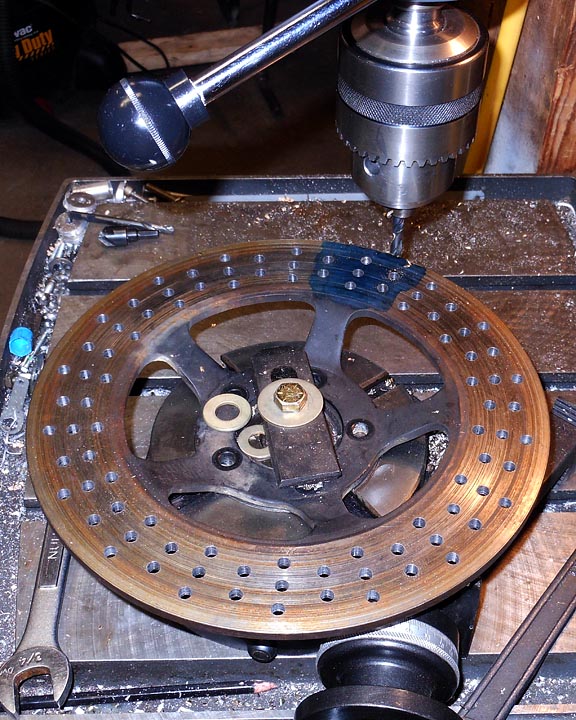
Just a quick progress report on the CX 500 Cafe Racer Build project,   I’ve cross drilled the rotor using a rotary table.  This was surprisingly quick once I dialed in the rotor to the rotary table eliminating any run out.  It went so well that I suspect I will be cross drilling lots of rotors in the future.

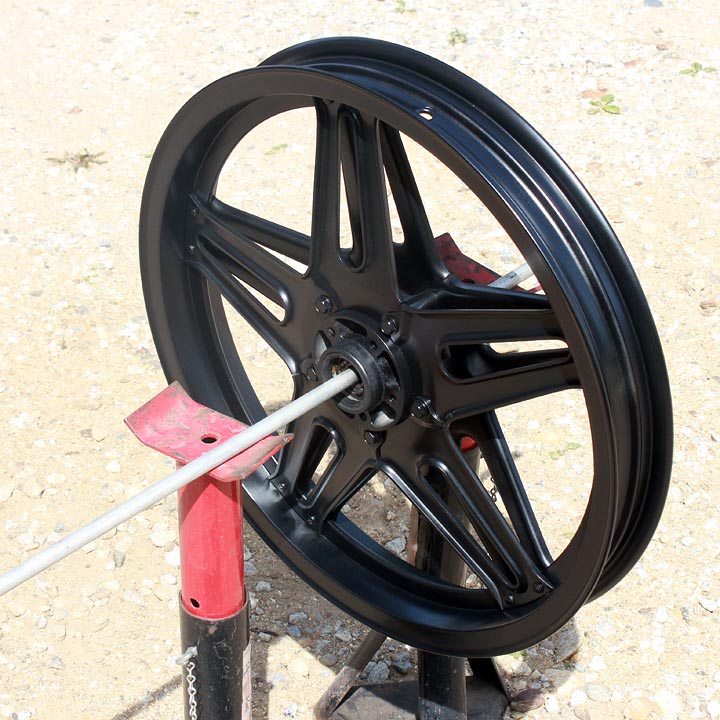
Painting a motorcycle wheel tips

I stripped, sanded, and painted the front rim with some quality satin black wheel paint and it looks awesome.   I used a large plastic tub that fit the wheel and wet sanded the entire thing by hand.  Sandblasting would have been considerably easier but my blast cabinet is not large enough.  Sanding all of the backside and the nooks took forever.  Next time I would pay to have it blasted at a shop.  It came out looking awesome though and I can’t wait to see the now completed front end reassembled on the bike.

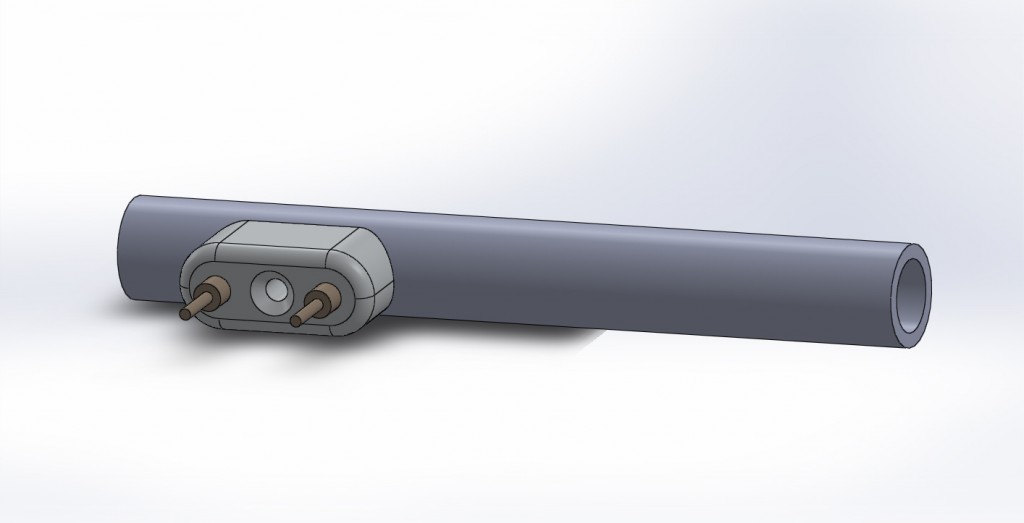
Cafe racer handlebar controls 3d Model

You have to use your imagination a little bit for the above image, but this is the 3d model of the handle bar switches I will use on the bike in place of the stock ones.  I will have the CNC machine bang out two of these.   They can each house 2 switches or buttons. I ordered the right size cutter some time ago to make these and plan to get them machined in the coming week.  The wires will run through the handlebars and it will be a nice clean installation.

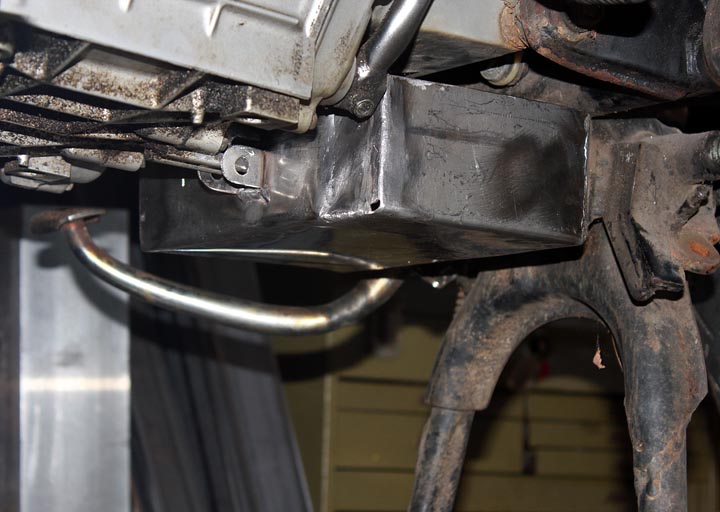
Battery box for CX500 Cafe Racer Build

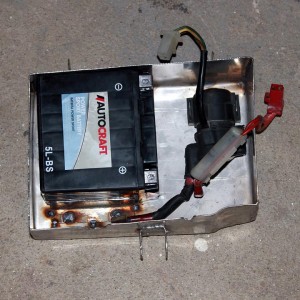
Above is the battery box on the bike.   I built this to relocate and clean up the install of the battery and starter solenoid on the bike.  I’d like to get a mini ATO fuse block that mounts through the side of  this as well.  I will sandblast and paint the box satin black, even though it’s made from 316 SS.  Here’s a pattern if you want cut and fold a battery box of your own for the CX500:  battery box Sheet metal pattern for Honda cx500 cafe racer build

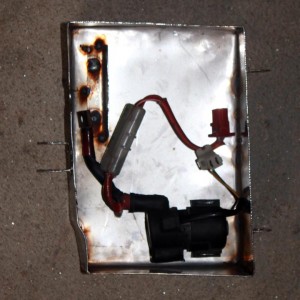
CX500 Starter solenoid inside battery box    

You can see the battery and solenoid fitment in the belly box.  Sadly it warped a bit when I welded it up. I did not take my time and regret it.  I’ve hammered it back a bit and used the press to get it to fit comfortably in place.  You can not tell on the bike but seeing it from the top like this it is apparent that it is a bit skewed.   I will make a bolt in hold down strap for the battery and this bit of custom fabrication will be 100% done.   I will need to address the wiring as well in the reassembly stage which I am fast approaching.

That’s all for now, more soon as I want to get this project finished and out the door ASAP.
CX 500 Cafe Racer progress report

CX500C tank fit on the CX500 Cafe Racer

Time for a progress report on the Cafe Racer build.   I rebuilt the carbs completely stripping them and put them back on the bike.  She ran well for about 15-20 minutes in the garage. I then took her out for 15 minutes of riding up and down the driveway.  It was fun to ride, even if it was a short trip.  Since she was warm I changed the oil and filter afterward.

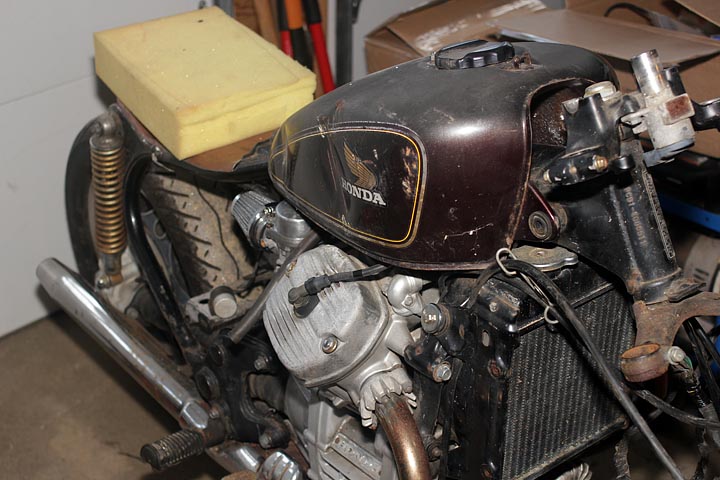
Everything mechanical seems to work great.   The CX500C fuel tank came in and I’ve test fit her in place.  I think it looks awesome and I’m starting to see the total bike “vision” come together.  I’ve picked out my headlight, but have yet to find a tail light set up that makes me happy.  I am considering making my own using  Luxeon Superflux LEDs at this point as none of the tail lights out there really fit with what I want for this bike.

CX500C tank fit on the CX500 Cafe Racer  Honda CX500 Upper tri hole moount  Honda CX500 with front suspension removed

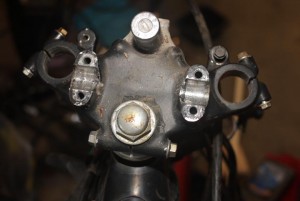
   Based on a couple friends suggestions, I plan to do a few how to posts in the near future.  I don’t think I want to turn projects by zac into a how to/tutorial site, but I understand people want more informative and less documentary type posts.   I’ll be starting with a post on how to change and clean out the front forks on the CX500.  I’ve pulled them off the bike along with the rest of the front end to start cleaning, refurbishing and painting the various parts.  I’m leaning towards clip on handlebars at this point.  That way I can machine smooth the upper triple clamp.  I really want to remove the key/ignition switch, but I’ve learned with my 67 Vespa VLB Sprint how critical it is to have a bike that has at least the appearance of being secure.

CX500 Cafe Racer Build – chopping the rear frame

Honda CX500 rear frame mods


Having a vision for a project, and making that vision reality are often two different things.  Originally I was thinking I’d leave more of the rear frame for the seat.  Then I came across this bike (see below) made by the wrench monkeys.

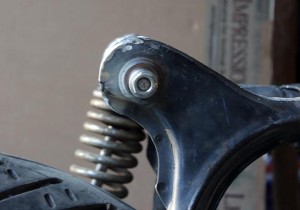
Seeing their rear frame mods, I decided I needed to do something similar.  I’m not sold on their seat design but I like how they smoothed out the ugly factory stampings and rounded it.  This will allow the seat to more closely follow the frame and sit about 1/2″ lower at the rear.

Honda CX500 rear frame mods      Honda CX500 rear frame mods

    I did the initial cut with my trusty Milwaukee  Sawzall.  I used a large 1″ washer to scratch the final profile centered off the shock mount studs.  I then did some closer to the line rough cuts with a 5″ cutting wheel on a right angle grinder.  Followed that up with a some careful grinding and finally some hand filing to match up with the scratched line from the washer.   I hammered out some 16 gauge steel and welded it in place.  They came out pretty good. I’ll likely spray it with something after a light wire wheel buff.  When I pull the frame apart for the final painting I’ll metal finish/fill weld so that it’s nice and smooth and shiny.

Honda CX500 rear frame mods

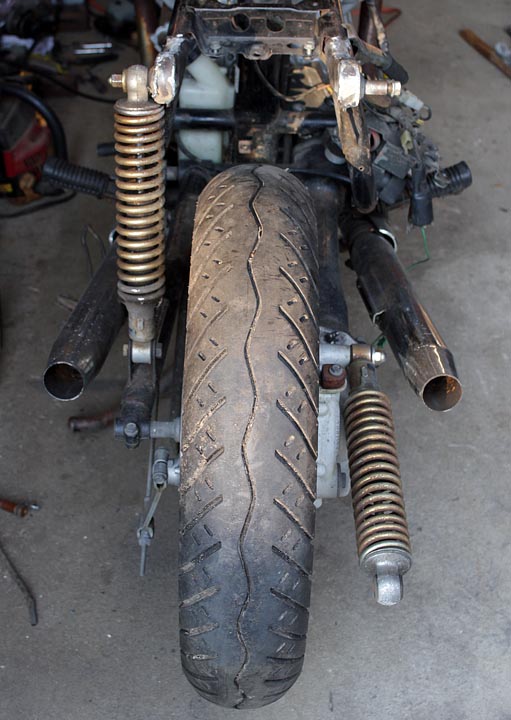
I have also cut off the rear muffler mounts and some other frame brackets at this point.  The electronics will all fit up under the seat with some new brackets welded in place.

CX500 Cafe Racer Project Day 1


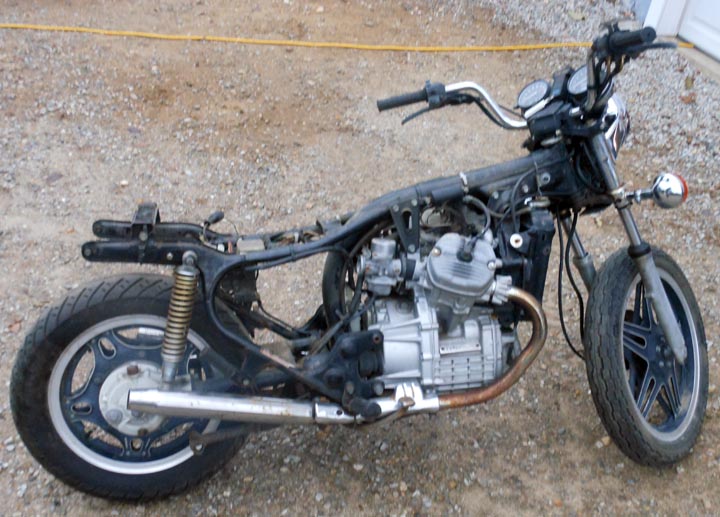
After the first evening of working on this project I’ve got the back half of the bike somewhat torn apart. I’ve got a solid plan as to where the electronic components will go up under the seat pan.  I’ve been looking at tail lights and I believe I’ve found one I like enough to “settle on” for now.  It’s an all in one LED unit with a license plate mount and led plate lights.


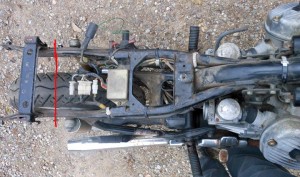
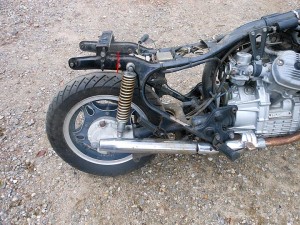
  The red line in the above photos shows where I plan to cut off the rear seat frame.   I plan to fabricate a new seat mount to weld in place before I make the cut and finish off the end of the upper frame.   The more I toy with the design in my mind the more I feel like I will either scallop the fuel tank at the back, or possibly fabricate a new tank entirely.


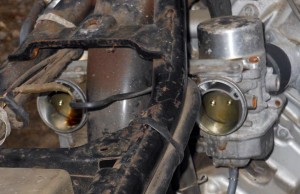
In other exciting news, I got the ugly factory air box off.  The carbs weren’t drained when she was stored and the fuel varnished inside. They are coming out and apart.  How much of a rebuild I do will be determined after I tear into them and investigate their condition.   The right hand carb has the float stuck down and the fuel comes out at a good clip when she runs.