I started in on the exhaust system for my CX-500 Cafe Racer project. I started with the rear of the exhaust for the CX500 Cafe Racer, placing the muffler exactly where I wanted it to be on the bike as the first step. This build was going to be a 2 into 1 style motorcycle exhaust, with only one muffler for a cleaner and cooler look. Investigating hundreds of photos and parts catalogs I could not find exactly what I wanted for a muffler. I did not want anything chrome, megaphone or cone style mufflers, or anything flash in general. I wanted something vintage, flat black, and a little bit crude to go with the Cafe Racer style. I ended up buying some mandrel bent tubing, and a bare muffler core to fabricate a custom exhaust. I’ve done a lot of custom exhaust builds over the years, check out an earlier post where I show an exhaust build on a Ferrari 308 from last summer.

Here are the parts needed to build the custom exhaust system for my cafe racer CX500 motorcycle exhaust. I ordered up two 1.5″ diameter U bends (PN: SCH-015016U) , two 1.75″ diameter J Bends (PN: SCH-017516J), & a 12″ muffler core (PN: JEX-A3012B) from Summit Racing. Summit Racing is a great cheap place to buy exhaust tubing and mufflers. They have been my go to auto parts supplier since high school. I have a fairly large selection of nominal auto exhaust tubing in stock from previous projects but nothing in the motorcycle size range so I ordered everything needed to build the Cafe Racer Exhaust. The tip on the muffler core I fabricated from some 2.5″ tubing and I will put an internal removable baffle into it to help quiet the exhaust some. I am certain that just the core it will be louder then I want for regular daily riding.


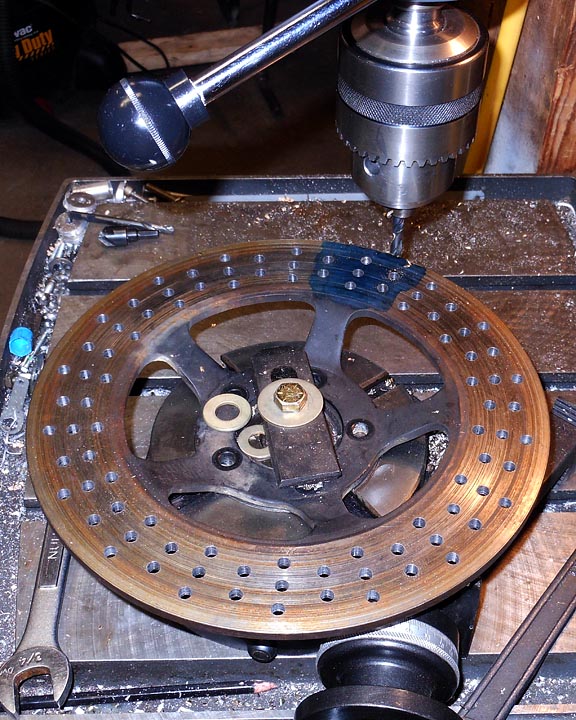
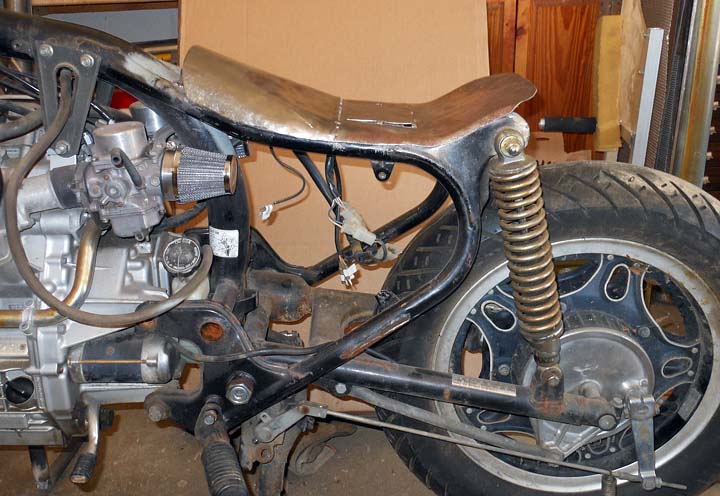
Mounting the muffler was trickier then I anticipated. I had my CNC Milling Machine bang out a variety of different mounting brackets for this project. I ended up using several of the smallest of the three sizes I made and one of the larger skeletonized mounting tabs to put the muffler on the bike. In the above pictures you can see where I located the muffler on the bike. I am pretty happy with where it is mounted.

The exhaust tubing runs inboard and under the lower motor/frame mounting. This is important as I plan to lower the foot pegs a bit and make a new foot shift lever for the bike. I find with the new seat and the low forward clubman handlebars that it is a bit uncomfortable with the stock foot pegs on the bike.
In the next post on the cafe racer custom exhaust system build, I show how I make the 2 primary pipes merge into this rear exhaust system.

Bonus Photo: The mounted and balanced new front tire on the painted wheel. I will paint the wheel weights black before mounting them permanently with double sided tape.