I recently picked up a very nice small canoe for summertime fishing and adventuring on the water. The price was right and it was exactly what I wanted so I made the deal and brought her home with me one night. It’s short (13′), wide making it stable and has two seats so I can bring a friend. This is an improvement over my kayak primarily due to the bring a friend factor. My new canoe needed several things before I took it on the maiden voyage. First and foremost it needed all of the 1″ oak seat spacers replaced. I made some new spacers from a 3/4″ oak dowel I had in the shop. The second thing it needed was a yoke. At some point in the past, someone removed the yoke from the canoe . The yoke helps stabilize the sides and provides an easy way for single man portaging of the canoe by throwing it over your shoulders to carry. This will be a mostly pictorial post.
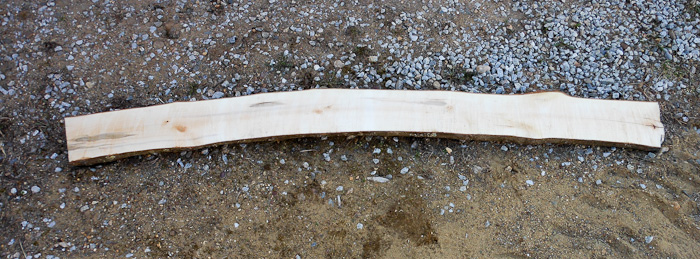 The first step in this project was selecting a maple board from my hardwood lumber pile that I cut with my Alaskan Sawmill featured in previous posts. My choice in boards was limited by what I was able to get out from the bottom of the pile. It was a bit like playing Jenga removing one of the early boards. This was one of my first boards cut with the Alaskan sawmill last summer and it was far from beautifully cut. Thankfully I cut all my boards a bit extra thick so I could mill it into dimensional lumber. I love that I am now building things with lumber I made myself from storm downed trees.
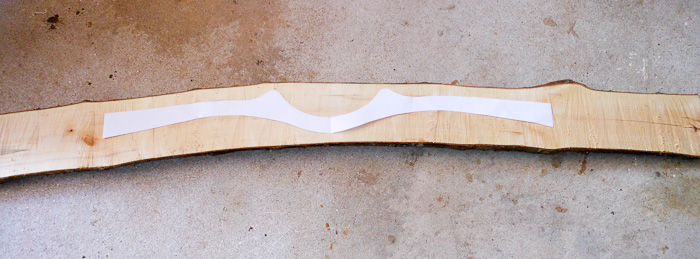 After selecting the rough maple board, I placed my paper template onto the board to find the best fit in terms of grain and avoidance of the knots.
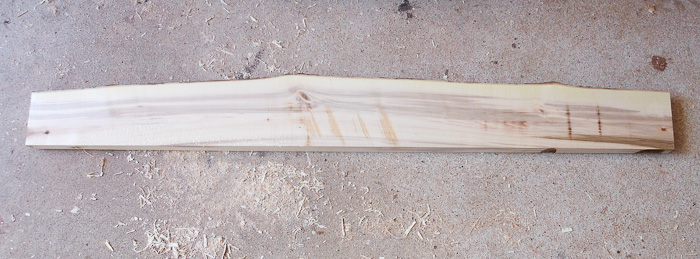 The next step was to cut the ends off the long board. I will use the scrap bits to make small projects like my wooden baby rattles that are available here. Then I cut a straight edge on the board using the bandsaw, being mindful of where I wanted to cut my yoke out and leaving plenty of wood. Then a few quick passes on my jointer and I had two adjoining sides flat and squared up.
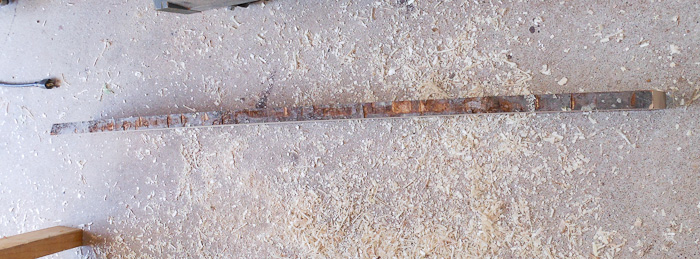 After the jointer flattened out one side, the board goes through the planer and voila, perfect thickness lumber is born. I wanted my yoke to be sturdy and Zac tough, so I planned the rock maple to a 1″ thickness.
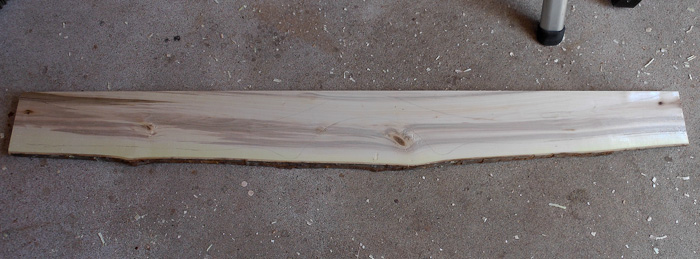 Hard to see but now that the lumber is dimensioned on three sides, I traced the paper pattern onto the board.
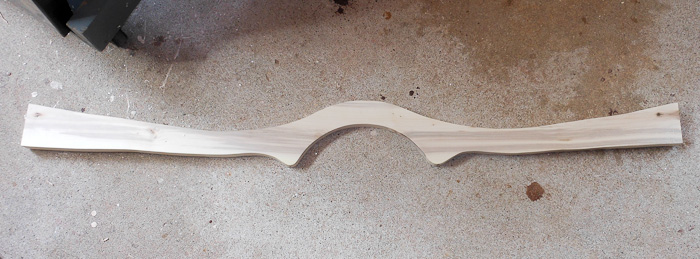 Here is the rough cut yoke after being cut out with a jig saw. I might have used the bandsaw but I had the wrong blade on it. Sometimes it’s easier to use a different tool then to change the blade. That’s why I used my jig saw for this project.
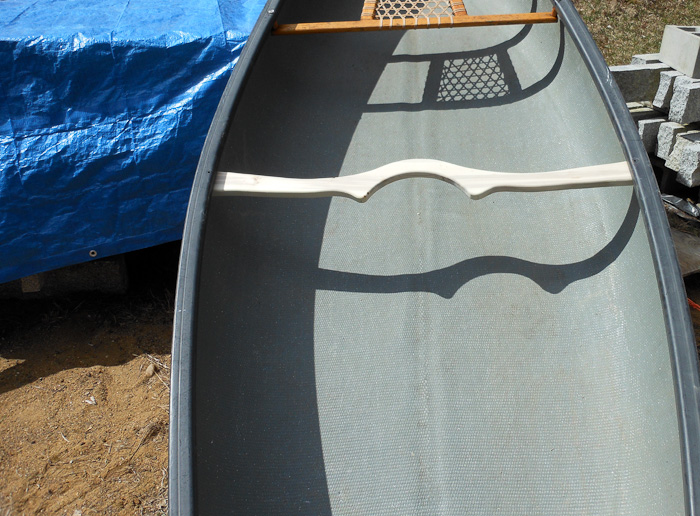 I did a dry fit of the yoke, carefully measuring and cutting it down to size. It came out perfect and is a gentle snug fit inside the hull.
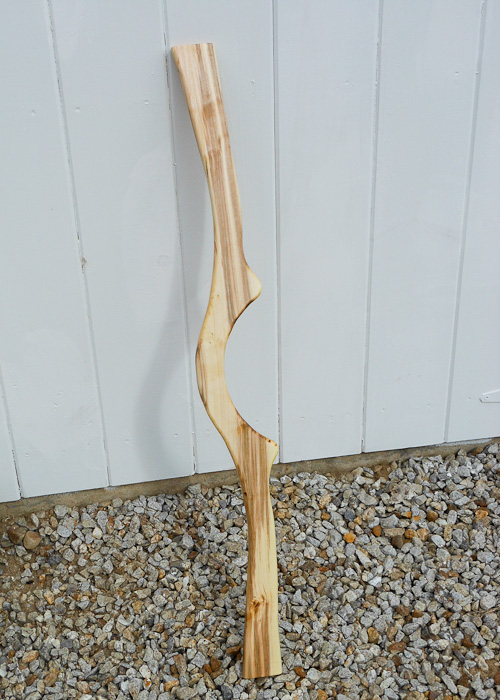 Here is the canoe yoke all finished but not yet installed. I realized I didn’t take a pic of the finished yoke installed on the canoe. I’ll take one tomorrow. Hopefully I will have my maiden voyage tomorrow or the next day and get to try out carrying the canoe with my newly installed yoke.
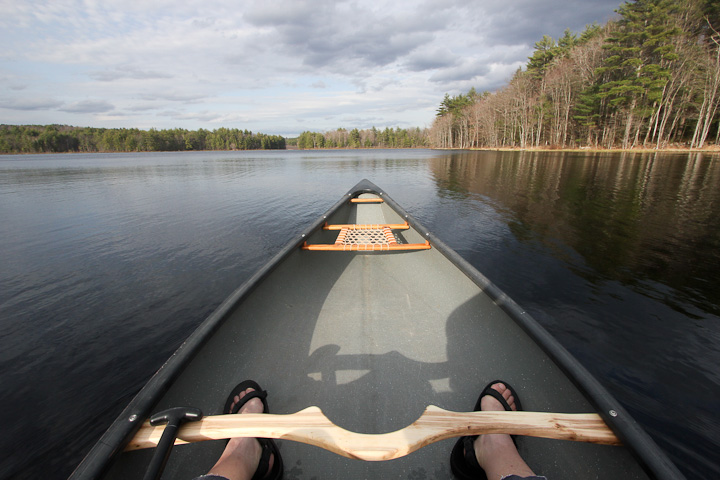 Quick update, Above is a photo of the yoke on my maiden voyage in the new Canoe, and I wanted to share the wooden canoe yoke pattern files with folks since I have noticed there was interest in wooden canoe yoke pattern for downloading.
If you want to download the canoe yoke pattern I used, here are the files:
Download and print out the Canoe Yoke Pattern PDFs unscaled, cut them out and tape them together. You will then have your template to make a wooden canoe yoke of your very own. Hope this helps
