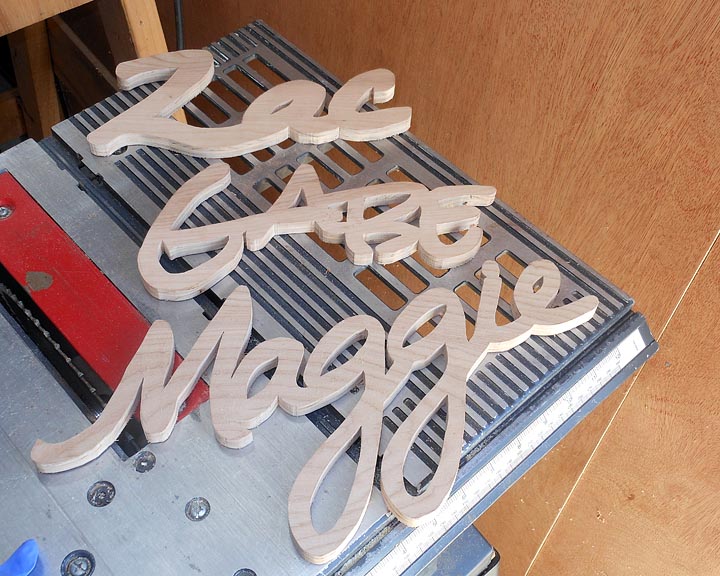
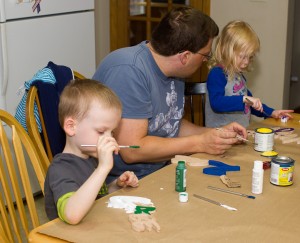
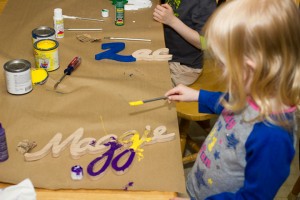
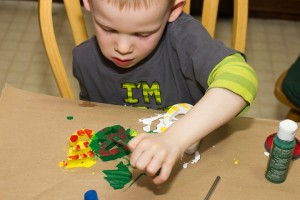
This is a fun activity for you to do with your own little ones, or visiting friends little ones in my case. Every little kid loves their own name. Often their name is one of the first things they learn to spell and write. This projects gives them the chance to paint a sign of their name and they can then hang it in their room on the door, a wall or a shelf. This project was inspired by a friend who shared that she still had as an adult her name sign cut from wood that she had painted with her uncle as a child. I had an hour to kill one day so I decided to prepare for a future visit by some little ones and cut out the kids names for them to paint.
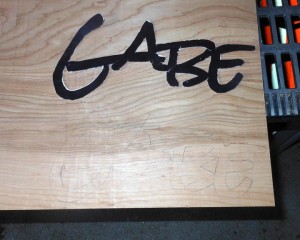
Writing up projects and activities for projectsbyzac.com has been enlightening. One such item of enlightenment has been how often a project, be it in metal, wood, plaster, plastic, etc starts with the same basic task: making a template in paper. Paper is cheap, easy to work with, you can print off from a computer if you aren’t good at drawing, and is completely recyclable. Please recycle all of your paper and paper scraps from projects. This project started with me drawing the kid’s names out on the computer and then doing some graphic work to get them to touch at each letter. I then printed them out on 110 lb cardstock paper.
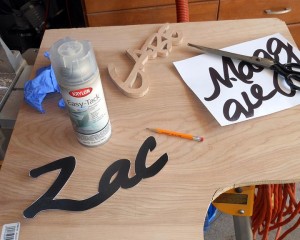
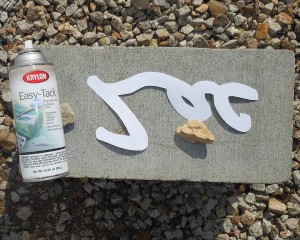
A good way to hold a template in place is craft spray adhesive. I like Krylons Easy-Tack spray adhesive as well as Elmer’s Craft Bond Spray Adhesive for use on all of my projects. Both are readily available at craft and home improvement stores. After drawing or printing out your pattern, cut it out with a pair of sharp high quality shears. In our modern disposable world, a pair of high quality shears is no longer commonplace but you should spring for at least one pair as they cut better and last longer then the cheap disposable scissors. I’ve gone through dozens of cheap and not so cheap fiskar/other modern scissors but my trusty shears have lasted forever and are easily resharpened when dulled.
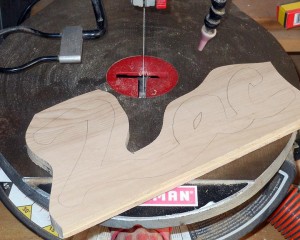
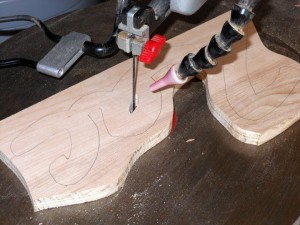
After transferring the name pattern onto some 1/2″ birch plywood with a pencil I did a fast rough cut with my band saw. Then I moved over to a scroll saw to finish the detail cutting. The Scroll saw cuts finely enough that minimal sanding is needed afterward.
Depending on the age of the kids you are planning on doing this project with you could have them help you with the cutting out of the names. In my case the kids in question are quite young. They are not ready for any sort of power tool type cutting of wood. I prepared the wooden name signs well in advance of when we actually got to the painting part of this project.
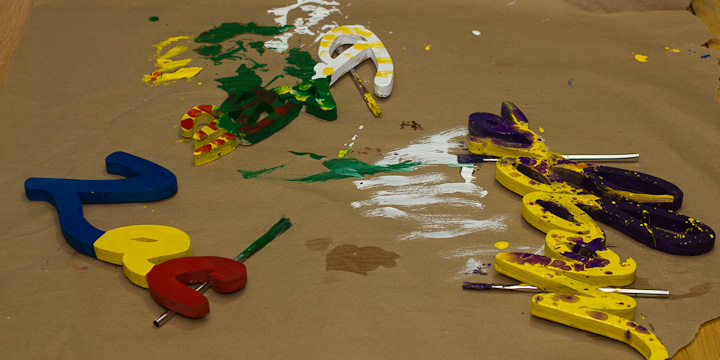
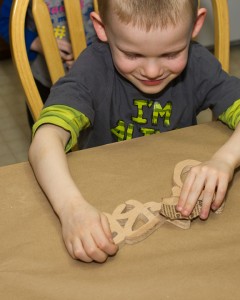
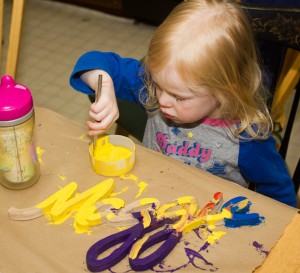
I started by having the kids sand their name signs with small pieces of 180 grit paper. We then moved onto the fun part, painting them. I pulled out a selection of nontoxic child safe paint and craft paint for this project, all water based. I did not guide them at all in how to paint their names. I let them choose their own colors as they saw fit.
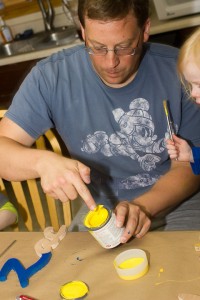
When painting with kids, be sure to pour out small amounts from the primary paint cans into small cups. Often the paint will get knocked over, spilling to make a mess. Using small cups results in smaller spills. In addition, mess management is made easy by keeping a roll of kraft paper around to cover tables. A roll of kraft paper is cheap and can be bought anywhere. Newspaper also works, but spilled paint can get between the pages and sometimes will bleed through newspapers so rolled kraft paper is better.
It might take a while, but eventually the kids were able to do a good job painting and decorating their names. In order to paint colors on top of colors it is handy to have a hair drier (not photographed, sorry) on hand to speed up the base coat drying.
All in all making and painting signs of the kids names was a very fun project, the cost was nothing as I had left over materials on hand from previous projects. The kids really enjoyed painting their name and now proudly display them on their doors to their rooms at home. Give this a try with some kids and you will see how much fun they have as well.
