How to Make a Minion Costume for Halloween– Part 2 ( 3D Printed Minion Goggles )

How to Make A Minion Costume Halloween-8500

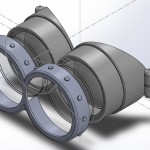
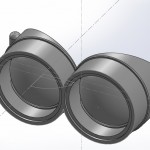
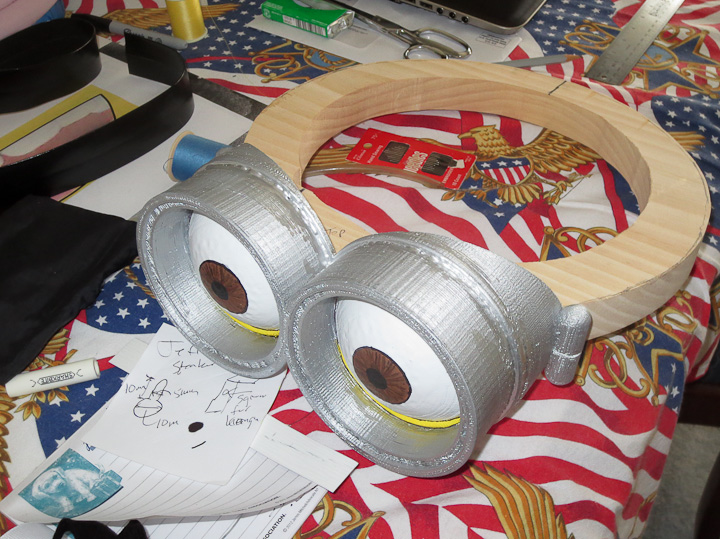
This post is a continuation of my previous post and will primarily cover the design and printing of the Minion Goggles with eyeballs used  for my Minion Halloween Costume.  I spent the bulk of my costume time designing acurate 3D models in CAD software of the Minions eyes and goggles.  I wanted to make this the focal point of my costume and went to great lengths studying photos measuring toys, and watching the movies and shorts to get scale, proportion and details correct on this part of my Minion Costume for Halloween.  My goggles are designed to fit onto a 12″ diameter foam Minion head( ~11.5″x 5″x5″ dimensions.  My 3D printer is much larger then most of the hobby FDM style printers out there,  allowing me to build parts of  this size in one piece.  If you want to build one you can print it in smaller pieces and glue it up. I broke my model into 2 pieces so it would print easily and without wasted filament on support structures.

3D printed Minion Goggles

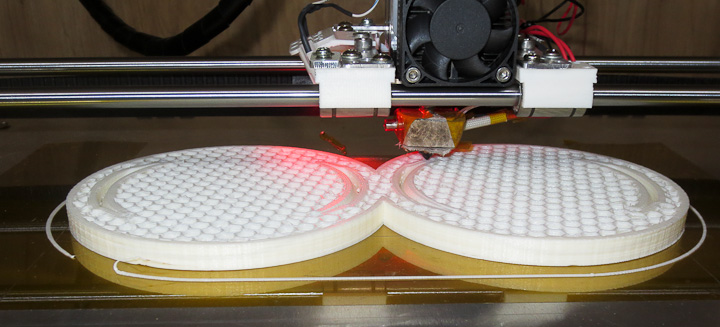
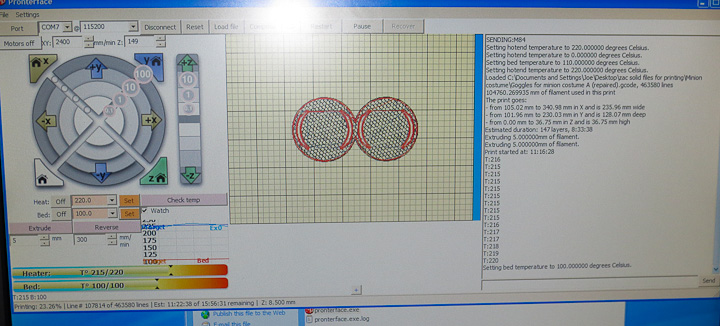
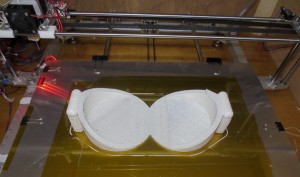
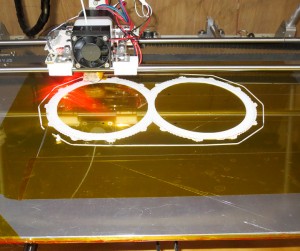
Above, you can see the software printing out one of the 3 pieces of my Minion goggle design. The current layer is highlighted in red on the screen.  I use Pronterface (seen above) and Slic3r to turn CAD models into plastic parts with my printer.  Both are amazing pieces of open source software built by the 3D printing community.  I printed it in 3 pieces to keep the weight down and use less filament.  The goggles when completed weighed in at ~1 lb. Quite heavy considering they are 6″  out from the center line of your head.  I designed the Minion Goggles to be printed as multiple pieces to simplify painting, allowing for true to character final product.  My Despicable Me Minion Goggle Design have 2 clear plexiglass lenses for that true “goggle” look.  This keeps dirt/food/stuff of the painted eyeball area and makes the eyeballs appear more glossy and lifelike.

3D printed Minion Goggles

3D printed Minion Goggles


3D printed Minion Goggles

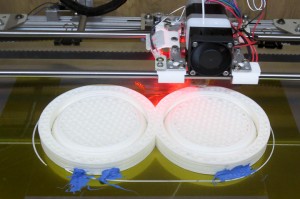
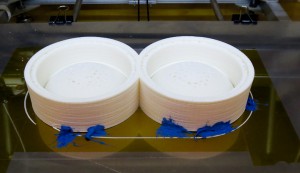
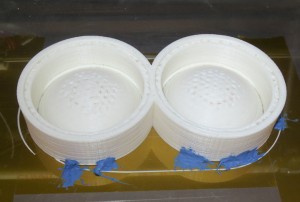
The blue stuff in the above photos is Silicon RTV adhesive.  At about 4 hours into the almost 9 hour build there was some warping and pulling away of the parts from the Kapton tape covered heated bed build platform. I slathered on some RTV to prevent further warping and prevent the build from being ruined due to the part separating from the build tray.
3D printed Minion Goggles
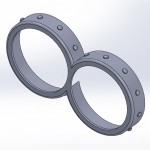
I did not take a enough photos, this is the front Goggle lens retainer being built. I used support so the “rivets” around the outer perimeter would build cleanly.  I was careful to count, scale, and locate the rivets based on many photos and screen shots from the DVD.

3D printed Minion Goggles

This is the rear piece that will fit up against the foam minion head that I was constructing for my costume.  The head diameter on my costume is 12″ as this was the largest foam circular shape (more on this in Part 3 of Minion Costum Construction) I could find for a reasonable price.

Despicable Me Minion Costume Goggles Halloween - 2    Despicable Me Minion Costume Goggles Halloween Costume - Assembly    Despicable Me Minion Costume Goggles Halloween

I have uploaded the 3D cad models for my Minion Goggle design onto Thingiverse ( http://www.thingiverse.com/thing:232679 ) in both STL and an IGS assembly in case you want to make a Minion Halloween Costume of your own with some modifications.  Just remember that the goggles are designed to fit on a 12″ diameter head.  You can scale them if you are making a smaller costume for a kid.  If you use my files and make a costume, please send me a pic, I would love to see what you came up with and how it came out.

3D printed Minion Goggles      h

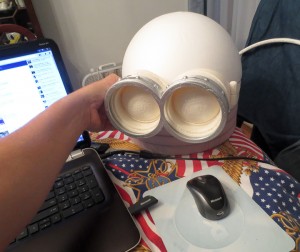
The raw printed goggles held up against the foam so you can see how they will fit on the Minion Head/helmet.

3D printed Minion Goggles   3D printed Minion Goggles

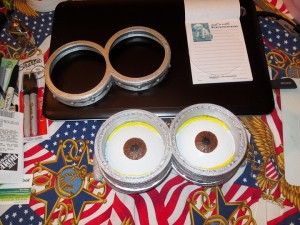
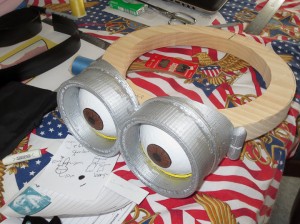
The painted goggles came out well.  In the above left you can see the acrylic disc that fits in the groove on the notepad. The outer frame is a snug enough interference fit that it retains them without any glue.   In my original design I was going to use foam for the helmet, however the foam ring was not up to the task of supporting the 1 lb printed goggles.  I cut a piece of 2 yellow pine into a ring for this purpose.   One more thing to note, should you follow in my footsteps on this DIY Minion Halloween Costume,  the weight of the goggles is too much without a counterbalance at the rear.  I attached with screws a steel plate(approximately 4 in x 6 in x 0.125 in) that I hammer formed to the 12″ diameter  counter the weight of the goggles.  This brings the helmet/head up to about 2.5 lbs.

minion goggles final

More on my Minion Costume Construction in the next and final post on Making a Minion Costume for Halloween – Part 3 where I will show you how I made the helmet, and talk about designing/making the fabric portions of my Minion Costume. 
Cheap Fast DIY Lightbox for Photography from Tape, String, and Posterboard

How to make a photography ightbox     I have been helping a small NYC based startup build and develop new online outlets for their products.  One of the items we discussed was uniformity of their online shop’s product photographs.  It is important that the primary shop photos tie together brand image and clearly portray the product for sale. Additional, less focused photographs showing models wearing their products and full displays with products in use environments can be shown on each individual products page along with more details and specifications in text.  The owner decided they wanted to go with all white (high key) product images to draw focus to their products for the primary shop photos.  Not having the money to hire a professional to redo all of their product photos, nor wanting to invest in and store a bulky commercial light tent setup in their shop, I shared with them something I came up with years ago.  I call it the poor mans lightbox.   Made from a piece of poster board, tape, and string, this white high key set up will allow you to take excellent product photos, using a point and shoot camera hand held.  It’s perfect for taking photos of small items  you built, to list on Ebay, or as I did with the images taken during this post,  use for your Etsy shop.

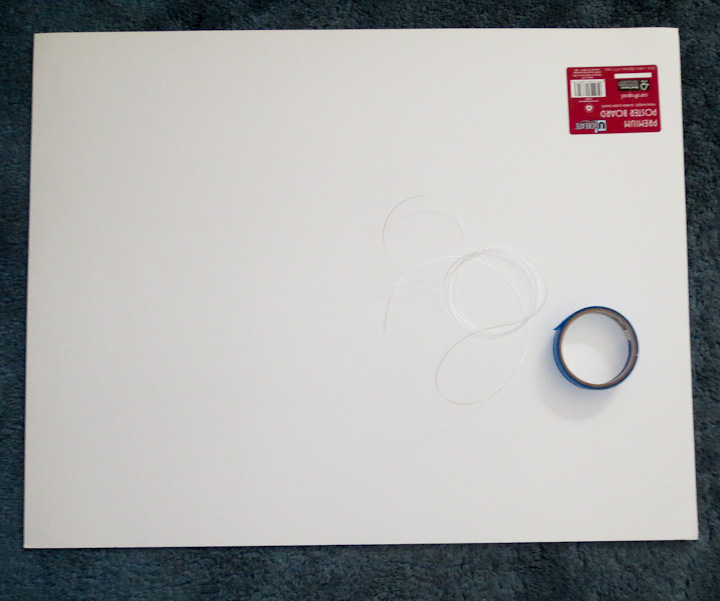
DIY light tent for photographing itemsFirst step is to gather materials. You will need a piece of white poster board, or you can use a colored poster board if you so choose.  Approximately 7-8 feet of string or in my example photos fishing line, and some tape.  These three items are the only items you need to make a quick photography light tent.

DIY Photography Light Tent      MAking a light box for High Key Photography

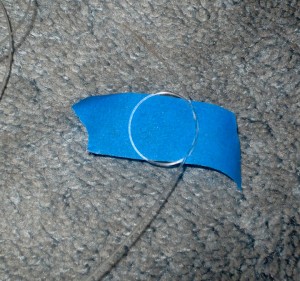
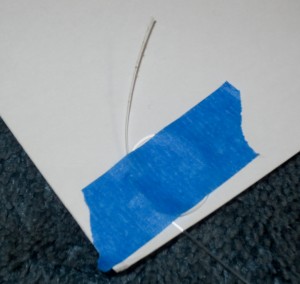
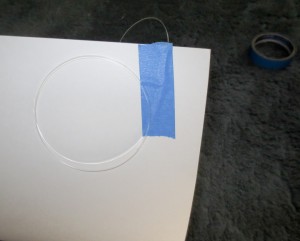
Make a loop on one end of your string and put it on some tape as in the above left photo.  I’m using blue masking tape but any tape will do the trick. I’m a huge fan of blue painters tape. In my book it is even better then the almighty and venerable Duct Tape.  The loop keeps the string from slipping.  You want one side of your string to be firmly attached.  Tape it to a corner with the string coming out the short side. This will become the top of your lightbox.

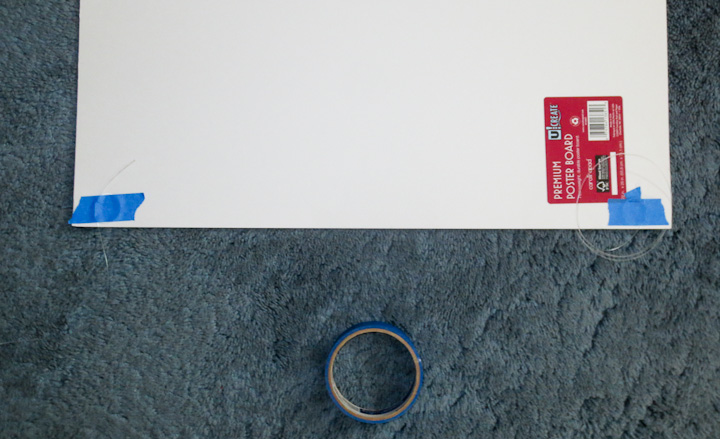
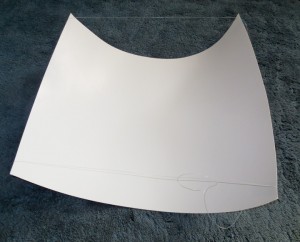
DIY Light Tent for High Key PhotographyRepeat for the other side so your posterboard looks like the above photo.  Cut your string in half.

Fast Cheap DIY Lightbox for photography-8685     Posterboard Light box

Take the free end of the string from one of the corners and pull it around the “bottom”  (the other short side) of your posterboard.  Put a piece of tape over the string, this time not making a loop.  By not making a loop you can pull and adjust the tension on the string allowing you to adjust the light box later.  Repeat this for the other string.

Fast Cheap DIY Lightbox for photography-8687    Fast Cheap DIY Lightbox for photography-8688

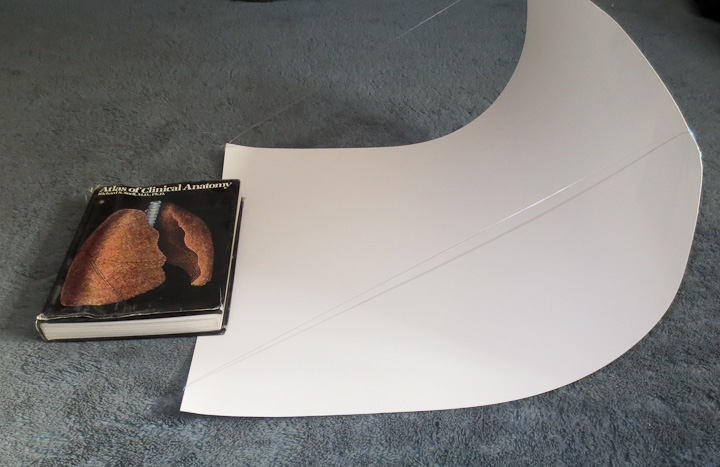
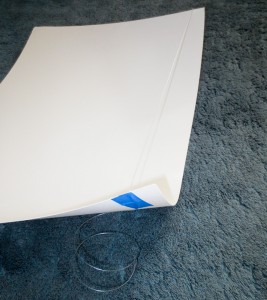
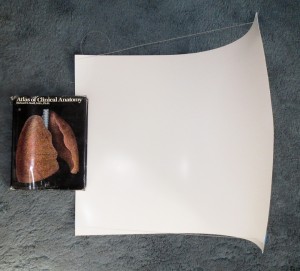
Pull the second side until your poster board is bent as in  the above photos.  You want both strings to be approximately the same length so the bend goes across perpendicular to the long edge of the poster board.

Fast Cheap DIY Lightbox for photography-8689     How to make a photography ightbox

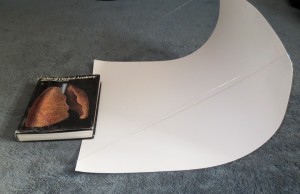
Find something heavy and flat to hold the bottom of your lightbox down. I’ve used shoes in the past (on the road traveling for work) but I usually find a book or short stack of magazines to hold down the bottom.  Gravity and tension do the rest. You now have your very own mini high key photography lighting set up.

Fast Cheap DIY Lightbox for photography-8702     Fast Cheap DIY Lightbox for photography-8703

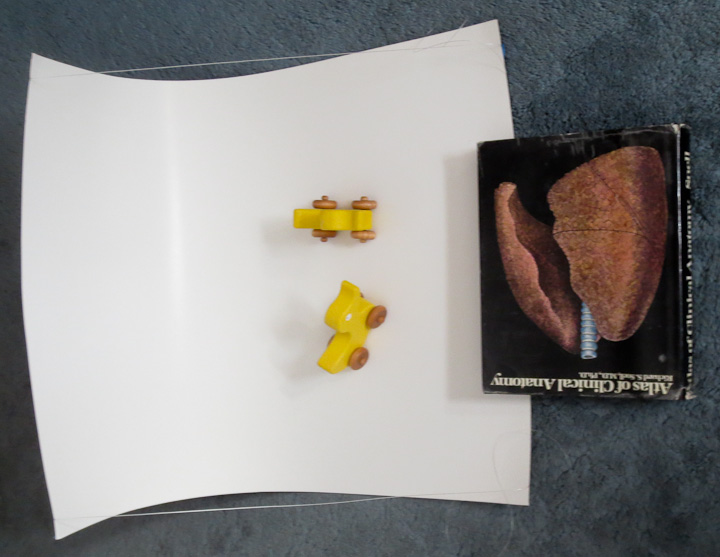
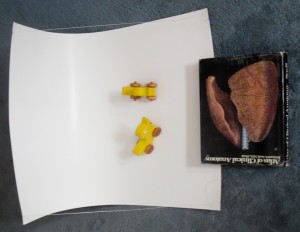
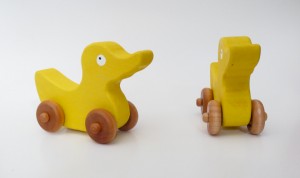
The above photo shows the set up in use.  Ideally you want to place your objects near the front/bottom of your lightbox. This allows the background to be a little out of focus if you use a Macro mode on your camera.  If you can, adjust the exposure up +1 stop on your camera.  I took the above right photo of my wooden rubber ducky roller toy for sale on Etsy using an Cannon Elph 110 HS Point and Shoot Camera to prove that this works perfectly, even with a simple point and shoot camera.  In fact, all of the photos for the painted rubber ducky inspired wooden toy were taken with this set up rather then my typical set up which uses  a dSLR, a large light cube, and 1000WS  white lighting studio strobes.

Fast Cheap DIY Lightbox for photography-8706        using a light box to photograph objects.

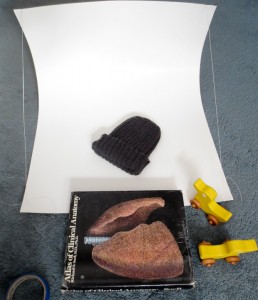
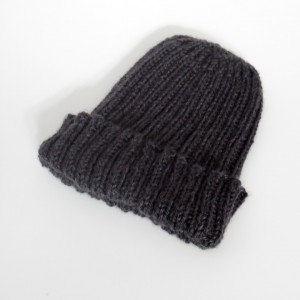
Another example of product photography using the same set up.  You can get very nice results, placing this set up on a table or the floor out of the path of direct sunlight but with the primary light source to the front.  Even using the on camera flash if you want, although be careful to avoid harsh shadows, and over exposed “burnt” highlights.  I hope this post helps you take some better pictures of your crafts for sharing online, or items for sale.   When you are done using your poster board lightbox, simply pull the strings loose and stick it behind a desk, couch, etc for easy storage.


How to Make a Minion Halloween Costume – Part 1

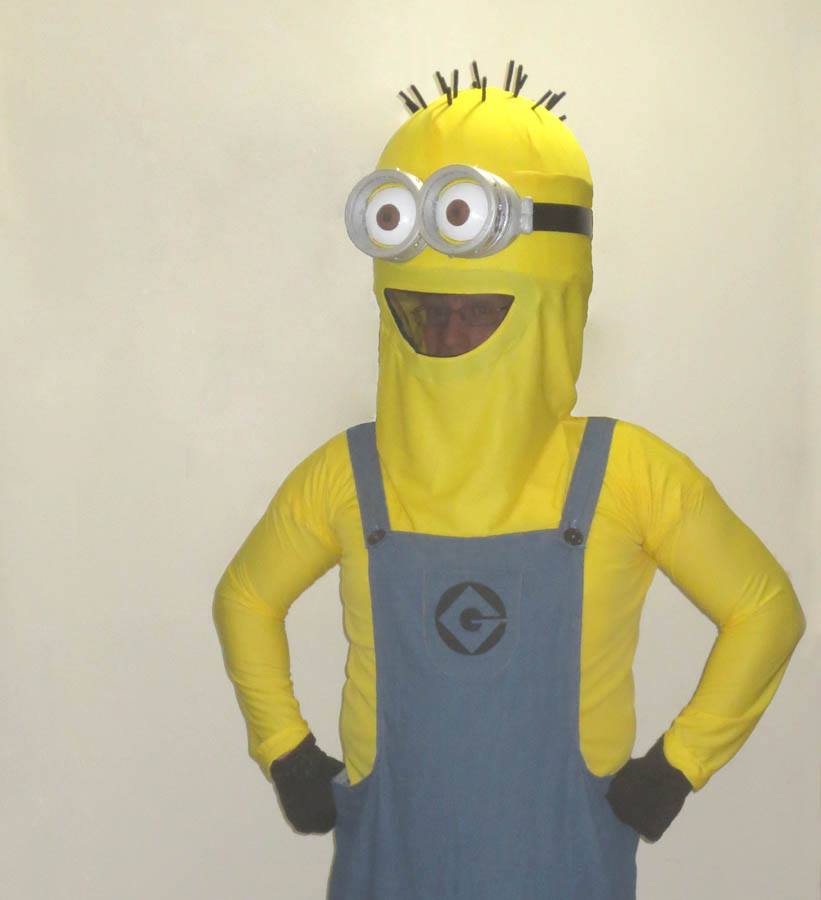
How to make a Minion Costume    As you can see in the above photo, this year for Halloween I was a Minion from the lovable Despicable Me movies.  I fell in love with minions the first time I saw them.  Not only are Minions adorable, but they are every inventor/scientist/evil genius’s dream.  An army of little workers who build your creations while you are busy thinking up more inventions.  While I have a CNC machine and a 3d printer that build me things while I work on other projects but it’s not the same as having my own minion army.  Oh the things I could accomplish with a minion army…  But I digress, this post is about making a Minion Halloween costume.   The first step in making a great Halloween costume is selecting an approach, setting your costume functionality requirements,  and finding reference materials showing your character. This post will cover this first stage of the costume construction. I will cover this costume in 2 or 3 posts to break up the writing.

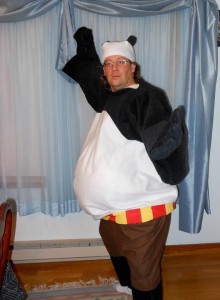
Kung fu panda      Kungfu panda with the kids

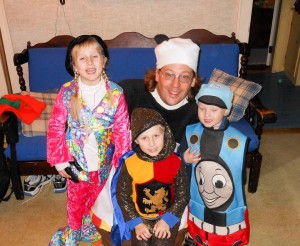
  The last few years I’ve been really into making my own Halloween Costumes.  Making the costume is almost as fun as going out to celebrate the holiday.  I feel like Halloween is the only holiday that is even more fun as an adult  then it was as a kid.  Two years ago I was Kung Fu Panda.  Kung Fu Panda was a last minute costume but came out well.  My requirements for the Kung Fu Panda costume were less stringent then my more recent costumes. Simply that it be clearly identifiable as Po from Kung Fu Panda cartoons and movies.  I primarily based my design off of a few pictures I found, and a small plastic happy meal toy I “borrowed” from my nephew.  Having an action figure or plastic model of your character choice makes costume design and construction go easily.  You can measure and scale a physical model using calipers to get proportions correct.

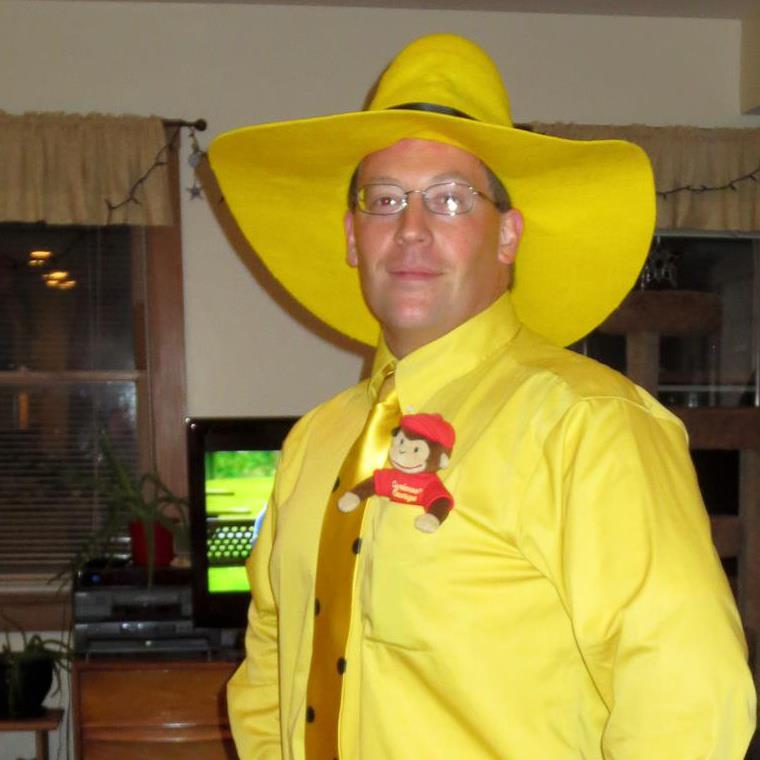
Man in the Yellow Hat Halloween Costume     Last year I was the man in the Yellow Hat from Curious George.  My costume requirements changed to include allowing me to dance salsa in costume, as I was certain to be at a few Halloween Salsa Parties.  I used illustrations from the Curious George books as well as pictures.  The key element was getting the Hat to be about the right proportions to match my frame.  You can find my complete posts on making this costume at these links:   How to make the Man in the Yellow Hats Hat  and  Dying Fabric for Halloween Costumes.

homemade-minions-costume-2

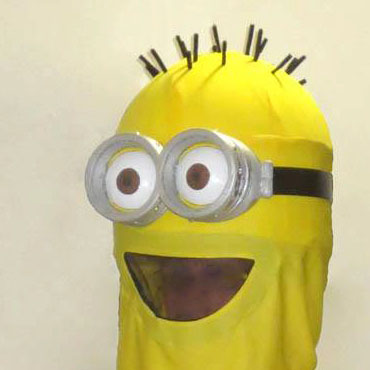
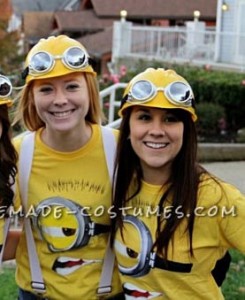
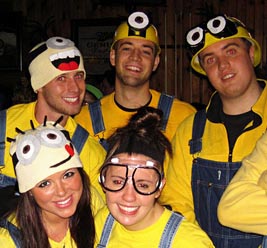
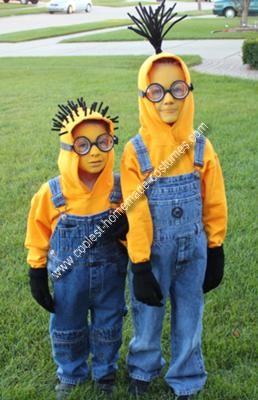
I give credit for my initial inspiration for this costume to my friend Laura who sent me a link to the above photo one afternoon in July.  She knew I was a fan of the cute yellow minions and that I was still looking for an idea for my costume.  I saw the photo and was instantly sold on the idea that I  would be a Minion for Halloween this year. The above photo shows but one of many way to make a quick easy and low cost minion costume for Halloween.   A pair of dungaree bib jeans, and a yellow hoodie with a bit of pip cleaners for hair and some goggles is all you need for this simple costume.

minion costume 14Enter the research stage.  After lots of searching the internet looking at pictures like the one above, finding some minion toys to model after, and rewatching Despicable Me I had formulated my approach toward my costume.   I decided that the most important part of the minions was their  goggles/eyes and round head.  I decided to focus much of my costume construction efforts building very accurate 3d renderings in CAD software and then printing out Minion Goggles on my 3D Printer.   I also came to the conclusion that  making the correct pants was important.  I was looking into buying a pair of bibbed denim overalls.  I even went to several stores,and tried on different pairs.  After seeing myself in the dressing room mirror wearing the real bibbed overalls I felt that both the color and style did not really fit with the simple fun Minion character I was hoping to capture in my costume. I decided to make minion Pants complete with short stumpy legs because that’s part of what makes a minion a minion.

Cemercial Minion Costume 11     Halloween Minion Costume Option2

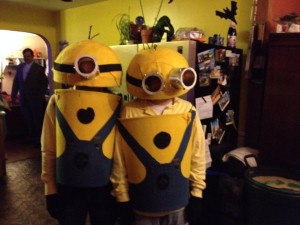
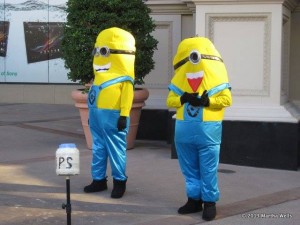
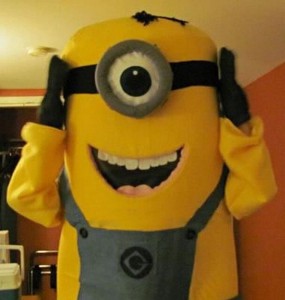
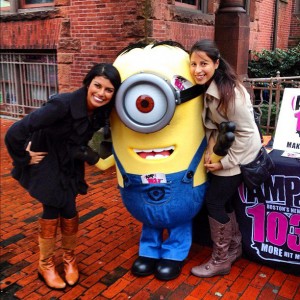
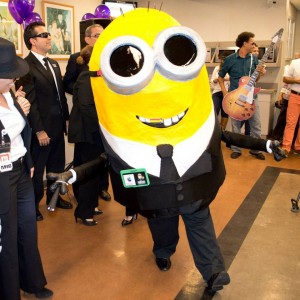
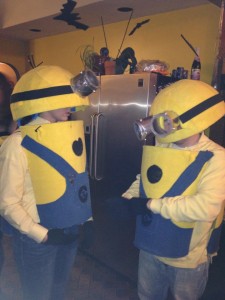
I really want this post to be a collection of ideas for someone in the future to see different approaches to making minion costumes. I met several of my fellow minions while out for Halloween Festivities and then friends had taken pics of Minions they saw.  Below are some other peoples approaches at making a Minion Costume. 
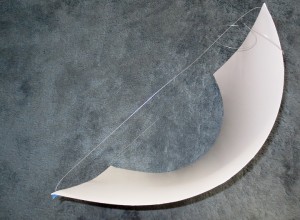
Minion Halloween Costume option 1a       Minion Halloween Costume option 1b

I like the above approach, I didn’t see these until after Halloween when a friend shared them on Facebook.

Halloween Minion Costume Option 3    Foam minion costume Despicable ME

The above ideas inspired my approach, using a full body “head”.  I wish I could have found a spherical foam or other lightweight dome that was larger then the 12″ foam half sphere I ended up using for my costume. My shoulders are considerably broader then 12″ so the head I built was not exactly what I wanted but was what I could make given the availability of easily and cheaply obtainable materials.
Despicable ME minion hat idea diy-minon-costumes-Despicable-me-9 Minion hat ideas

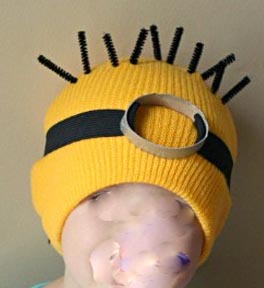
I like the different ways people used hats for their minion costumes in the above pictures.  Had time allowed I was going to buy a yellow hat and put black yarn through it for hair so I could have a more dance worthy inner hat to wear as well as the full costume. I did dance 2 or 3 songs in full costume before removing the Minion head due to it being a bit hot with it on.
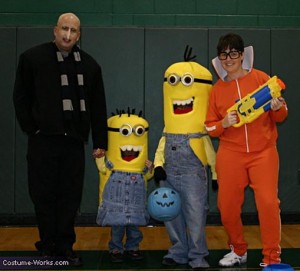
best minion costume family

These people win for the best family themed costumes I’ve seen in a long time.  Super awesome!

In my next posts I will share specific details on how I measure, size, design and make my minion costume.  Click here to continue learning how I made my Minion Costume for Halloween,  http://www.projectsbyzac.com/1101/reprap-3d-printer/how-to-make-a-minion-costume-for-halloween-part-2-3d-printed-minion-goggles
Rebuilding a Ford Focus Front Seat

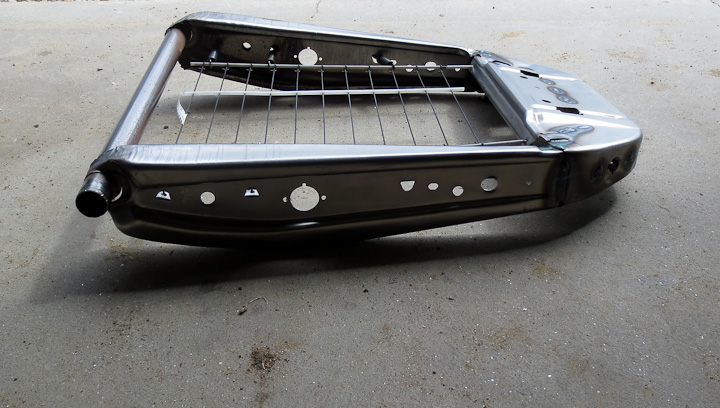
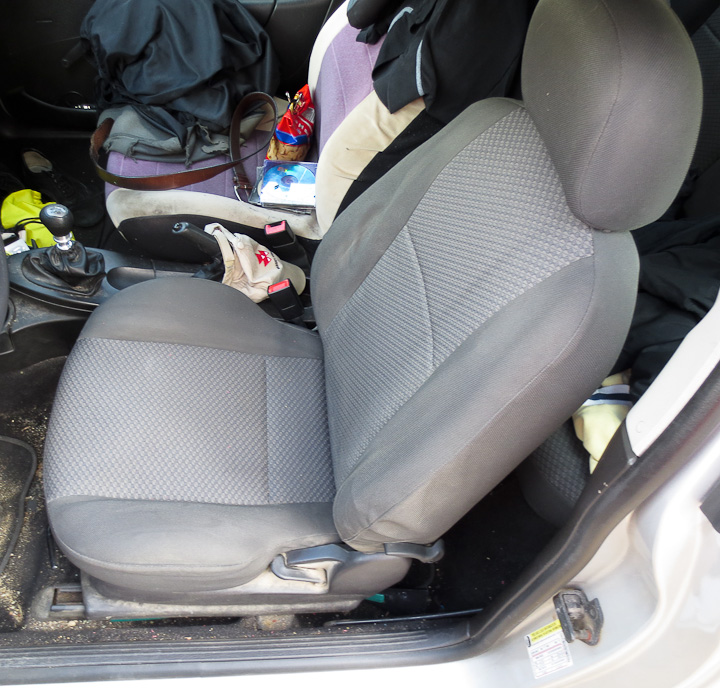
041013 ford focus front seat repairs-1931One night on a long drive home, the front drivers seat in my beloved Peanut Car (a Ford Focus) made a loud pop sound and started flopping around.  It’s a very long drive home with no support on your back from your car seat when this happens.    Now I’m a big guy, and one of my monikers is “Zac Destroyer of Chairs”, so I was not terribly shocked when the seat gave up the ghost on me.  The next morning after over two hours of online shopping and phone call making looking for a new seat I realized my replacement options were pricey and very limited, even considering the used parts market.   I decided to take a look at the seat and see if I could fix it.  The upholstery used Velcro Hook and Loop fasteners on the bottom and just slid off. The foam then lifted off the frame easily enough and I was at the bones of the seat in minutes.  I was surprised to find the seat to be a construct of stitch welded steel stampings made from a  very thin sheet steel.  As you can see in the above photo it was very broken. Thankfully it was made of metal and metal can almost always be welded back together.
Rebuilding a front bucket seat frame    041013 ford focus front seat repairs-1938

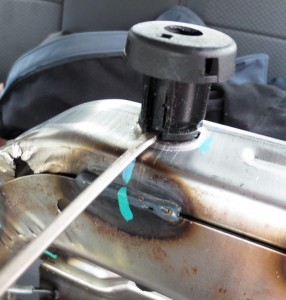
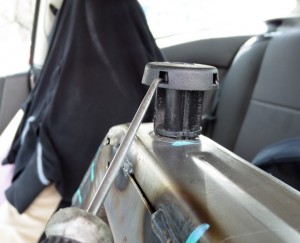
Having worked on many classic car and a few hot rods over the years, I had a good idea how to take the seat apart. The most challenging aspect of the disassembly was removing the grey plastic head rest inserts pictured above. You have to shove a small pointy metal object way down in that small opening pry and pull hard upward. The burr on the steel stamping had cut into the plastic making this very difficult to remove on my seat
  041013 ford focus front seat repairs-1943   041013 ford focus front seat repairs-1945

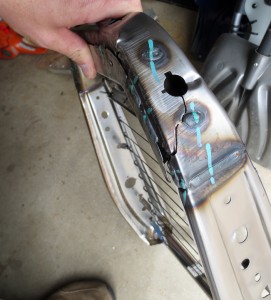
Likely my seat had been on the way out for quite some time, perhaps since it was new even.  Repeated flexing of the sheet metal frame caused whatever steel alloy it is constructed from to fatigue and eventually fracture.  The steel frame had multiple tears/fractures in different locations.

Rebuilding a ford focus front bucket seat      041013 ford focus front seat repairs-1941

041013 ford focus front seat repairs-1933    041013 ford focus front seat repairs-1934

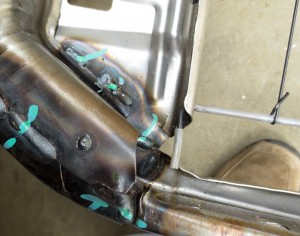
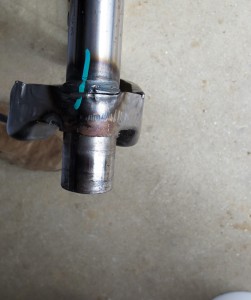
A few more pictures showing the torn sheet metal stampings that comprise the seats structure and the many locations where it failed

041013 ford focus front seat repairs-1940

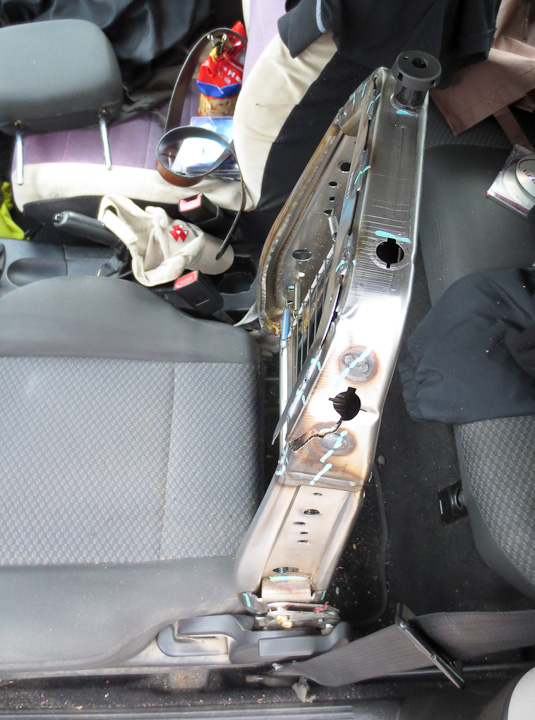
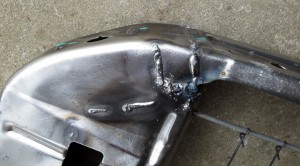
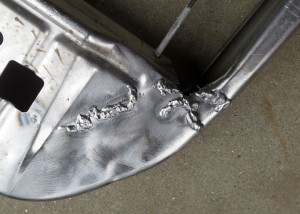
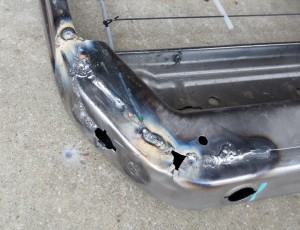
   My biggest concern was the fact that the seat was very warped.  Thankfully being a big guy came in handy for this.  I simply stood on a board to hold it flat and square against the shop floor  while welding her back together.  I pulled out my trusty Lincoln WeldPak Welder and got to work with some flux core welding wire.  I find Flux Core wire is best for any type of repair on unknown older steel as the flux helps remove impurities from the weld. The steel looks bare but it’s clear there is some sort of clear corrosion inhibiting coating on the metal protecting it.

rebuilding front bucket seats automotive-1956     rebuilding front bucket seats automotive-1955

rebuilding front bucket seats automotive-1952      rebuilding front bucket seats automotive-1951

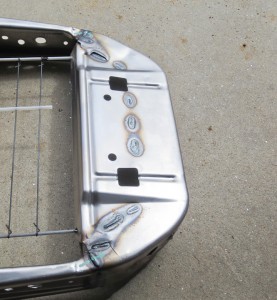
About 5-10 min of welding later I had her all back together.  It took some considerable fill in welding and a lot of short stitches and spot welding as the metal was thin.  In the end It was stronger then when it was new. I added stitches and fully welded some of the higher stressed seams between stampings while I was at it.

rebuilding front bucket seats automotive-1959   rebuilding front bucket seats automotive-1957

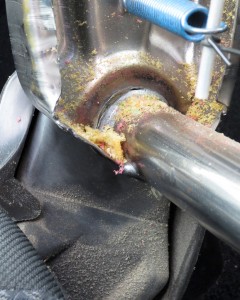
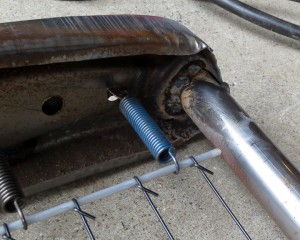
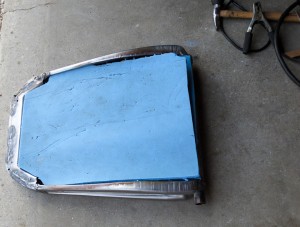
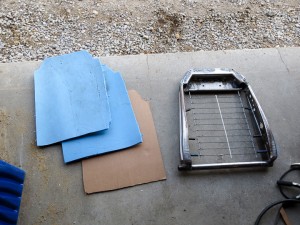
In addition to fixing the steel frame, I added a cardboard backer and some high density PP foam to stiffen the support. I was shocked to find that Ford did not put a stiff layer of material between the steel spring and the foam.  This caused my foam to tear a bit as you saw in one of the photos I shared earlier.  The addition of the stiffening material between the steel wire and the foam prevents the foam from squishing through the wires as it had been.

rebuilding front bucket seats automotive-1961

All told, start to finish I wasted 1H15 minutes fixing my seat. I wish I had just done the repair in the first place rather then wasting 2 hours looking for a replacement seat/part at a reasonable cost.  For the record a new steel upright seat frame at cost from my connection at a Ford parts supplier was almost $500.  I figure that saving $500 for my hour and a bit of labor was a worthy venture.   It’s now been six months since I fixed my seat and it is holding up perfectly.  The addition of the HDPP foam and cardboard backer has gone a long way to provide more support on long road trips.

I was not upset at having to make this repair.   My beloved Focus has 150,000 hard driven miles on her and been good to me the entire time.  Outside of replacing the alternator, fluids, brakes and a few lightbulbs I’ve not done much in the way of repairs.    I recognize and accept that my peanut car has reached the age of needing a bit of sprucing up from time to time.  I’m not quite ready to retire it quite yet and hope to get another few years out of my Ford Focus.