This is my final post on how I made my Minion (from the movies Despicable Me) costume for Halloween. I had a clear vision, as discussed in my first post How to Make a Minion Halloween Costume – Part 1, from the start for this costume. I will admit to not quite making my vision a reality with this costume. However, I am pleased with how it turned out none the less. Lesson learned, yet again, is that I MUST start costume construction earlier. Next year I plan to start my costume on or before October 1st. After designing and printing the goggles on my 3D printer as shown in the previously shared post: How to Make a Minion Costume for Halloween– Part 2 ( 3D Printed Minion Goggles ) I had at cutting and sewing up the pants and shirt for my Minion Costume. The shirt made from a super stretchy knit fabric was simply a big tube with two skinny tubes sewn on for arms and is not discussed in detail.
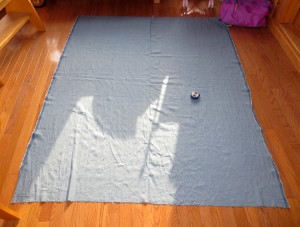
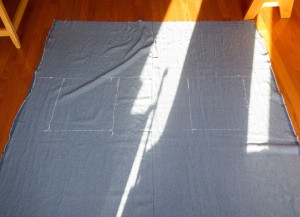
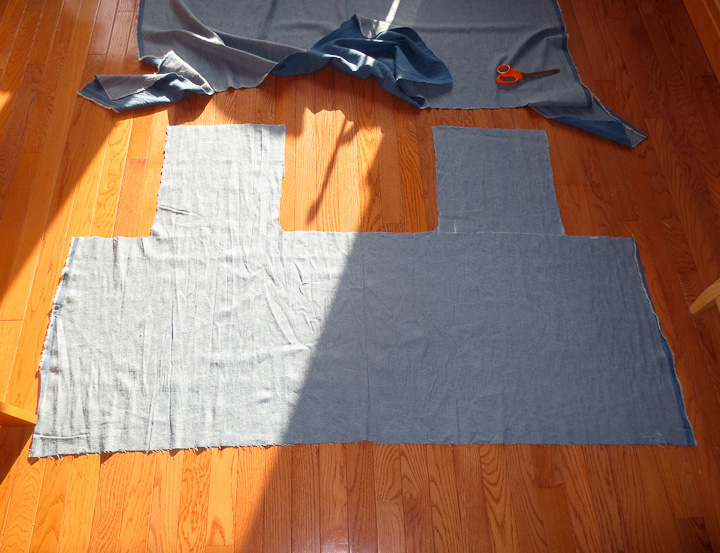
I typically start by laying out the design on my materials, in this case some 4oz denim that I bought specifically for this costume at my local JoAnne Fabric store. I used a fabric tape measure and yardstick to roughly measure the dimensions I needed for my costume. I carefully made cutting lines onto the fabric with chalk. I had just barely enough material to make the costume from the 2 yards I purchased so I had to be very precise in my layout and cutting.
After cutting the fabric, the one side seam was sewn up by machine quickly. Then all of the edges up top around the bib folded over and finished. Sewing on a machine makes very fast work of straight edges and the lightweight denim fabric was not problematic to sew, unlike heavy denim can be.
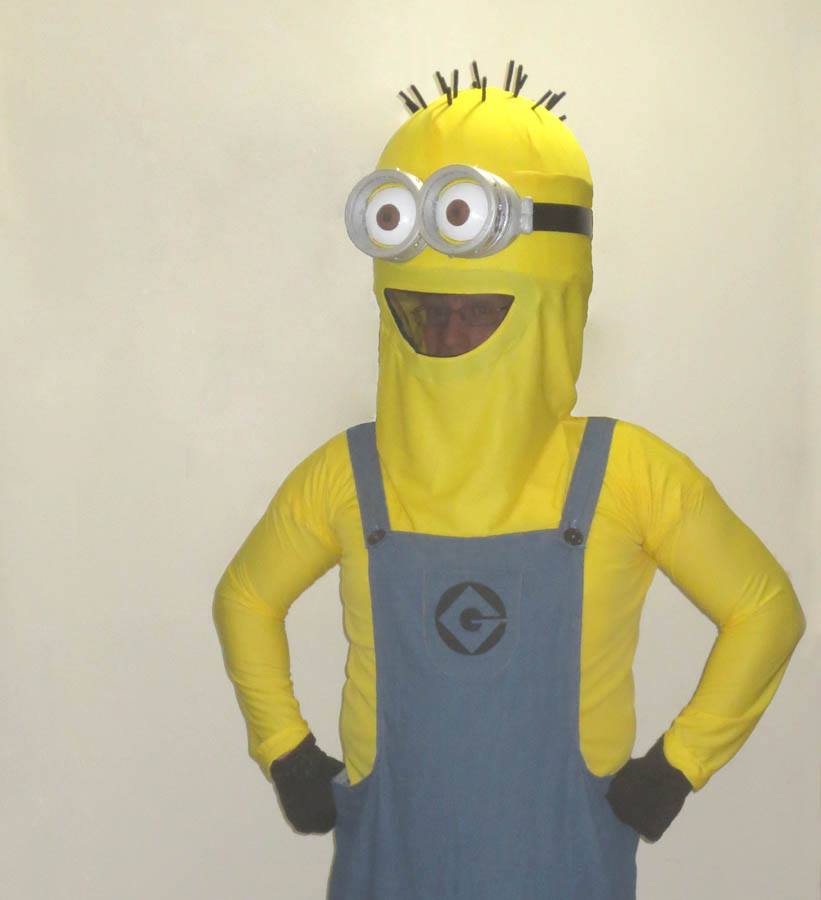
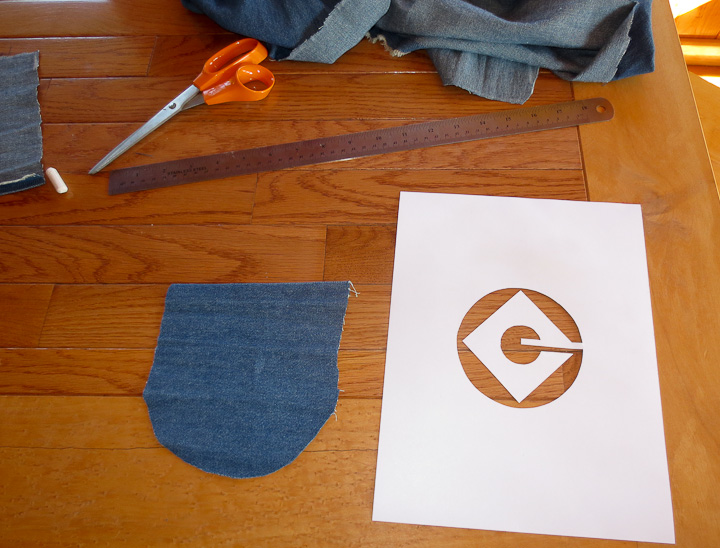
For the pocket I cut out a printed Grue logo I drew up in illustrator. I used a sharp hobby knife to cut out the logo from the 110lb card stock I printed it onto creating a pattern or mask. Application of spray adhesive allowed me to attach the logo mask onto the denim “pocket”. Be careful here that you spray the foam on the correct side of your logo mask. I then used automotive black Vinyl and Fabric spray dye to make a very nice looking Gru logo on the pocket. This took 5-6 carefully sprayed on thin coats but the final product looks very much like it was screen printed with plastisol ink. This method can be used for one off printing on fabrics and leathers. It saves the hassle of having to make a screen. Also you can make this technique work on round, or other non flat surfaces onto which it is impossible to screen print. I stitched the pocket on to finished the Minion overalls.
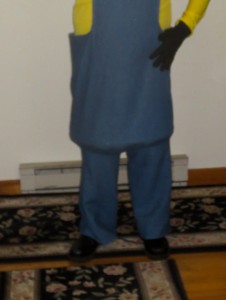
To keep the short stumpy legs look (in the above photo) and the tubular shape of the body, I used a piece of 3/8″ PEX tubing from the plumbing section. I carefully cut it to the right length to stretch out the bottom of the pants keeping the Minion-esque shape. Using a simple brass PEX union, I was able to bend the tube into a hoop. The hoop slides into a pocket sewn on the inside of the pants pulling the bottom flat and adding just enough weight to get the right drape needed for the costume.
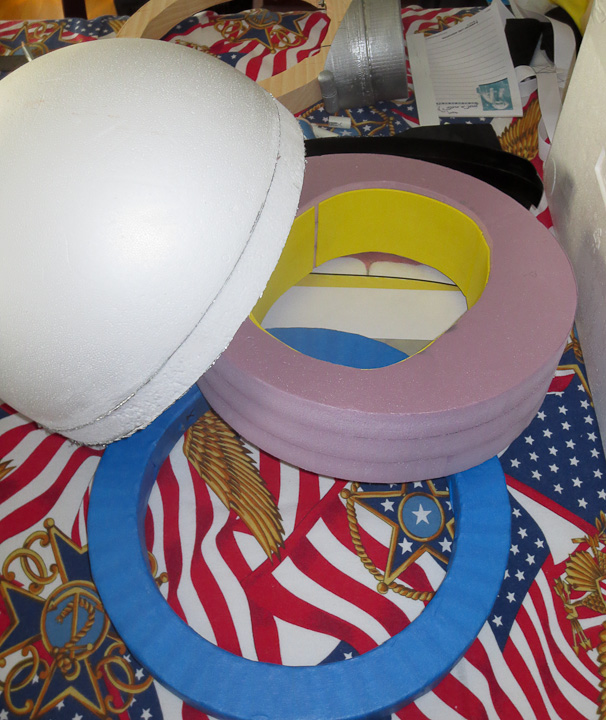
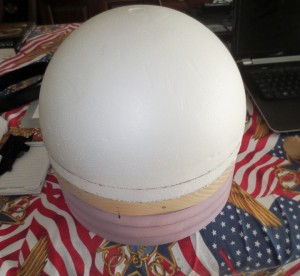
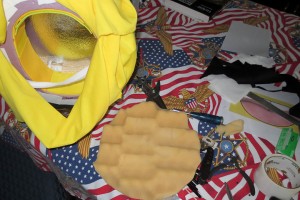
For the minion head, I used hard styrofoam sheet cut into 12 inche diameter circles and laminated together with a half sphere I purchased. I had a hard time finding a foam sphere the size I wanted. My costume is largely designed around the 12″ hollow half sphere that I purchased at the Hobby Lobby. I really would have liked a 14″ or 16″ one to hide my shoulders better but I could not find anything in that size at reasonable cost and designed around the 12″ diameter. I cut pink foam board on a band saw into 12″ diameter disks. I then cut out a rough “head shape” so this could all be worn as a hat/helmet.
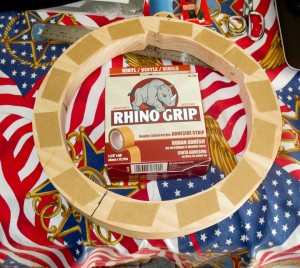
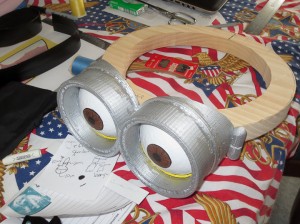
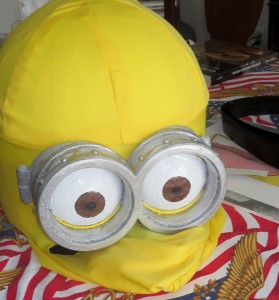
I originally planned to mount the Minion goggles (see my previous post) from my 3d printer directly onto a foam ring, but even with epoxy reinforced plastic tubes added to strengthen the foam it was quickly apparent that the foam was not strong enough to support the weight of the goggles. I cut a 12″ outer diameter ring out of some very light white pine to handle the load from the almost 1 lb goggles.
I’m a huge fan of the Rhino Grip Acrylic adhesive tape shown above in the left hand photo. It’s sold in the roll flooring section at Home Depot and Lowes. It’s officially used for modified loose lay installation of vinyl floors. It’s perfect for sticking foam, or anything else together. The goggles were attached to the wooden ring through two holes drilled into it. I had epoxied two #10 threaded rod sections into the goggles for mounting into the ring. I wanted to be able to take the head apart and felt threaded fasteners for mounting was the best option.
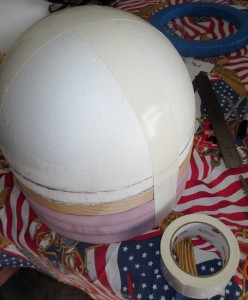
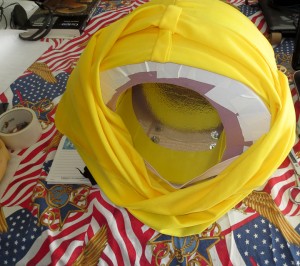
I bought white duct tape at Walmart (the only place local that had it) and covered the entire foam construct with white tape. This was partially to hide seams and partially to provide a nice smooth surface to slide into the yellow knit fabric “skin” I sewed up for the head/neck.
With the addition of an elastic neck strap to the minion head it was possible to wear the helmet but the Goggles made it very front heavy. My solution was to add a counter weight in the form of a 1/8″ x 4″ x 6″ steel plate hammer formed to the 12″ diameter on the back of the head. This brings the weight of the entire helmet to about 2.5 lbs. I added some soft foam to the inside to help spread the load making it more comfortable to wear.
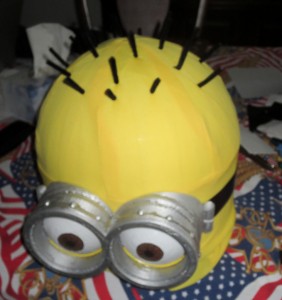
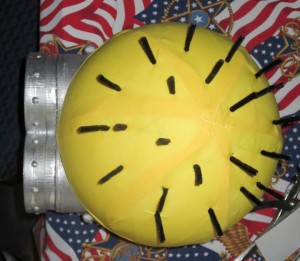
For the hair I used standard black pipe cleaners. I cut the pipe cleaner down to 3″ lengths and carefully poked it directly into the foam. With the right technique it went in through the fabric, the duct tape, and foam easily. The last steps of my costume involved hand stitching some black screen/mesh for a mouth. I had hoped to print out some sort of mouth on the 3d printer with teeth and tongue but I ran out of time. In the end I am very happy with this years Halloween Costume.
I hope my three posts on this subject (Links to: Part 1 and Part2 ) have helped you with your Despicable Me Minion Halloween Costume Construction. I am already thinking about what I will make for next Halloween, though I am considering wearing one of my last three costumes.
One thought on “How to Make a Minion Halloween Costume – Part 3”