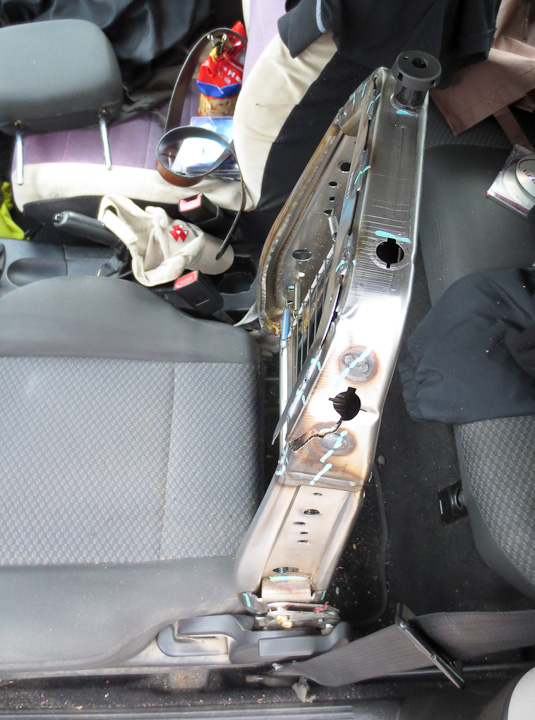
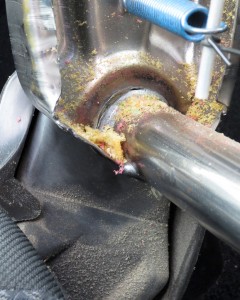
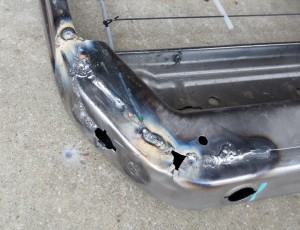
 One night on a long drive home, the front drivers seat in my beloved Peanut Car (a Ford Focus) made a loud pop sound and started flopping around. It’s a very long drive home with no support on your back from your car seat when this happens. Now I’m a big guy, and one of my monikers is “Zac Destroyer of Chairs”, so I was not terribly shocked when the seat gave up the ghost on me. The next morning after over two hours of online shopping and phone call making looking for a new seat I realized my replacement options were pricey and very limited, even considering the used parts market. I decided to take a look at the seat and see if I could fix it. The upholstery used Velcro Hook and Loop fasteners on the bottom and just slid off. The foam then lifted off the frame easily enough and I was at the bones of the seat in minutes. I was surprised to find the seat to be a construct of stitch welded steel stampings made from a very thin sheet steel. As you can see in the above photo it was very broken. Thankfully it was made of metal and metal can almost always be welded back together.
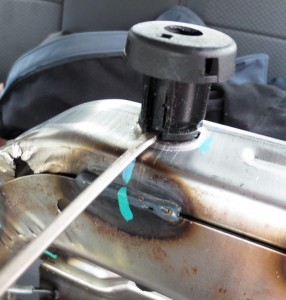
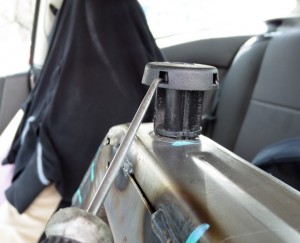
Having worked on many classic car and a few hot rods over the years, I had a good idea how to take the seat apart. The most challenging aspect of the disassembly was removing the grey plastic head rest inserts pictured above. You have to shove a small pointy metal object way down in that small opening pry and pull hard upward. The burr on the steel stamping had cut into the plastic making this very difficult to remove on my seat
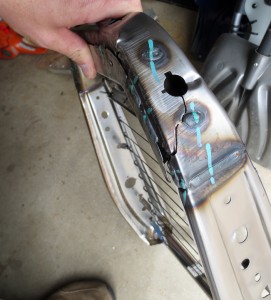
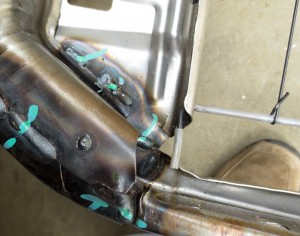
Likely my seat had been on the way out for quite some time, perhaps since it was new even. Repeated flexing of the sheet metal frame caused whatever steel alloy it is constructed from to fatigue and eventually fracture. The steel frame had multiple tears/fractures in different locations.
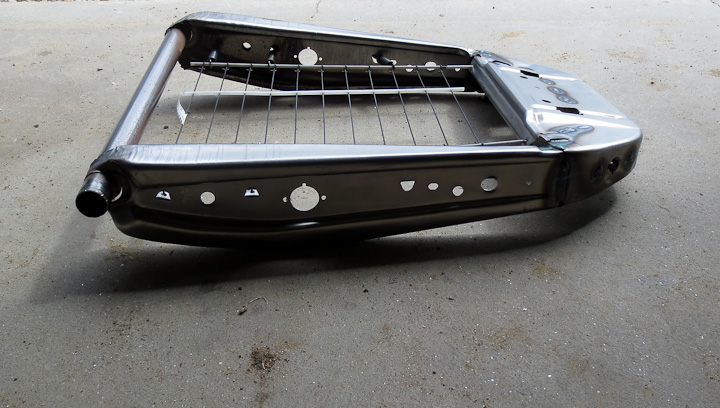
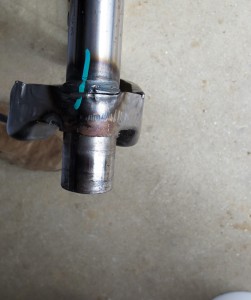
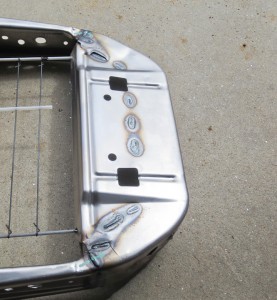
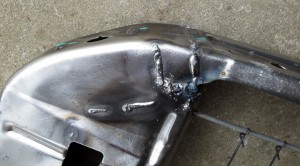
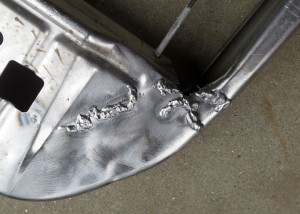
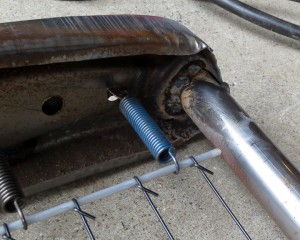
A few more pictures showing the torn sheet metal stampings that comprise the seats structure and the many locations where it failed
My biggest concern was the fact that the seat was very warped. Thankfully being a big guy came in handy for this. I simply stood on a board to hold it flat and square against the shop floor while welding her back together. I pulled out my trusty Lincoln WeldPak Welder and got to work with some flux core welding wire. I find Flux Core wire is best for any type of repair on unknown older steel as the flux helps remove impurities from the weld. The steel looks bare but it’s clear there is some sort of clear corrosion inhibiting coating on the metal protecting it.
About 5-10 min of welding later I had her all back together. It took some considerable fill in welding and a lot of short stitches and spot welding as the metal was thin. In the end It was stronger then when it was new. I added stitches and fully welded some of the higher stressed seams between stampings while I was at it.
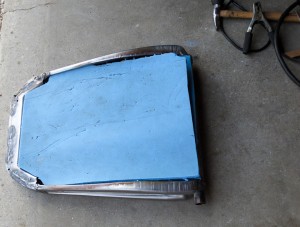
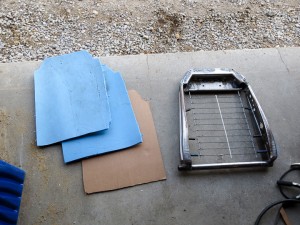
In addition to fixing the steel frame, I added a cardboard backer and some high density PP foam to stiffen the support. I was shocked to find that Ford did not put a stiff layer of material between the steel spring and the foam. This caused my foam to tear a bit as you saw in one of the photos I shared earlier. The addition of the stiffening material between the steel wire and the foam prevents the foam from squishing through the wires as it had been.
All told, start to finish I wasted 1H15 minutes fixing my seat. I wish I had just done the repair in the first place rather then wasting 2 hours looking for a replacement seat/part at a reasonable cost. For the record a new steel upright seat frame at cost from my connection at a Ford parts supplier was almost $500. I figure that saving $500 for my hour and a bit of labor was a worthy venture. It’s now been six months since I fixed my seat and it is holding up perfectly. The addition of the HDPP foam and cardboard backer has gone a long way to provide more support on long road trips.
I was not upset at having to make this repair. My beloved Focus has 150,000 hard driven miles on her and been good to me the entire time. Outside of replacing the alternator, fluids, brakes and a few lightbulbs I’ve not done much in the way of repairs. I recognize and accept that my peanut car has reached the age of needing a bit of sprucing up from time to time. I’m not quite ready to retire it quite yet and hope to get another few years out of my Ford Focus.

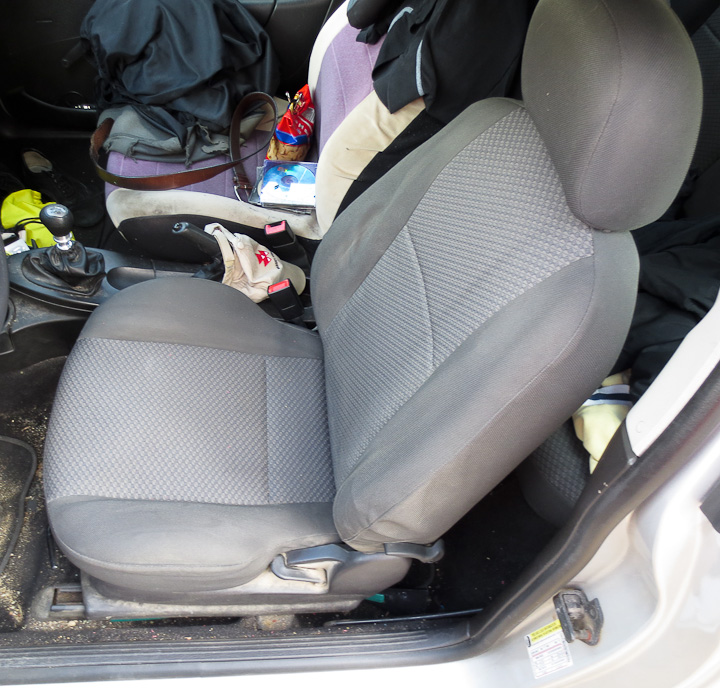
I’ve been driving on a broken seat for some time (held up by a baseball bat) but the time has come to repair mine. My Focus might be almost 10 years old and at 211000 miles, but I’m not ready to part with her either.
Is the removal of the actual seat back obvious once you take the cover and foam off?
Yes, it’s very simple. The hardest part of taking it all apart was getting the headrest off. I don’t recall what I shoved down in there, I think a small screwdriver or a scraping pick to get the tabs to release on it. There’s a picture in the post
How do I actually remove the seat back? I don’t see any obvious bolts to remove; should I be removing that flat spring? I’ve got a 2005 sedan.
I believe it was that yYou take the bracket off on the side, the one that allows you to adjust the back, it comes out with a few bolts and then you can take the seat out. I should have taken a picture of this step but I didn’t consider it at the time, sorry.
Hey Zac, where ds you find the actual replacement foam cushion?
You could order it at the time from Ford, but it was expensive. I’m not sure if the foam is still available. I reused my old one and did some glue repair plus added the camp pad cut up which helped a lot.
Hey Zac, I got the exact same problem on my 2005 Focus ZX5. My biggest problem right now is to remove the upright seat frame. Do I have to remove the entire seat from the car or can i just remove the upright seat frame directly ?
Thanks !
You can remove it in the car. I seem to recall there are a couple bolts on the outside on the angle adjustment bracket. You take the bolts out, then lift that bracket off and then the seat upright lifts out. Sorry I didn’t take more pics. I didn’t plan on writing that project up, but did after the fact to show some friends.
thanks !
Zac thanks so much. I am going thru the same problem now with my 2004 sedan. This is all the help I needed.
I don’t see how it’s removed with that tension spring there.
The one on the side that helps the seat come up? That comes off with the side brackets. It’s been a long time now but the upper seat came out by unbolting the side bracket/mounts as I recall on the door side of the seat. I hope that helps