
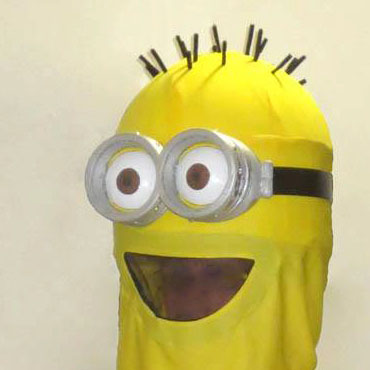
This post is a continuation of my previous post and will primarily cover the design and printing of the Minion Goggles with eyeballs used for my Minion Halloween Costume. I spent the bulk of my costume time designing acurate 3D models in CAD software of the Minions eyes and goggles. I wanted to make this the focal point of my costume and went to great lengths studying photos measuring toys, and watching the movies and shorts to get scale, proportion and details correct on this part of my Minion Costume for Halloween. My goggles are designed to fit onto a 12″ diameter foam Minion head( ~11.5″x 5″x5″ dimensions. My 3D printer is much larger then most of the hobby FDM style printers out there, allowing me to build parts of this size in one piece. If you want to build one you can print it in smaller pieces and glue it up. I broke my model into 2 pieces so it would print easily and without wasted filament on support structures.
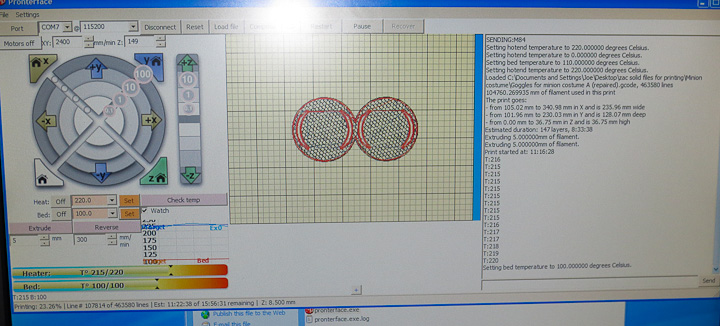
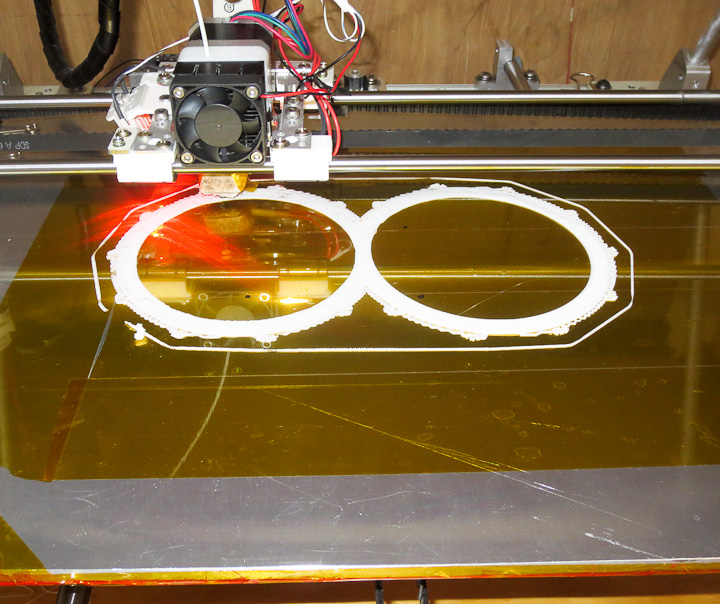
Above, you can see the software printing out one of the 3 pieces of my Minion goggle design. The current layer is highlighted in red on the screen. I use Pronterface (seen above) and Slic3r to turn CAD models into plastic parts with my printer. Both are amazing pieces of open source software built by the 3D printing community. I printed it in 3 pieces to keep the weight down and use less filament. The goggles when completed weighed in at ~1 lb. Quite heavy considering they are 6″ out from the center line of your head. I designed the Minion Goggles to be printed as multiple pieces to simplify painting, allowing for true to character final product. My Despicable Me Minion Goggle Design have 2 clear plexiglass lenses for that true “goggle” look. This keeps dirt/food/stuff of the painted eyeball area and makes the eyeballs appear more glossy and lifelike.
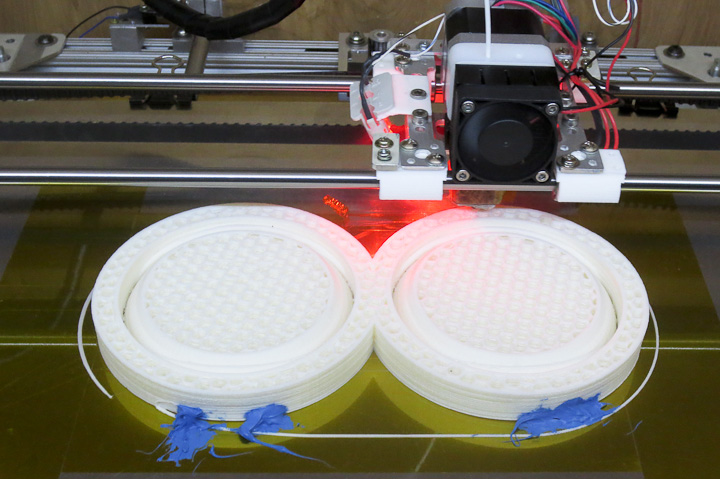
The blue stuff in the above photos is Silicon RTV adhesive. At about 4 hours into the almost 9 hour build there was some warping and pulling away of the parts from the Kapton tape covered heated bed build platform. I slathered on some RTV to prevent further warping and prevent the build from being ruined due to the part separating from the build tray.
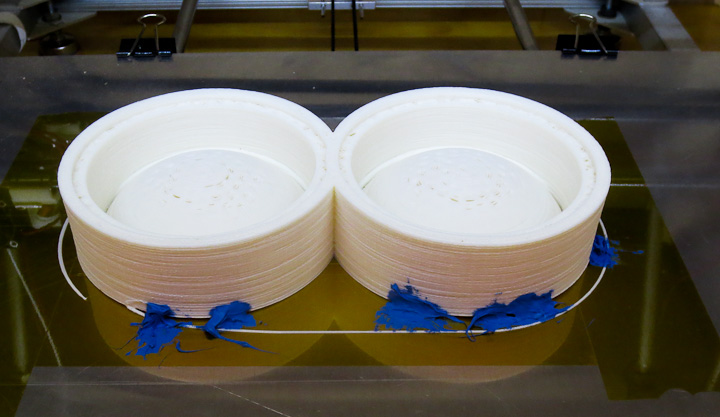
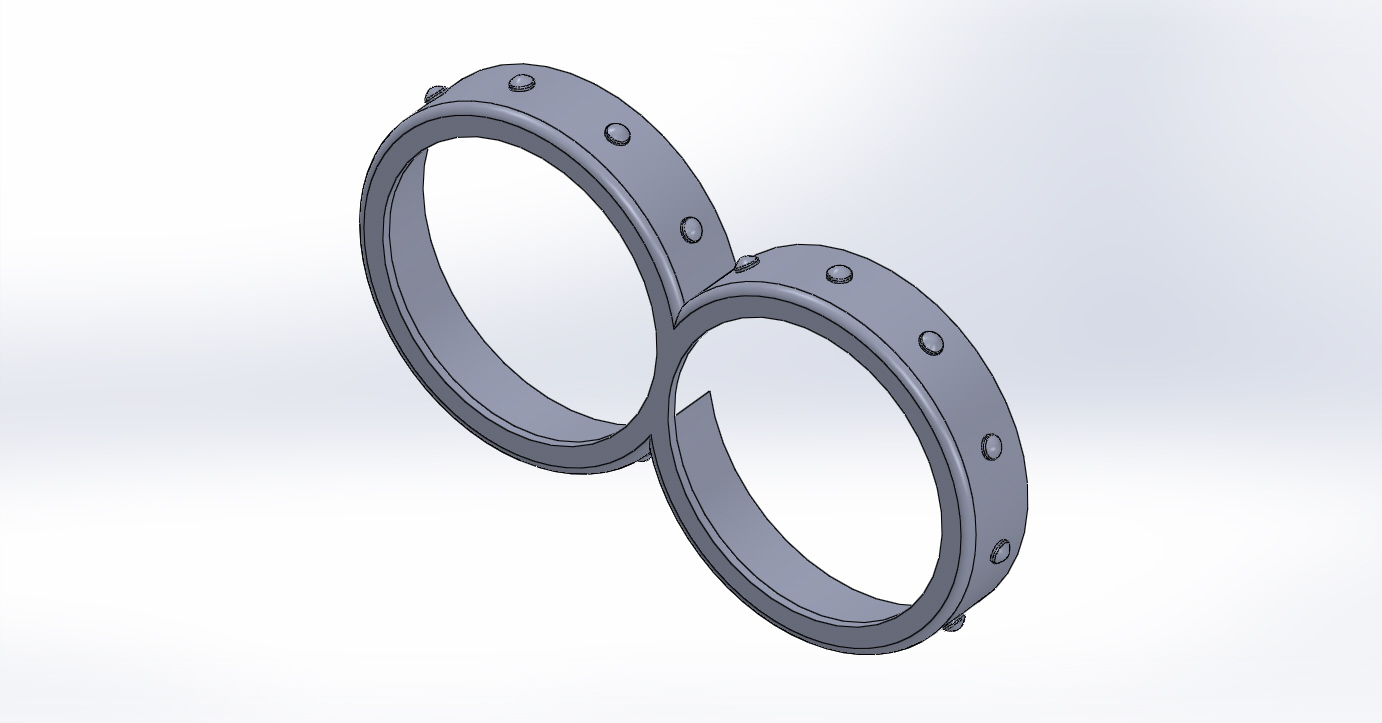
I did not take a enough photos, this is the front Goggle lens retainer being built. I used support so the “rivets” around the outer perimeter would build cleanly. I was careful to count, scale, and locate the rivets based on many photos and screen shots from the DVD.

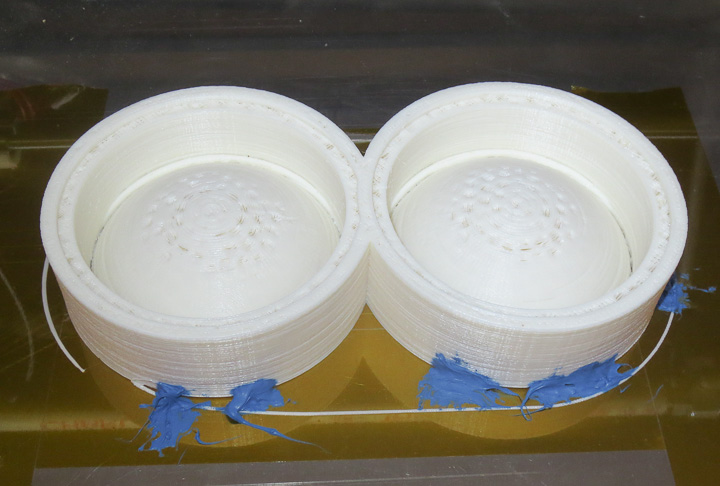
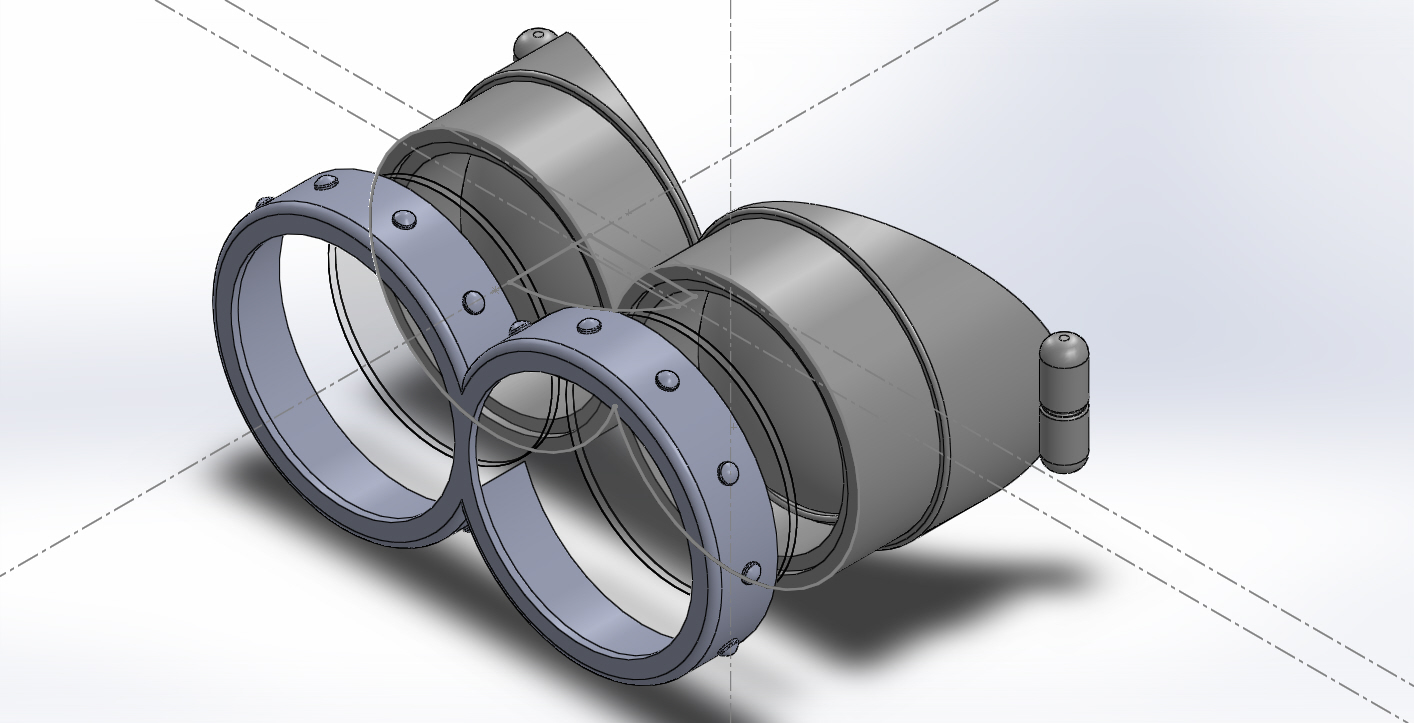
This is the rear piece that will fit up against the foam minion head that I was constructing for my costume. The head diameter on my costume is 12″ as this was the largest foam circular shape (more on this in Part 3 of Minion Costum Construction) I could find for a reasonable price.

I have uploaded the 3D cad models for my Minion Goggle design onto Thingiverse ( http://www.thingiverse.com/thing:232679 ) in both STL and an IGS assembly in case you want to make a Minion Halloween Costume of your own with some modifications. Just remember that the goggles are designed to fit on a 12″ diameter head. You can scale them if you are making a smaller costume for a kid. If you use my files and make a costume, please send me a pic, I would love to see what you came up with and how it came out.
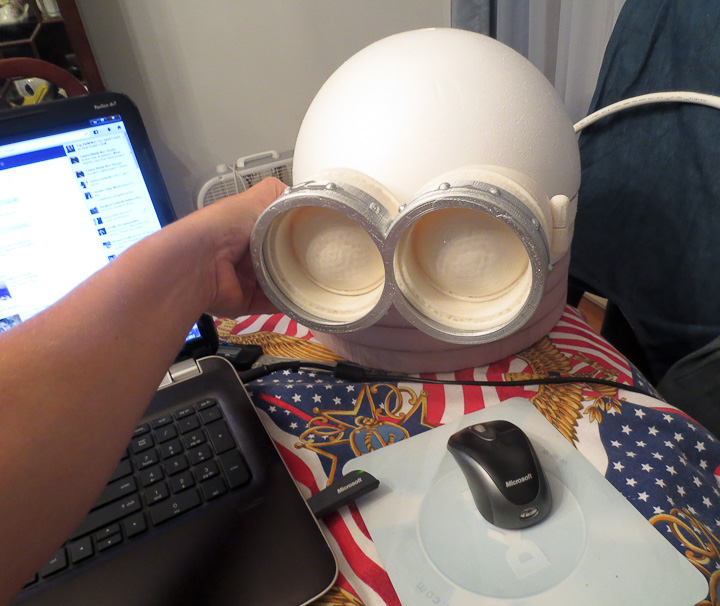
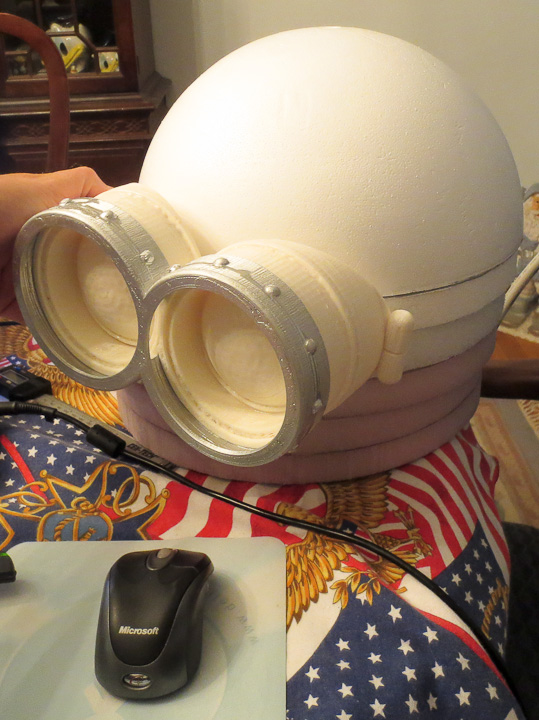
The raw printed goggles held up against the foam so you can see how they will fit on the Minion Head/helmet.
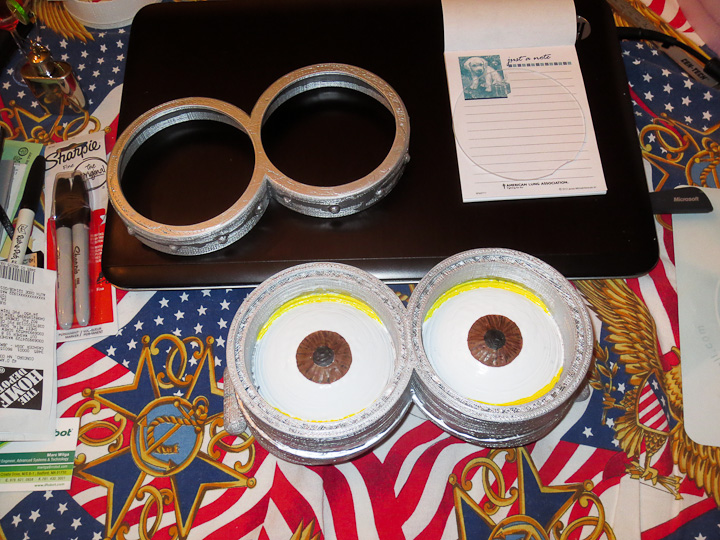
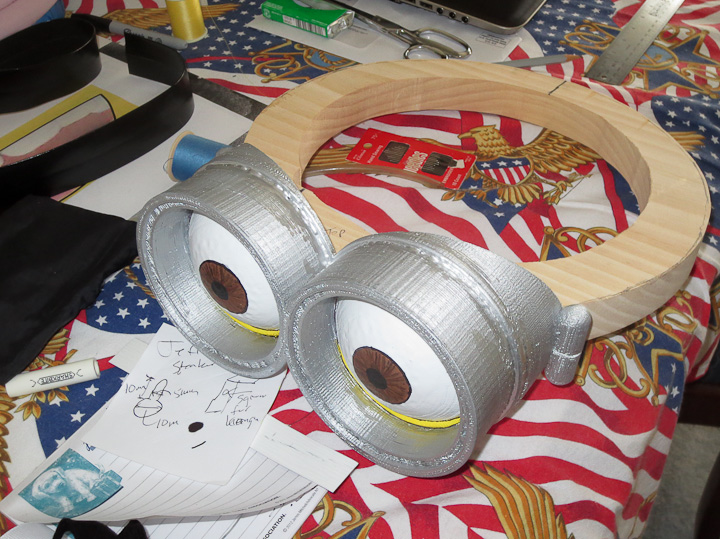
The painted goggles came out well. In the above left you can see the acrylic disc that fits in the groove on the notepad. The outer frame is a snug enough interference fit that it retains them without any glue. In my original design I was going to use foam for the helmet, however the foam ring was not up to the task of supporting the 1 lb printed goggles. I cut a piece of 2 yellow pine into a ring for this purpose. One more thing to note, should you follow in my footsteps on this DIY Minion Halloween Costume, the weight of the goggles is too much without a counterbalance at the rear. I attached with screws a steel plate(approximately 4 in x 6 in x 0.125 in) that I hammer formed to the 12″ diameter counter the weight of the goggles. This brings the helmet/head up to about 2.5 lbs.
More on my Minion Costume Construction in the next and final post on Making a Minion Costume for Halloween – Part 3 where I will show you how I made the helmet, and talk about designing/making the fabric portions of my Minion Costume.
Absolutely amazing work! Taking Costume DIY to a new level!
Thanks, a few years back I decided to get more into Halloween. It’s a lot of fun making costumes. I think I have more fun coming up with the costume then actually wearing it some years.