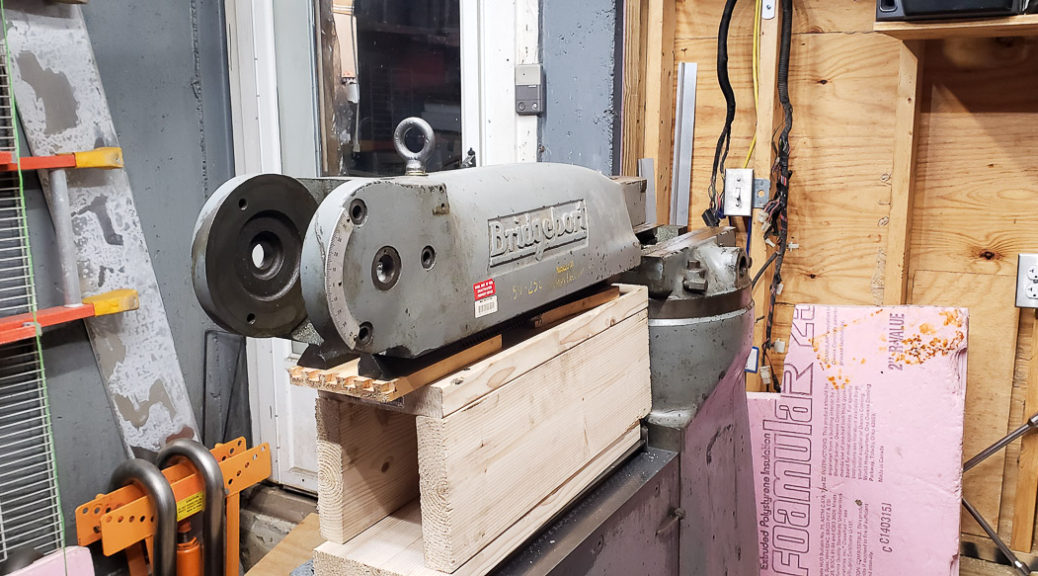
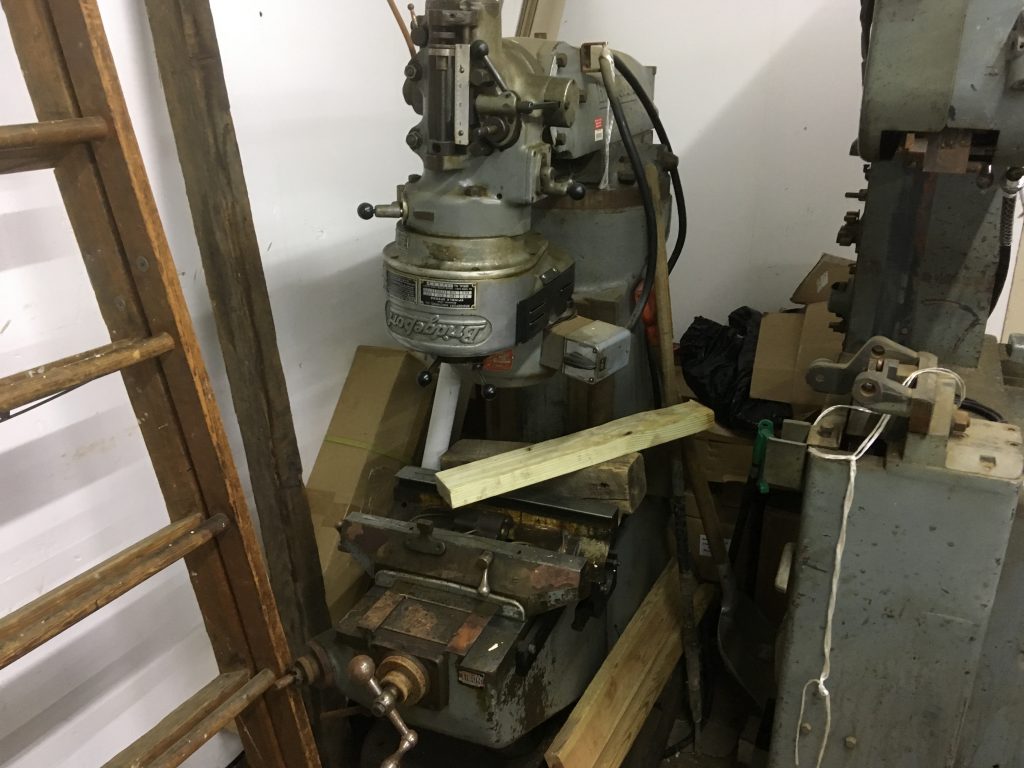
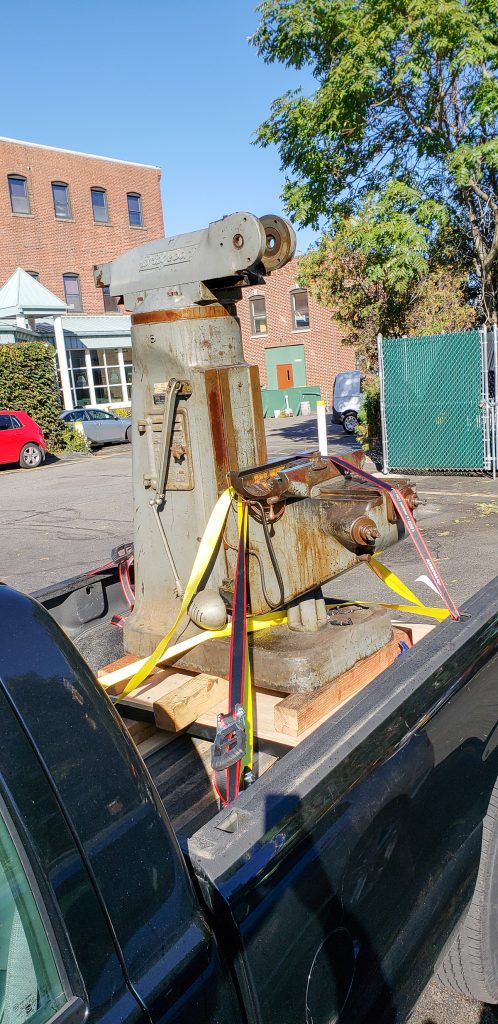
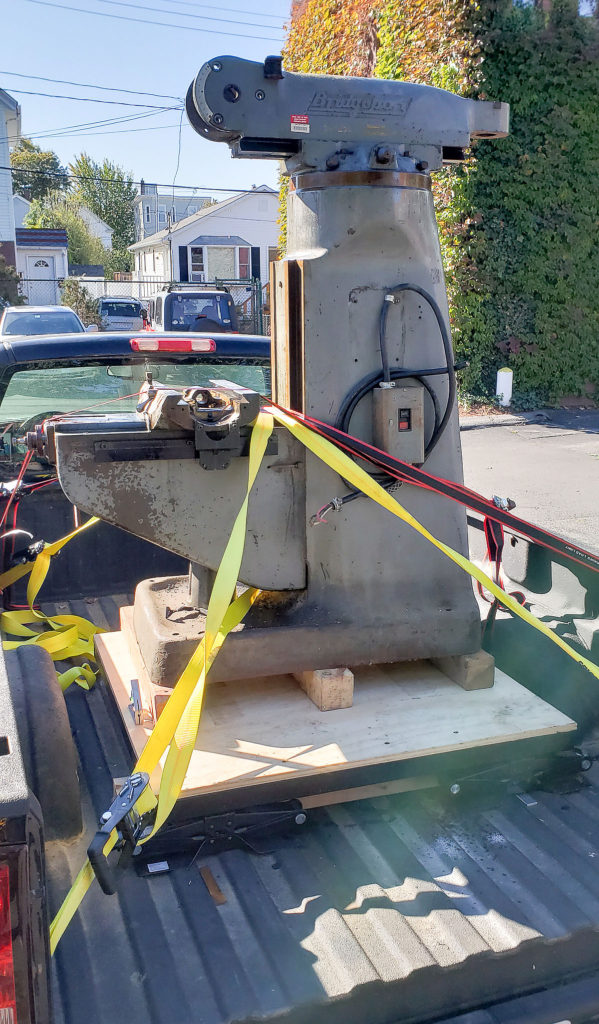
A Series I Bridgeport is not all that heavy a piece of machinery, weighing in at ~2200 lbs. However, disassembly requires some careful handling as several of the individual pieces weigh more than a couple hundred pounds. The Knee is the heaviest, followed by the Ram. These two parts are too heavy to remove by lifting off the machine by hand, even with help. An accidental whoops with either could damage the ways or dovetails. You do not want to hurt these precision surfaces on your machine. Be sure to use safe rigging to lift heavy components. In my case I built myself a gantry crane to lift the knee, and used the knee to lift the ram.
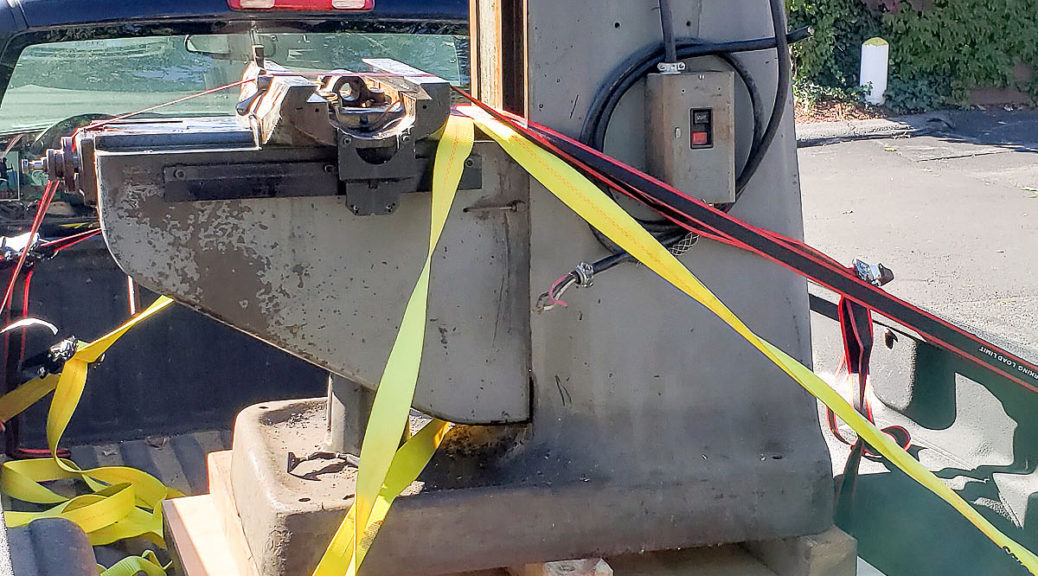
Inevitably you will have problems getting something apart as part of your rebuild. I had several serious issues with mine. Long ago someone had broken the Ram Pinion Handle off the Mill leaving the broken stud threaded in the pinion. The Ram was very stuck in place from not having moved in countless years. I ended up pulling the Ram Pinion and using the old weld a nut onto the broken stud trick to carefully extract the broken threaded section. After letting the weld cool fully the broken stud came right out with a wrench. I will have to make, or buy, a new handle for the pinion.
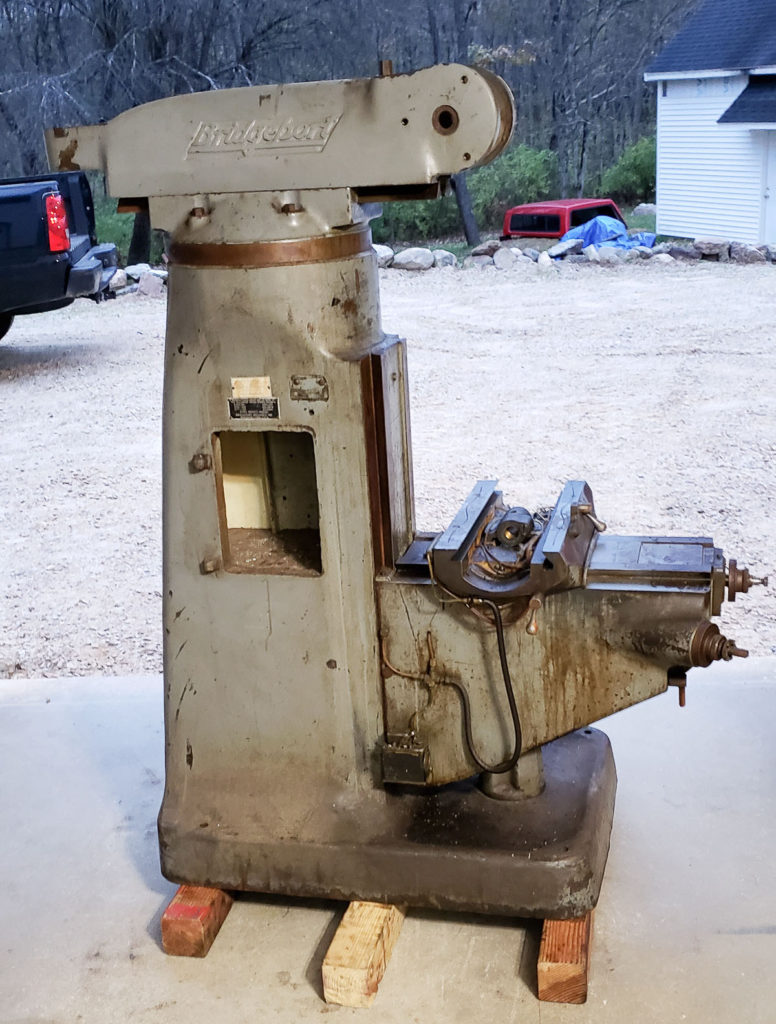
The ram itself was very seized in place from minor corrosion. Thankfully my ram has some inner ribs evenly spaced inside the ram. One rib was not too far from the back of the column on the body. I used a 4ft heavy pry bar with a block of wood to spread the load on the metal. I was able to slowly wiggle the ram free by applying a large leverage force this way. I only did this after a week of soaking the ram joints daily with both PB Blaster and Liquid Wrench spray. It’s best not to rush these sorts of things, you don’t want to break your mill’s castings trying to free up a stuck major component like the ram.
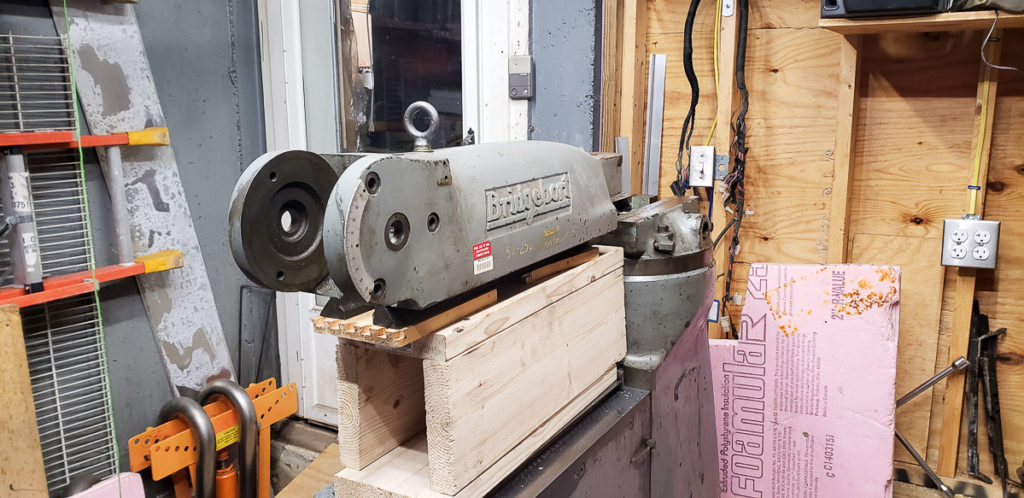
I ended up using the Knee to remove the Ram after working it free. I built a wooden support box to gain the required height I needed. I used 2×8 lumber scraps to build a knee length support for the ram. This allowed me to slide it out onto the wood and use the z axis to get the height perfect and take all load off of the dovetails as I pulled it forward onto the wooden blocking. This went well, but I will put it back together using the gantry lift now that I have it.
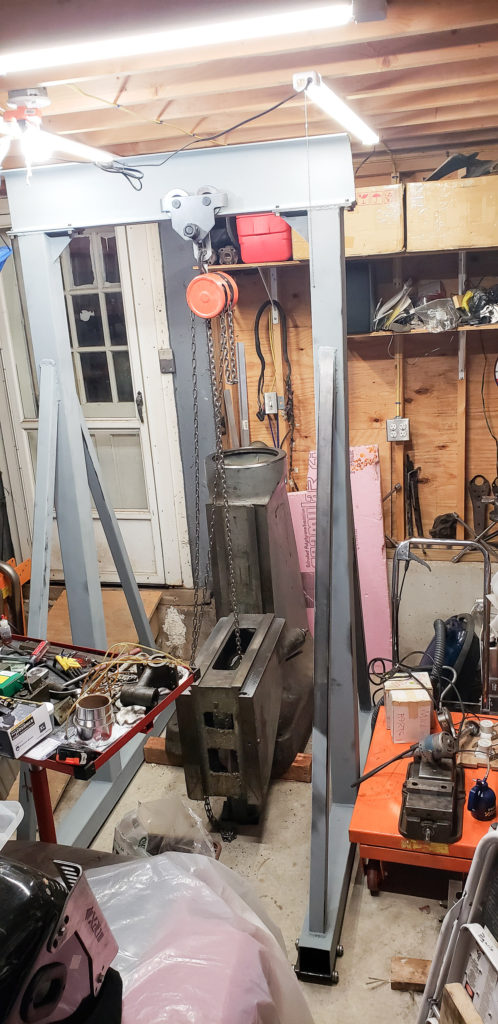
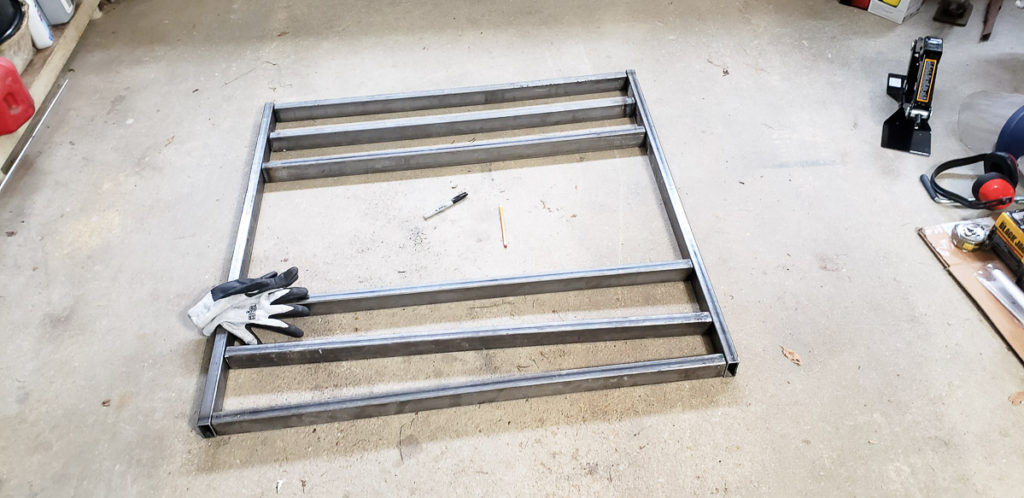
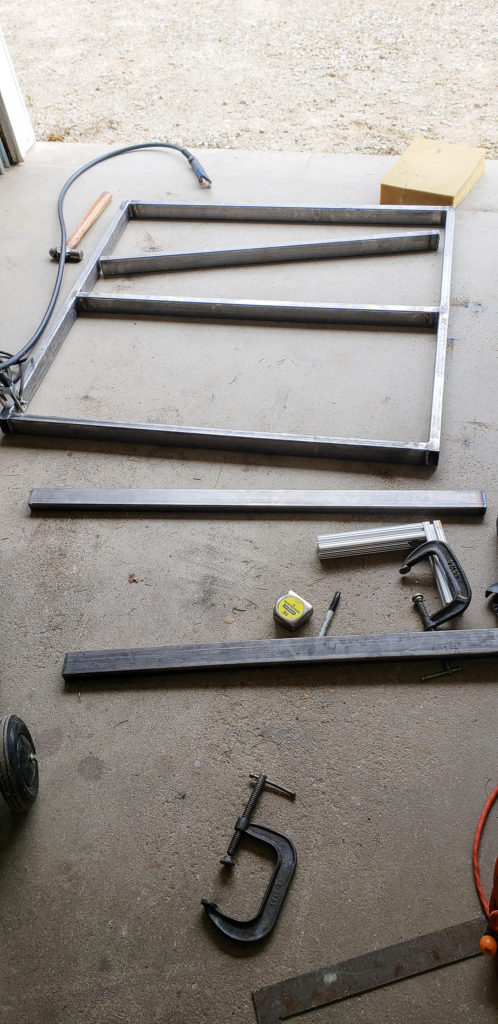
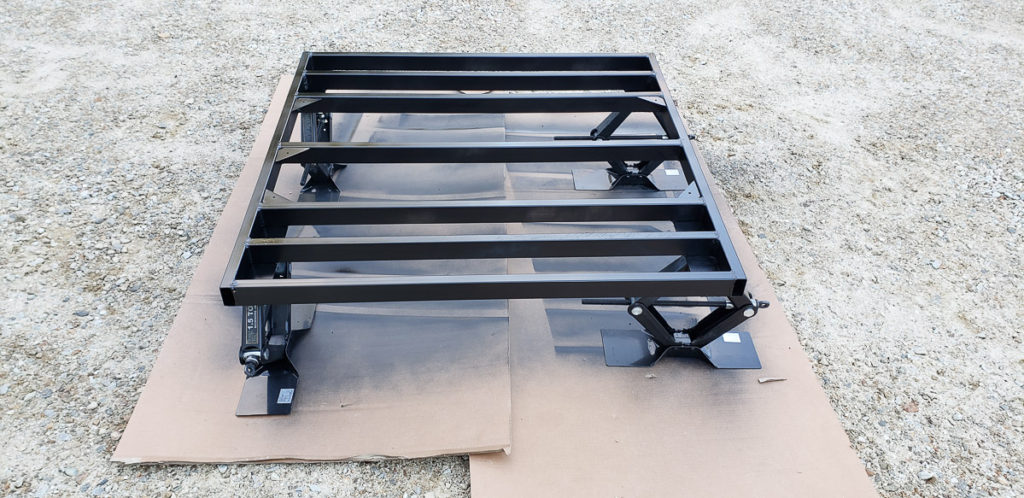
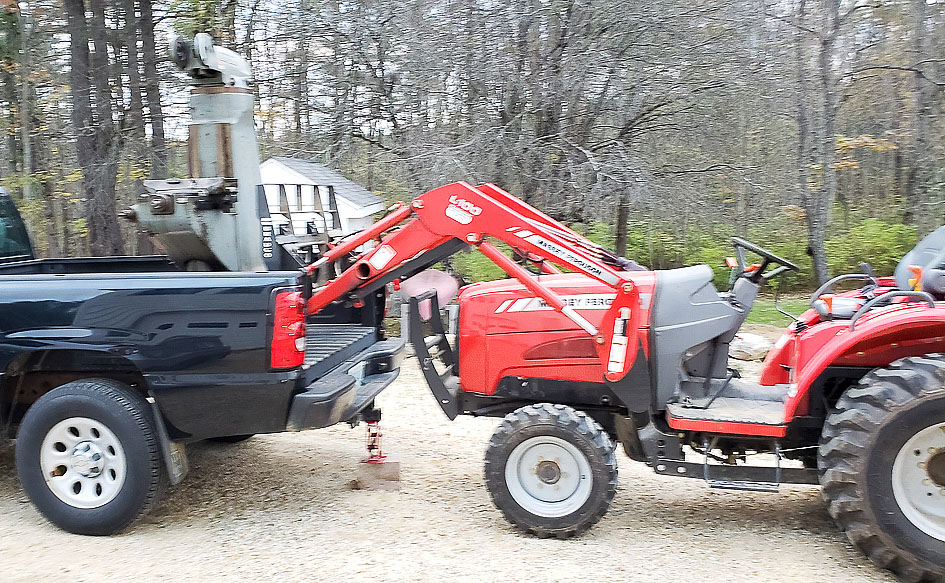
I ended up building myself a Gantry lift to remove the knee. I felt using the forks on my tractor was not controlled enough. I didn’t feel an engine hoist was going to fit in the space I had, nor did I believe I could lift high enough with the one I can borrow. Plus I’ve needed a gantry lift a few times in the recent past. I decided this was the perfect time to build myself one. You can see the full weekend build of the Gantry Crane Lift in the separate blog post where I share my designs and lots of build photos. It was a long weekend but I managed to complete it in just the one so I could keep moving forward on the Bridgeport Restoration. Sometimes it’s easy to get sidetracked or derailed on larger projects like this Bridgeport Restoration.
Searching online resulted in this being the most common lift method for the knee. It worked well for me. 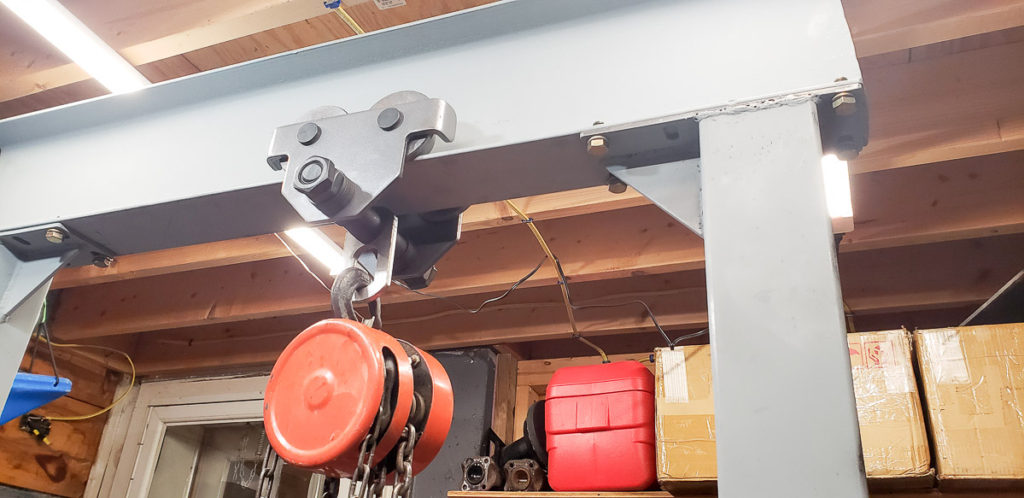
Minor regrets over using a beam trolley for my chain hoist mount on the gantry lift. 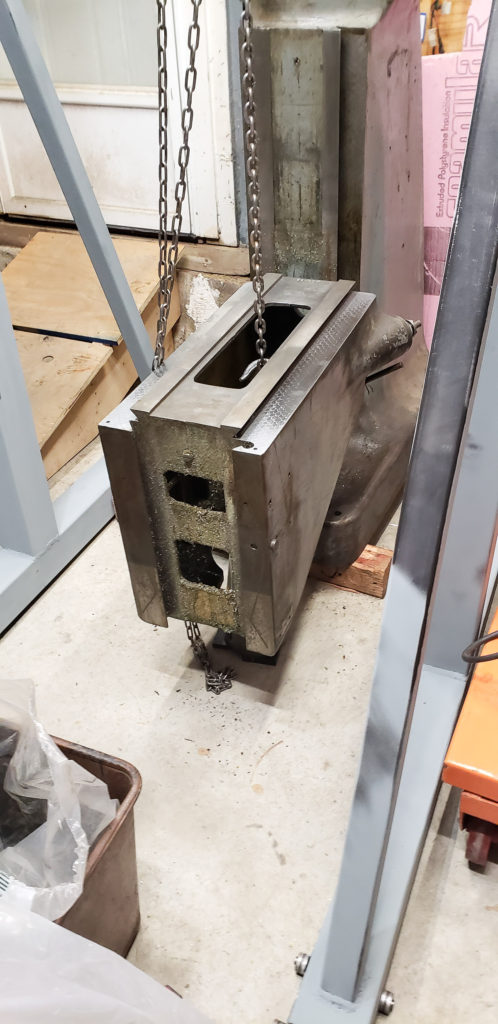
Lifting with the Gantry crane was quick, safe, and allowed me to prevent any possibility of damage to the dovetails or the ways.
I was fortunate in removing the knee from the mill, the gibb came free easily. I have read this is a real headache for some restorations. Again, lots of penetrating oil soaking in here since I first got the machine was likely helpful. I sprayed it often and heavily for a few months. Pulling the knee with the Gantry Lift was safe, easy, and prevented any possible harm to the critical precision surfaces on my mill. I have no regrets building the tool to do this correctly.
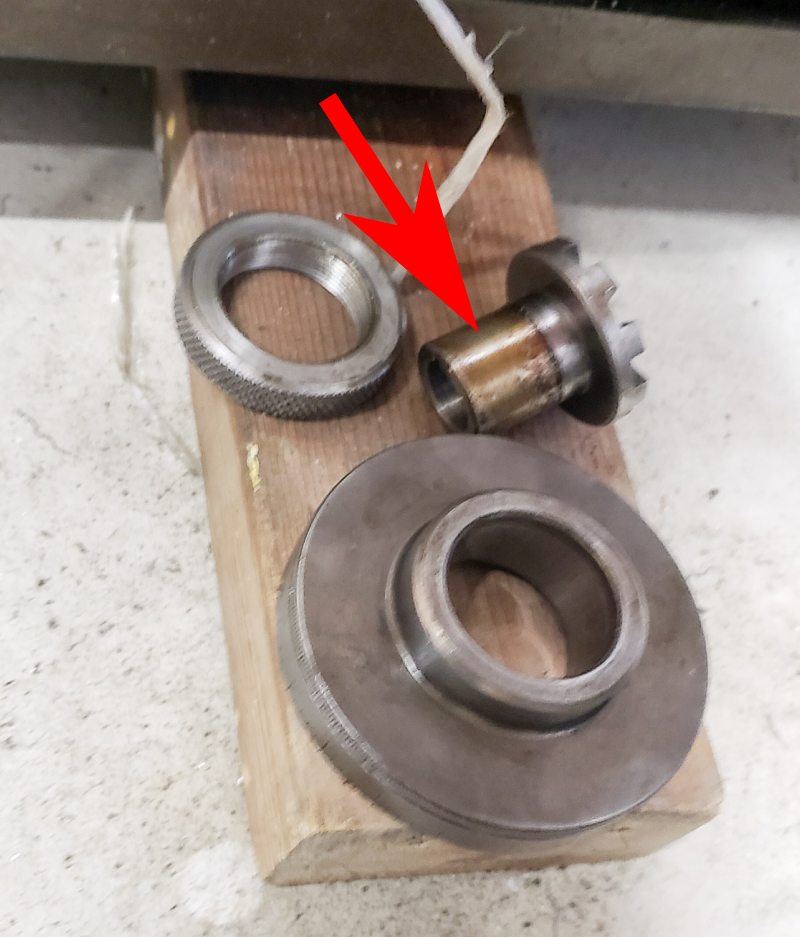
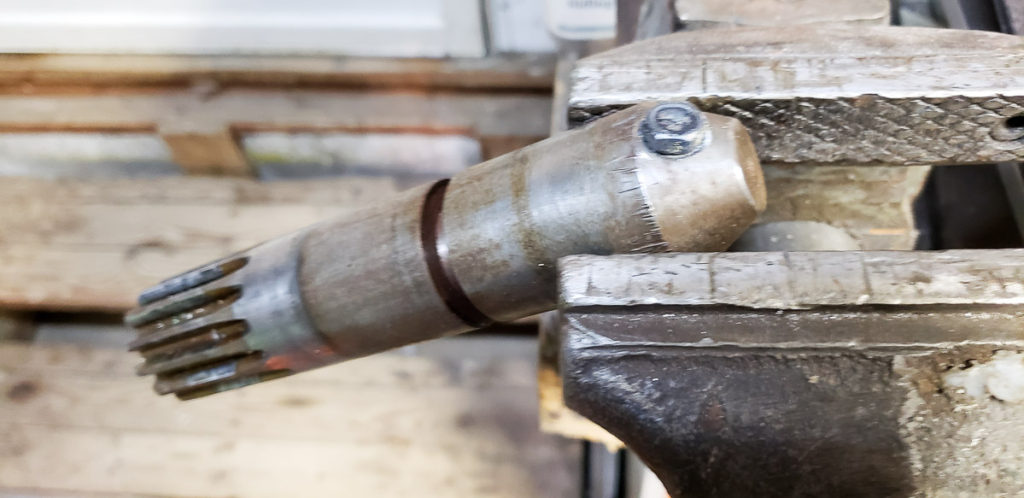
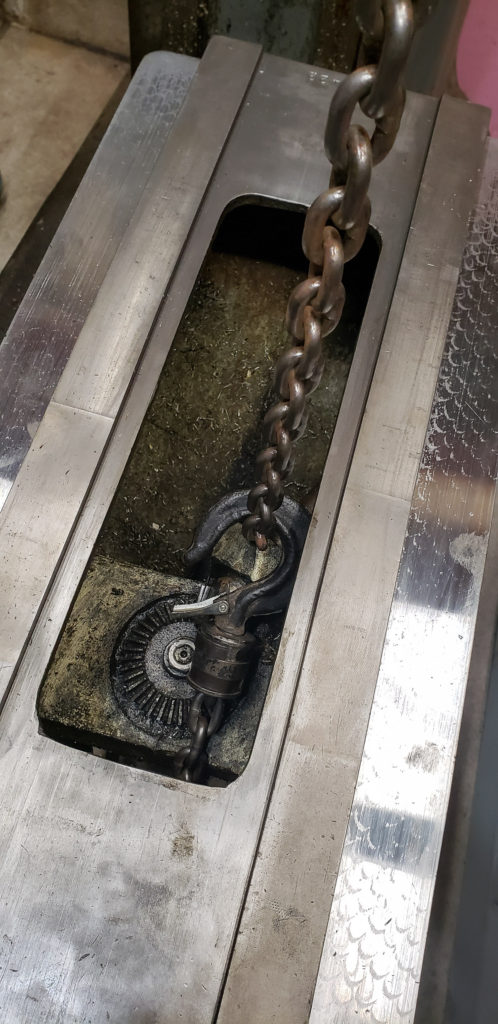
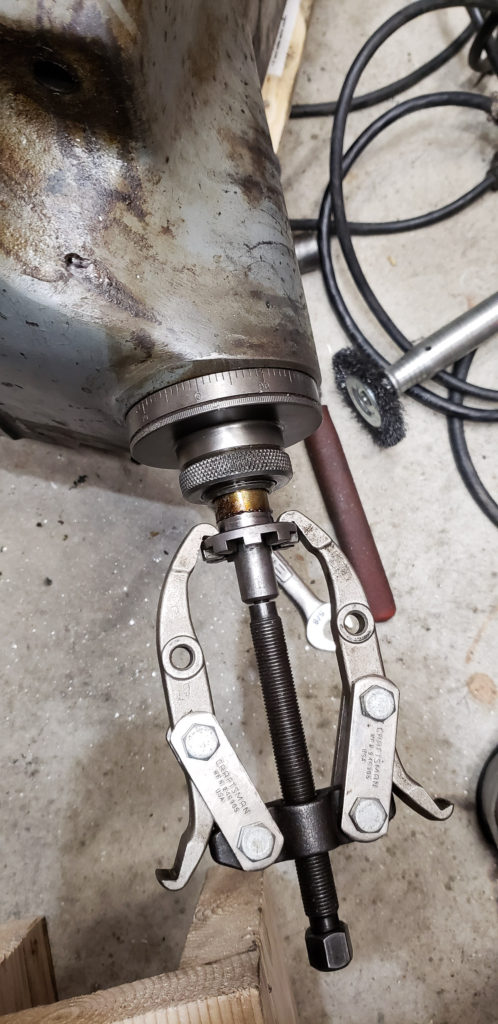
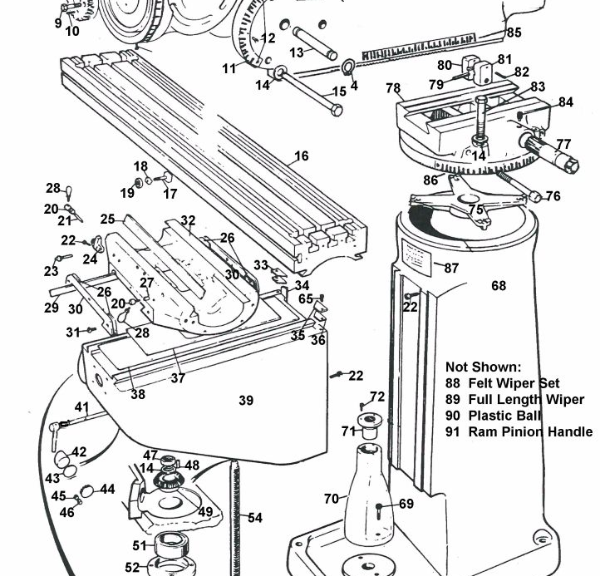
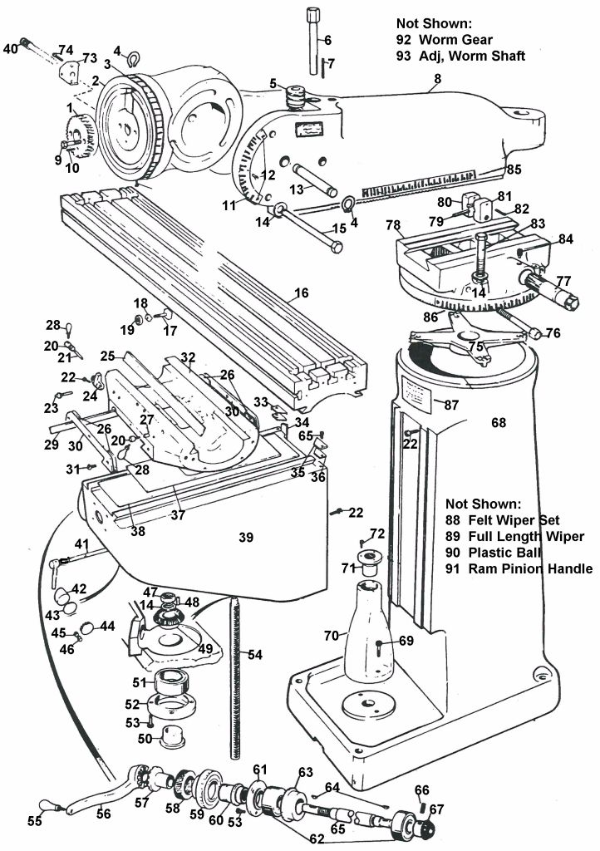
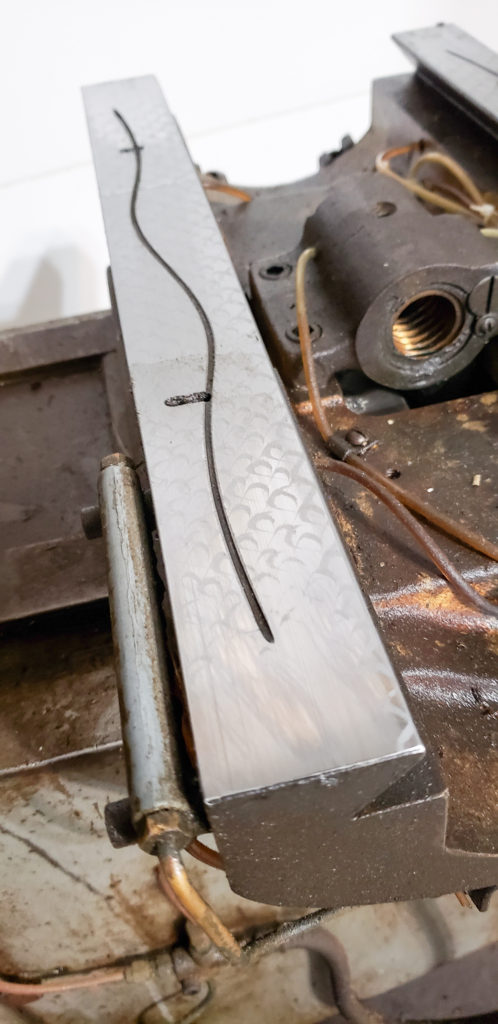
If you are familiar with restoring old machines or engines you will understand that no rebuild ever happens without something being so stuck you feel like getting it apart is beyond all hope. We have all been there. Those of us who rebuild and restore things often have been there many times. For me, on this Bridgeport restoration, it was the removal of part number 85 on the basic machine drawing (code number 2060079 ), the Gearshaft Clutch Insert. The lil bastard of a part(shown in the photo above) was essentially glued in place by old oil or cutting fluid that had varnished to a solid strong glue. After checking every possible online reference and looking for weird variations of Series I mills to ensure I wasn’t going to break this component with some judicial application of brute force. I applied a ridiculous amount of force with a gear puller, used a torch to make it glow red hot, and then hit it hard with a 3 lb lead hammer repeatedly. This was after several less brutal attempts at removing the stuck component, and weeks of soaking with oils, solvents, and so on.
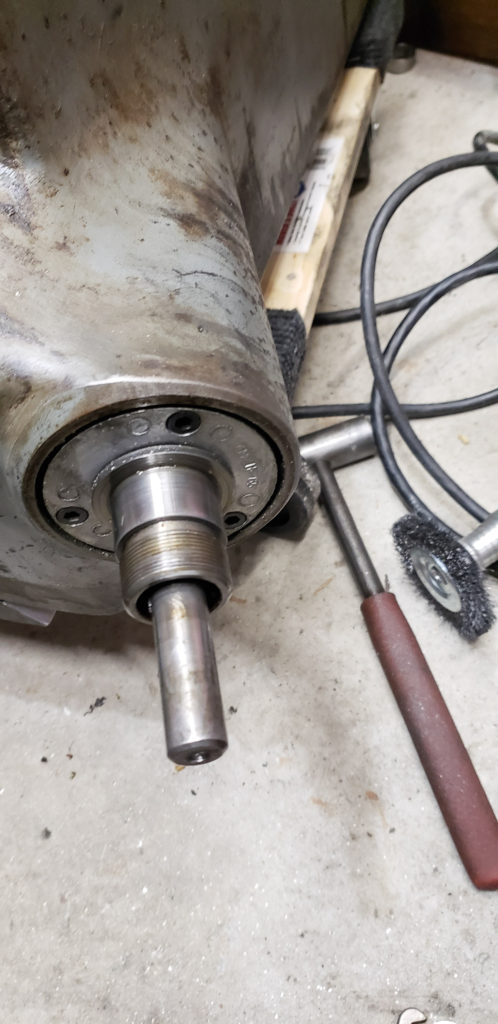
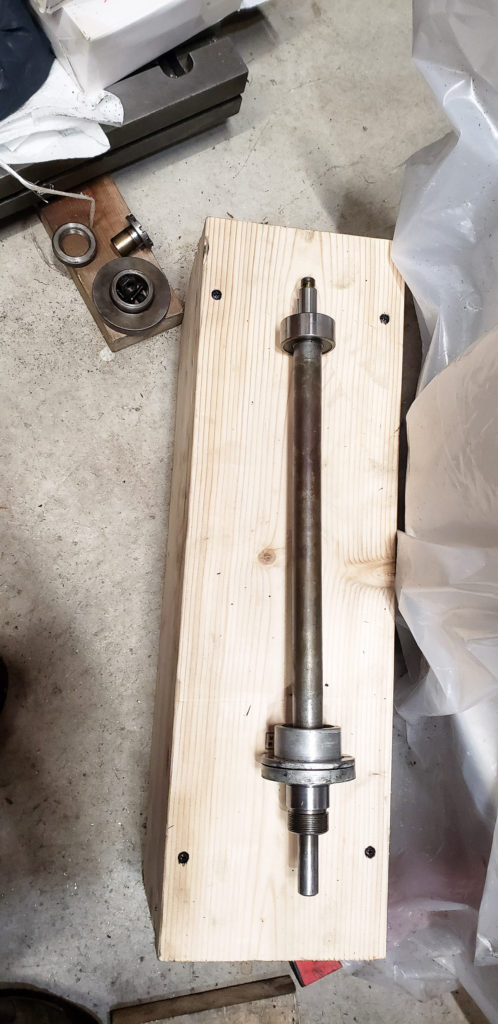
Once I pulled the stuck Z axis clutch mount off the gearshaft that lifts and lowers the knee, the rest of the parts inside the knee came apart quite easily. The shaft bearings are quite good. I’m not sure if the oils dripping down on them has kept the grease soft, but these ones do not need to be pulled apart, cleaned and repacked based on how nicely they turn by hand off the machine. I removed all of the components off of the knee for the rebuild. The gears, nuts handles etc all will get cleaned, buffed, and oiled before reassembly.
Remember, when you are stuck, take a step back. Turn to the internet and find whatever images, videos, forum posts, and online friends you can to help you work through whatever is stuck. Don’t immediately go for the I have to cut it off or destroy the part brutal approach. While it’s true some times that is the only way, more often than not there is a trick that will get the job done. Step back, sleep on it, and then revisit the problem another day with a fresh perspective. If you do this , you can almost always successfully remove whatever bitch of a component that is being a real bear and not coming apart for you .


