Tag Archives: 3D printer

Monoprice 3D Printer Upgrades – Power Supply Cooling Risers

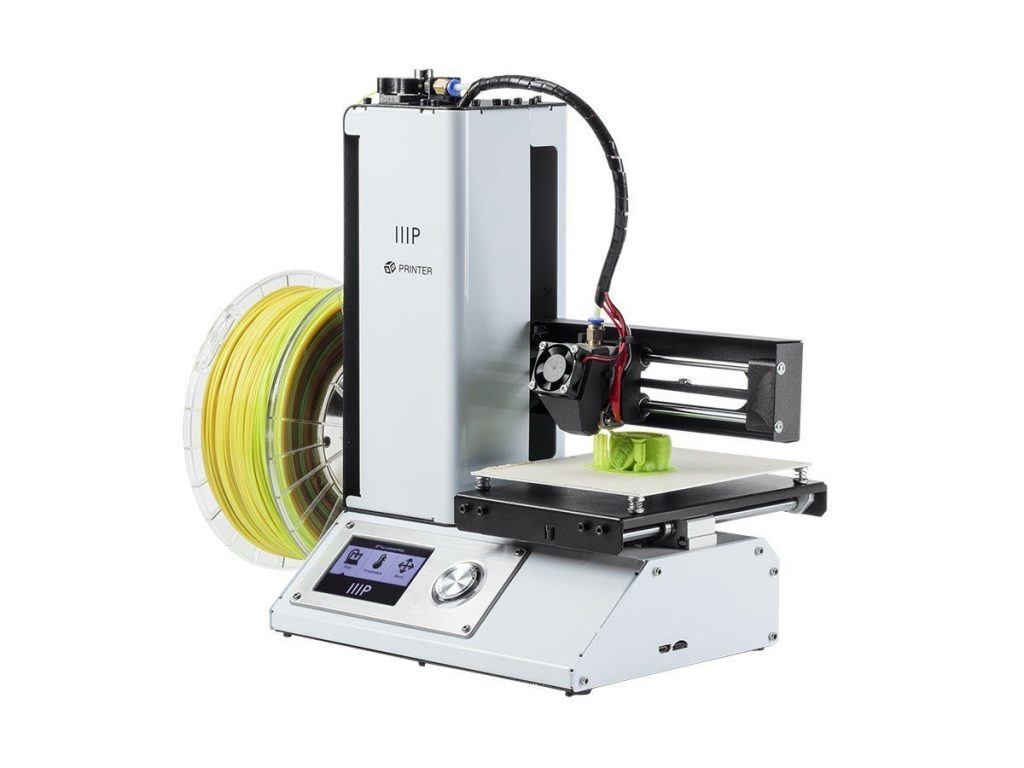
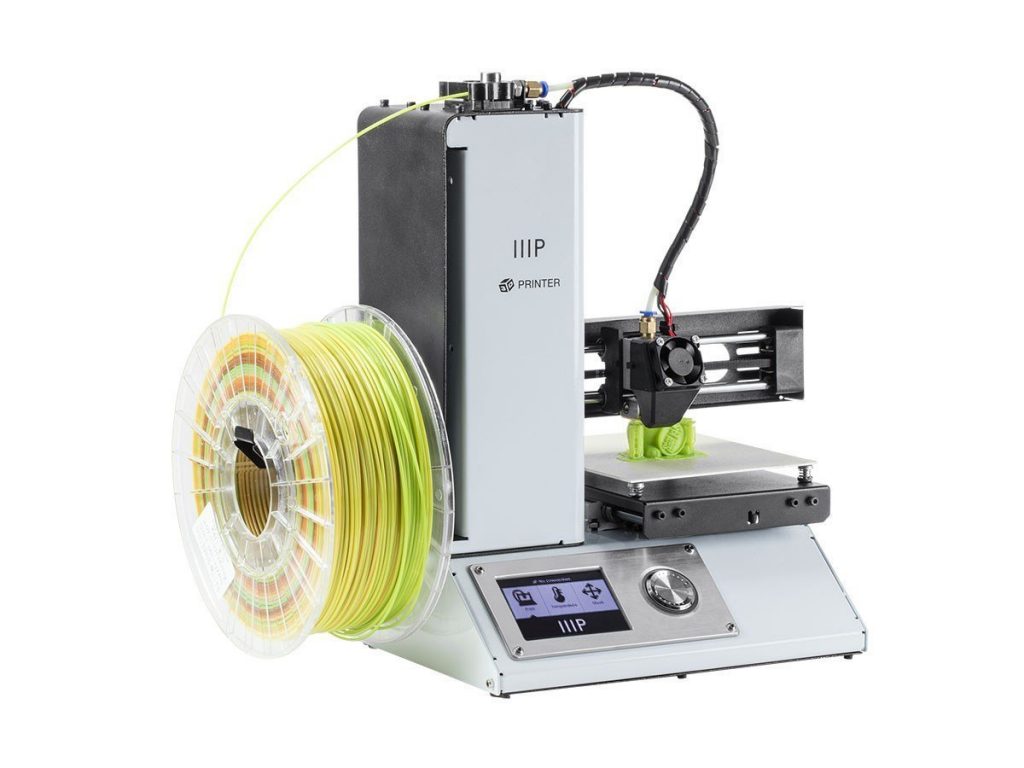
MP select Mini iiip 3D printer

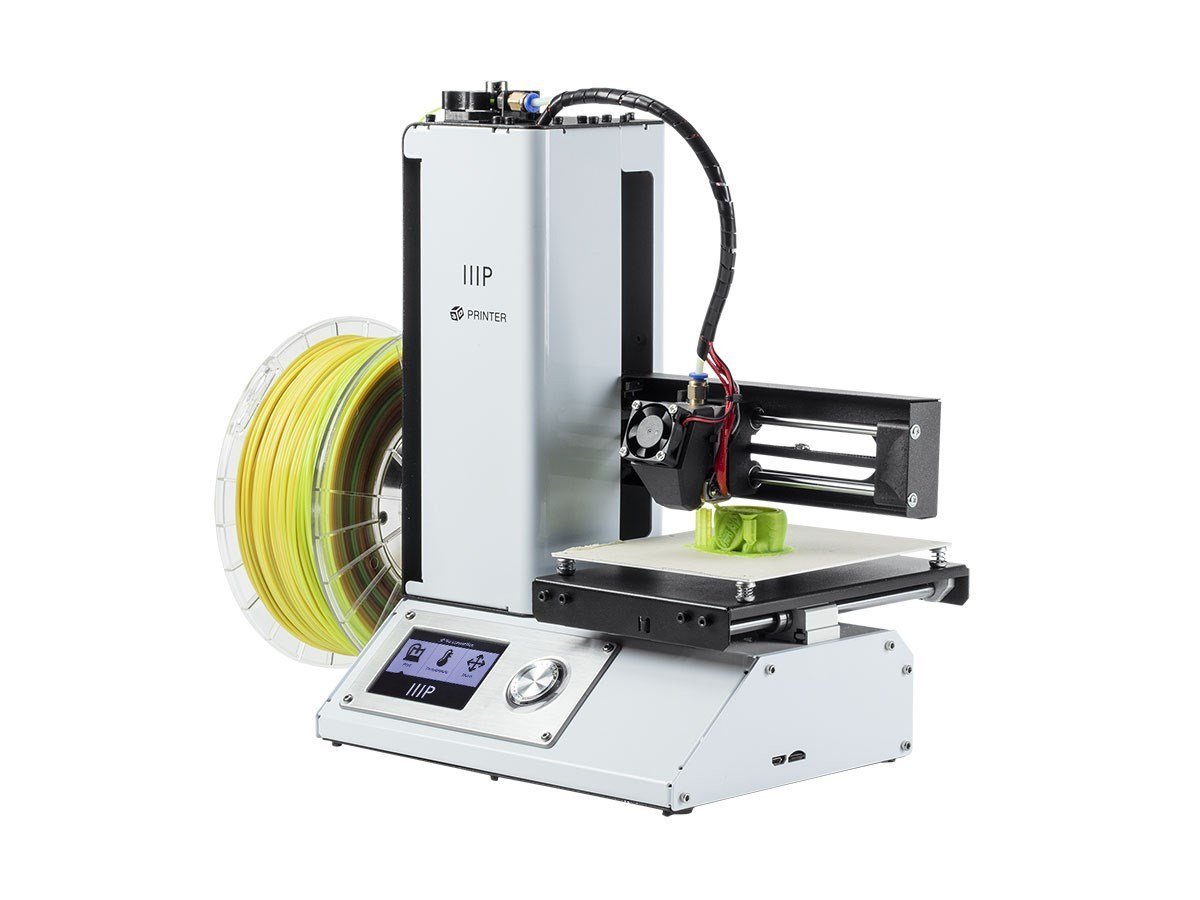
One of the known problems with the MP Select Mini 3D Printer is that the power supplies burn out.  The Monoprice Select Mini IIIP 3D printer uses  a 12V 10A  external power supply that plugs into the back of the printer.  If you leave these on carpet, cover them with anything, or just get unlucky you can burn out the power supply pretty easily.   If that happens, I suggest buying a bigger 12V power supply rather than a direct replacement.

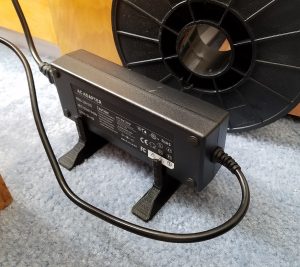
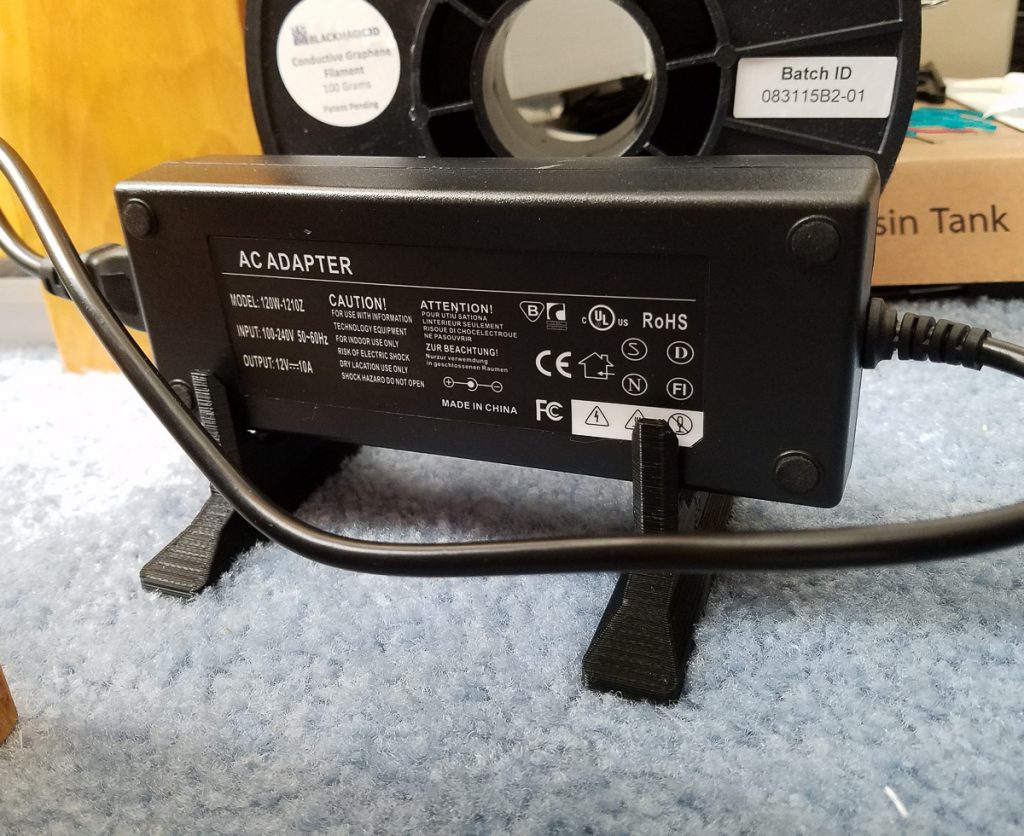
The printer in preheat mode with both the bed and the nozzle heating up is pushing this switching power supply pretty hard.  It gets hot to the touch from the load in this use condition.  Any lack of airflow/circulation around it will cause the power supply to die.  Someone at work put a stack of papers on the first one I purchased and this caused the power supply burn up and fail.  My personal power supply on the mini at home lives on carpet and needs a riser to let air circulate to keep it cool so it will live a long happy life.

3D printer power supply cooling

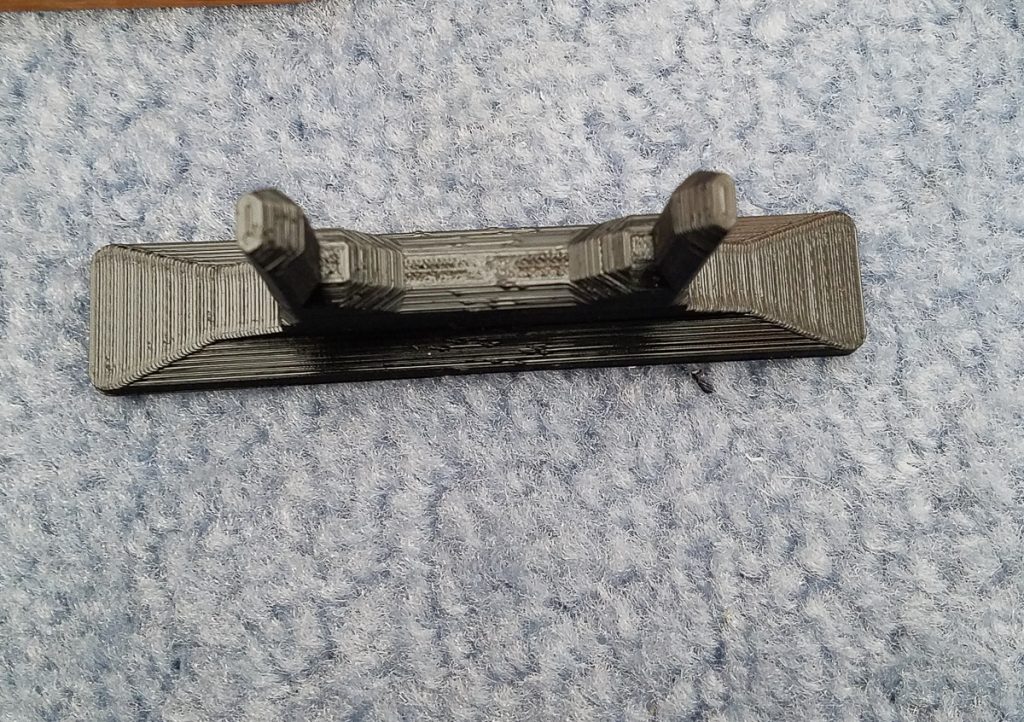
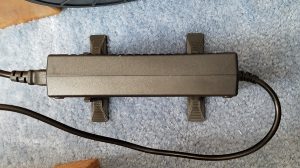
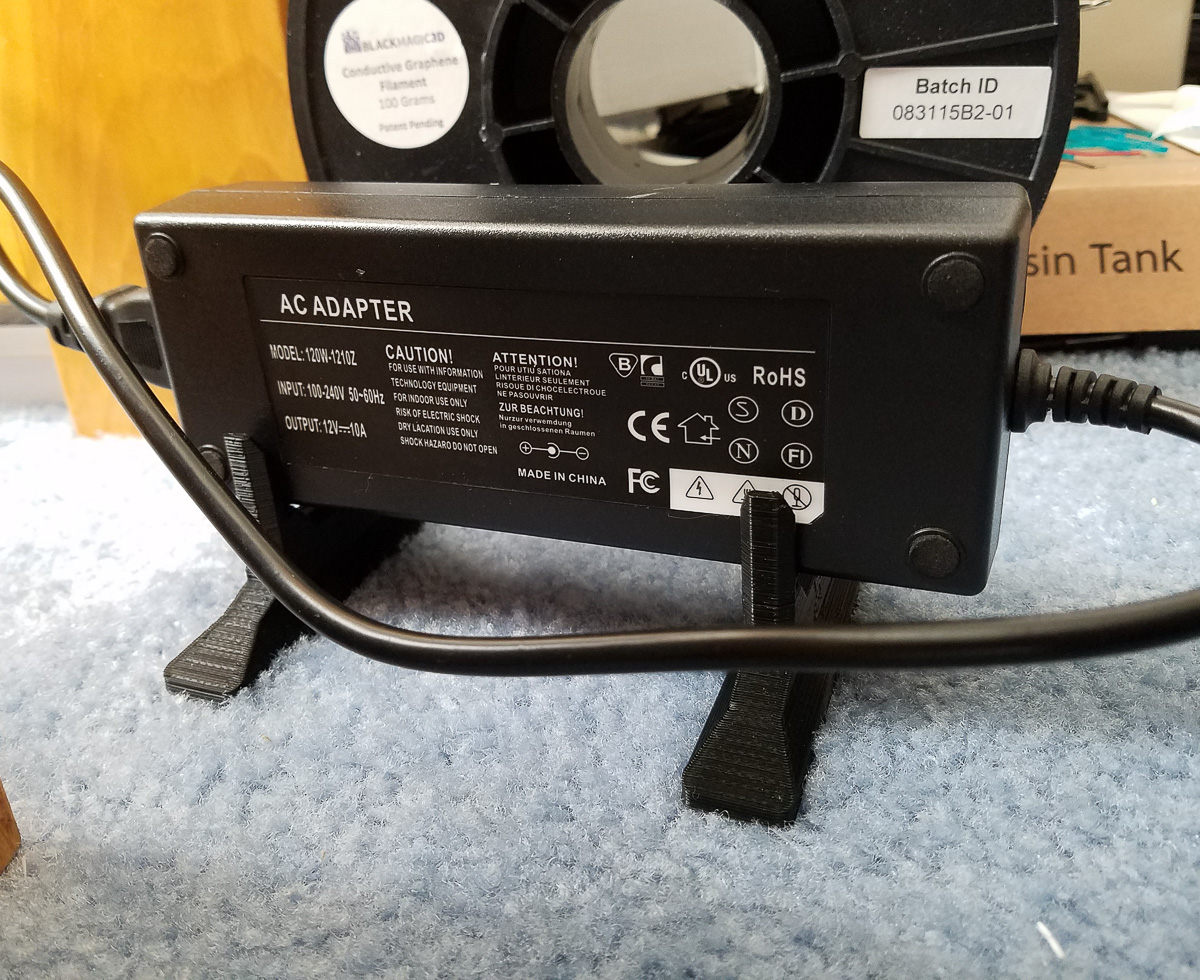
I had my DJ laptop power supply burn out years ago after it ran too hot for too long. For the very expensive replacement I made a 3D printed cooling riser stand for the power supply that worked awesome to keep it cooler.   I made one to fit the Monoprice 3D printer’s power supply.  You can see it above, printed in PLA by the Monoprice mini 3D Printer.   I love that this tiny printer just bangs out prints without fail time and time again.


You can download the STL file to print your own Power Supply Cooling Riser on Pinshape at this link:  https://pinshape.com/items/33164-3d-printed-monoprice-mini-3d-printer-power-supply-cooling-riser


These risers are a fast and quick way to keep your powersupply cool.  If you want you can use some glue or VHB and stick them to a flat surface.  They fit snugly so you shouldn’t have issue with them falling off/over unless you move your printer around a lot.       Check out my other upgrades for this great little printer on this blog.  I have several more upgrades to share when I can find time to write/upload.    If you print out one of these, I would love to see a picture of yours in action.  Makes me super happy and keeps me motivated to make time to share things when I learn that someone finds some benefit of my projects.
 

Monoprice MP Select mini 3D Printer Upgrades – Introduction to this amazing 3D Printer

Best little 3D printer I am often asked by friends and colleagues which 3D printer they should buy for themselves.  I work with 3D printers professionally which provides me with access to most types of 3D printing technologies available today.  That plus having been involved in 3D printing for about a decade now makes me everyone’s go to guy for 3D printer questions.  I love 3D printing and see it as a revolutionary tool that is being used to change the world for the better every day.

I have two answers for those that ask me which printer to purchase:  If they are interested in using it for professional business use I highly recommend the Formlabs Form2 printer.  This machine produces high accuracy prints in a range of materials suitable for professional applications such as prototyping as well as fit form finish models for user testing.  They have a good range of material options, and their surface finish in printed parts is second to none.  The price point of ~$3500 is a bit high for home use, but in the professional world this is barely worth consideration.  The value the Form2 part quality brings is substantial over even the best of the desktop FDM 3D printers which are comparably priced such as the Ultimaker 3.   If the asker is interested in having a 3D printer as a hobby/learning tool for their family, I recommend the Monoprice select mini 3D printer.   This little $200 3D printer does something most cheap (and expensive) FDM printers do not.  It works, and works well.   I have now purchased 3 of these units, and each is amazing in both reliability, quality and ease of use.  It is still a $200 3D printer so it has some flaws, which I have engineered some upgrades to eliminate.  This is the first of a series of posts on my upgrades to make this tiny printer an even better machine.

best 3D printer

The Story:

Last year, in the fall I picked up a Monoprice Mini 3D printer for just under $200.   Thinking of it as a toy more than a functional 3D printer at the time.  Boy was I wrong.  I was planning on setting up the Monoprice Select mini printer to test it before giving it as a Christmas present.  My first print out of the box with some garbage filament I had leftover from my custom built large format 3D printer came out magically perfect.  I was shocked. I did a few more prints, then ordered a second one for the gift and kept the first.   Since then I have printed about 5 kG of resin through this small but fabulous 3D printer.  The Select Mini 3D printer from Monoprice.com prints like a boss, and is the best value in 3D printing today.

With the mpiii select mini 3D printer’s  smaller 120mm x 120mmx120mm  build volume, it can’t compete with larger printers on the size of things you print.  Chances are that most of the things you will find yourself printing easily fall inside this volume.   When I purchased my first one, I was in fact building a small 3D printer for myself with a 100mm cubed build volume as I had realized most of my prints were of small enough size to fit in this volume.  Using my large 3D printer requires significant heat up time as well as a large amount of energy to heat up the chamber.  The startup time on the Monoprice select mini is only about 2-3 minutes from start of preheat to printing with PLA filament.

best affordable 3d printer you can buy

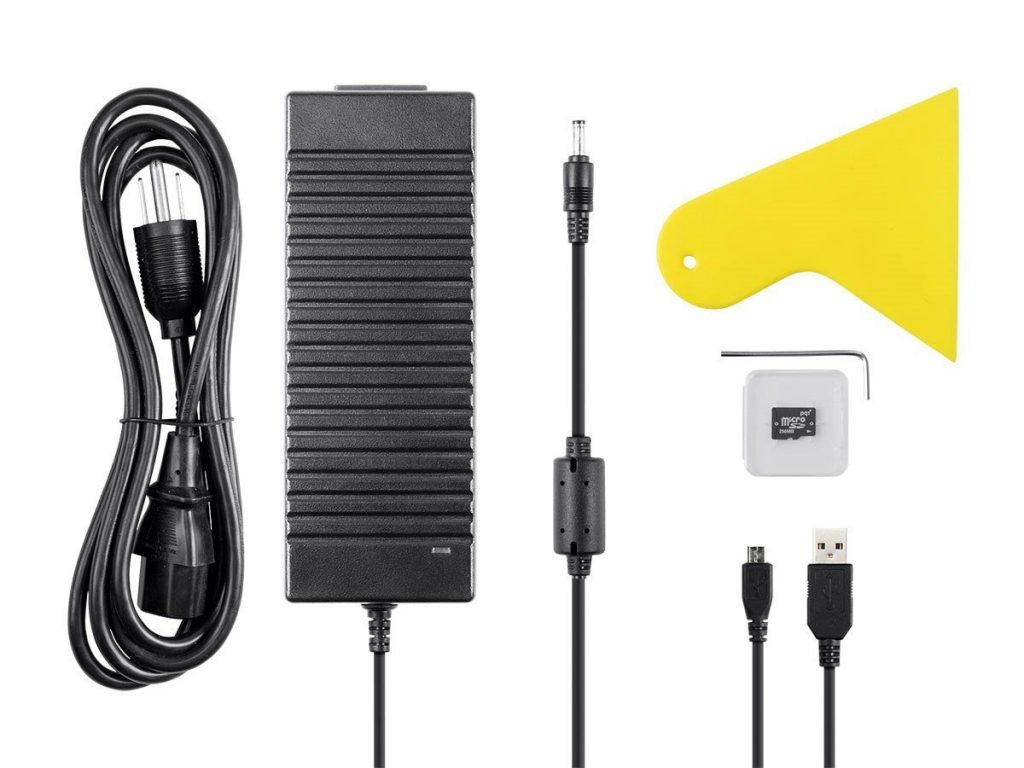
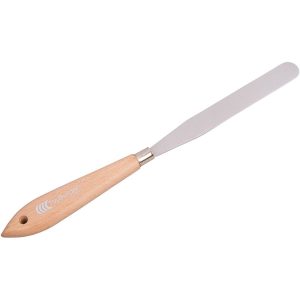
The printer include everything you need to print in the box, but you will want to purchase a few extras, as well as some filament.  It comes with a micro SD card, a plastic scraper, some small allen wrenches, a power supply and a USB cable.   These will allow you to start the first print, but they include only a very small sample of PLA filament in the box.   You will want to purchse a kg of decent PLA filament along with your printer.  I love the Hatchbox 1.75mm filament.  And for your first spool, I suggest getting Grey.   You can buy this great PLA filament on Amazon, and while it is not the cheapest PLA filament, it has proven itself to be the best.  The other things I recommend purchasing is a roll of 2″ blue painters tape, as well as  one of these 3D print removal tools. best 3D print removal tool


In the next series of posts I will share individual upgrades I have made to my Monoprice select mini 3D printer.  Most of these are 3D printable, a few require drilling or punching in the metal side panels of the printer.


Enclosing your 3D Printer

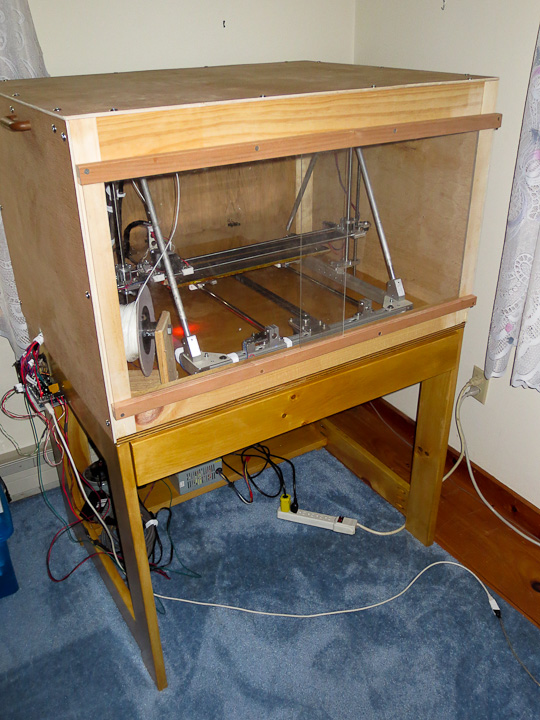
3D printer enclosure finished-8272

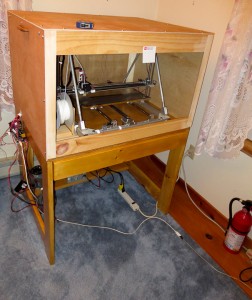
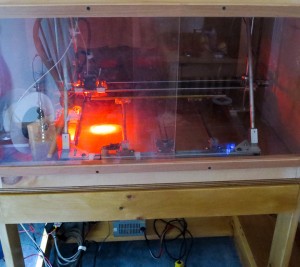
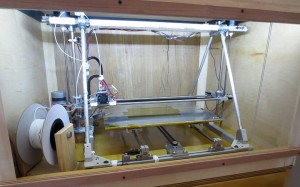
With my 3D printer dialed in and tuned up, I was still having issues with the temperature on the heated bed and parts warping.  I determined that this was due to external air currents in the room.  I had been considering building a permanent table for the 3D printer and added an enclosure to my design to eliminate the effects of drafts on printed parts.  The enclosure is nothing fancy, very low tech in fact.  It is a corner framed box made from 1/4″ luan plywood with sliding plexiglass front doors.  It has handles and easily lifts off for maintenance and upgrades.

3D printer enclosure-8266    Enclosing a 3D printer -8270

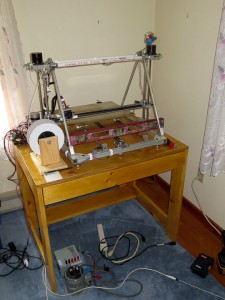
The table is made from 5/4 pine lumber I had cut a few years back when the electric company cleared power lines along the property.  It has a full width drawer that slides out fully. I needed a place to hold  the tools and parts used to maintain the 3D printer in tip top shape. The small shelf in the back keeps the power supply and other wiring off the floor for better airflow and cooling of these units.

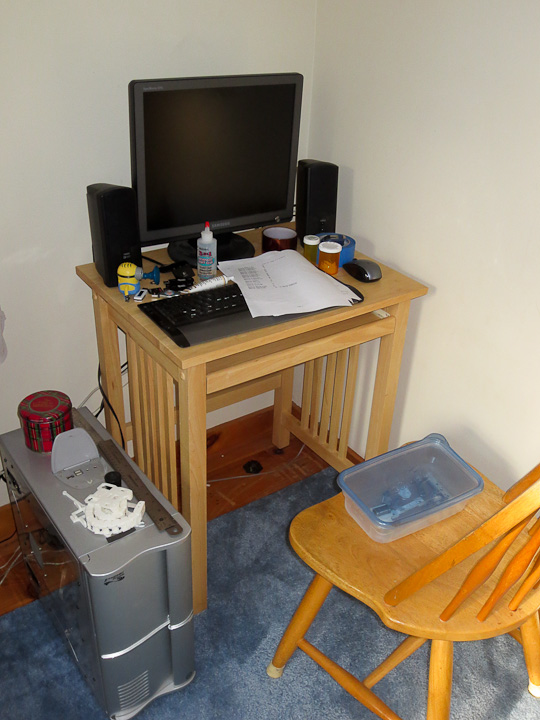
3D printer workstation -8267

For now, my 3D printer is driven by a computer and it has a nice new workstation courtesy of my good friends Mark and Michelle who donated the computer desk to the cause.  I also use this computer for development and programming of other projects like; Tetro the quadroped robot and Filastruder the filament extruder that will feed the 3d printer filament made from recycled plastic, and other cool things I’m not ready to leak to the public at this time. 🙂  Have no fear there will be blog posts on tetro and filastruder as I find the time.

3D printer LED lighted print head - 8275     3D printer LED lighted print head  -8274

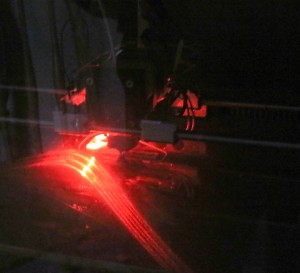
Adding the enclosure required some necessary additions to the printer.  First was lights on the print head. I used to not understand why people would put lights on their print head, but now I get it.  When it’s running it’s important to monitor filament laydown and in the enclosure it’s pretty hard to do so without the lights.  I added three high brightness LEDs aimed at the print area to the left side of the x axis sled.

3d printer enclosure upgrade-8417

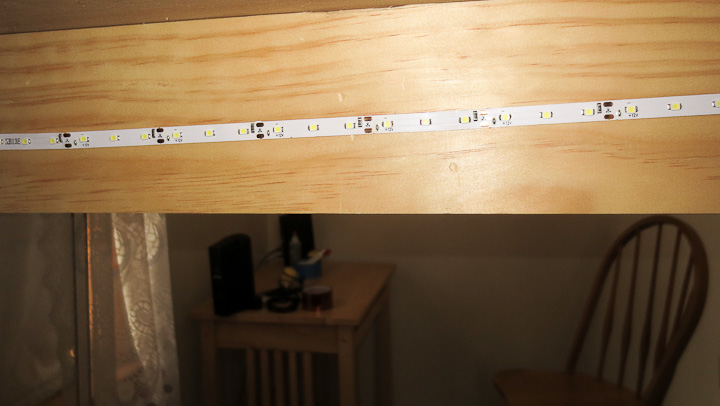
I used 12V SMT LED light strip which is readily available from online suppliers to light the entire enclosure.  The above photo shows the strip attached with a pressure sensative adhesive strip to the inside front of the printer enclosure.  The 30″ of light strip provides more then enough light for the enclosure.

3d printer enclosure upgrade-8419    3d printer enclosure upgrade-8418

Above photos show the effectiveness of the LED light tape.  Left photo lights off, right photo lights on.  A worthy addition to the printer.

3d printer enclosure upgrade-8421

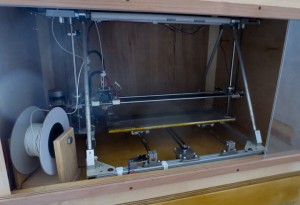
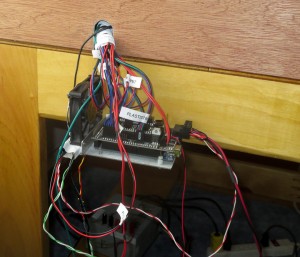
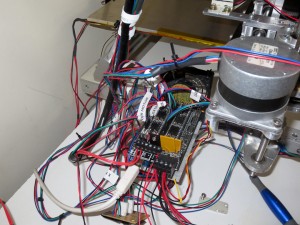
What’s left to do to the printer before it is done?  My next steps will involve some changes to the control interface and enclosing the electronics that drive the printer (seen in the above photo).  These changes will turn my 3D printer will be a true stand alone machine with an LCD display, control interface via buttons and dials, and an SD card reader.    This will eliminate the need to have the PC running or even connected to the printer for operation. 


Large 3D Printer heated bed (build platform) issues

Nichrome wire heated bed for 3d printer-2

Building a larger sized 3D Printer comes with the challenge of making an affordable heated build platform. The build platform must be as flat as possible. The build platform for my 3d printer also needs to be heated in order for the plastic to stick.   My printer is a Fused Deposition Modeling (FDM) type machine and different plastic filaments require differing bed temperatures(110C for ABS, 60C for PLA, etc). The  build platform on my 3D printer, often called a heated bed, is 19 in x 13.5 in x 0.250 in. This is considerably larger then the build platforms on the many hobby scale printers being built such as reprap (7.8 in x 7.8in) and makerbots replicator (11.2 in x 6.0 in).   Heating such a large areas is difficult.    My heated bed V1.0, shown in my previous post showing the first 3d printed parts,  was 0.065″ thick 7075 aluminum with 3/4″ angle aluminum edge supports around the perimeter.  Version 1.0 did not do well when heated to 110C for the test print.  The thin aluminum warped very badly after the first printing leading me to design a V2.0 heated bed from 0.250″ thick aluminum plate.  I did not have a large enough piece of aluminum on hand so I asked my project loving friends for help.  My most awesome bud Joe came through with a large piece of 0.250″ aluminum plate I could use.  I machined it to size and then got to work on making a heater on the bottom side.

Nichrome wire heated bed for 3d printer-3

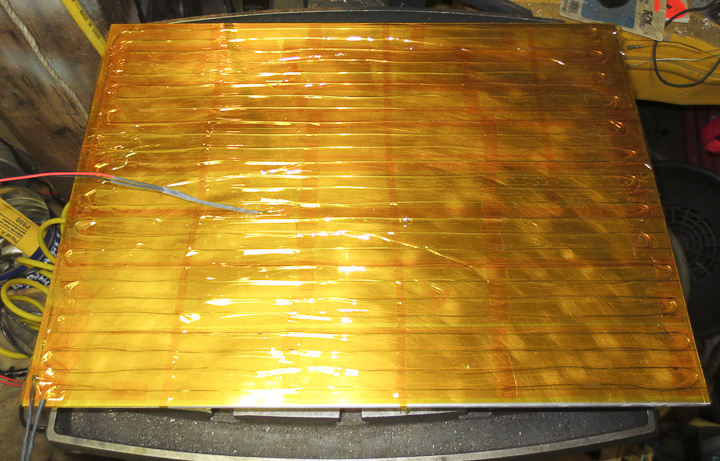
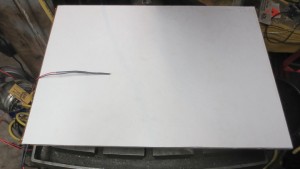
The heater is built onto the bottom of the build platform using nichrome wire.  I used 0.001″ thick polyimide (aka Kapton tape) to cover the bottom side of the aluminum plate completely.  Polyimide film has excellent properties and can handle continuous temperatures of up to 260C.  I had used a 300W Watlow flexible heater on the heated bed v1.0  and I felt that 300W was a good target power for my heater design.  I also hoped to use 120V line voltage rather then have a huge 12V DC power supply (300W at 120V is 2.5A, at 12V it is 25A).  I did the necessary calculations to determine that I needed roughly 30 ft of nichrome wire for the heated bed. I then carefully laid the wire out on the platform using small pieces of kapton tape (seen in the above photo) to hold each wire down in place.  Finally I covered the entire plate with 2″ wide Kapton tape to insulate and hold the wires in place.

 inslating a heated bed on 3D printer    silicone adhesive for nicrome wire heated bed 3d printer


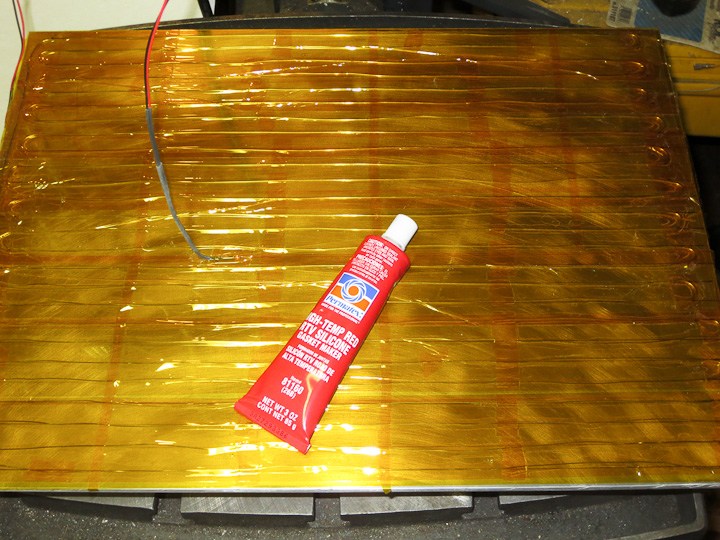
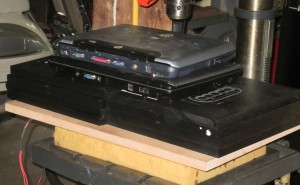
To provide some insulation and limit heat loss to the ambient environment I used high temperature silicone RTV (purchased at my local hardware store) to seal down the nichrome heater and to adhere a sheet of ceramic insulation board.  I had the ceramic sheet left from an earlier project.   If you follow in my footsteps, be sure to do the spreading of the thin layer of rtv over the heater outside or with a fan in a well ventilated space.  All of that RTV spread out over a large surface area can burn your eyes and lungs without proper care and safety gear. I wore a respirator and worked outside.   Then I used some solid plastic boards and old laptops to squish the ceramic board, Silicone rtv and nichrome wire onto the back side of the build platform the 3d printer.  I let the RTV cure for 24 hours before mounting it on the printer.  The bed is temporarily mounted with steel clamps for testing purposes.

Control hardware for 3d printer heated bed        3d printer heated bed power control-7305

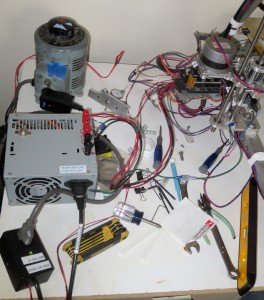
The heated nichrome wire runs a little hot.  I chose to use a Variac to control the voltage and limit the upper temperature of the wire.  I’m considering peeling the entire heater off the bed and using a very thin layer of rtv to seal it to the aluminum plate.  I’m concerned about the wire getting hot enough to degrade the polyimide film and short circuit the 120V to the heater bed.  To alleviate any risk, I’ve combined a GFCI plug with a 3A fuse on the heater  In the above photo you can see the blue variac as well as the black SSR control box I am using to switch the heater on and off via the RAMPS 1.4 hardwares 12v control pin.  This heated bed works well, but still has some inherent stress from being rolled.  I made a jig to test flatness of the bed and measure out about 0.025″ out in the x direction, and 0.010″ in the y direction across the build platform.  I plan to order some cast MIC-6 Aluminum plate for V3.0 eventually.

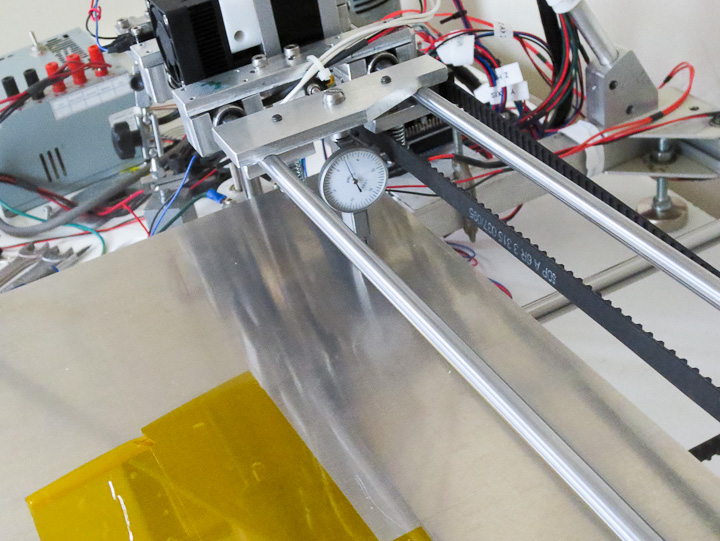
alignment jig for heated bed on 3d printer

I created the alignment jig above to help align and level the heated bed on the printer.  The bed sits on 4 adjustable pads off of the the y axis carriage (seen by clicking here for a photo).   This allows it to be adjusted so it is perfectly flat relative to the print head.  Using a dial indicator goes a long way to simplify the adjustment process. I considered using a digital angle finder but as I don’t have one on hand this was the best way to go.  I was able to center any out of flatness by adjustment of the four mounting pads.

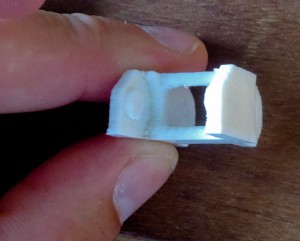
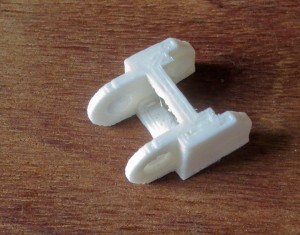
3d printed cable guide chain-7251    3d printed cable guide chain-7248

It wouldn’t be a post about 3d printing without showing some printed parts.  This is a link of cable chain.  I’m using this part as the test piece for dialing in all of the parameters to get the best possible print quality.  I felt this was a good part as it has fine detail, lots of overhang, and a 15mm span across the top.  More on the function of this part in the next post, but it will be used on the printer to keep wires from crimping on the x axis.