Tag Archives: Bridgeport

Bridgeport Mill Restoration: Part 4 Refinishing the Hardware – Black Oxide surface

I’m skipping ahead in regards to order things happened in the rebuild as many friends are interested in this particular topic and I do not want to write to each of them explaining how it works.

Freshly refinished Turret Bolt in Black Oxide. Contrasts nicely with the Industrial Light Machine Grey Paint.

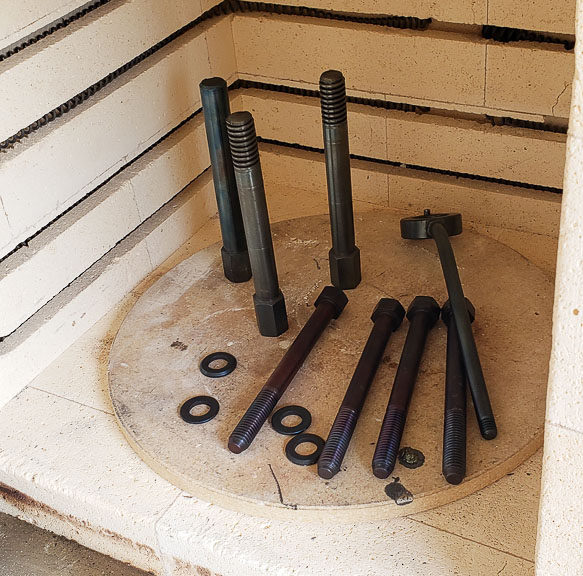
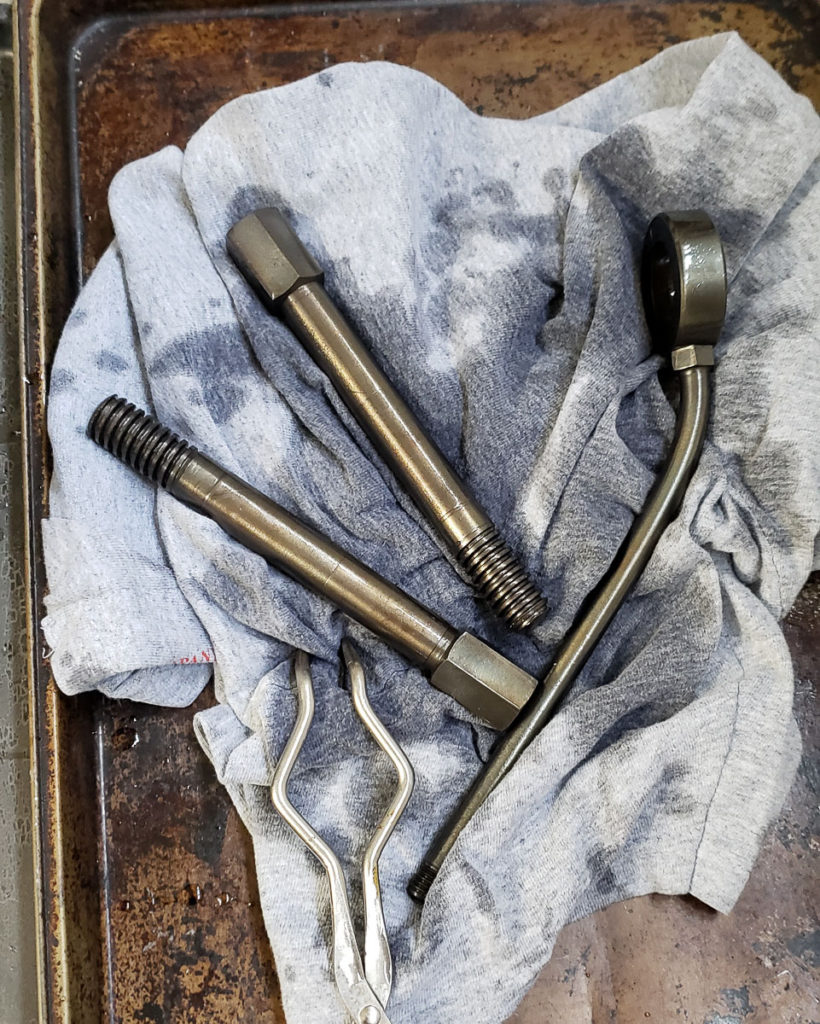
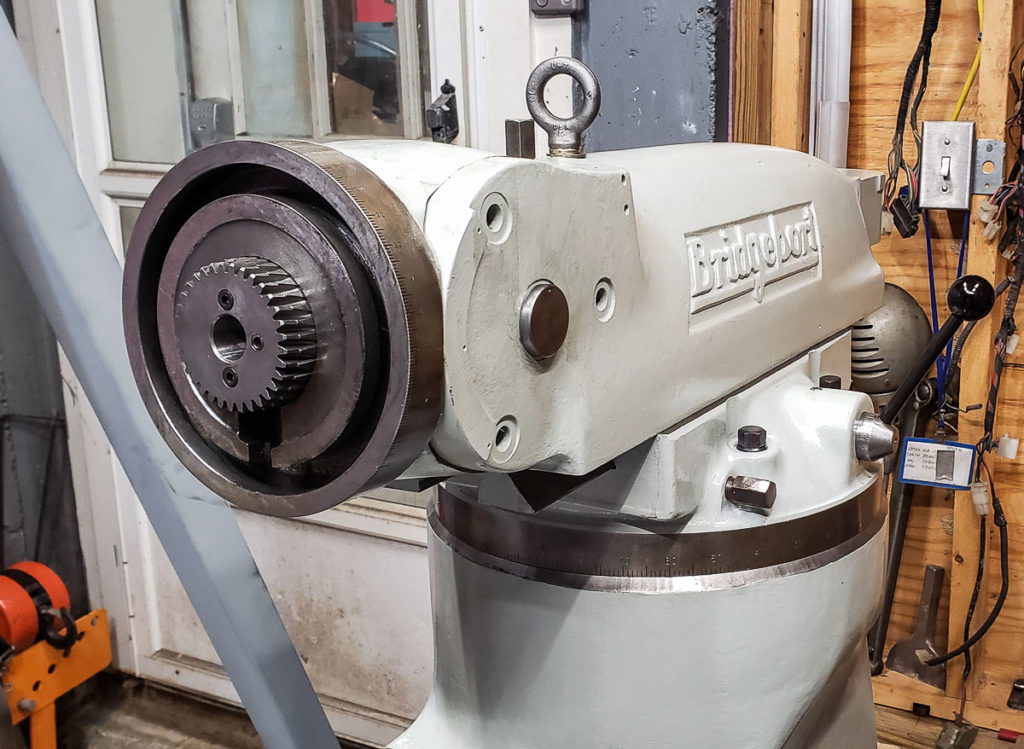
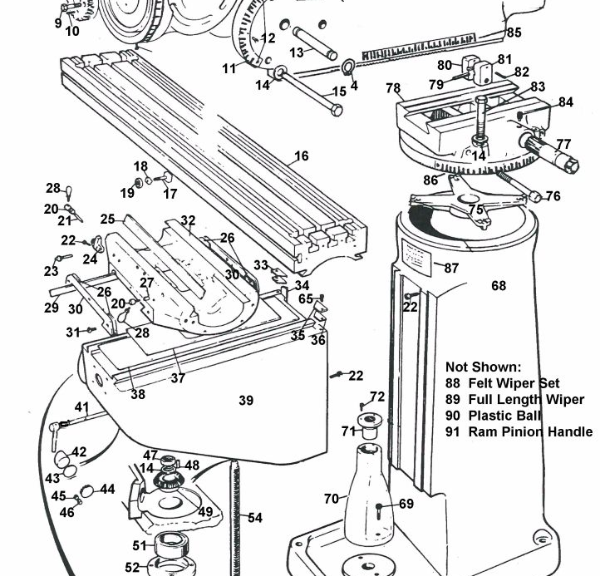
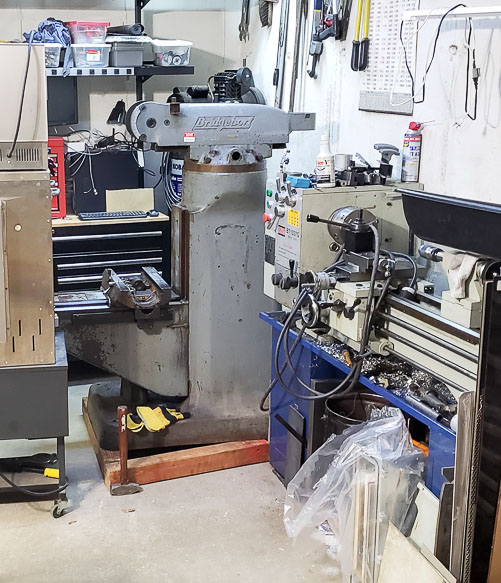
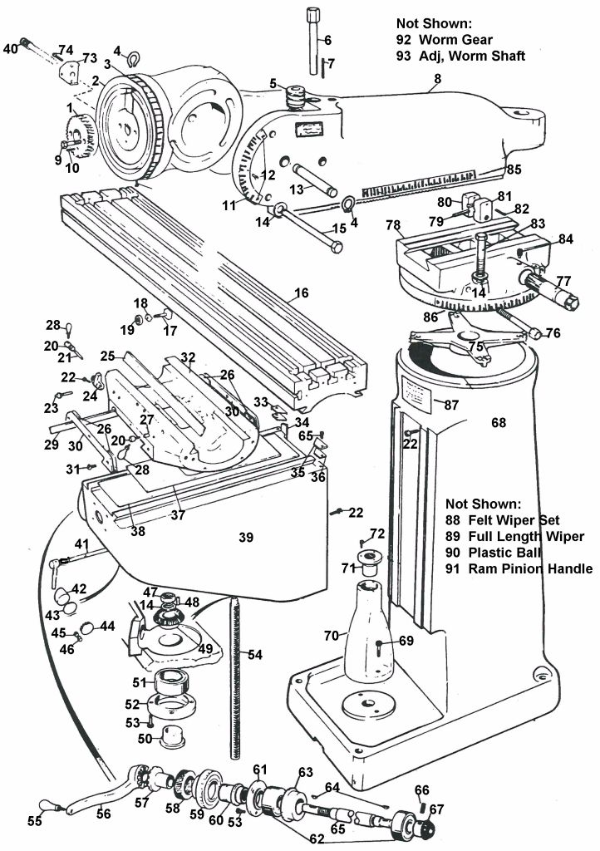
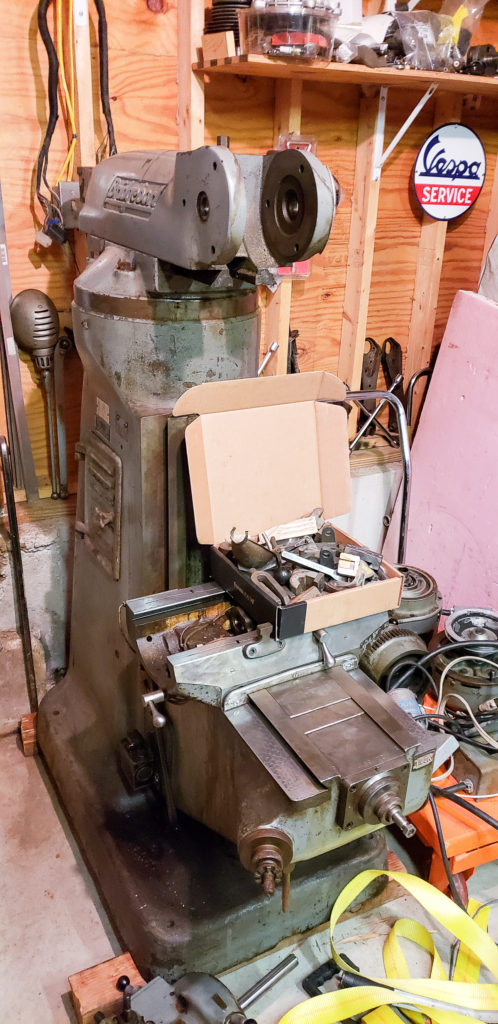
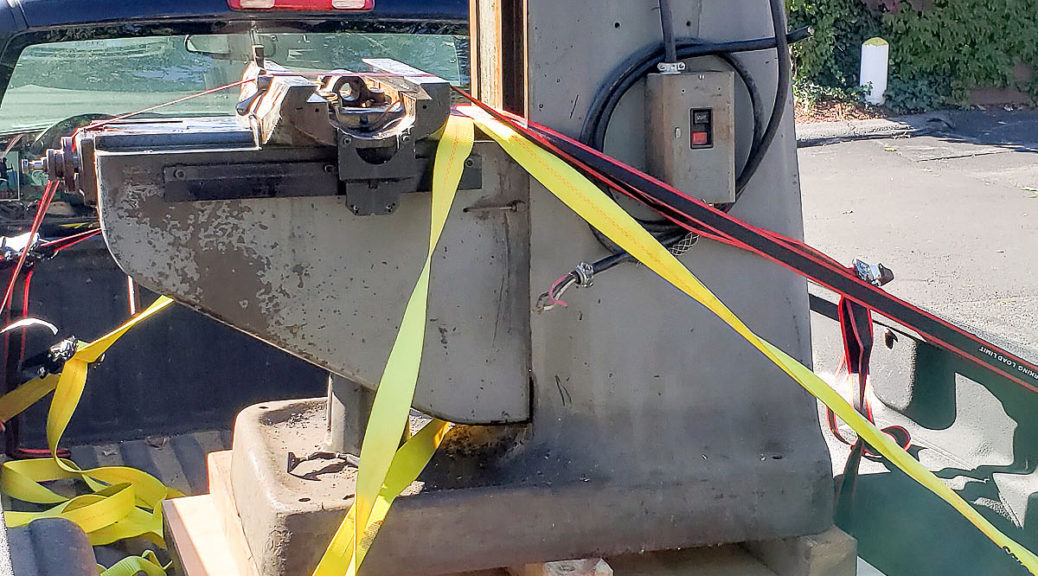
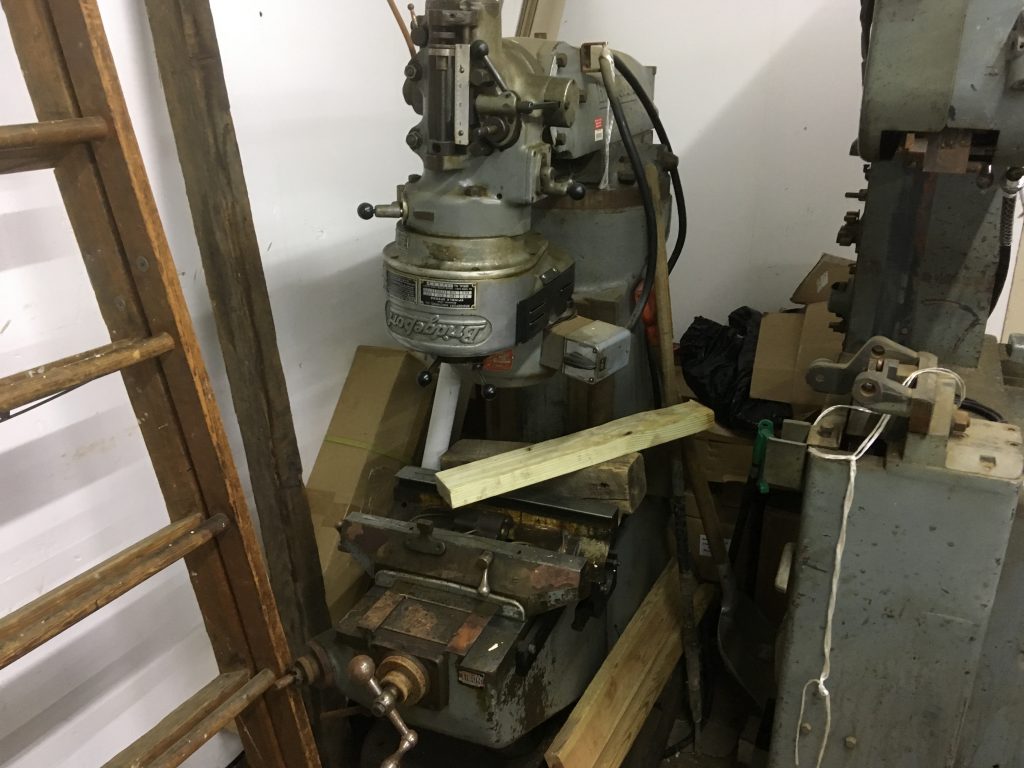
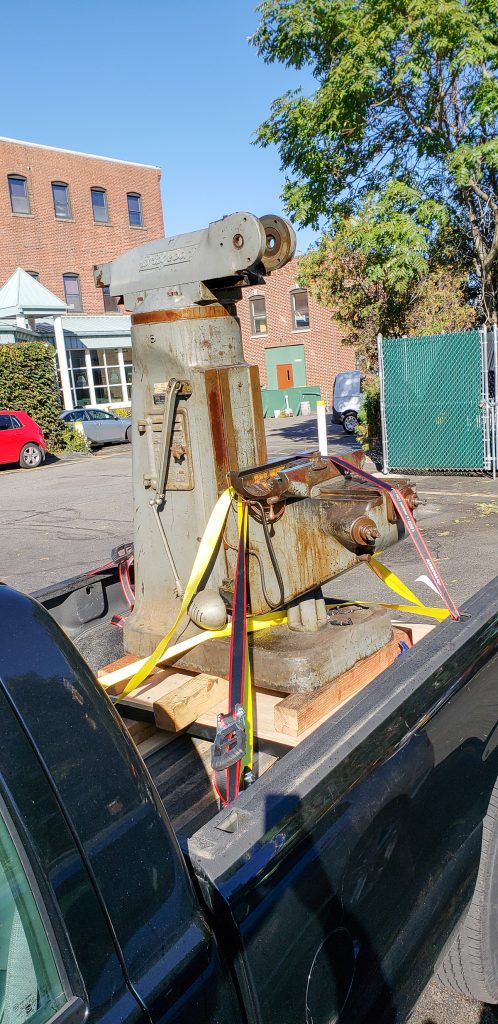
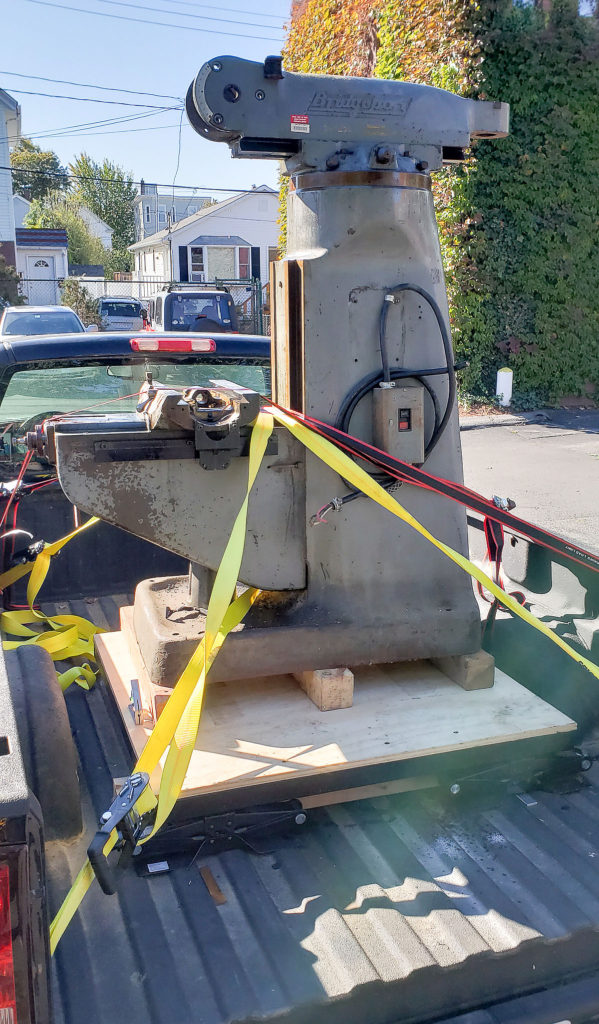
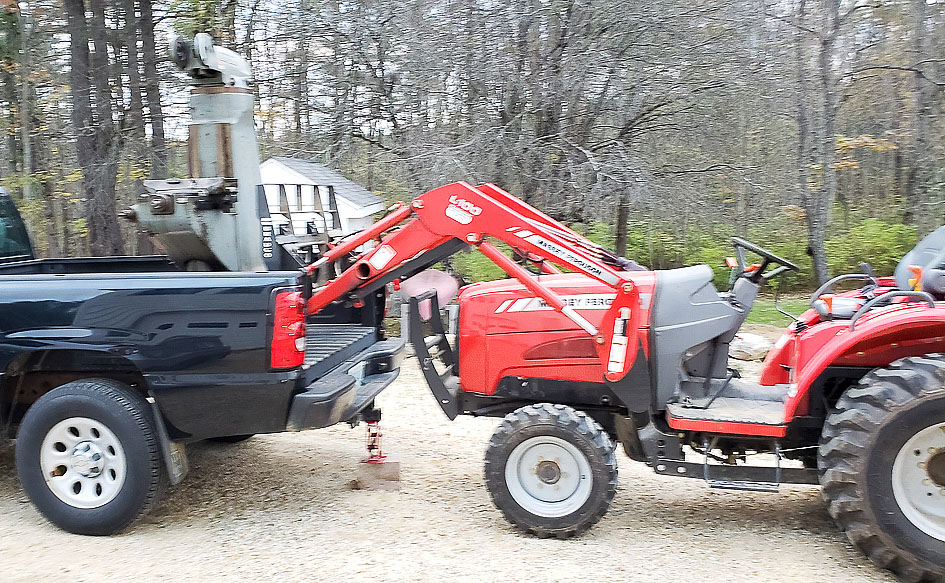
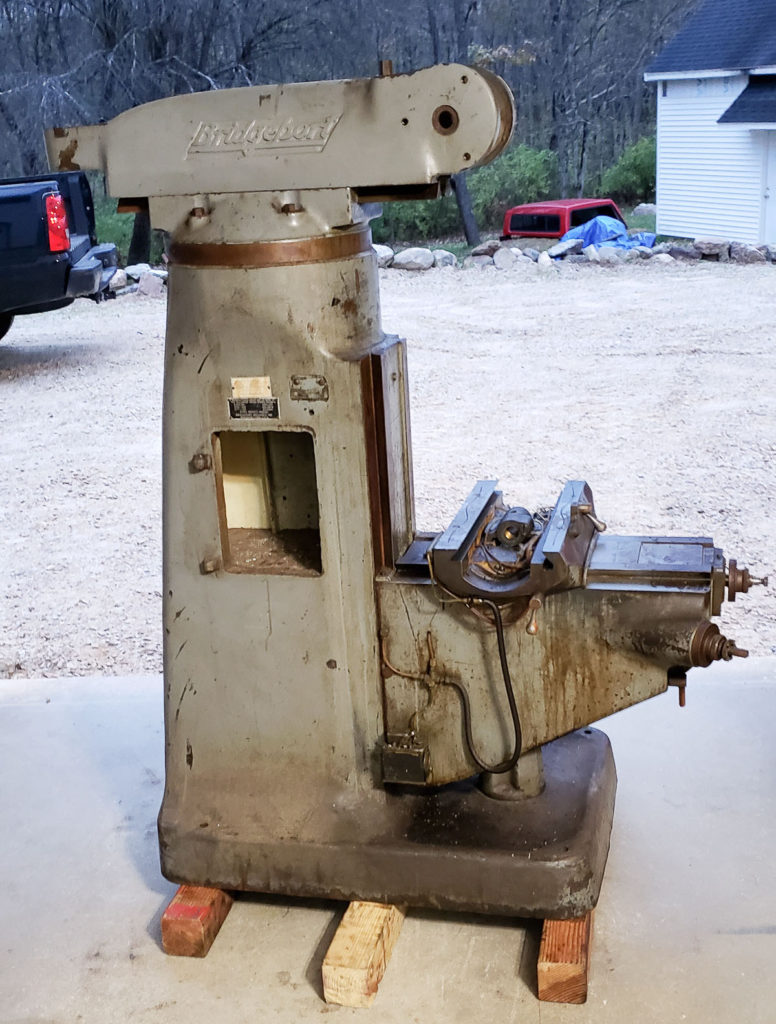
In addition to restoring the castings and mechanicals on my Bridgeport Milling Machine I scrounged late last year, I needed to restore or replace the hardware. Replacing hardware can get expensive quickly. The hardware on the mill was all very servicable, but very ugly. I opted to clean, polish, and refinish all of the hardware. I am a huge fan of Black Oxide or Blued finishes on steel. While not suitable for exterior applications, this helps keeps hardware used inside from rusting prematurely. Plus, as you see in the photo above, the black hardware contrasts nicely with the Industrial Light Machine Grey paint I used on the castings after stripping them.

degreasing hardware prior to polishing for refinish
Degreasing hardware in a FormWash with Purple Degreaser

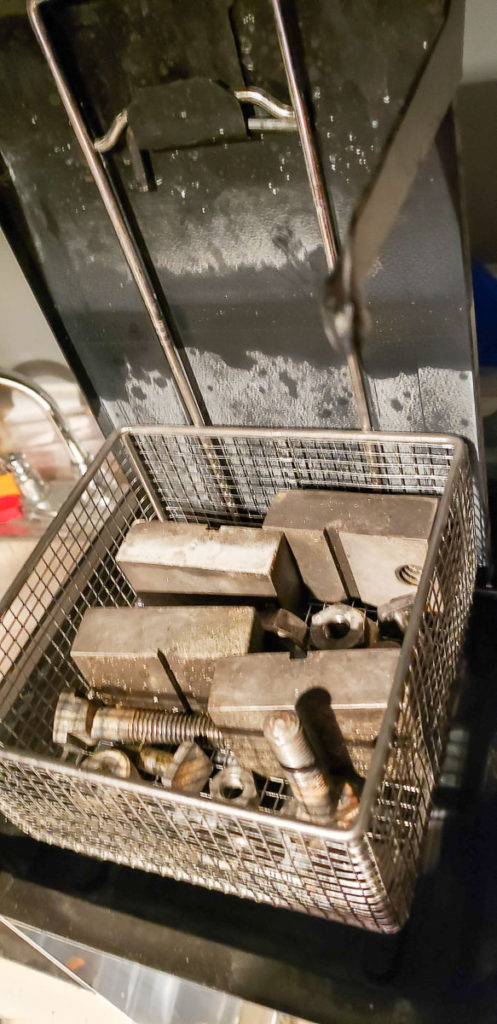
Refinishing hardware is a bit labor intensive. Thankfully the Bridgeport uses relatively few nuts, bolts, and washers in assembly. I start hardware restoration by bulk degreasing and washing all of the parts in an old FormWash which agitates the bath and has been modified to heat the de-greaser to better clean components. I use either Simple Green or Castrol Superclean without dilution as a degreaser which works well, especially heated up to about 50C. You can degrease a surprisingly large number of really nasty dirty parts and engine bits in this before you need to change out your degreaser.

The small wire wheel buffer I made from mu parts piles at the start of this project. It’s been priceless in restoring all of the smaller hardware by polishing it to shiny bare metal.

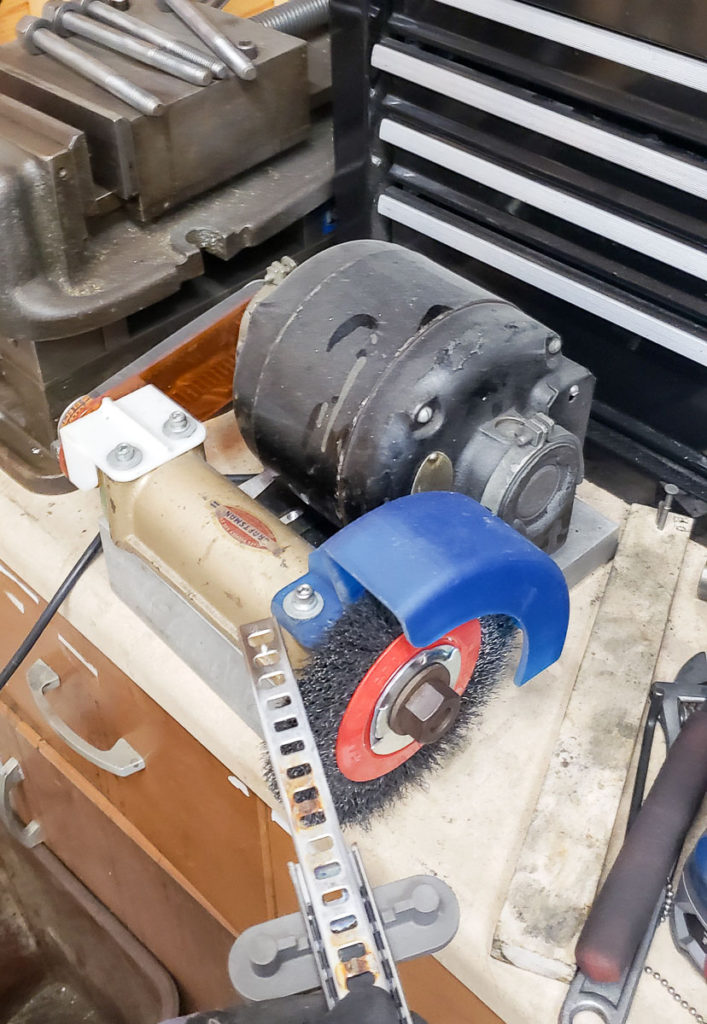
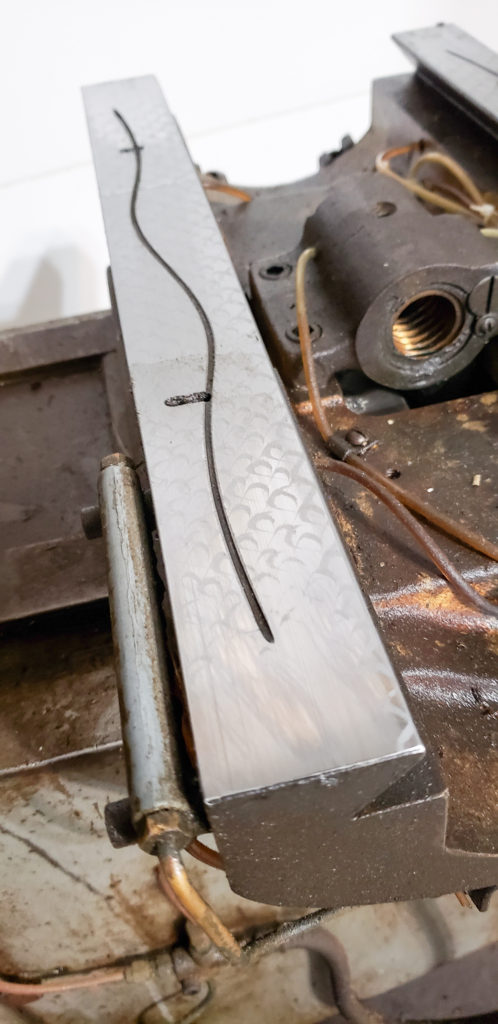
After degreasing, I spend a few minutes on the wire wheel buffer I built polishing the hardware to shiny bare metal. I’m not looking for mirror finish on the parts, but I do ensure no grit, grime, rust, dirt, or burrs remain. I will touch up dings and “Gorilla wrenching” marks with a fine double cut file and rebuff when I find them. I run taps through the nuts to ensure the threads are cleaned out.

polished and wire brushed clean hardware pre black oxide treatment
Post degreasing and wire brush polishing the bolts are shiny bright metal
Furnace oxidation temperature of 300C for black oxide steel
Preheating the furnace to 300C (550-600F) for black oxide coating of steels.

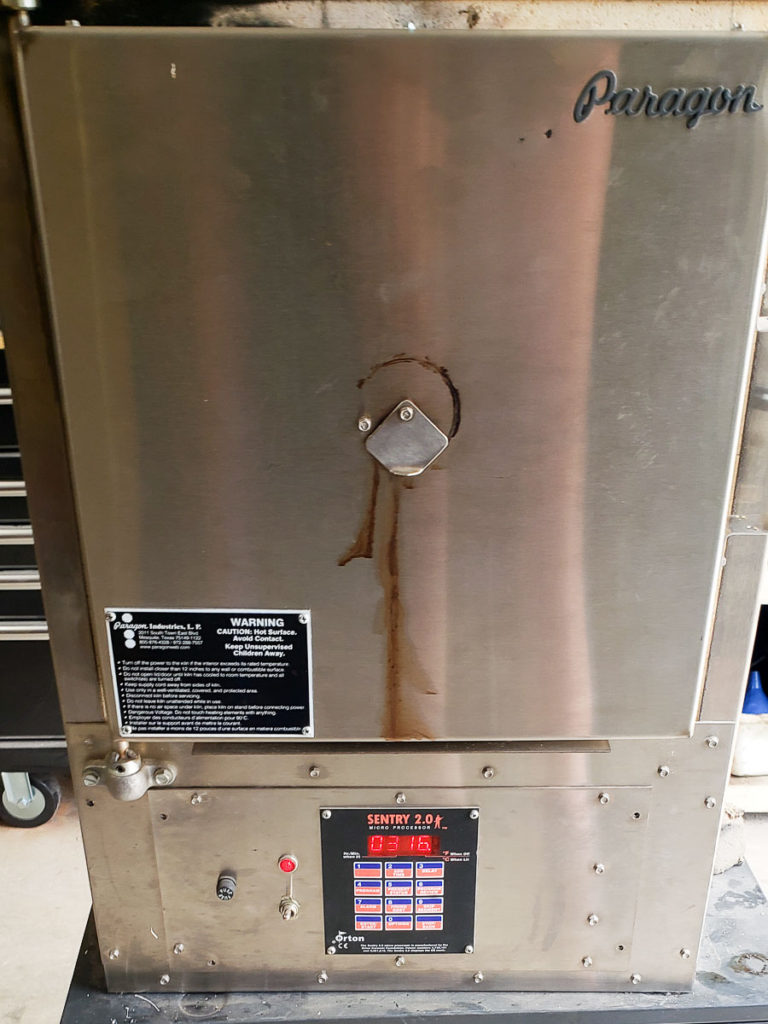
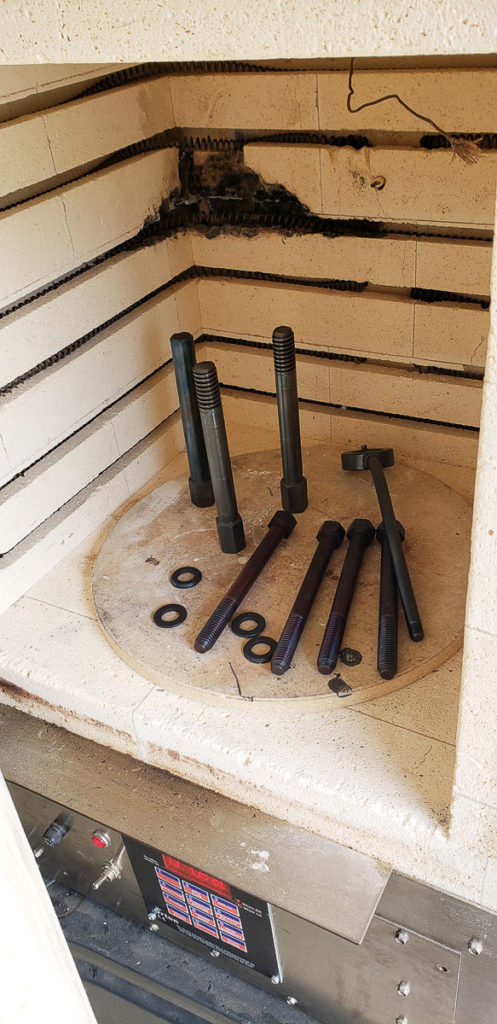
After cleaning and prepping the hardware the next step is to preheat your furnace to 300C. I have a very nice Paragon furnace I scrounged. It was wrecked when I got it due to some experiment gone horribly wrong. I managed to restore and fix this furnace to almost perfect working condition with very little cost. It’s quite large inside and capable of holding temperatures up to about 1100C.

Hardware in the furnace to get black oxide finish restored
Hardware in the furnace turning black.

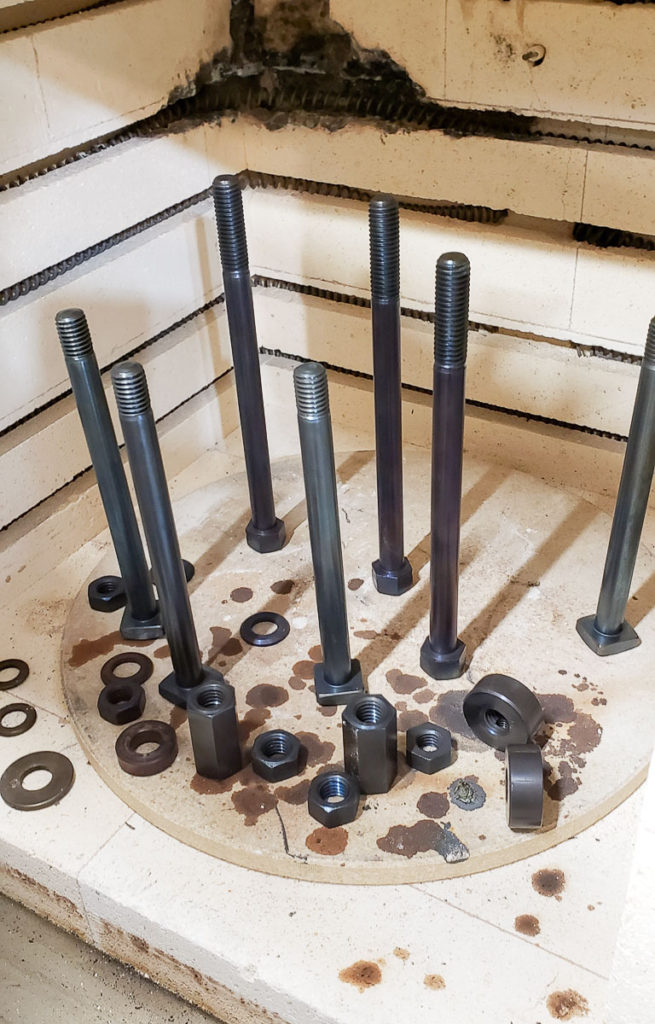
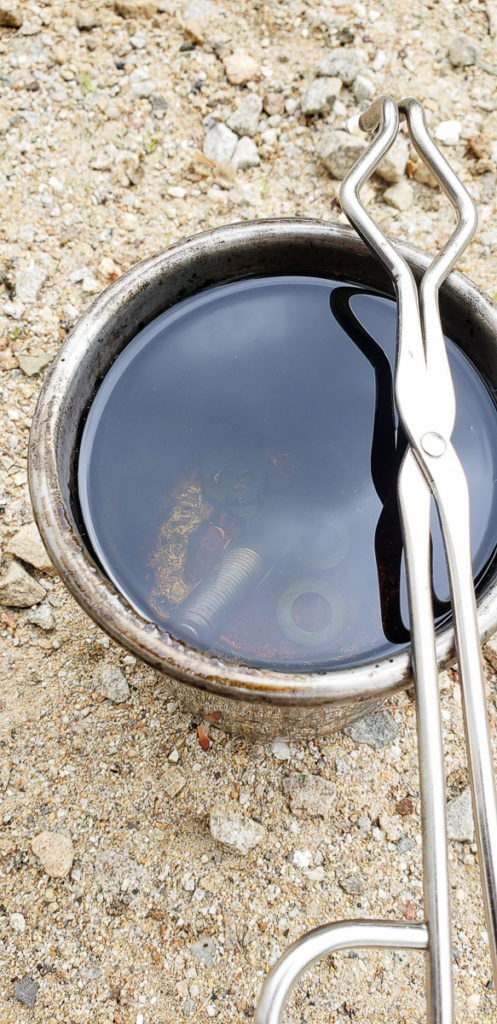
This is not the modern process of blackening steels that uses salt solution baths. This is more of the DIY, slower old school method. The process involves heating your clean, dry, parts at 300C for an hour or two, then you dunk them in a nice oil. I am a fan of Canola (rapeseed) oil for this dunking. You can repeat these steps if you want a darker heavier finish. This process leaves a nice hard blue-black finish on your steel. The alloy and part size and shape do affect this process a bit. So all of your parts may not end up quite the exact same shade of black. Dwell time and contaminates can cause differences in color as well.

Canola oil for dunking hot steel into in blackening
Use a metal container for your oil bath, 300C steel will melt right through most plastic containers.

I originally saw this process in a video restoration of an old Vise that my buddy Brian shared with me. This is that vice restoration video which is wonderfully put together: https://www.youtube.com/watch?v=U2jNeObHnZY The video is well worth the time to watch as it is very well done.

Finished parts come out very nicely with a hard black oxide coating. They look like new.
There are slight differences in the black levels on different parts. Some due to alloy, and some due to part mass/dwell time I believe. I have not extensively investigated this process and the effect of variables like temperature and time have on the resulting finish.

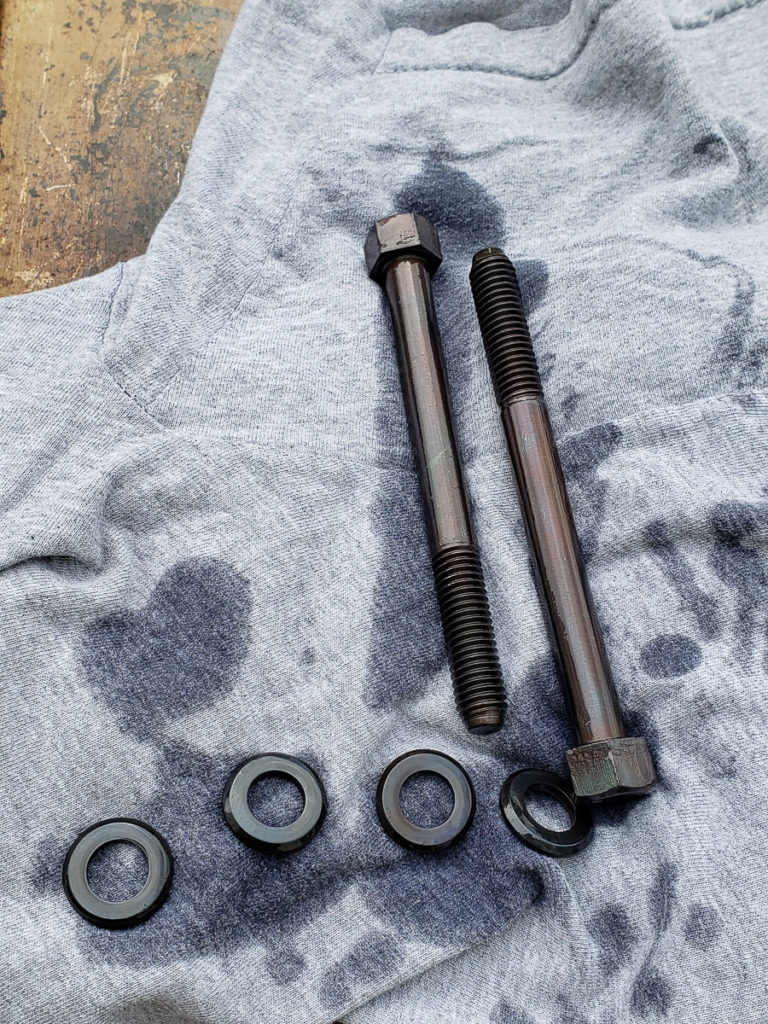
The newly blacked parts get sprayed with a solvent wash to remove the canola oil residue which might varnish over time. I then liberally coat them with Vactra way oil or a nice 30W motor oil before installing them back into the mill.

You can see the black hardware contrasts and looks great with the light grey paint on the freshly restored castings.

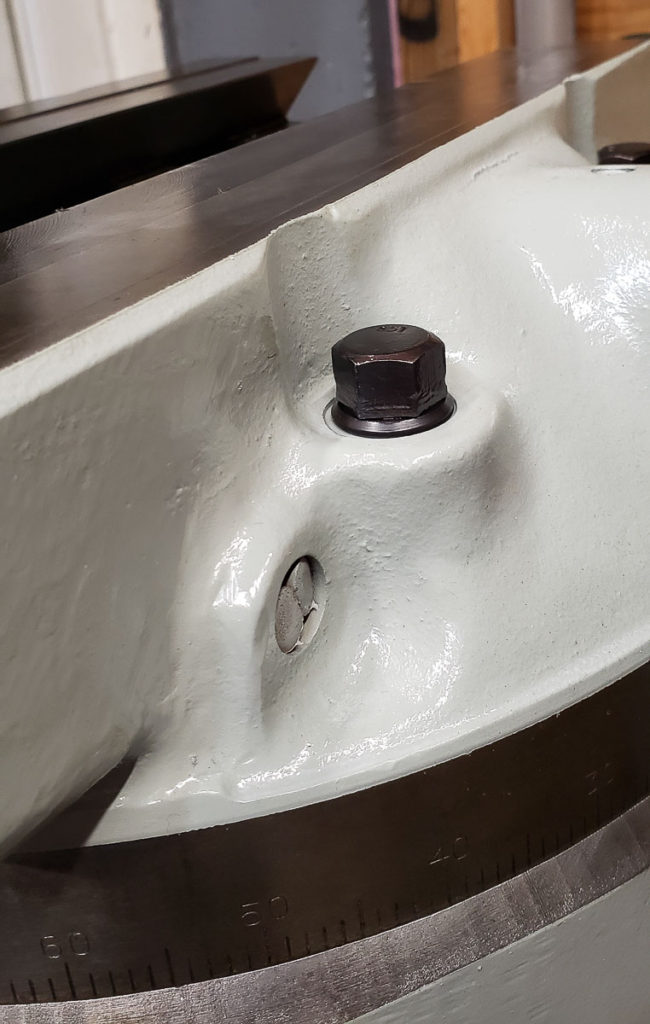
On the mill the freshly blackened hardware looks fantastic. I am glad to share this trick. It is a nice quick way to give old hardware a new fresh look in a restoration. I like that it doesn’t require multiple baths of nasty caustic and salt solutions compared to the modern industrial process of hot or mid temp chemical conversion coating to black oxide.

More hardware in the oven for blackening
Another batch of hardware in the furnace for treatment.

“Bridgeport Milling machine Restoration: Part 2 – rebuild reference materials

This page is for me, I have learned not to rely on the internet to keep a history of files and documents I might need in regards to restoration projects, as often sites are taken down and things lost. I will upload a few useful documents and store some links that are very helpful for anyone planning to restore or work on a Bridgeport Series I Mill.

One of the challenges of bringing a Bridgeport Mill home is finding a space for it in your shop. This was my originally planned, but it really did not fit or work with the rest of my shop layout. Not to mention I couldn’t fit my car in the garage any more with it here.

This is a section of PDF’s I’ve collected that have useful information

The parts diagrams in the manuals are priceless for knowing what goes wear, as well as understanding how things come apart. You will reference these drawings an awful lot in your Mill rebuild.

This section is a list of useful links to helpful rebuild information, and or parts suppliers.

Rockford Ball Screw kit: https://rockfordballscrew.com/ballscrews/kits/

All the Series I parts: https://www.machinerypartsdepot.com/parts_for_bridgeport

Hardinge Parts for knee mills: https://shophardinge.com/kneemillparts.aspx

The final resting place of my Bridgeport. In the end I had to part with a shelving unit and clean a lot of stuff up to make a large enough space for the Mill to operate fully. Moving this around is not simple. I will likely put it on a leveling caster type base after I strip and paint it.

This page will likely see a lot of additions as I finish up my rebuild, but I don’t plan to keep links current, if a link is dead let me know and I’ll test/remove it when I have a moment.

Bridgeport Milling Machine Restoration: Part 1 Getting your Bridgeport home

At my day job, we have a Free or For Sale Slack channel. I visit this channel whenever there are new posts, but try hard not to claim anything I don’t absolutely need as I have enough junk. One day I saw a post by my friend and colleague of four years Scott where he was listing some machines including a craftsman lathe, a giant band saw, a huge 3 phase dust collector, and a Bridgeport Series 1 Milling Machine. I ignored his post the first time, but when he reposted a few days later, I asked Scott for more information. I have always wanted a Bridgeport, I told him I might be interested in giving his machine a good home if the price was right. Well he came back with the photo below and said, “the price is FREE!”. That’s my favorite price, but as my old mentor Donald Sundberg used to say often, There is no such thing as a Free Lunch.” So I asked, “What’s the catch?”


Many years ago Scott lived with a bunch of friends in an industrial space and they had a full shop they had put together. Apparently they had stored all of their large tools at Industrial Labs in Cambridge when they left this maker space home. This corner of the loading doc area at Industry Labs, is where the Bridgeport Mill sat for many years until I rescued it. I bet you are thinking, “gee that looks rusty…” right? I thought the same. I was willing to go look at it in person to see how bad the damage was to see if was possible to save this piece of old iron. Turns out, it was not that rusty at all. Rather it was coated with reddish wood sawdust on top of a hefty coat of way oil or grease they slathered over all of the surfaces. Which isn’t to say the machine was pristine or like new underneath, but it was a very restorable specimen. The years of shop dust, oil, varnished cutting fluid, and who knows what else had protected the metal underneath reasonably well. That and the hard chromed ways had me confident it would become a valuable addition to my home shop.

I wish I had taken more photos of the move itself, the reason the mill was free was because of the challenges of moving it. Apparently they had talked to Riggers, the cost was $3-5K. The loading dock was an old wooden terrible shape construction, the parking lot to it was on a hill, and there was ZERO possibility to get a rented dock height truck in to retrieve it. The loading doc was also damn tall at something like 46″ off the ground. I needed a way to wheel the mill from the dock onto my truck. Enter the first major challenge of this project, I needed a lift platform in the bed of my pickup truck. I did some math, made a few sketches, and stopped at Cohen Steel on the way home and bought the steel tubing needed to build one. I had a very short time to rescue the mill before Industry Labs was going to send it to the scrap yard for recycling.

After building the lift platform (construction photos above) with four scissor jacks welded for vertical adjustments I was committed to getting this machine home. I outlined a plan, and enlisted two friends Mike and Max from work to go over at 9am in the morning and help me load the machine. We were in a hurry, and sadly I didn’t take any pictures of the moving process itself. I wanted to remove weight from the top end, so I pulled the motor, the drive assembly, the head, and the head adapter. The table was previously removed and in storage along with some of the finicky bits, the DRO system, and some tooling. I would meet up with Alex to retrieve these parts later on. With the top end parts removed, We lifted it off the 4×4 wooden blocks with a pallet jack and with a hefty doc plate wheeled it into the blocked truck onto the platform I built adjusted to be perfectly level with the loading dock. I didn’t want the suspension to compress so I supported the frame with additional jacks.

Bridgeport Mill on Adjustable height loading platform in pickup Truck for transportation.

The loading onto the truck went surprisingly well, with the only issue being the truck was on a hill, even though I had driven the front tires up on boards to try and level it we had a minor scare. As the pallet jack rolled onto the lift platform it wanted to accelerate and keep rolling on it’s own. We managed to muscle it in place and drop it over the center line of the axle safely without incident. On the other end, unloading would go much more smoothly, as I planned to use the forks on the front end loader to just pick it up out of the truck.

Using the Forks to lift the Bridgeport Milling Machine out of the truck.

Note the blocked tailgate, I lifted the truck up with the jack so that the suspension wouldn’t make it harder to pick up the mill. Using a front end loader is not like using a forklift, the forks lift in an arc, which adds some additional challenges.

With the mill unloaded I left it just inside the Garage door. My car slept outside for a week, while I figured out where the Bridgeport would live permanently.

The only thing I did on the first evening owning the mill home was to spray some WD40 onto a rag and wipe down a few spots. The dusty goo on the mill was resilient but did come off with a bit of elbow grease and a lot of WD40 to reveal the nice shiny surfaces you can see in the photos below. I was happy I wasn’t wrong about the condition of the ways.


I’m going to close this first part of my Bridgeport restoration posts with these last words of wisdom. Taking a large machine like this mill home yourself is feasible, but only if you have the experience and equipment to do it SAFELY. The most important thing when moving large equipment is safety. If you aren’t 100% certain you can move it safely, hire someone to do it for you. In my day job, I am a mixed bag industrial engineer and research scientist. I have lots of experience and have moved equipment as large as 16 tons successfully without incident. It’s very easy to lose a life or limb when moving big machinery, and nothing is worth that sort of accident.