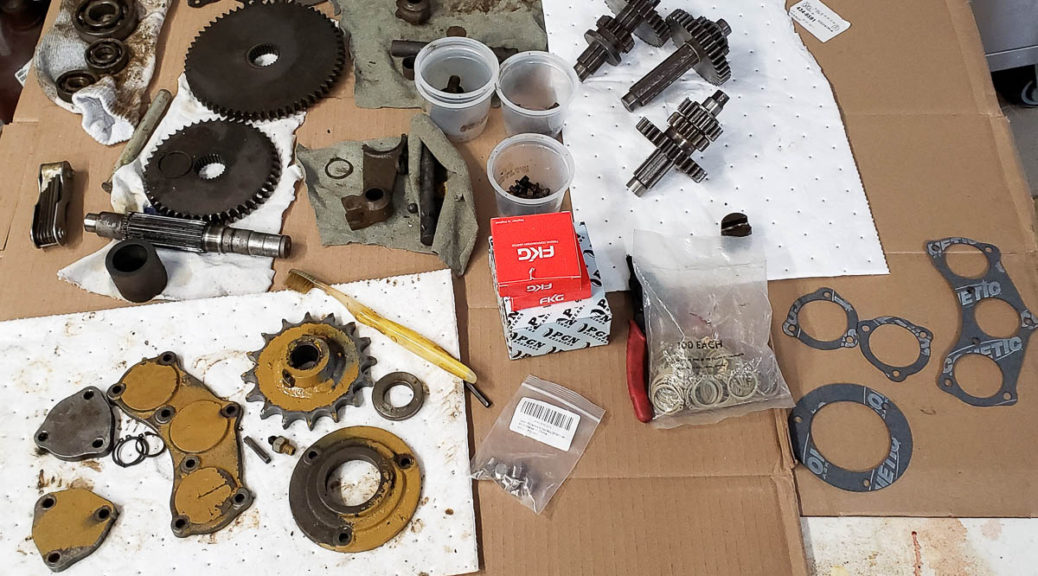
The transmission mechanicals were surprisingly not that badly damaged. It did take an enormous amount of elbow grease to clean all of the grimy oily emulsified yuck off of and out of everything. After cleaning, inspection, polishing, identification of replacement components and so on took place.
A bit about what I know about this transmission after taking it apart and studying it. I could find ZERO information online, and I write this stuff up in hopes that it helps someone in the future.
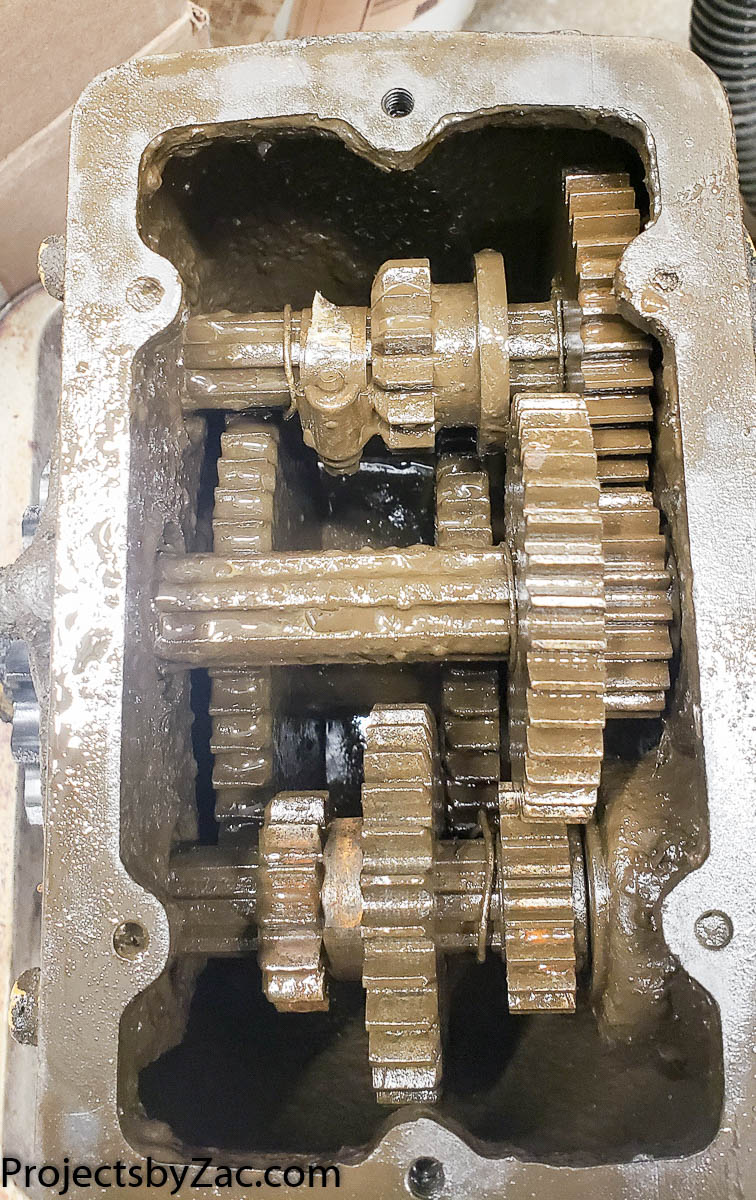
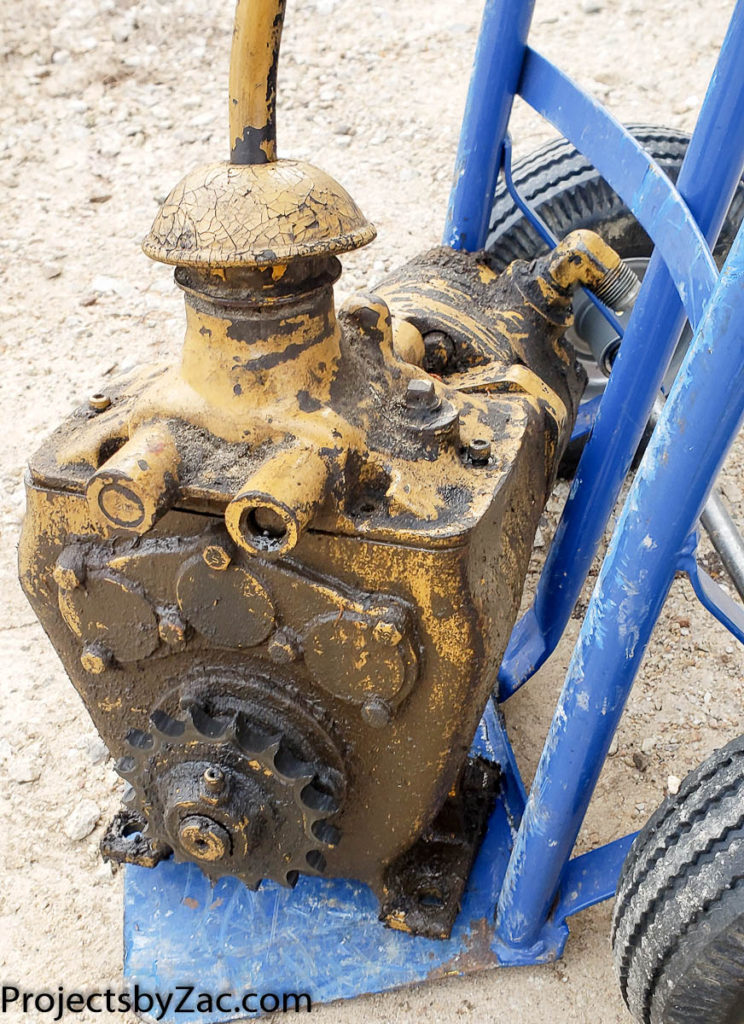
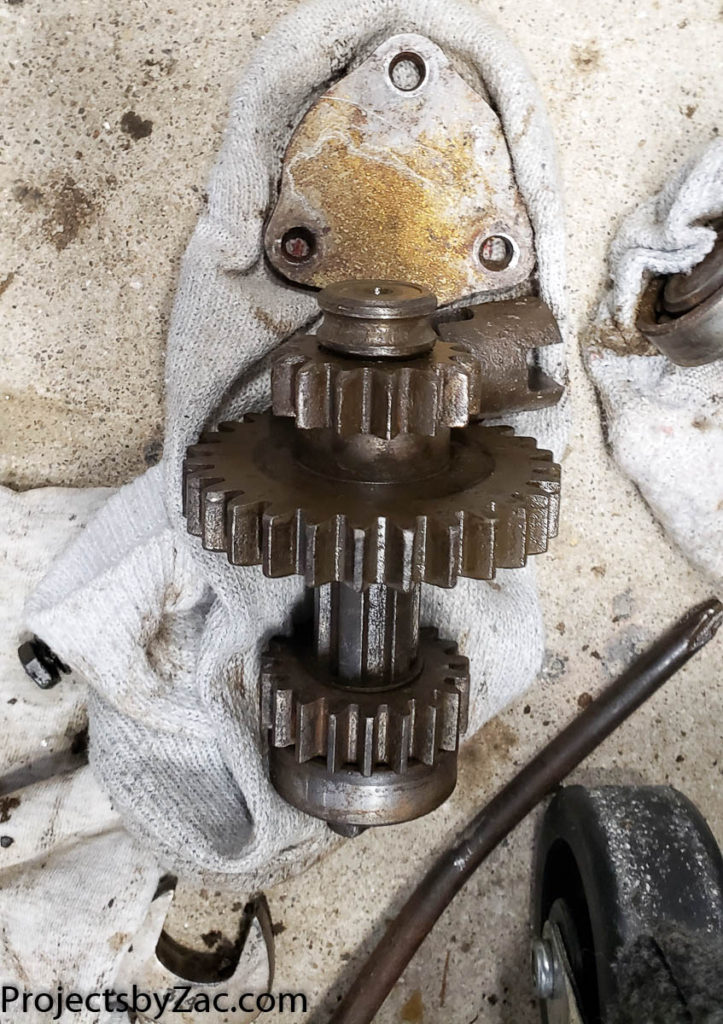
The 3 speed transmission is a symetrical standard splined shaft transmission using sliding standard spur gears. There are two shift forks, and two movable sliding gears. One gear only has one position, the other has two locations. It is a very simple and robust transmission design, with nothing broken and no unbearable wear or damage despite it’s poor condition when I took ownership.
Shafts, splines, sprockets, snap rings are all standard ANSI and SAE. Only the bearings are metric 6000 series items. The three gear reductions of the tranmision are 1.5:1, 4.5:1, and 18.5:1. These are counted manually by turning the input shaft and counting after rebuild and can have a bit of innaccuracy.
The main output shaft is 13/16″ for the 16 tooth sprocket for #60 chain. The bearing on the main shaft is a standard 6305 with bearing dimensions 25x62x17mm Deep Groove Ball Bearing. All of the other bearings, 7 in total, are the same and are 6203 Bearings with dimensions 17x40x12mm. There is one oil seal on the output shaft. This oil seal is an old out of production part: Chicago Rawhide Oil Seal 8774. A modern replacement oil seal I found was a SKF 8796 LDS & Small Bore Seal, R Lip Code, CRW1 Style, Inch, 0.875″ Shaft Diameter, 1.624″ Bore Diameter, 0.25″ Width . I ordered this, and then found an original NOS part on Ebay and ordered that as well. Both have the same dimensions and basic design.
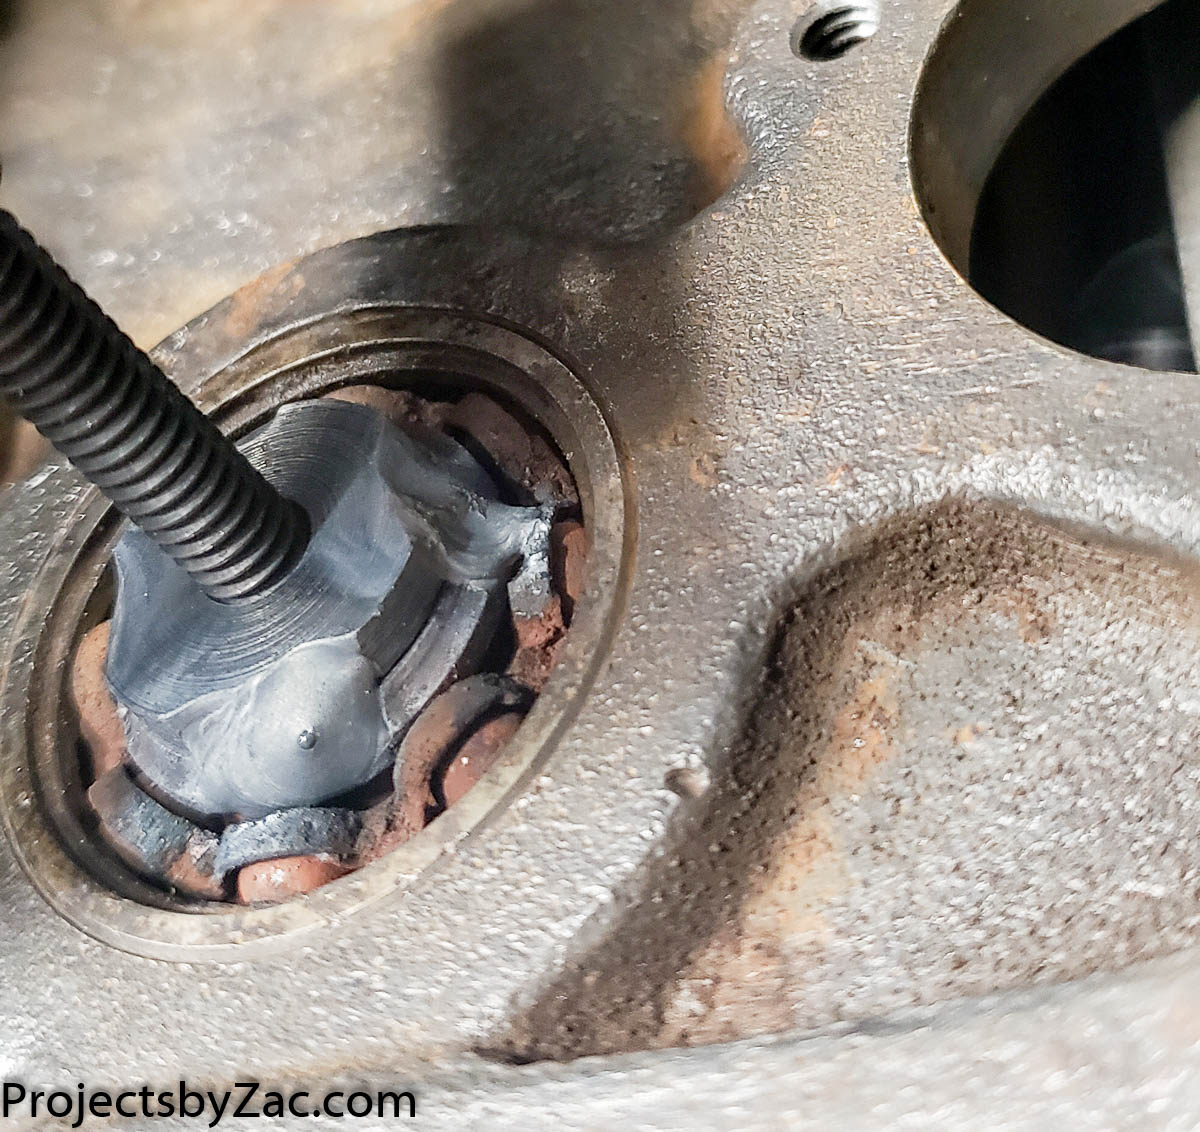
Input shaft with destroyed bearing, seen earlier 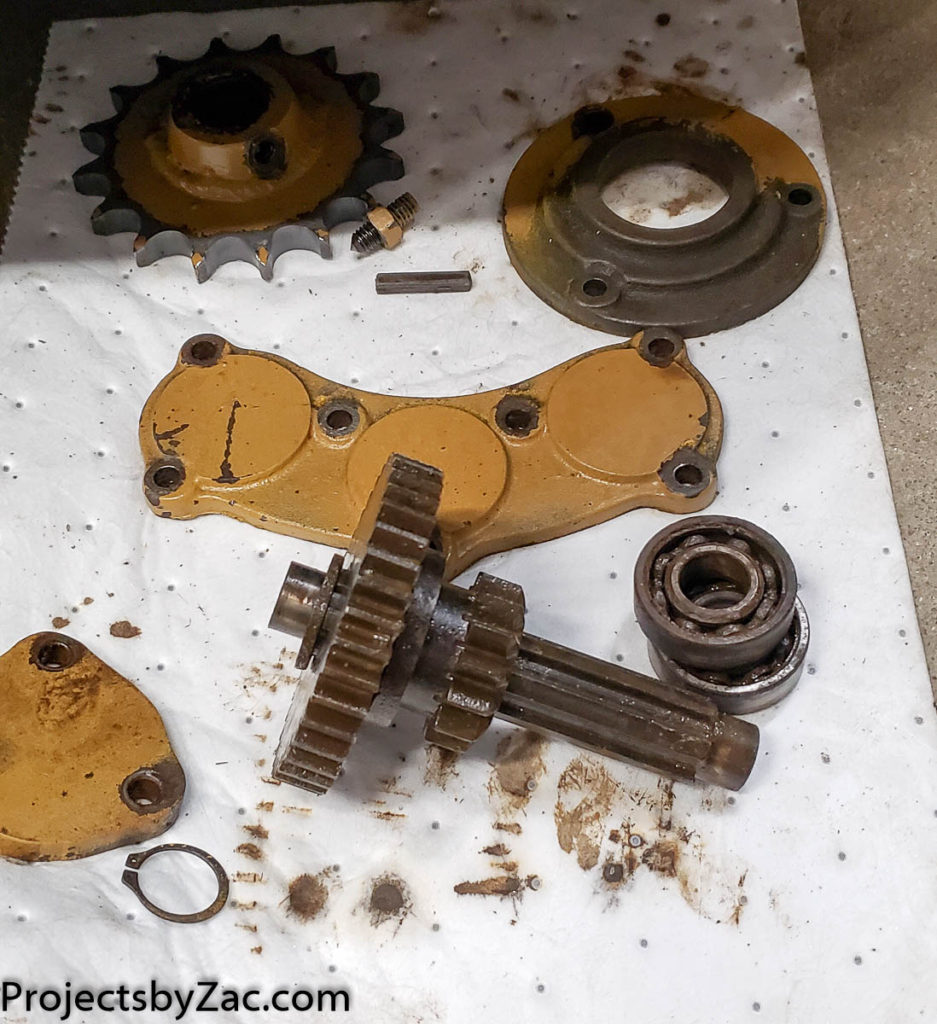
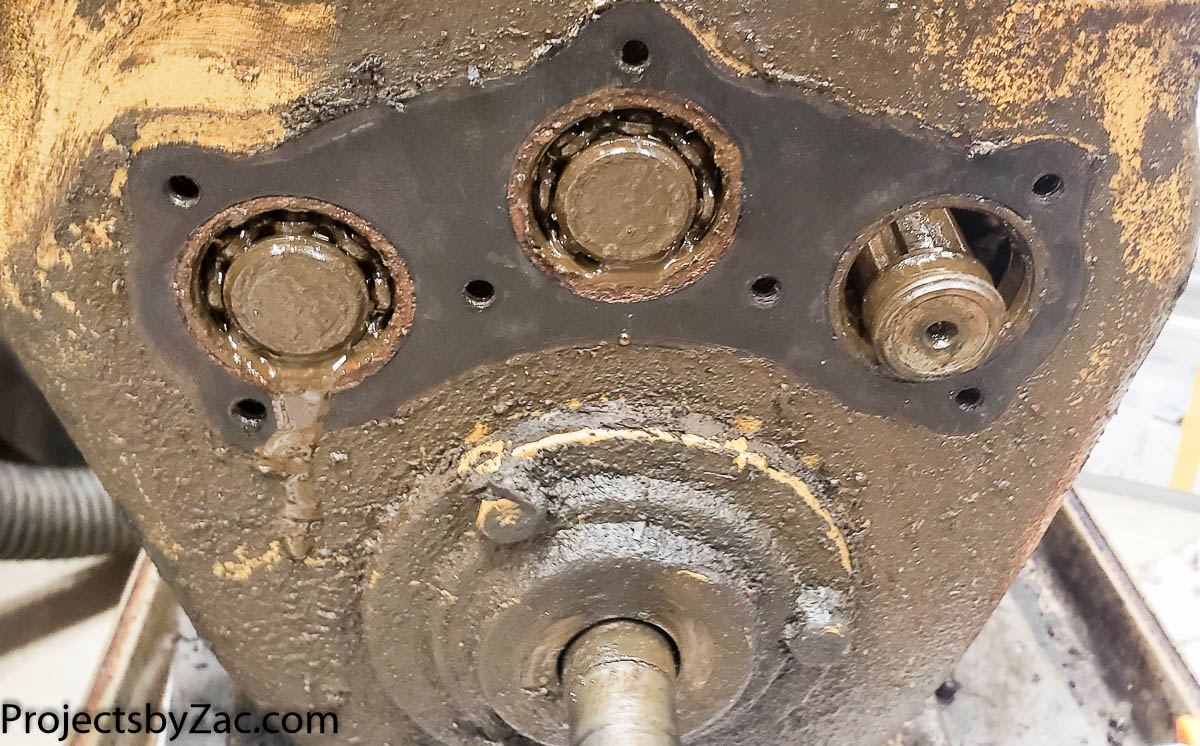
middle shaft, with bearings and covers 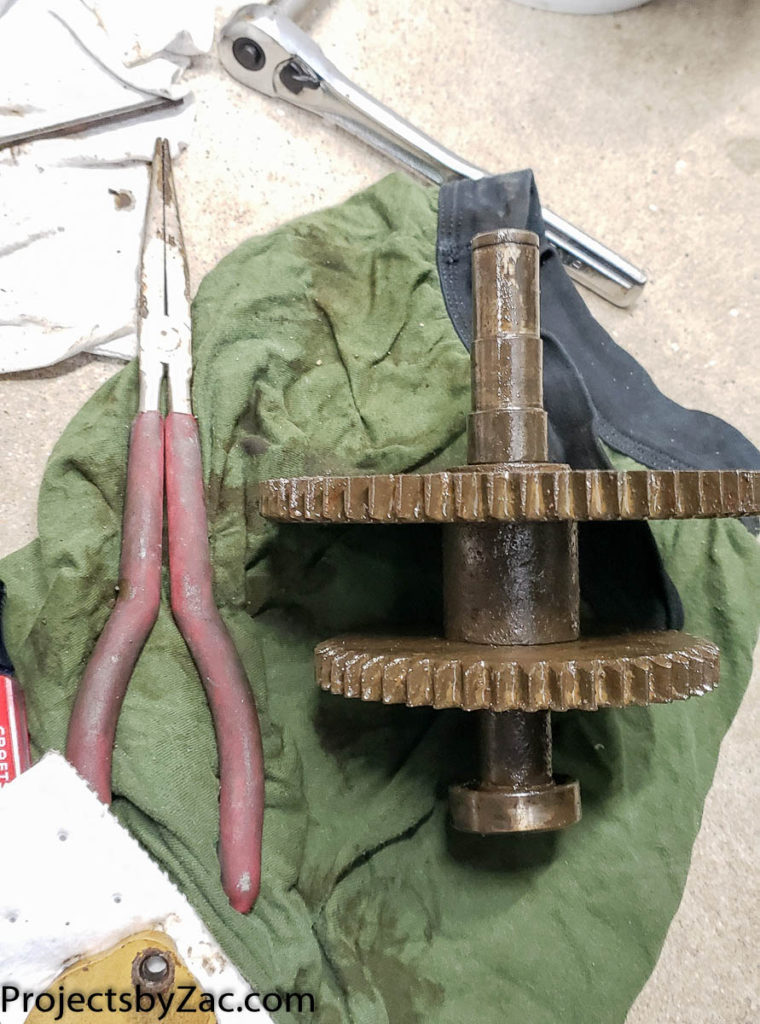
lower, larger output shaft and gears 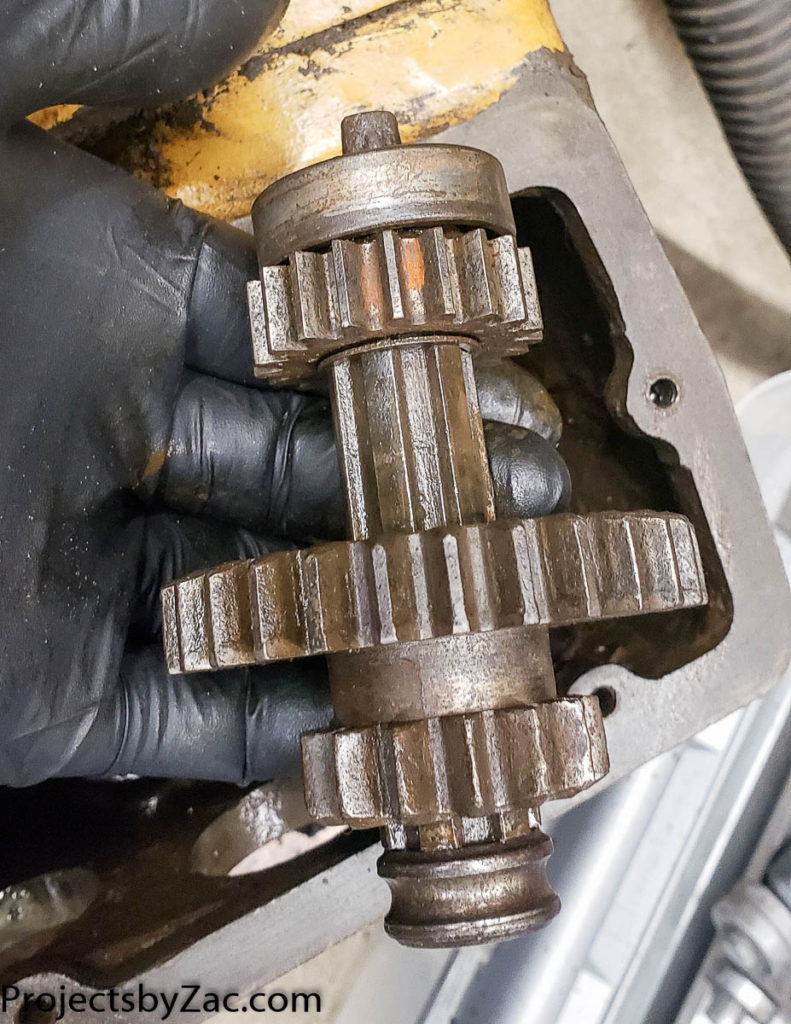
anoteher view of the input shaft, the sliding gear is on the bottom here towards the broken bearing (inner race still on shaft) 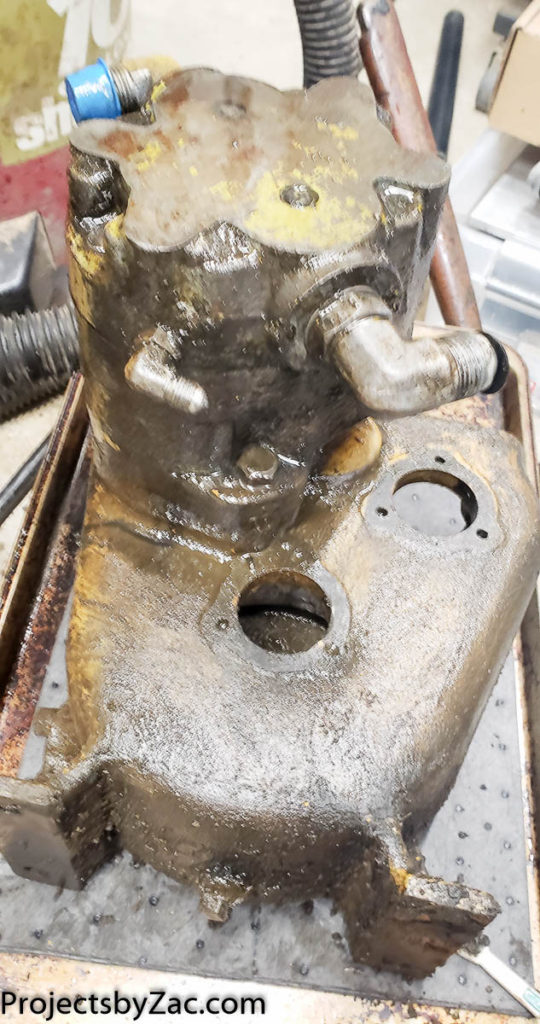
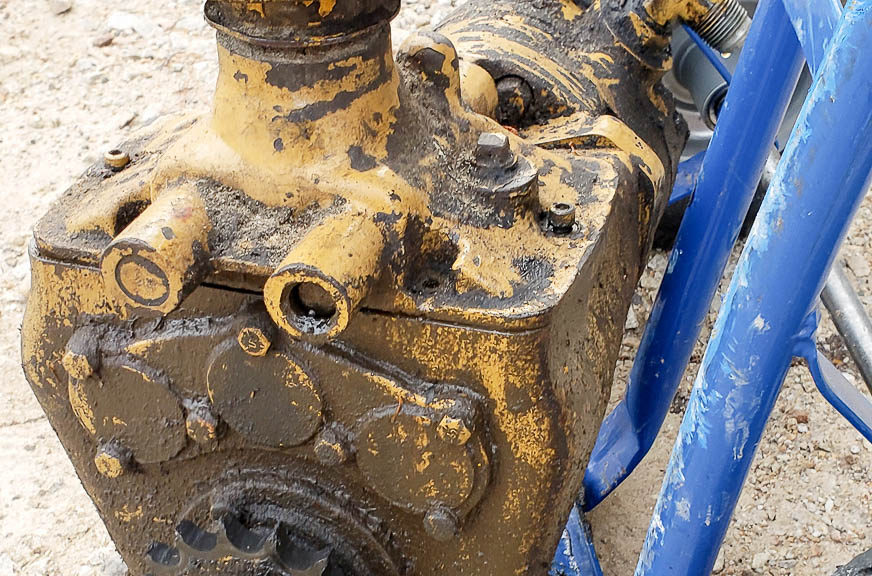
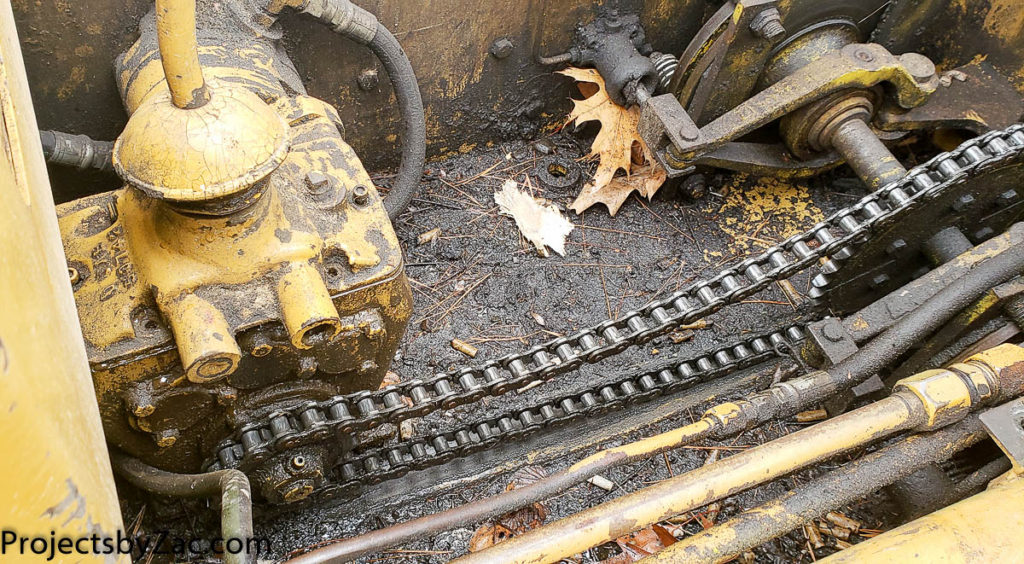
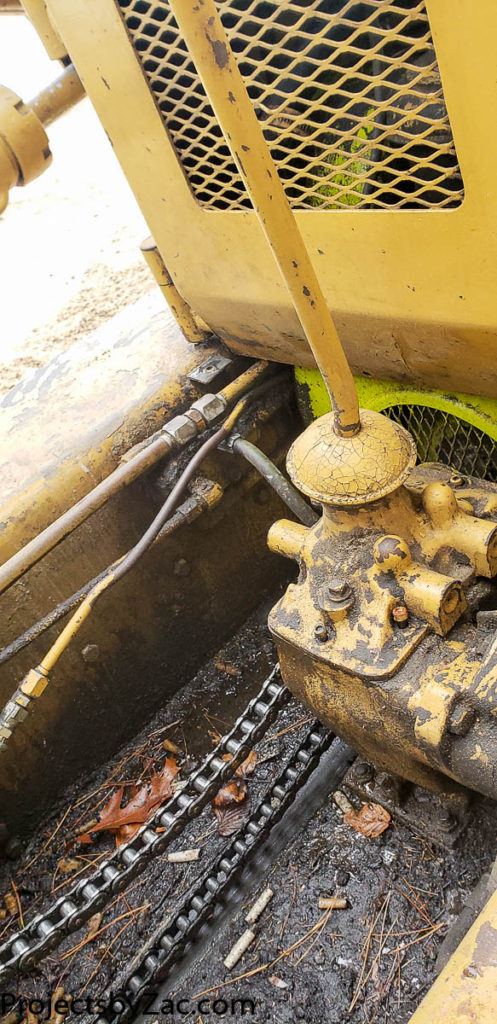
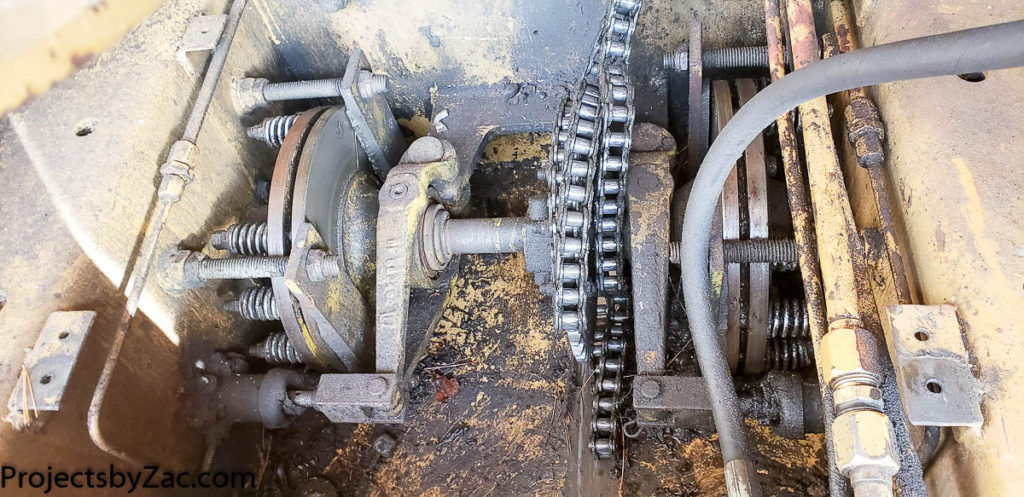
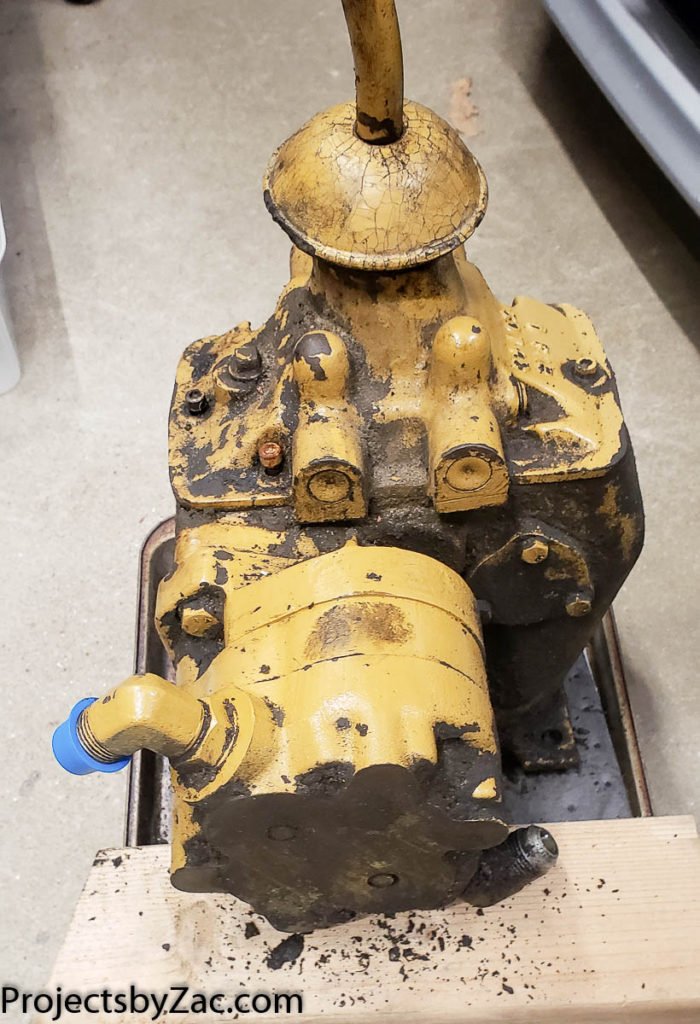
The hydraulic motor was difficult to remove. I had to turn down a socket to very short to allow removal of the bolt seen here. 
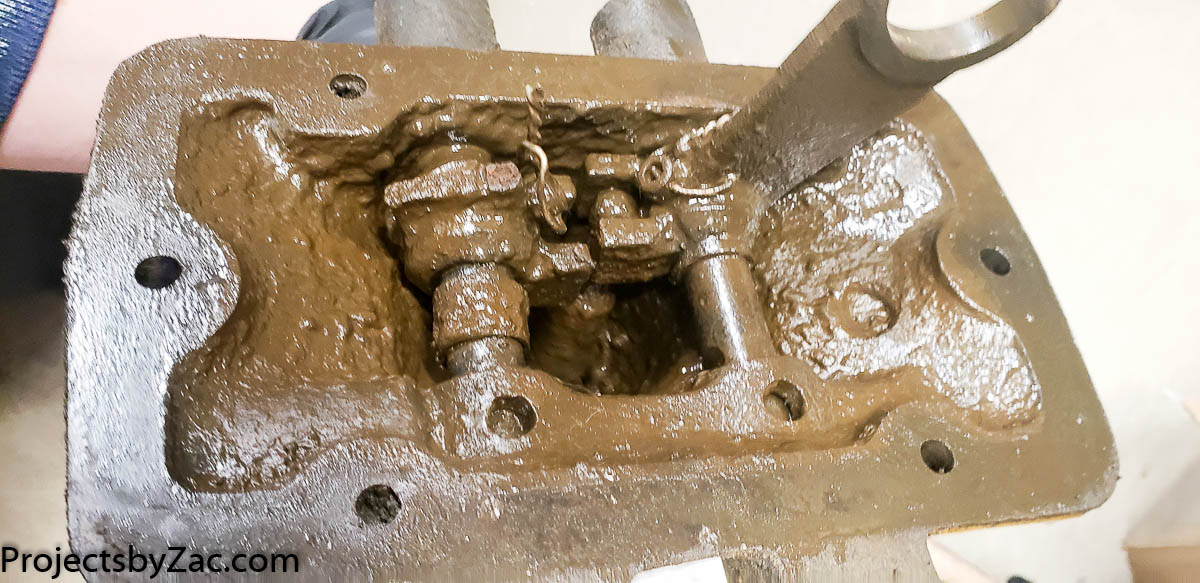
Nasty upper end pre dissasembly. not the broken shift fork. 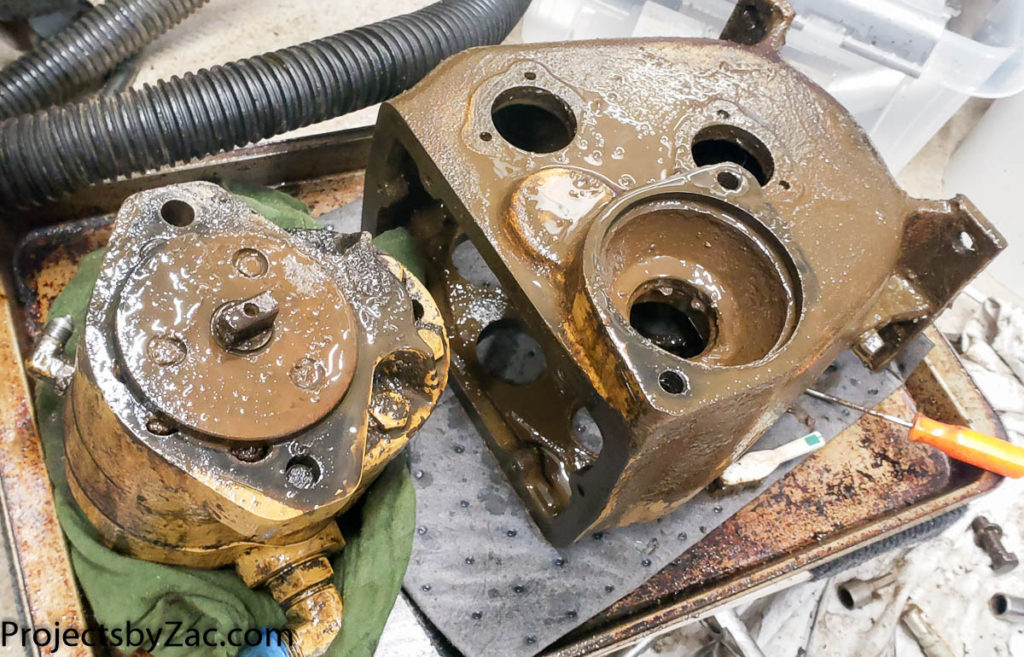
It was surprisingly difficult to get the motor off, as whomever worked on this before used a bolt that was not OEM. 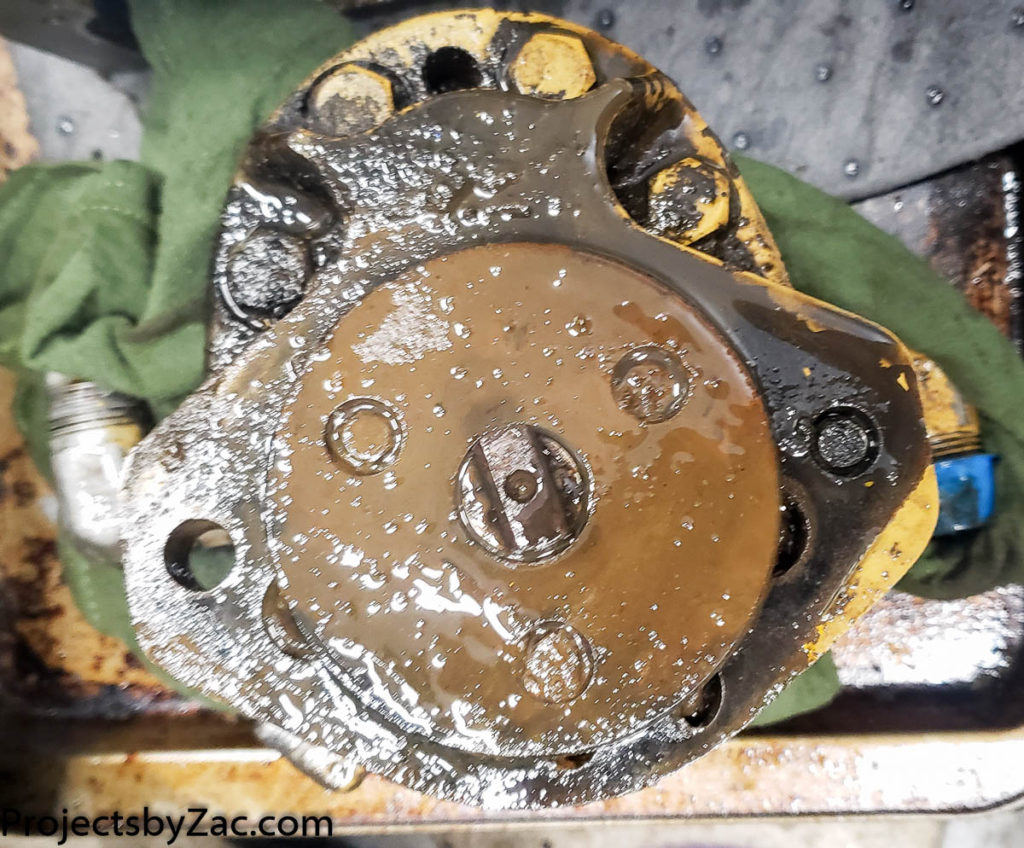
SAE 2 bolt hydraulic motor mounting on the motor with a slotted output shaft for a coupler. 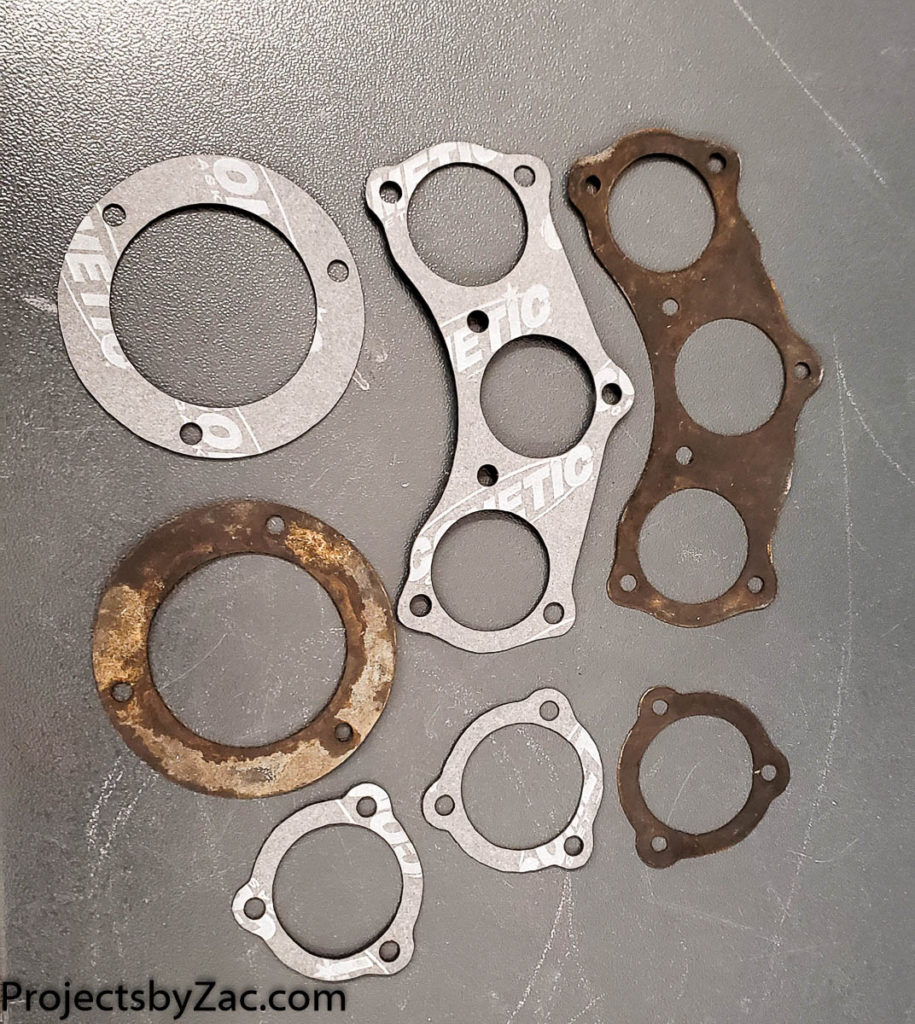
I was fortunate to be able to scan and laser cut nice new gaskets from the original ones. 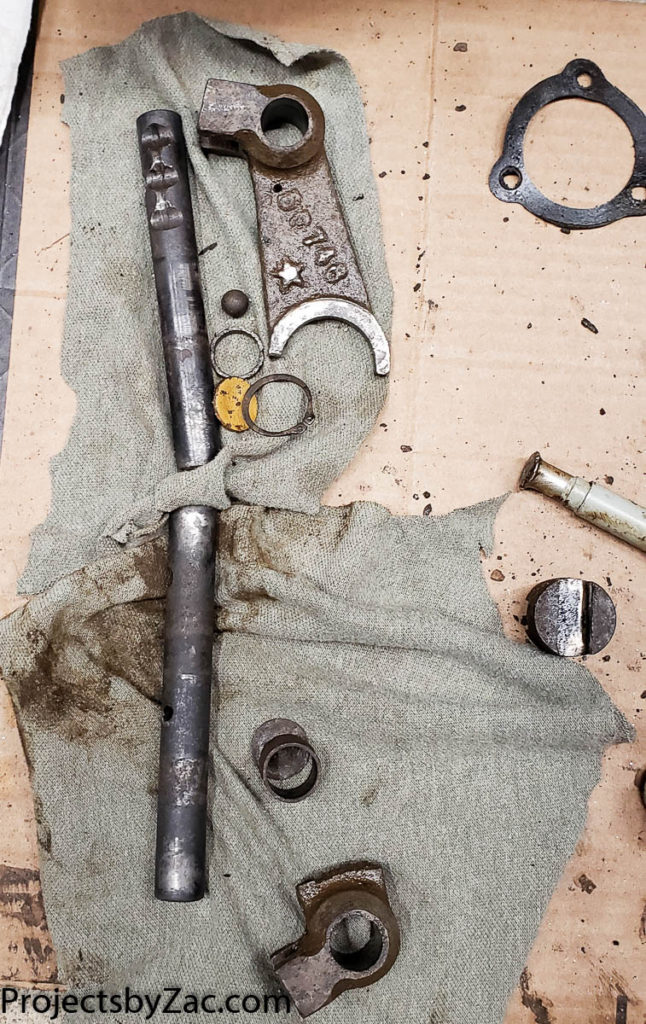
These are the rails for the shift fork, there’s a nice mechanism that works to keep these in positive detents and prevents both gears from being engaged at one time. 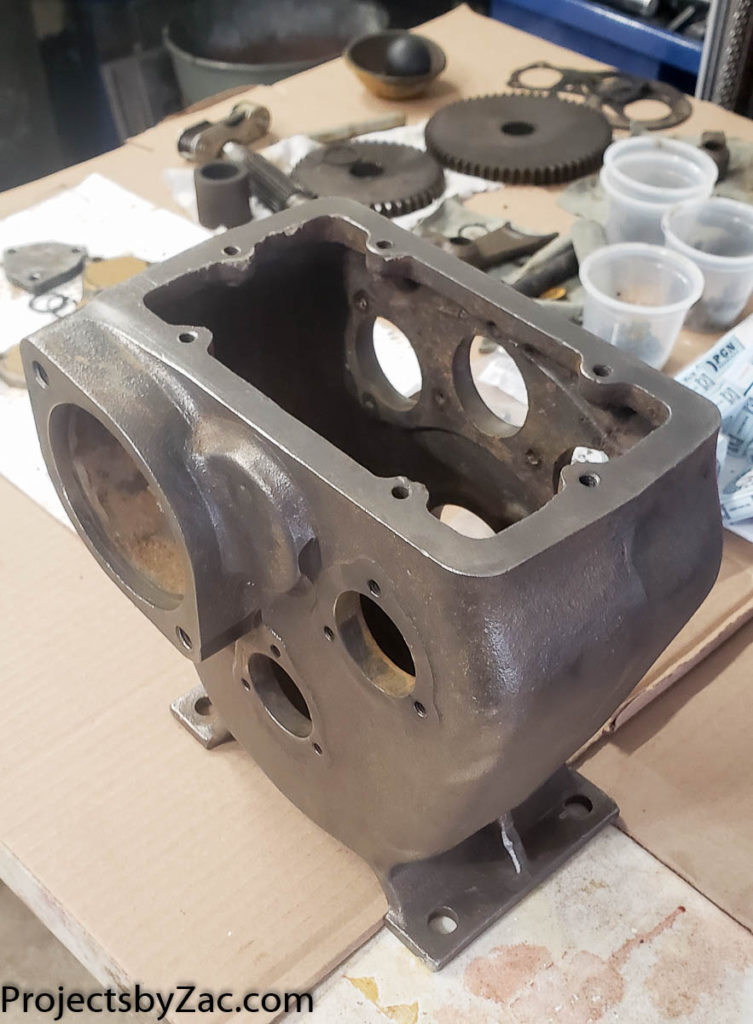
Cleaned up bottom end housing for the transmission 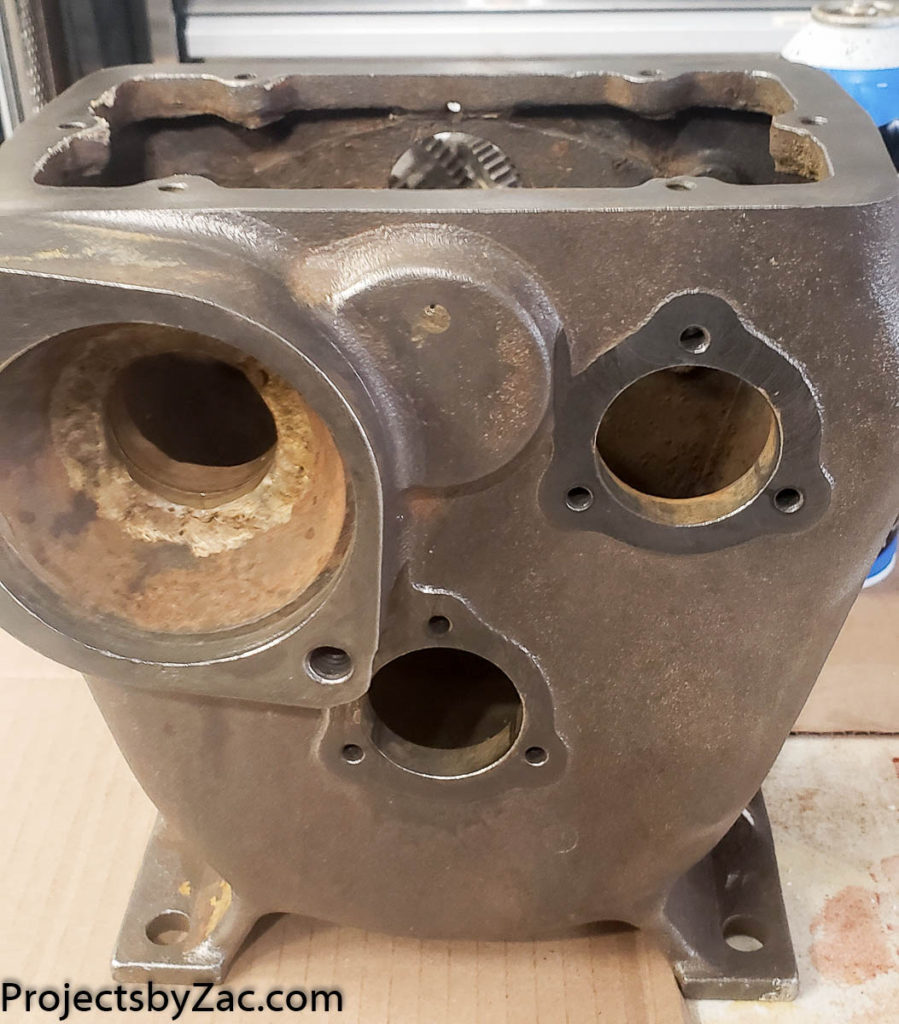
you can see someone with some skill previously brazed in some hard solder and remachined the internal snap ring groove. This is as nice a repair as I’ve ever seen with brazing 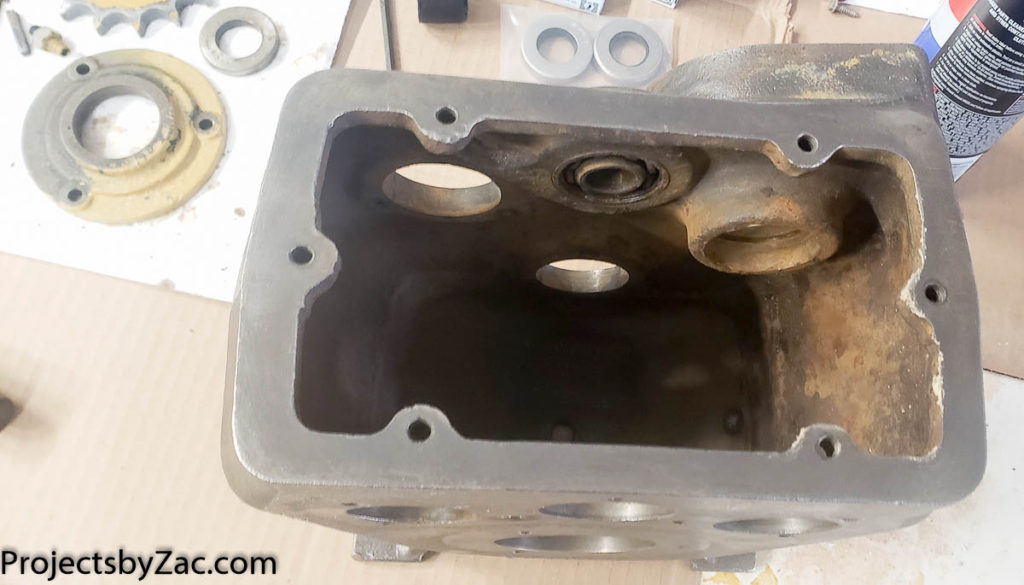
There’s one blind bearing, see my post no how to easily remove a blind bearing. 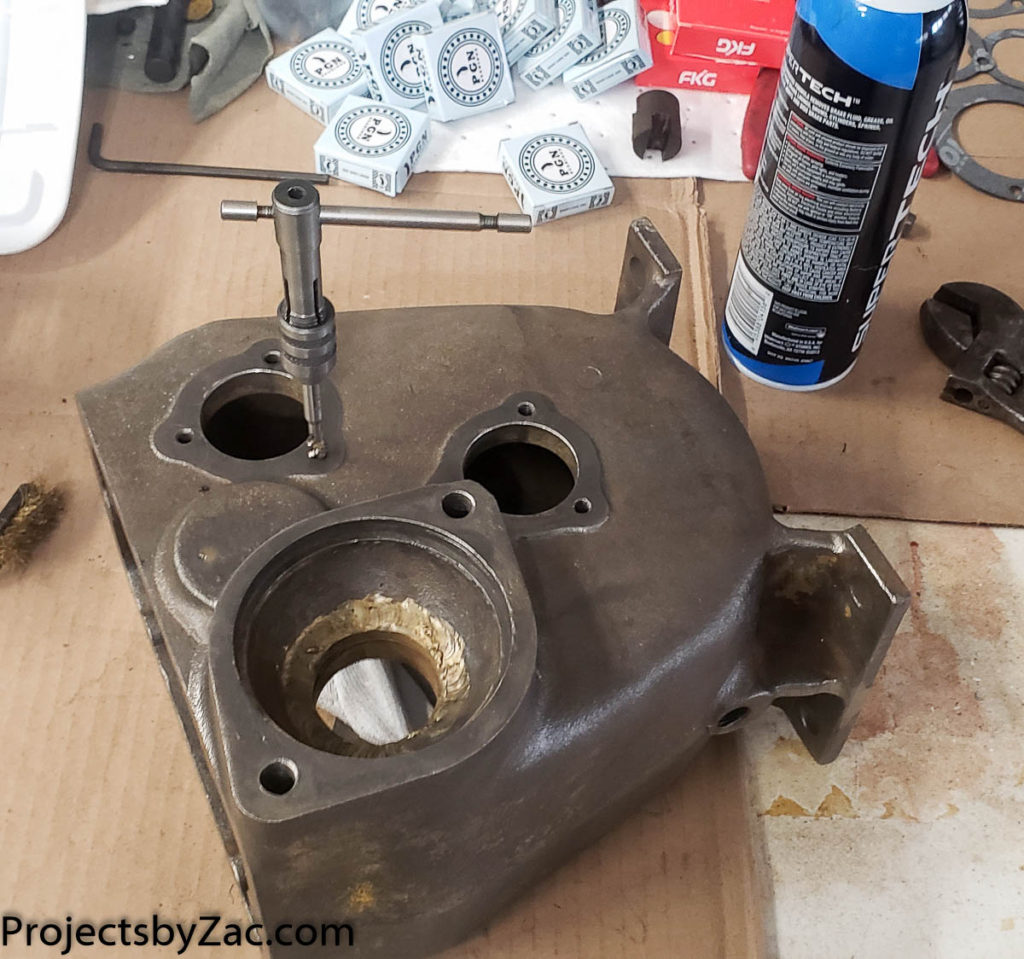
Tap every hole to both clean it out and make reassembly easier. 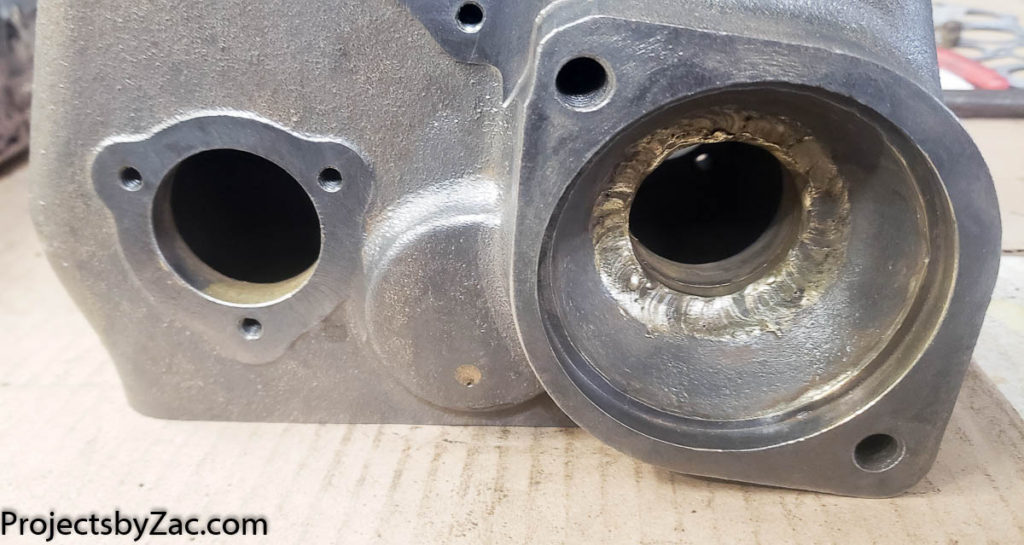
I found this later, someone, drilled and hammered out the blind bearing previously. See the small bit of hard solder there?