Tag Archives: Dfab Trackmaster Crawler

How to Pull the Tracks on a Trackmaster Crawler Dozer Loader

I’m going to skip ahead, as I need to put all of the data in a single source. I’m hoping to buy replacement trackchain and tracks for this dozer, which will likely also mean a new drive sprocket. More about why in this post showing how to pull the tracks on my Trackmaster Bulldozer restoration project.
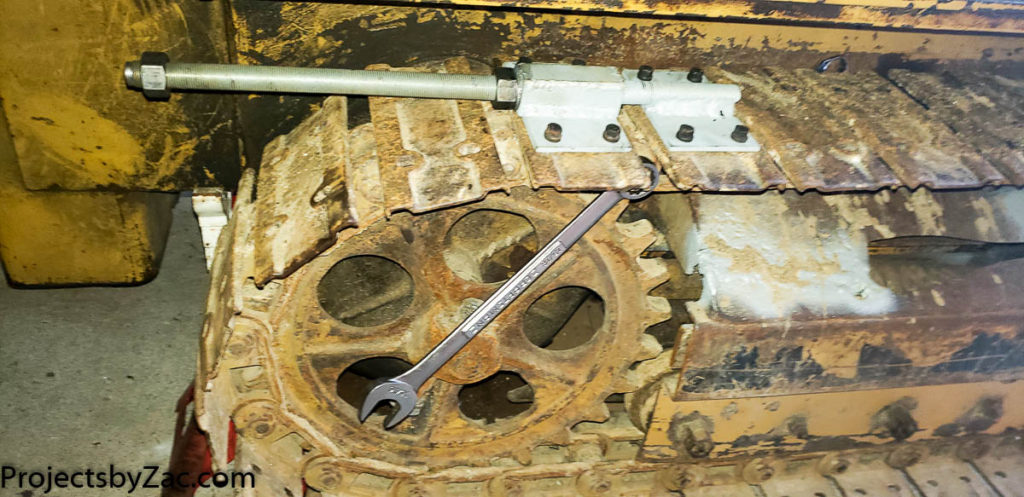
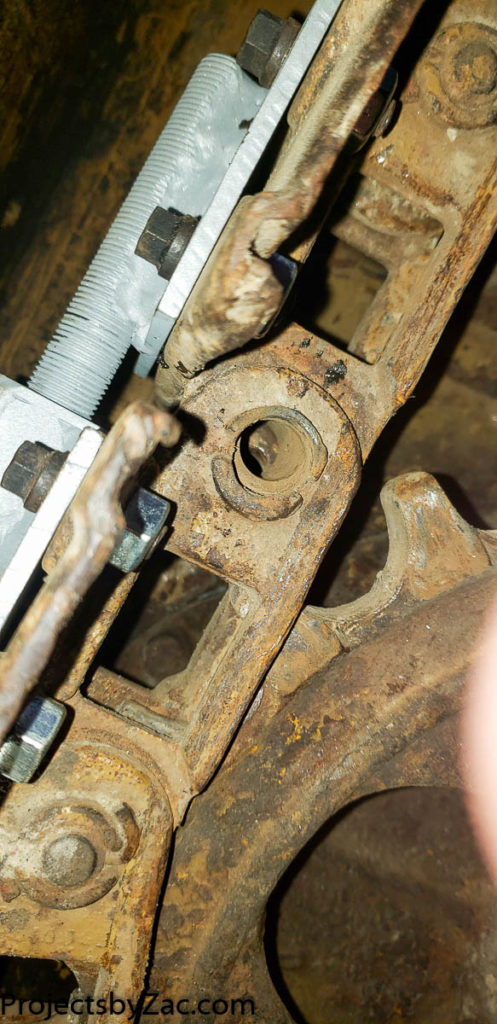
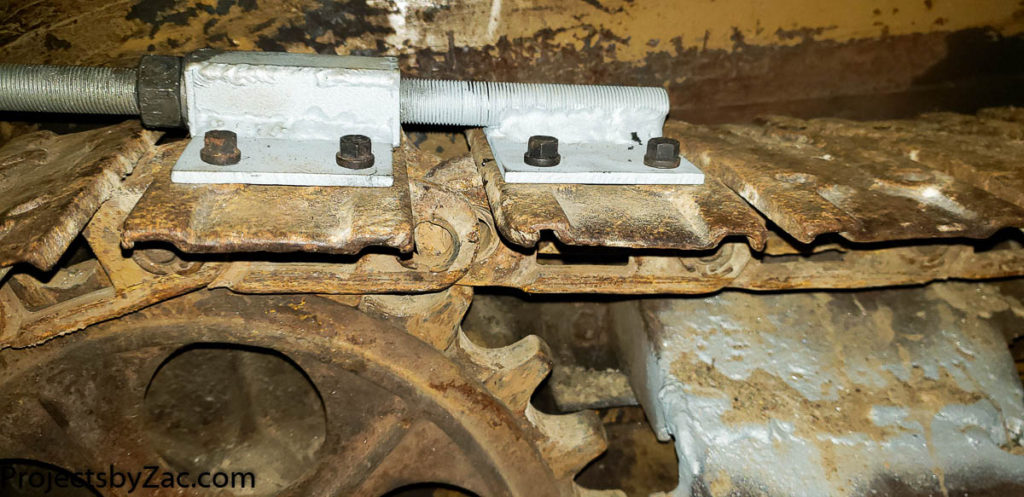
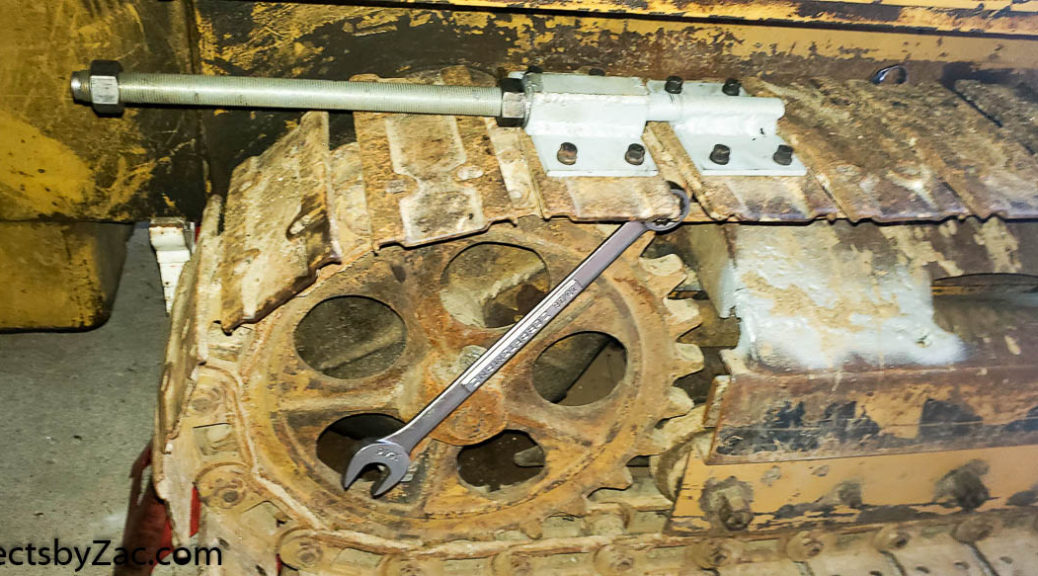
Quickly fabricated Track puller on the tracks to remove the master pin

I researched how to pull the tracks apart on different track based vehicle and they all use a track puller, a tool that squeezes the master pin tracks together and allows for careful release of the stored tensioning energy.
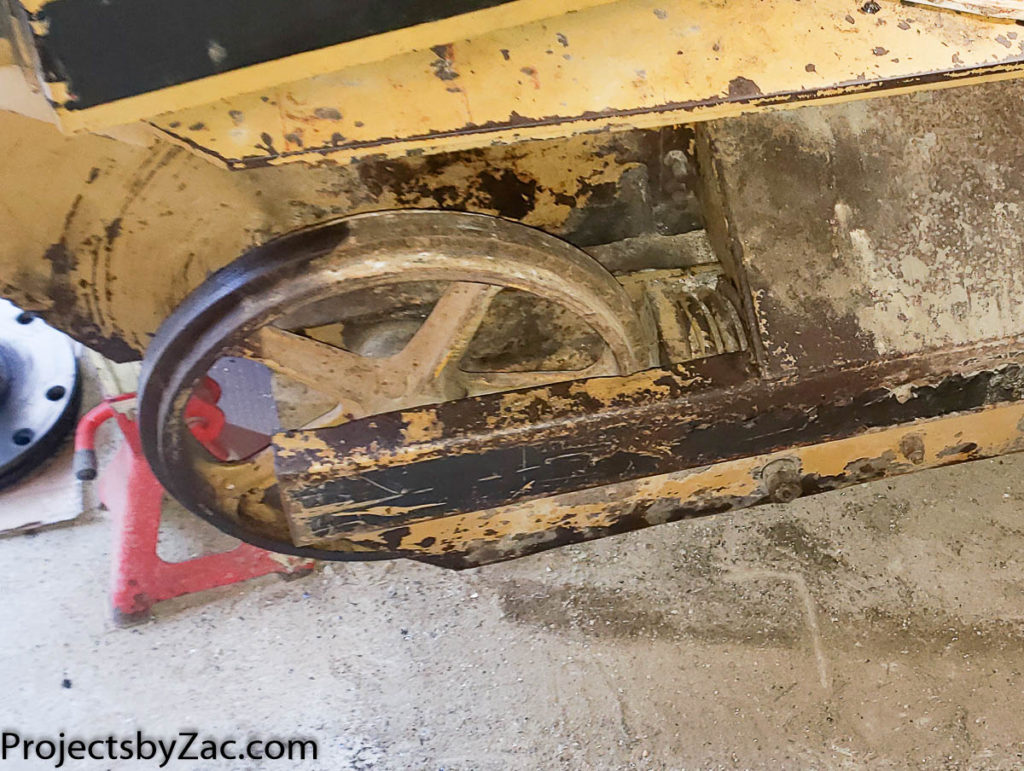
Front bulldozer track tensioning idler pulley – that spring is made from ~5/8″-3/4″ diameter wire.

The front of the dozer is a tensioning idler type pulley on a HUGE spring. I was quite concerned it would explode the tracks apart upon pulling the bolt. As seen above, the spring is massive, and likely has an enormous quantity of stored energy. If you’ve ever taken anything apart and had a spring shoot out to go flying somewhere you understand my concern. It turned out that the compression on the spring is very small, so my concerns were likely unfoundeed, but it required the track puller to allow removal of the master link pin.
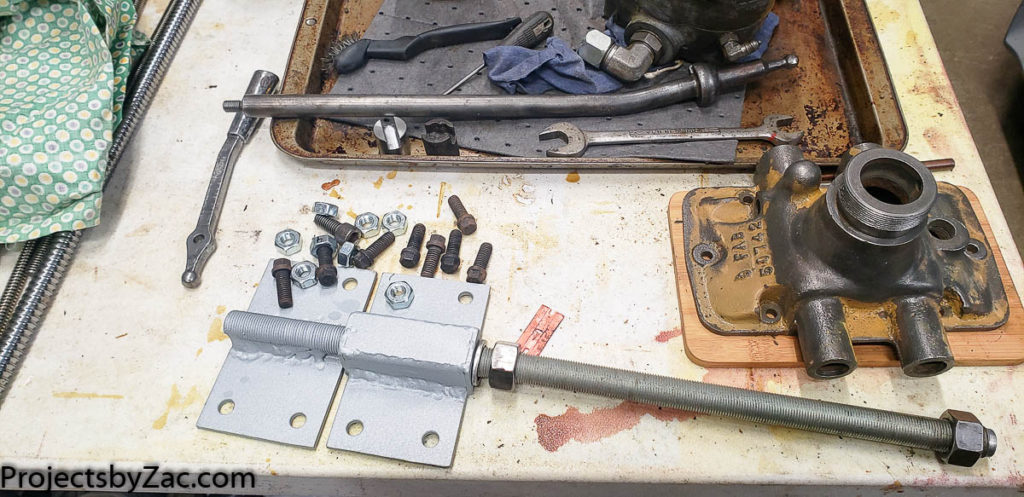
I quickly fabricated a track puller with a single 3/4″ threaded rod.

I looked at commercially available track pullers, and they are clearly developed for bigger machines. I took some track measurements and quickly fabricated a puller sized for the Trackmaster Bulldozers small treads. There are nice mounting holes for rubber track shoes on the Trackmaster crawler. I took advantage of these and used some on hand 3/8″ bolts to mount the puller to the tracks. Larger track pullers almost always have two screws, this allows you to prevent caming when you are trying to remove the master link.
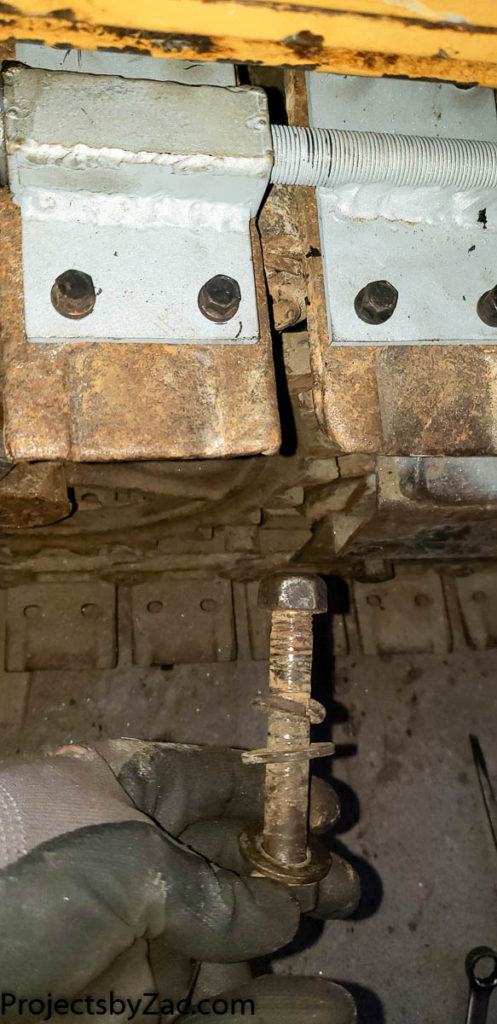
Master link removed with track puller in place

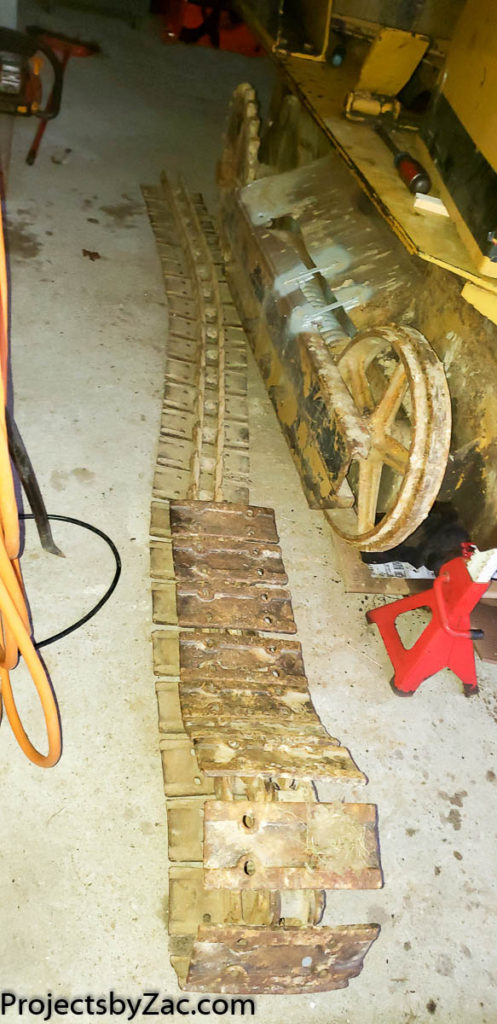
Wow, this is great and really easy was my thought pulling this first set of tracks. Boy oh boy do I regret thinkng that as I was cursed on side 2 with a friction welded master link. Now for some photos in Gallery form.

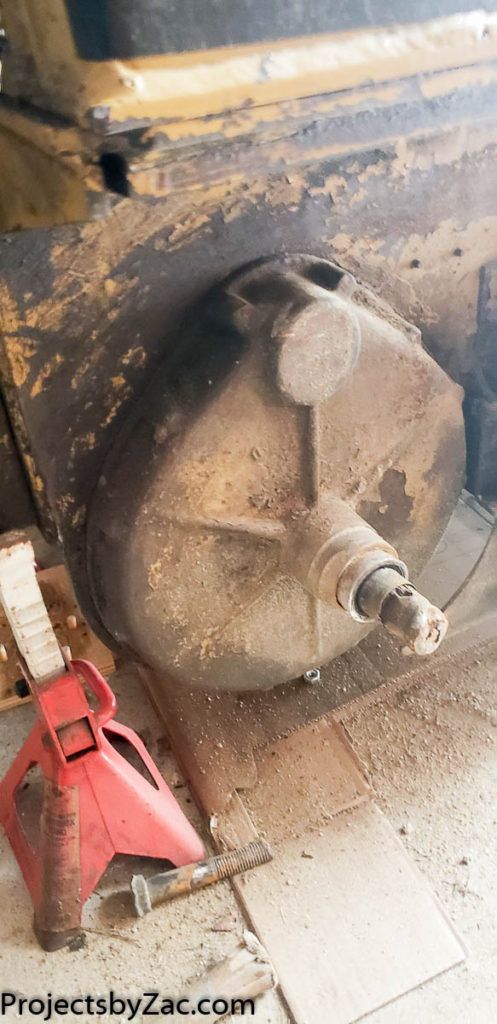
I pulled the tracks, and started inspecting the damage. I knew when I bought the dozer that I’d have to redo/repair the drive sprocket and drive sprocket shaft. Unfortunately, this shaft is a somewhat unused ANSI B91.1 1970 standard infolute spline as best I can determine at 1.5″ dia 23 splines and a 30 degree pressure angle. I figured this out from the large gear also splined in the torque hub, not the shaft. AS you will see, there’s not enough left on the shaft to be meaningful.
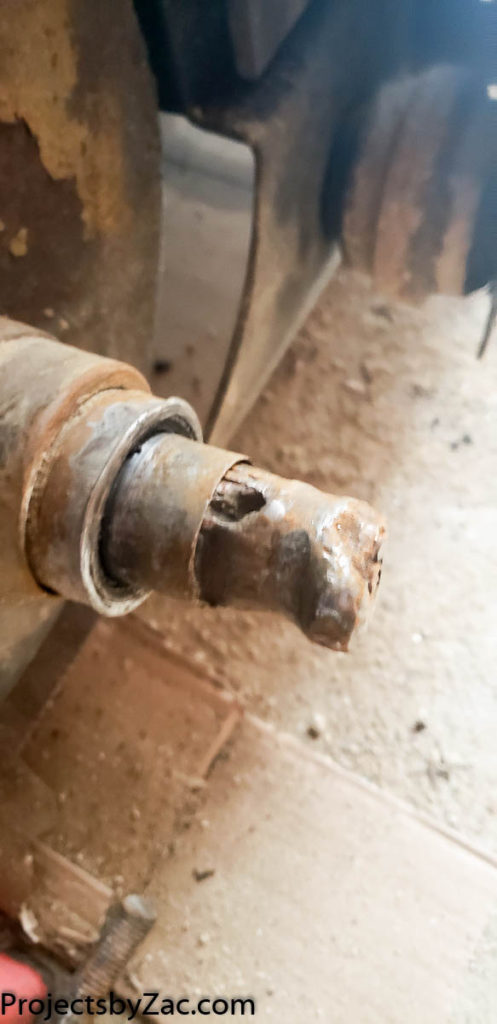
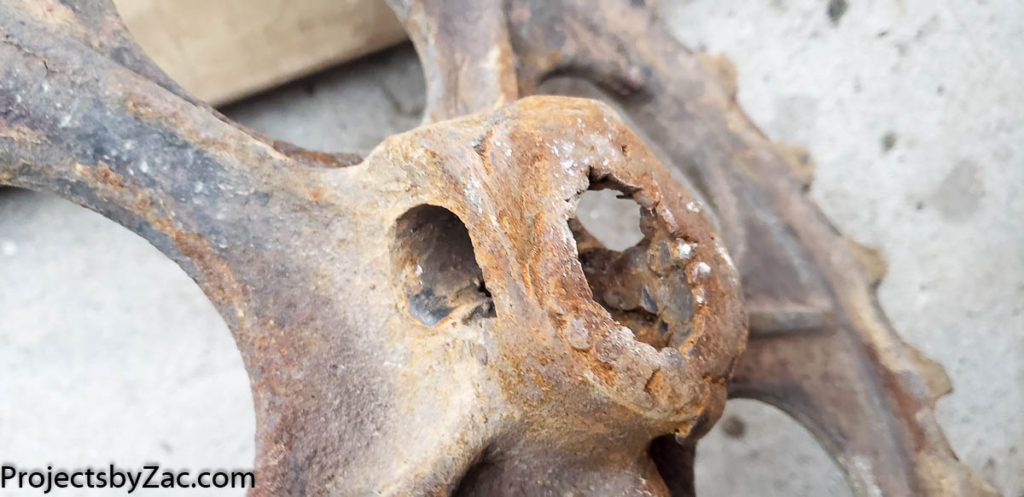
yes it’s that bad. Someone very pooorly tried to hack together a repair and made things significantly worse damage wise.
If you thought spline side was bad, this is worse (although easier to repair by welding a splined coupling onto.

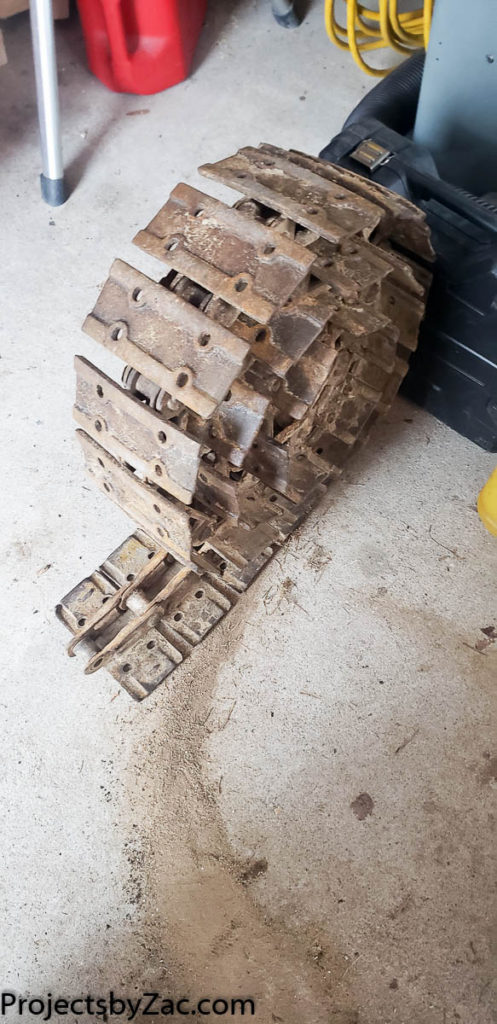
Some details about the tracks. The tracks themselves are 3.5″x8″ and stamped from some steel that was likely 1/8″ thick originally. The track Chain pitch is 4″, with a pin diameter of 1 1/4″, and an inner width between sidewalls of 1 1/4″. There are 33 total links/tracks on each side of the dozer. I’m going to try to source some sort of replacement. Likely a metric replacement that is close enough. I’ll share what I go with in a later post, but it seems 101mm track chain is a current standard size for small machines.
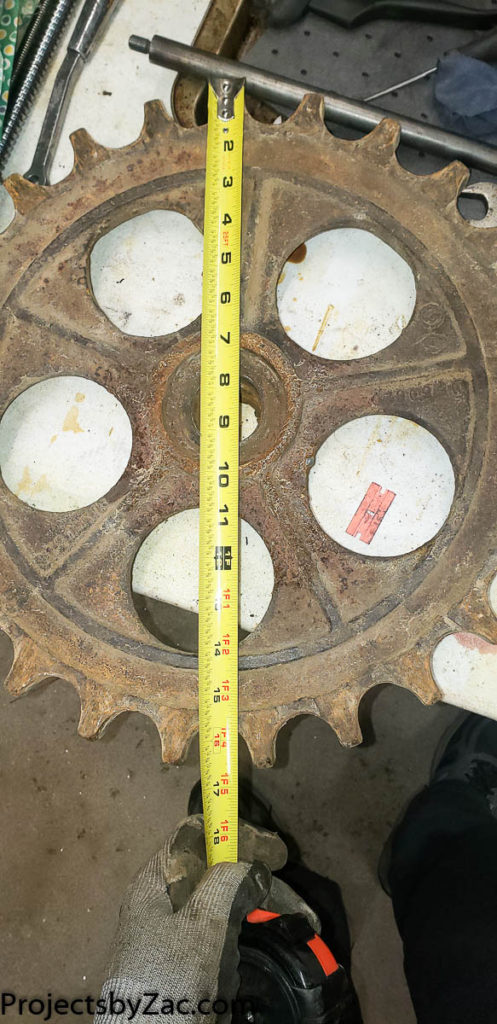
Trackmaster bulldozer has 25 teeth for the 4 inch pitch track chain. This shows drive sprocket diameter

The drive sprocket has 25 teeth for the 4 inch pitch track chain on the Trackmaster Bulldozer. I’m going to have to do a complete repair of the hub, and I am debating replacing this with whatever track sprocket I can find for the 101mm pitch track chain I am currently trying to source.
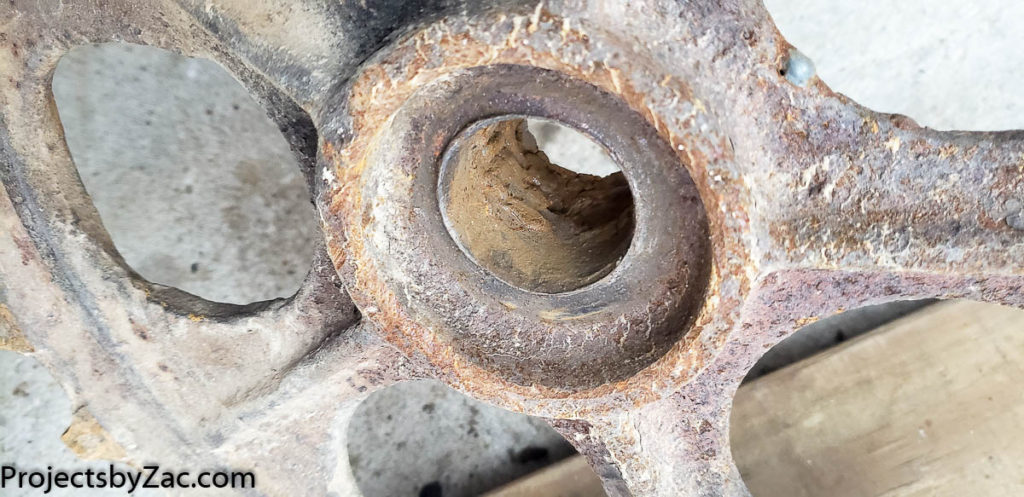
yes, someone shoved some exhaust tubing in there and poorly welded it in place.

Yes, someone shoved some exhaust tubing in there and poorly welded it in place. Sigh. It’s hard to believe it drove around as much as it did before I took it apart. the bolts had jammed in enough that it didn’t slip too much. I’m going to bore this out and weld in a new splined repair coupling should I keep this track sprocket. Honestly think I’ll fabricate an entirely new assembly if I can buy a new sprocket or sprocket segments. I’ll still need 25 teeth when I replace it. Stay tuned for how I fix this one
Stay tuned for the removal of the torque hub, the internals inside, and the further surprises waiting for me.

Stay tuned for the next exciting installment of my Tiny Tank Restoration
Dfab Bulldozer Restoration PArt 5: Transmission and Hydraulic motor

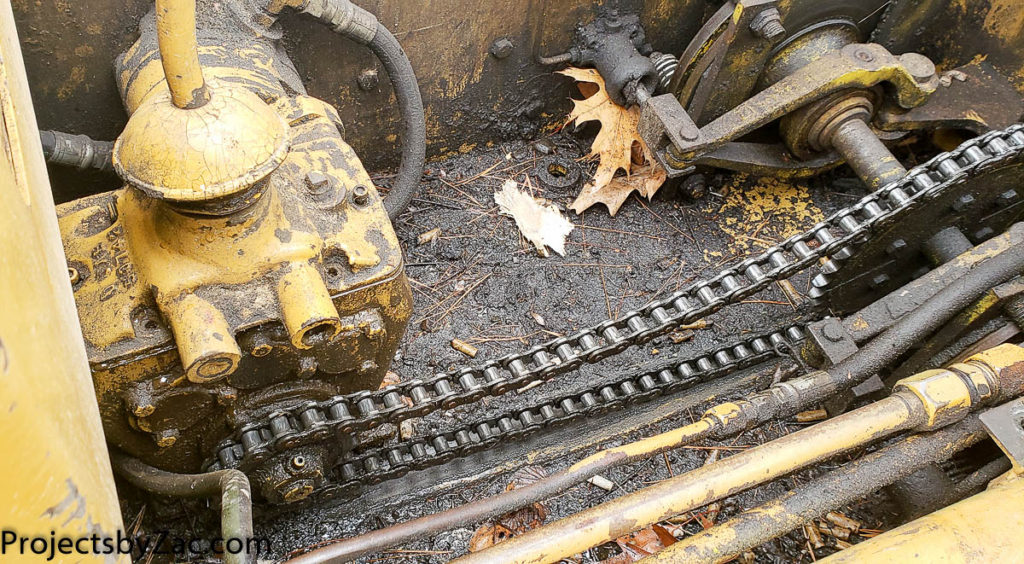
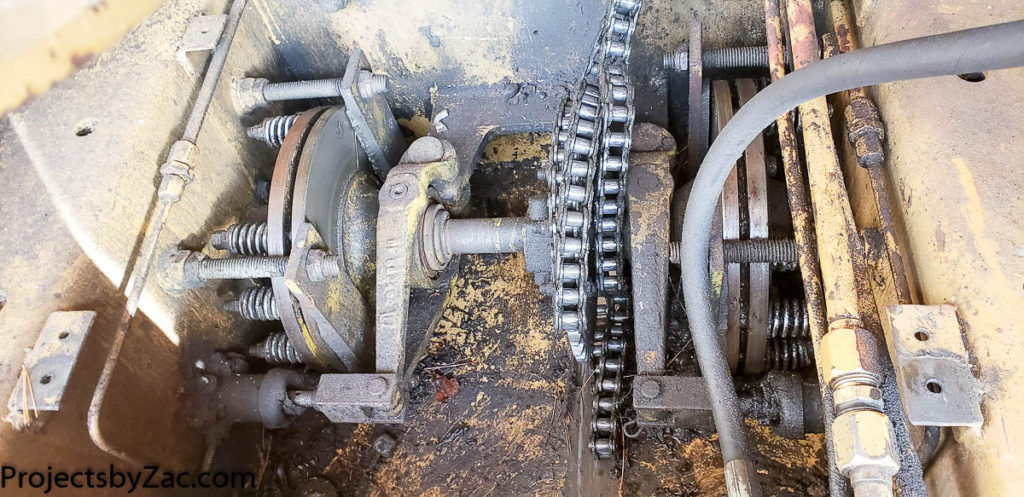
#60 chain drive off of the 3 speed transmission on my Dfab Engineering Trackmaster Dozer

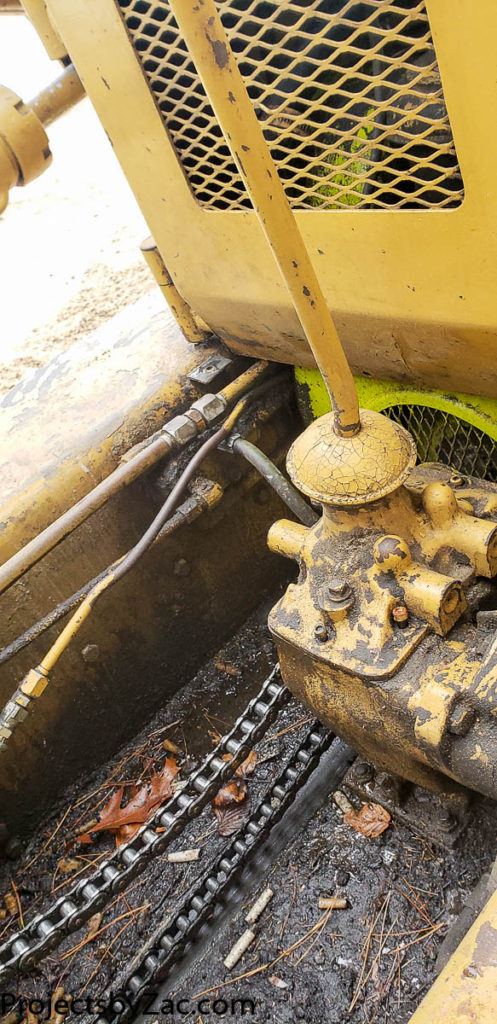
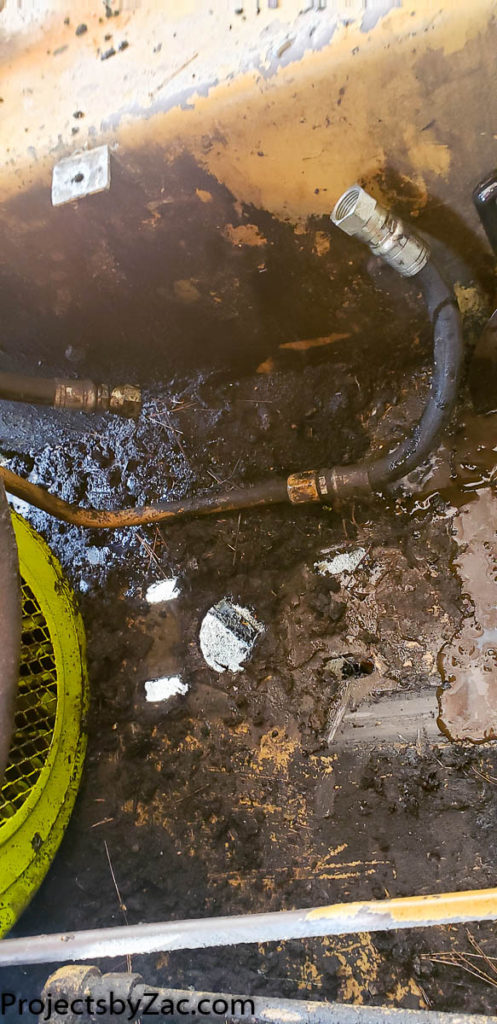
The first thing I wanted to do, was work on the transmission. Now from these photos you can see pretty clearly that there is a lot of grime, grease and gunk in the belly of this beast. I started by removing with steel scrapers as much of this as I could possibly remove. I took almost 4 gallons in 1 quart containers out by scraper. It was nasty oily gunk mixed with mud and leaves.

yes, nasty cigarette butts in the gunk that is several inches deep on tiny dozer.

Another angle of the transmission, and more of the nasty

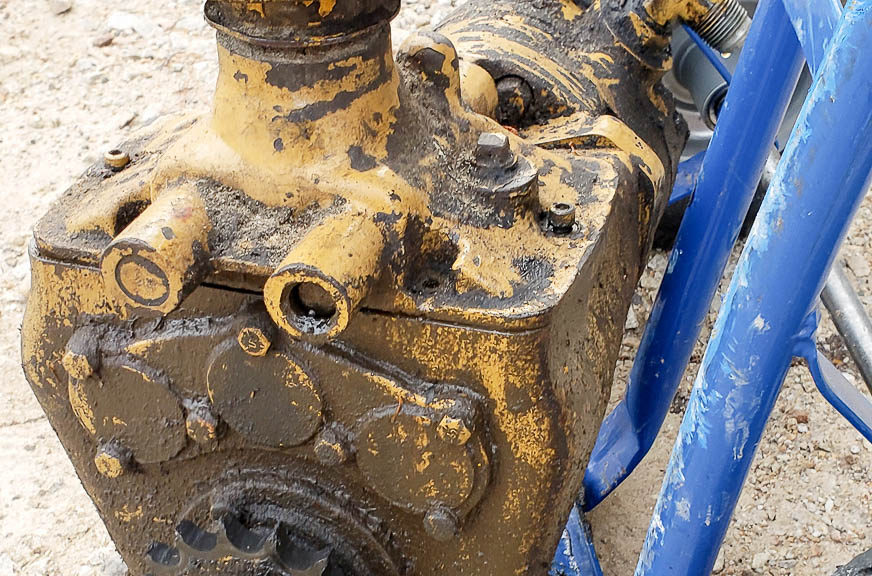
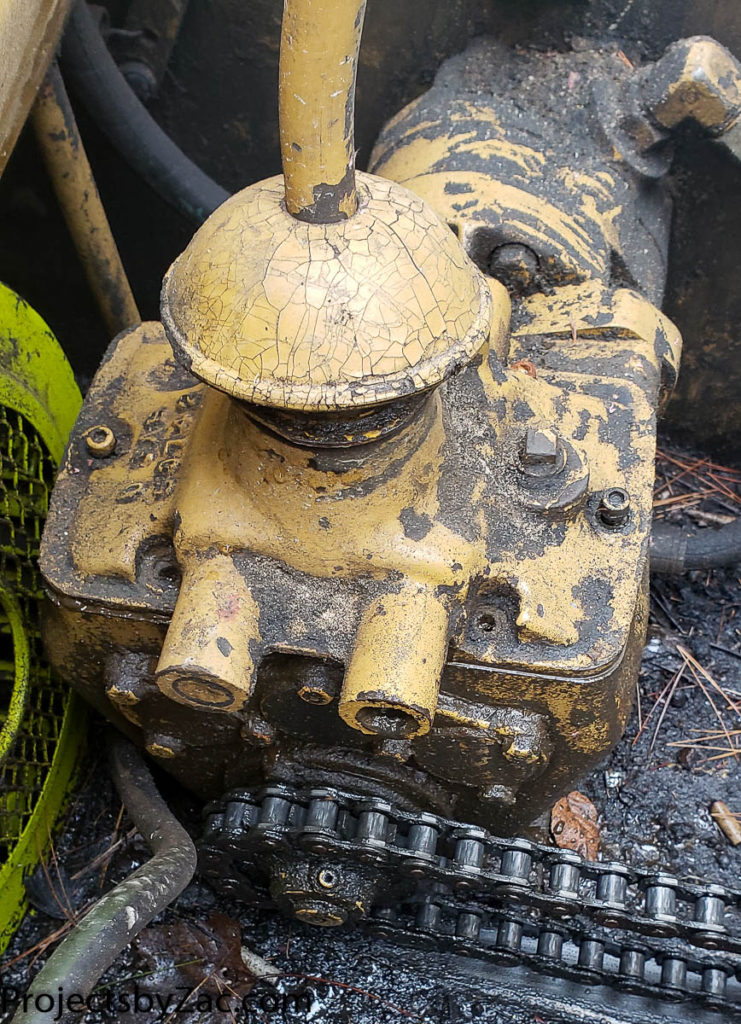
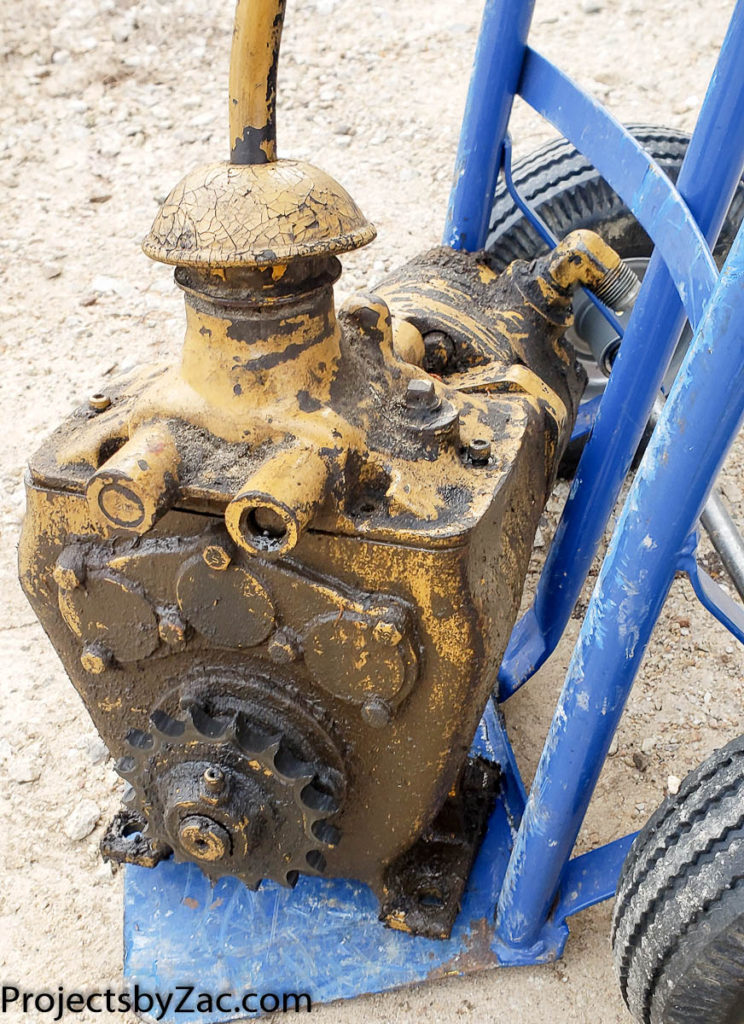
close up of the transmission. Notice the top isn’t sealed/closed.

Now part of this restoration project was knowing that the transmission was broken. It’s stuck in it’s mid gear (didn’t know which gear it was at the time) which provides roughly 4.5:1 input: output reduction. The other two speeds are about 1.5:1, and 18.5:1. The low gear in this transmission at 18:5:1 must be feircely slow, because the middle gear is not fast. Anyways, Note the top isn’t attached, and seeing the condition of everything else I feared this would be beyond salvage.

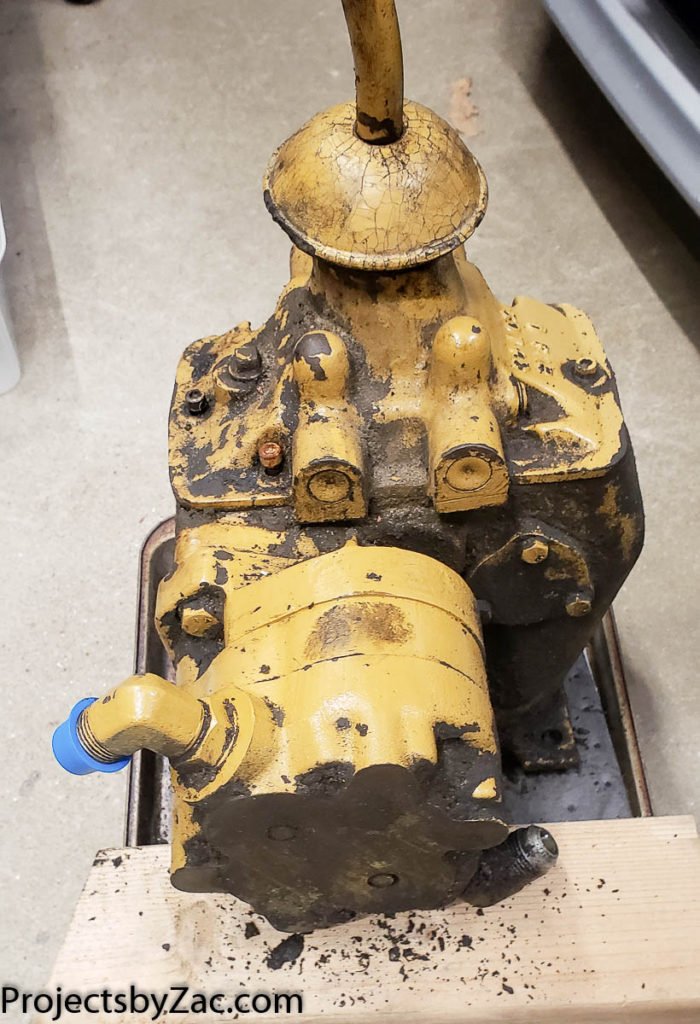
there are three connections to the hydraulic motor, two -10 SAE male JIC and one -4 male JIC (case drain I believe), along with 4 bolts in sliding slots (to allow tensioning of the chain)

Removal of the transmission required some funky bending of my arm to get at all of the nuts. There are 4 all metal lock nuts used to hold down the transmission. The bolts are welded to steel flat (will add a photo eventually) and slide in slots for tensioning of the chain. There was likely a chain guard at some point, there are spots that look like welded steel taps broke off in the correct locations for a chain guard. Additionally there are three connections to the hydraulic motor, two -10 SAE male JIC and one -4 male JIC (case drain I believe).

After loosening the transmission you can pull the chain off. I piled mine over on the rear drive assembly.
While this is heavy, it’s not impossible to manage. I lifted it out by hand, I’d guess it weighs in with the motor attached at 150 lbs

The transmission lifts out relatively easily after disconnecting it from the chasis and hydraulic systems. I used some hydraulic JIC caps and plugs I ordered as a kit to close off the system on the tractor side. This will ensure it doesn’t get any contamination in the fluid causing wear or damage in the future.

In the main shop, ready for some serious TLC

The removed hydraulic motor and transmission assembly. In the next post I’ll show photos of the dissassembly and problems discovered on this part of the Trackmaster crawler.

If someone stumbles across this page with any information about these Dfab Engineering Trackmaster Dozers Crawlers, I’d love to know more. I’d be happy to host manuals and or parts catalogs here on my blog if you have them and are willing to share them with me. Please leave me a comment or email me at my website name on Gmail (no dot com there). I don’t check often, but I eventually will get back to you to host the information. Thanks!