How to dye fabric for a Halloween costume

dying fabric with Ritt dye at home on the kitchen stove

Every Halloween I make myself a costume.  I feel that Halloween is one of the  holidays that is possibly more fun as an adult.  This year as part of my costume as the Man in the Yellow Hat from Curious George I would need yellow pants.  I looked online and in stores, but alas bright yellow pants were no where to be found.  While at a  local clothing store shopping for a yellow shirt I found some white cotton pants perfect for dyeing on clearance.  I have dyed fabric in the past, but not in many years and I reviewed online tutorials, carefully read the instructions on the package of Rit dye, and talked with some of my tie-dye loving friends to make sure I didn’t make any mistakes. I only had one pair of pants and therefore only one shot at getting the dyeing done right.

Curious george the man in the yellow hat costume   The back story on my costume this year goes as follows. I was visiting my niece for a week.  During my visit we watched many episodes of the cartoon Curious George together.  The cartoon is about her favorite monkey getting into all sorts of adventures due to his curious nature.  After my visit I decided that the man in the yellow hat  would make the perfect Halloween costume.  Unlike last years Kung Fu panda costume, this year I had the added requirement that my costume be something in which I could dance.

If you want to dye fabric, be it pants as in my case or anything else I strongly suggest you read the Tips for success on the Rit Dye website.  You will find all of the basic info you need there.  I remembered that synthetic fibers dyed poorly from previous experiences and made sure that the pants I purchased for my Curious George  The Man in the Yellow Hat Costume were 100% cotton.

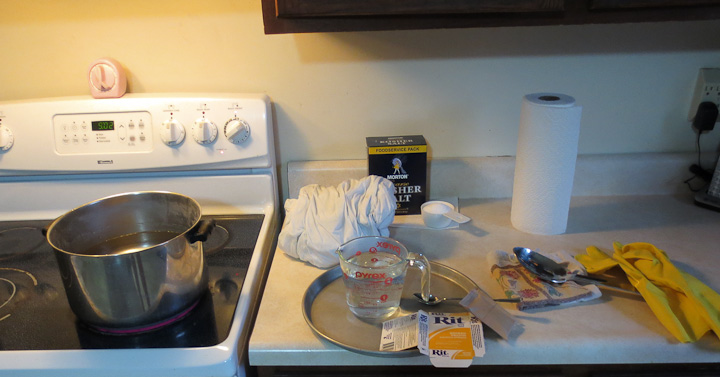
Gathering all of the items you need ahead of time makes it an easy process. I used rubber gloves, a tray, a large SS pot, Stainless Steel slotted spoon, sacrificial towel, paper towels, I pre-measured the salt I would add to the bath, a glass measuring cup for pre-dissolving the solid dye powder,  and paper towels (in case of catastrophe).  If you aren’t capable of being meticulously careful, use lots of newspaper to catch splatters and drips of the dye before they stain everything in your kitchen.  I used the stove top method and a large pot.  I was not willing to risk dyeing the washing machine and I only had the one article of clothing to dye.

Here are some tips for using Rit Dye that I find are a must for success:

  • Dissolve the dye powder in very hot water in a small glass cup before adding it to your bath.   Don’t skip this step!  Make sure all of the dye flakes are completely dissolved in the small cup before adding to bath.
  • Buy and wear the long rubber gloves.  The dye stains you and it takes a while for it to fade away.
  • Use Stainless steel everything.  You never know when you might have a bad reaction with a different metal, it’s not worth ruining your project.
  • Make a mild bleach solution before you start in case you get any dye on the floor, counter, etc  a few drops after wiping up the spill quickly remove any color left by the dye.


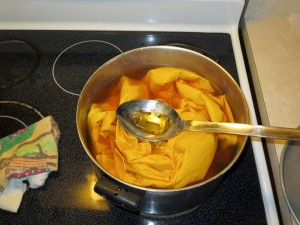
I used a large stainless steel pot to dye my Man in the Yellow Hat pants a nice bright yellow.  You will notice the liquid is orange in the pot, I was concerned about this during the project but had faith in the Rit dye.  The pants took the dye well. I kept them hot on the stove stirring continuously for about 30 minutes.  I lifted them out and inverted them once in the middle to ensure all of the fabric was getting saturated evenly with the dye.  While handling your wet fabric/dye solution be meticulous.  The dye will stain Formica counters, granite, plastic, porcelain stovetops, and just about anything else that is not stainless steel or glass.  I had a sacrificial towel on hand to instantly soak up any drips or drops that escaped before they could do any dyeing. A bleach solution helps if you do stain your counter with a few drops accidentally.

Here I am in the finished costume.  It is an awful lot of yellow isn’t it?  This is my favorite photo from Halloween this year. I actually look good in it, and of course there is a beautiful women on my arm.  This particular photo was taken at the Noche Latina Halloween Party at the Ryles in Cambridge, MA. Tuesday night is a great night to dance Salsa at the Ryles Jazz Club in Cambridge. The night starts off with awesome on1 salsa lessons by Hedwidge J Luis and the rest of the Noche Latina salsa dance company.   If you find yourself in the Boston area looking for fun on a Tuesday night, check out the Salsa night at the Ryles.

As you can see in the above photo, the dyed pants came out an almost perfect match to the rest of my costume.  The shirt I bought on the same clearance rack as the white cotton pants. The tie was a challenge. I struggled to find a neck tie in just the right yellow without any pattern. I finally found my Curious George Man in the Yellow Hat Costume necktie here at Cheap-neckties.com.  I then carefully added the polka dots by hand with a new black sharpie marker using printed photos from the cartoon as a guide.

Stay tuned for another post on how to make a felt hat for a Curious George Man in the Yellow Hat Costume.
 

Drying rough lumber and turning it into usable boards – lessons learned

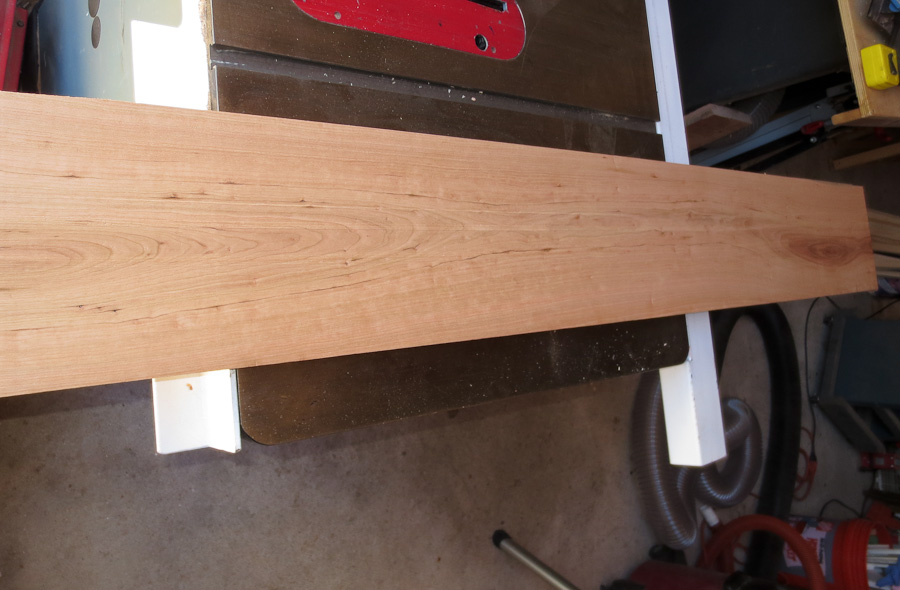
Planned to dimension Alaskan sawmill cut cherry board

I recently brought my hardwood lumber pile, which was cut last fall, inside for use. I have a few furniture projects planned that will use up most of this hardwood lumber.  I turned some of this rough lumber sawed with my Alaskan Chainsaw mill that I built  into finished boards using a table saw to edge them,  then a planer to remove the saw marks, and finally a jointer to square up and straighten the edges.  In this post I will share some thoughts and what I’ve learned in this last year milling, drying, and using my own lumber.

Alaskan sawmill cut rough cherry board

The above picture shows a rough cherry board I cut with my alaskan sawmill last fall.  There was a bottom land black cherry that died last summer sometime. I cut myself some logs, pulled them out of the woods, and then milled the wood into perfectly usable lumber.  I will showcase the project I’m building with these boards in a future post.

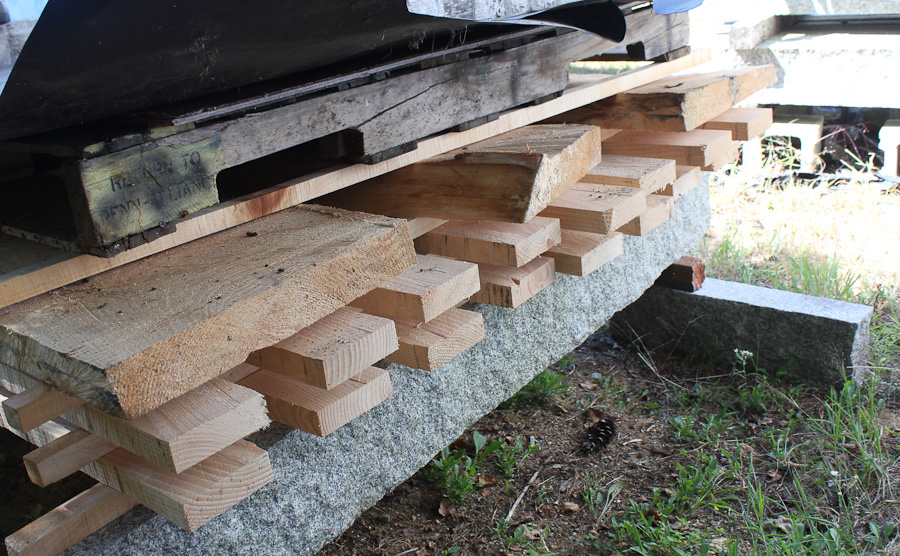
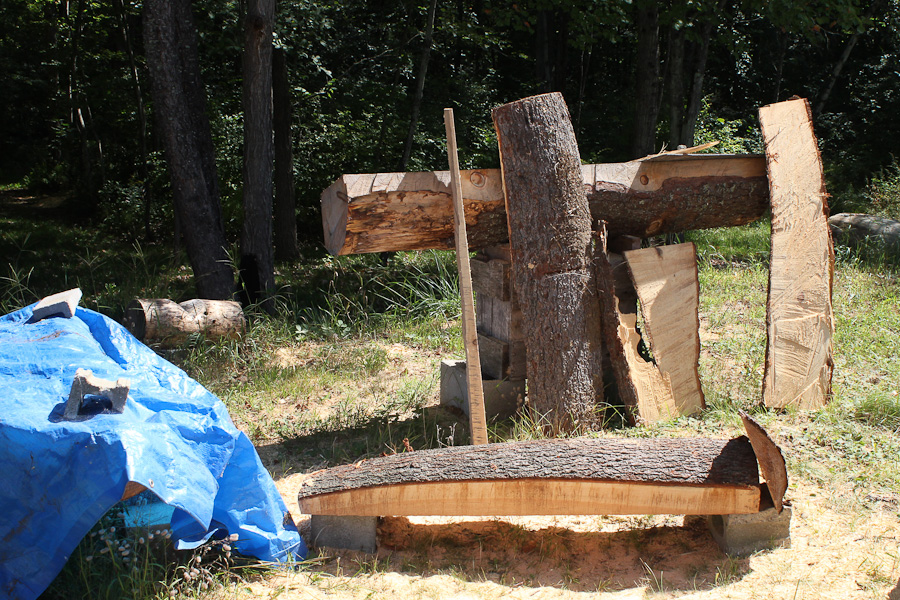
In stacking my rough cut lumber, I was good about keeping same sized boards on one level of the pile. A downside of my current alaskan style chainsaw mill is that it does not have stops or detents and on different days I got slightly different thickness boards.  In drying the lumber for one year outside,  I did not see much in the way of twisting warp during drying on any of my maple or cherry boards.  I did see strong cupping on any board cut through or near the heart of the log.  In some cases there was also cracking/splitting along the core of the tree.   In the future I may split the log in the center and then mill narrower boards from there.  I think this will yield better lumber with less loss though the boards will be only half the width of the log at the widest.

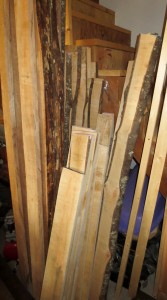
Maple rough lumber milled by alaskan sawmill      Leave planed lumber a bit oversize till you are ready to use it.

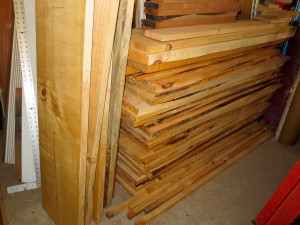
Having milled my short length (4-6′ long) pine lumber pile I now have an excess of pine lumber ready to use in the shop.  It also is taking up valuable space, therefore use it I will this fall and winter.  The standing boards are my maple.  Funny thing having all of this hardwood available, I need a specific piece for my current project and I do not have a board the right thickness/length.  Isn’t that always the way?   Another thing learned for future chainsaw milling of logs into lumber, I will cut one 8/4 board from each log.  I cut most of my lumber either 4/4  or  5/4.  I did not consider the need for thicker stock for legs and other parts of furniture.  Now I have lots of thin boards but will have to buy some thicker lumber or glue up boards to make thicker stock.

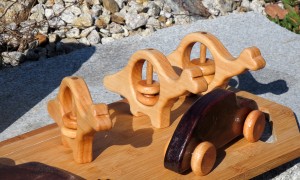
Another key thing learned from this round of milling and drying my own lumber is that how well you cut the boards in the first place dictates how they dry.  I had a number of my very first boards that I cut bow.  These boards started out bowed from my poor initial guide 2×6″ board.   The drying magnified the bowing of the boards making them only usable for short lengths or small projects like in the above picture small wooden toys.  I will use a lot of the bowed maple boards to continue making my line of wooden toys for children.  I sell these on my etsy page if you are interested in checking out more of my wooden toys.  They make great gifts for friends with new lil ones in their family.

Making Custom Computer Speaker Mounting Brackets

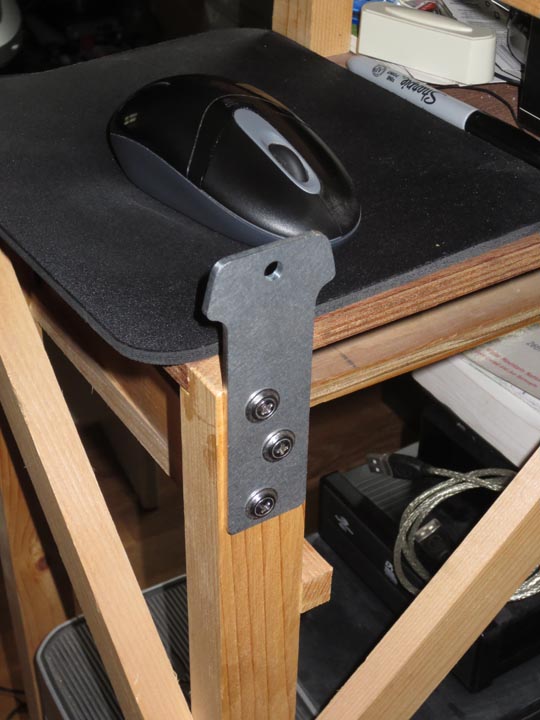
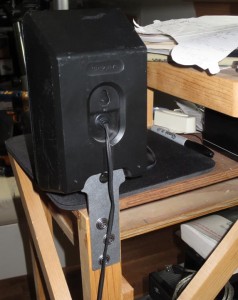
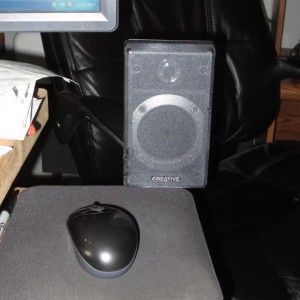
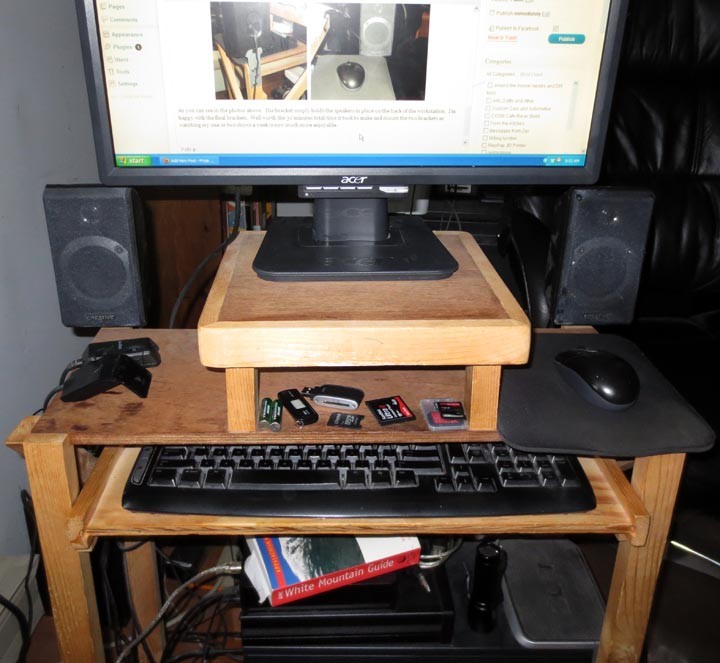
   A relatively minor project, but as I have heard from people (like my brother-in-law) that I have not been sharing any projects lately I thought I’d put up a post.   Last night, I decided to finally do something about the lack of space for speakers on the computer workstation I built years ago.  I fired up the CNC machine and had it make me some custom brackets to mount my computer speakers off the back of my workstation holding them next to the computer screen.


As you can see in the photos above.  The bracket simply holds the speakers in place on the back of the workstation.  I’m happy with the final brackets.  If I had to do it again, I would have designed them to be offset inward such that the speakers did not overhang the footprint of the workstation.  Something learned that I will consider on future projects.

I  enjoy watching the occasional television show on my computer.  With the speakers mounted near the screen, I enjoy the experience even more.  This mini project was well worth the 30 minutes total time it took to make and mount the two brackets. I only wish I had made these cnc machined speaker mounting brackets sooner.

More efficient lumber milling with an Alaskan Chainsaw Mill

Cutting pine lumber with an Alaskan Chainsaw Mill

I recently traded some cut firewood for a nice log or two for milling with my Alaskan Chainsaw lumber mill I built some time ago.   I tried a more efficient approach towards milling lumber with the chainsaw mill on these logs.  I cut large thick slabs (5″ thick in this case) with the chainsaw mill. I then used a table saw to rip them down to 5/4 rough cut boards.  It takes two passes and flipping the “slab” to cut each board but it’s much faster and wastes less wood due to Kerf.  With my 10″ saw I can cut 6″ wide slabs and will mill the slabs at this thickness in the future.  The only drawback to this method is that the thick slab is very heavy.  I managed by using carefully by using roller supports and lots of effort.  As you take each board off it becomes easier and easier to move and feed the thick slab.

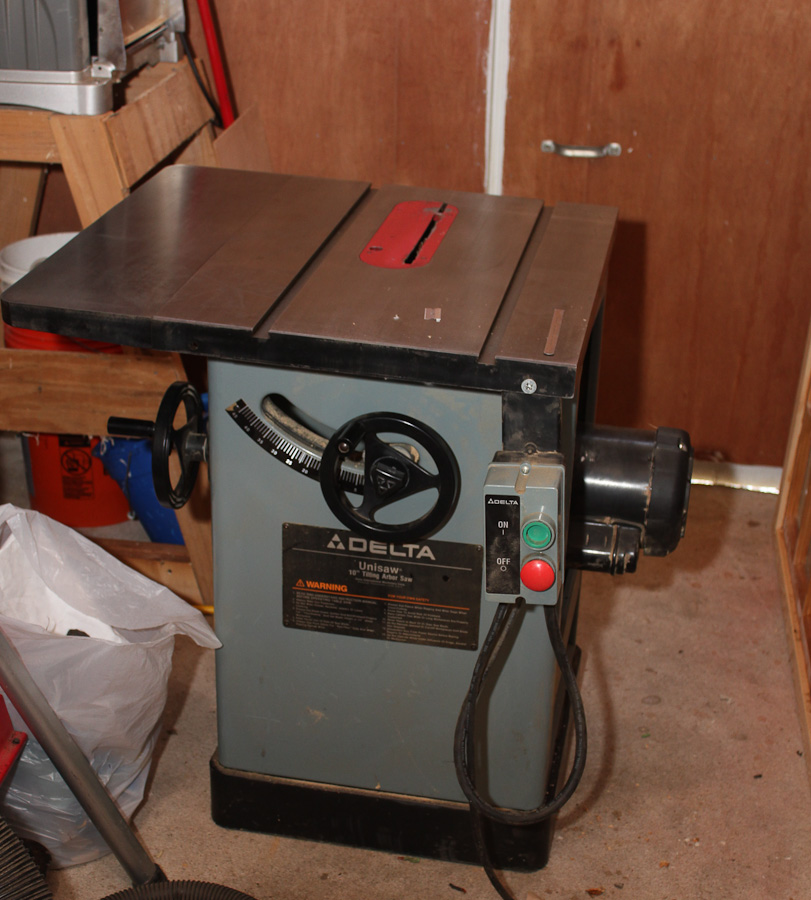
Using the chainsaw mill coupled with the quick efficiency of the circular saw blade on my table saw greatly sped up the lumber production.  My old tired light weight craftsman table saw that I bought back in high school has been on top of my tools to replace list for a very very long time.   I knew I wanted a full on cabinet saw with the capability to cut a full sheet in half.  I periodicaly check craigslist for tools, and after milling these logs with the much faster and easier Alaskan saw mill and table saw combination I was once again looking for the right table saw.

As luck and fate would have it, I found exactly the saw I wanted listed at a ridiculously low price.  I sent an email and when I got a call back I was shocked to find it was available. I ran up to check out the saw and it was perfect!  Needless to say it came home with me.


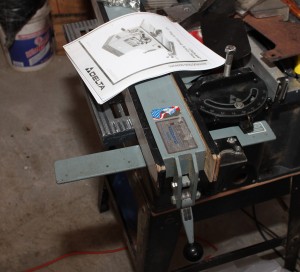
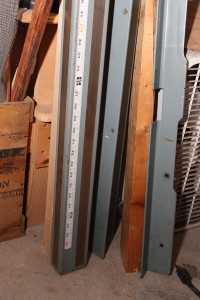
  My particular Delta Unisaw came with teh 52″ biesemeyer fence  so I can cut a 8 foot sheet of plywood in half with it.   The biggest challenge with my new saw is completely rearranging my shop area for the new tool.  I knew it would be a problem but I didn’t realize how big of an issue finding a location for the large saw (it’s 7 ft wide with the fence installed) would prove to be.  I may build myself a shorter 30″ fence for regular use and swap the fence for my occasional panel cutting needs

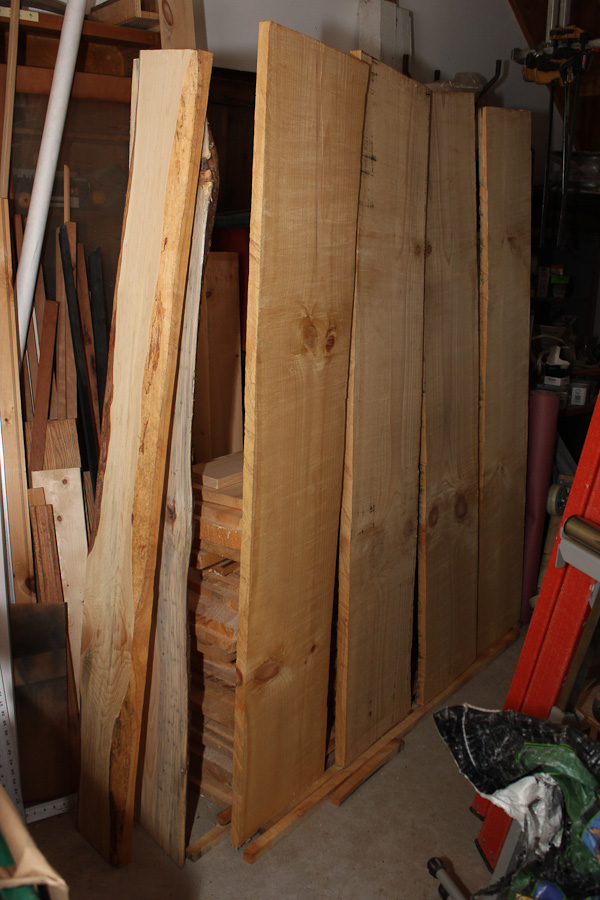
wide pine boards milled with an alaskan chainsaw mill

    I still love turning logs into lumber.  I wondered if it would get old eventually but it has not as of yet.   It is excellent excercise and sure beats boring excercise at the gym.   The above photo shows some of my dried wide pine boards.  My planer only handles 13″ wide boards. The stacked boards supporting the upright rough ones has all been planed to slightly over 1″ thickness.  I will be using this wood and my new table saw in the very near future to build myself some much needed country style bookshelves and a small table or two.  Stay tuned for future posts on those projects.