I recently brought my hardwood lumber pile, which was cut last fall, inside for use. I have a few furniture projects planned that will use up most of this hardwood lumber. I turned some of this rough lumber sawed with my Alaskan Chainsaw mill that I built into finished boards using a table saw to edge them, then a planer to remove the saw marks, and finally a jointer to square up and straighten the edges. In this post I will share some thoughts and what I’ve learned in this last year milling, drying, and using my own lumber.
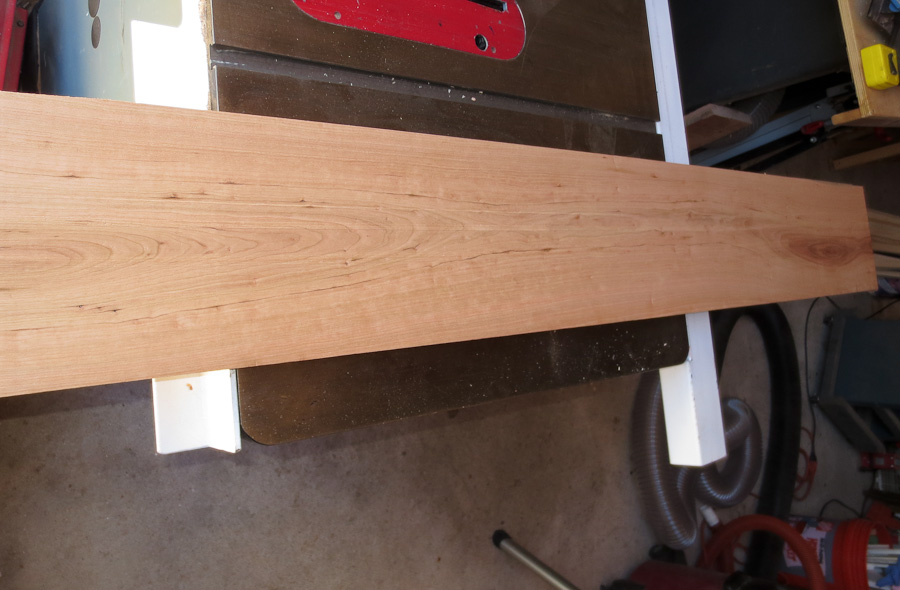
The above picture shows a rough cherry board I cut with my alaskan sawmill last fall. There was a bottom land black cherry that died last summer sometime. I cut myself some logs, pulled them out of the woods, and then milled the wood into perfectly usable lumber. I will showcase the project I’m building with these boards in a future post.
In stacking my rough cut lumber, I was good about keeping same sized boards on one level of the pile. A downside of my current alaskan style chainsaw mill is that it does not have stops or detents and on different days I got slightly different thickness boards. In drying the lumber for one year outside, I did not see much in the way of twisting warp during drying on any of my maple or cherry boards. I did see strong cupping on any board cut through or near the heart of the log. In some cases there was also cracking/splitting along the core of the tree. In the future I may split the log in the center and then mill narrower boards from there. I think this will yield better lumber with less loss though the boards will be only half the width of the log at the widest.
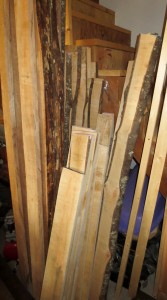
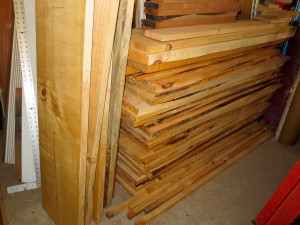
Having milled my short length (4-6′ long) pine lumber pile I now have an excess of pine lumber ready to use in the shop. It also is taking up valuable space, therefore use it I will this fall and winter. The standing boards are my maple. Funny thing having all of this hardwood available, I need a specific piece for my current project and I do not have a board the right thickness/length. Isn’t that always the way? Another thing learned for future chainsaw milling of logs into lumber, I will cut one 8/4 board from each log. I cut most of my lumber either 4/4 or 5/4. I did not consider the need for thicker stock for legs and other parts of furniture. Now I have lots of thin boards but will have to buy some thicker lumber or glue up boards to make thicker stock.
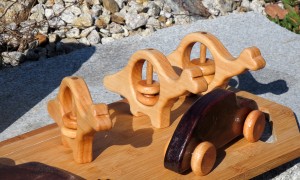
Another key thing learned from this round of milling and drying my own lumber is that how well you cut the boards in the first place dictates how they dry. I had a number of my very first boards that I cut bow. These boards started out bowed from my poor initial guide 2×6″ board. The drying magnified the bowing of the boards making them only usable for short lengths or small projects like in the above picture small wooden toys. I will use a lot of the bowed maple boards to continue making my line of wooden toys for children. I sell these on my etsy page if you are interested in checking out more of my wooden toys. They make great gifts for friends with new lil ones in their family.
