A big part of making myself a Curious George The Man in the Yellow Hat Halloween Costume was making the big yellow hat. I devoted most of my energy towards making one that was a perfect replica of the hat worn by Curious George’s friend, The Man in the Yellow Hat. As you can see in the picture above, my big yellow hat came out pretty well. This post explains how to make a felt hat for your Halloween costume.
 The first step toward making a felt hat for a Halloween costume is to decide on what type of felt hat you want to make. Find some photos online, look at period correct movies, etc. This was easy for me as The Man in the Yellow Hat from Curious George only wears one type of hat, a big wide rimmed round yellow hat. I found about 2 dozen different images online and in the Curious George books to help me conceptualize the size and shape of the felt hat I would make for my Halloween costume. I want to state here that real felt hats are made differently then the process we are going to use. Real felting of a wool hat is more work, wool felt the appropriate color was not readily available and it costs significantly more.


I started by buying about 2 yards of basic craft store acrylic felt fabric from my local Jo-Anne Fabrics. The fabric was only $2.99/yard and was in the perfect shade of bright yellow to match my shirt, tie, and previously dyed pants (check out my earlier post). I did some rough measurements of the hat brim size to shoulder width ratio on photos of Curious George’s Man in the Yellow Hat. I then scaled up based on my shoulder width to get an approximate size. I made a quick beam compass to lay out the circular pattern on the felt. A beam compass can quickly be made from cardboard taped and folded over by punching holes at appropriate radii for your needs. The disposable beam compass is a useful trick for woodworking, crafts, fabric, and any other time you need to layout a large diameter circle or arc segment. Folding the fabric over results in two patterns being cut out at the same time.


I used the cardboard beam compass to layout an inner circle as well. The inner circle is a radius 2 inches shorter then the average radius of my head as measured above the ears. I used a fabric tape measure and mirror to get that measurement. Some quick math calculations gave me the radius I needed for the inner circle. Using some quality fabric shears I cut out my patterns for the brim of the hat.


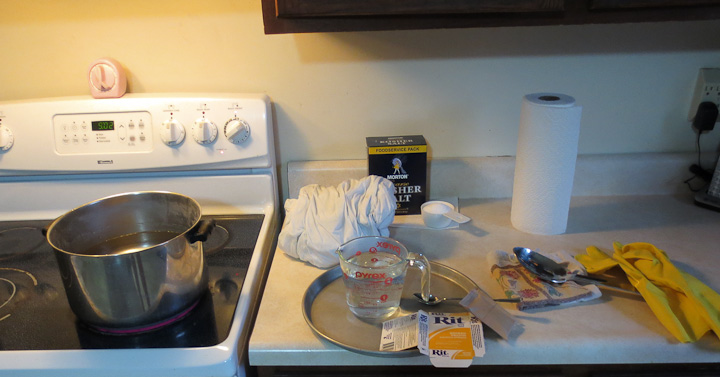
The next step required a plastic covered piece of flat cardboard and a piece of circular foam cut to that previously measured and calculated average diameter of my head. Wrap the foam carefully with seran wrap and clear tape to ensure your felt does not stick to it during this next step. This next bit I learned back in my theater days working in the costume shop. It is the magic trick to making a felt hat with cheap craft store acrylic felt. Be sure to have lots of white craft glue on hand. Add about 25% water to the white glue and mix it in well. Next take your two cut out felt patterns and run them under hot water until they are well saturated. The felt goes limp and softens. Wring out as much water as you can from the felt. Then take the first pattern and carefully stretch it over the foam buck working slowly until you have it stretched nicely over the foam and flat on your plastic covered cardboard. Paint on the watered down white glue with a brush until you have saturated the felt with the watered down glue solution. Next stretch your second cut out pattern over the first being careful to smooth out any wrinkles or bumps in the felting. Again paint on a liberal coating of the watered down white glue onto this second felt layer. After saturating with glue rub your hands over the felt from the center outwards to smooth any small bumps, wrinkles etc. Let this dry for a long, long time. This part is what killed me, it took about 48 hours for the felt to dry and I was running out of time. I added a fan to help speed the drying. You can also use an iron when it is mostly dry to help it along and settle out any wrinkles/fold marks on the flat part.


Using a similar process, repeat the previous steps but stretch the felt over a styrofoam ball for the shaped upper part of your hat. If you are making a different shaped hat, say a fedora you would simply use a different shaped buck (foam or wood pattern to shape the felt over). Wetting and carefully stretching/shrinking the felt till it is smooth takes some time but is not complicated or difficult. Use elastics and push pins to hold the wet felt onto the buck until the watered down glue solution dries completely. Trim off the extra after its dry and you are left with a nice stiff felt hat. For a shorter hat this step would be the end of the felting. However Man in the Yellow Hat has a tall hat. I felt I could not stretch the felt as a single piece that length. I made a felt cone for the added height of his hat.


As this post is running long, I will simply say I calculated the arc segments and radii needed to make a cone the perfect size for the felt hat being made. I promise to do a short post on the trick behind making a flat pattern for a cone in a day or two. It’s not complicated but relies on a good understanding of trigonometry. After cutting out the arc segment, roll it up and sew the seam to make the cone section. Then stitched your cone onto the top “ball” section made earlier, ensuring it dried completely before removing it from the foam buck.


Stitch on the top cone/ball section to the lower brim section and you have your felt hat. Use a piece of heavy ribbon to hide the seam where you attached the two sections of the hat together. The ribbon serves the additional purpose of keeping the felt hat from stretching out while being worn. You will want to run a stitch around the outer rim of the hat. This keeps the two stiffened brim sections from separating. If you want to go hog wild with your felt hat you can stitch in millinery wire around the rim and cover it with millinery grosgrain ribbon as you will see done on fine felt hats. For my man in the yellow hat costume I kept it simple and ran a running stitch around the edge to keep the two layers of felt together. The glue dries in the felt and keeps the rim stiff but it does not necessarily glue the two pieces of felt together adequately.

Another shot of me in The Man in the Yellow Hat Halloween Costume.
2013 Note: I’ve gotten tons of great notes emails and comments on this page. I would love to see some pics of the hats you all are making. send em to me at Zac at projectsbyzac.com and if it’s ok to let me share them on this page please say so in the email. I love hearing that people find my posts helpful. It really motivates me to take the time to write more posts.