Category Archives: Arts Crafts and other

Salt Powered Robot Kit Build and Review

Salt Water Powered Robot Kit-7767

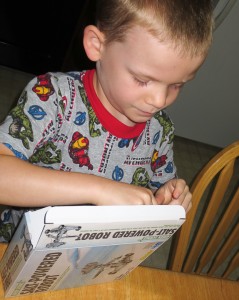
I love the modern prevalence of robot kits available for children to build.  They have many different types of kits available for different age groups.  My nephew visited me a while back and I had picked up a The Salt Powered Robot Kit for us to build together.  This post shows the build process, which he did almost entirely himself.

Salt Water Powered Robot Kit-7740      Salt Water Powered Robot Kit-7741

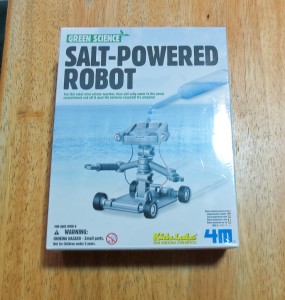
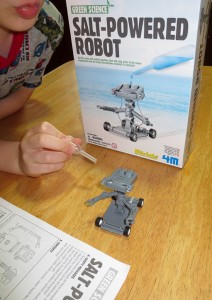
This Salt Powered Robot Kit is made by 4M as part of their Green Science line, and comes in a nicely illustrated box. My Nephew was super excited when he saw that I had a robot project for him during his visit.  In the past we had great fun building a Tin can robot kit.   

Salt Water Powered Robot Kit-7744     Robot kit build

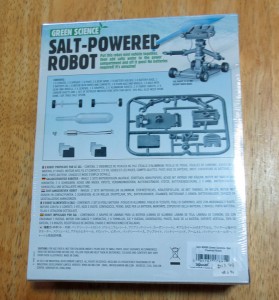
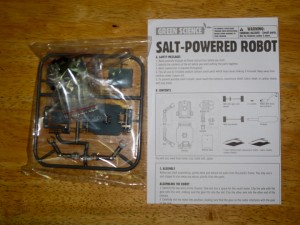
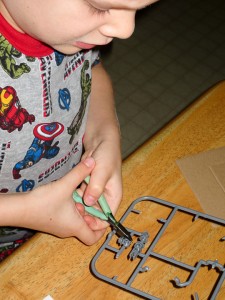
With this kit I let my nephew do all the work, while I offered guidance and took photos. Taking the parts out of the box, we quickly realized it could have been in a much smaller box.  Just one small bag of parts and some detailed instructions.

Salt Water Powered Robot Kit-7747     Salt Water Powered Robot Kit-7746

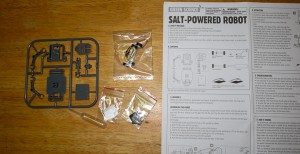
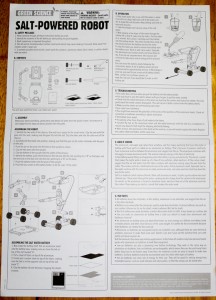
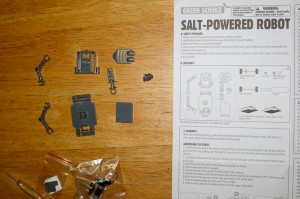
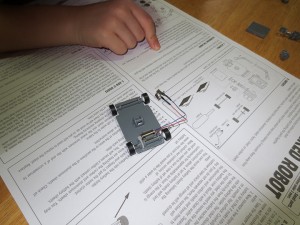
Expanding the photos above will allow you to read the instruction sheet for the Salt Powered Robot.  In case someone needs them in the future.  The single sprue of plastic parts is laid out and the other bags contain the small parts needed to make this robot go, a motor, screws, cathode and anode plates and a separator.  You have to supply your own salt and water.

Salt Water Powered Robot Kit-7749      Salt Water Powered Robot Kit-7752

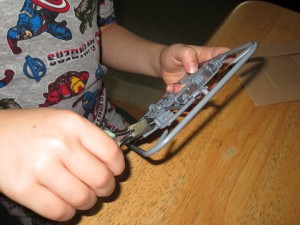
I’m pretty proud my lil Nephew managed this robot build all by himself.  At the age of 6 years old, he did (almost) everything to build this kit by himself, .

Salt Water Powered Robot Kit-7753    Salt Water Powered Robot Kit-7756

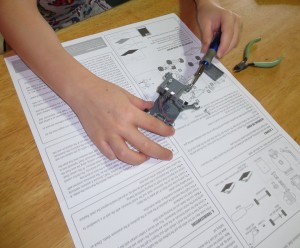
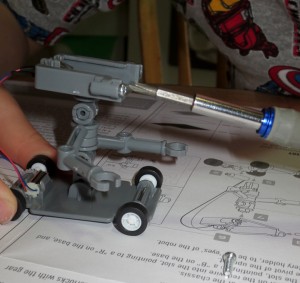
We spread out the parts after cutting them from the sprue.  Assembly following the instructions was quite straight forward.  My little nephew could read and follow the instructions easily. The one part that he was not able to do himself was snapping the two axles into place.  He was not strong enough for this part.  Even when he put his entire weight on them they refused to snap in place.  My only contribution to this robots construction was that I helped install the two axle pieces.

Salt Water Powered Robot Kit-7758    Salt Water Powered Robot Kit-7759

There were a few small screws which he managed to put in entirely on his own with a small screwdriver.

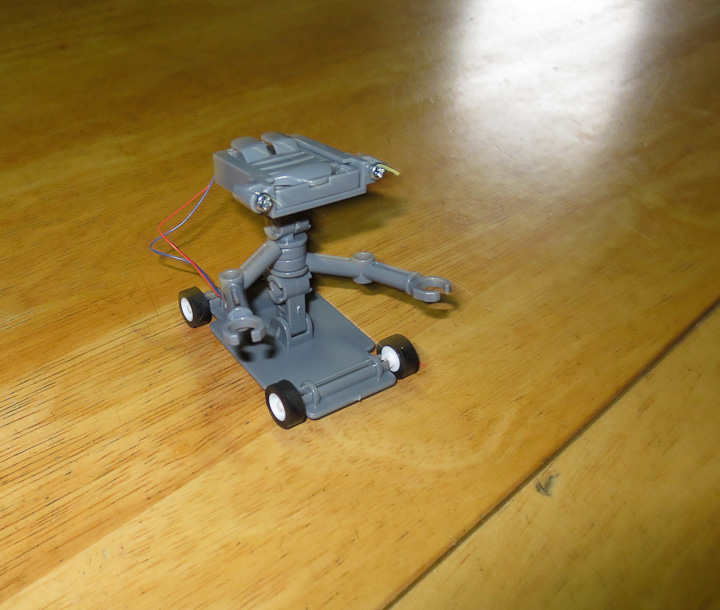
Salt Water Powered Robot Kit-7763     Salt Water Powered Robot Kit-7767

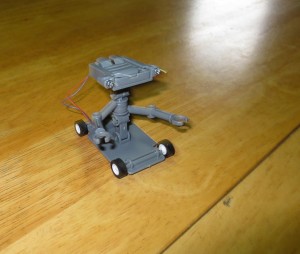
This was a fun kit to build. You have to mix up salt water, I used a shot glass and a tablespoon of salt into warm water.  The instructions call for a saturated solution, meaning you have solid salt remaining after stirring so the water has as much salt dissolved in it as possible.   The two plates used to make the “battery” that powers the motor last for some time.  The robot went for some 10-15 minutes. 

Video of the Salt Powered Robot in action

The above video link shows the robot kit in action.  This robot kit and many others are great fun for children.  Next time you need a gift for a little girl or boy, consider an educational kit like this over another stuffed animal, doll, car, or action figure.


How to Make a Minion Halloween Costume – Part 3

How to make a Minion Costume

This is my final post on how I made my Minion (from the movies Despicable Me) costume for Halloween.    I had a clear vision, as discussed in my first post How to Make a Minion Halloween Costume – Part 1, from the start for this costume.  I will admit to not quite making my vision a reality with this costume. However, I am pleased with how it turned out none the less.  Lesson learned, yet again, is that I MUST start costume construction earlier.  Next year I plan to start my costume on or before October 1st.  After designing and printing the goggles on my 3D printer as shown in the previously shared post: How to Make a Minion Costume for Halloween– Part 2 ( 3D Printed Minion Goggles )  I had at cutting and sewing up the pants and shirt for my Minion Costume. The shirt made from a super stretchy knit fabric was simply a big tube with two skinny tubes sewn on for arms and is not discussed in detail.
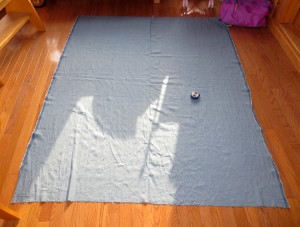
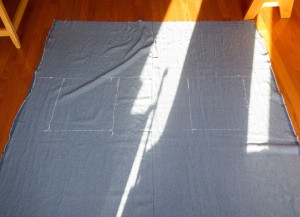
Measuring and laying out Minion Pants on Denim     How to Make A Minion Costume Halloween-8510

I typically start by laying out the design on my materials, in this case some 4oz denim that I bought specifically for this costume at my local JoAnne Fabric store.  I used a fabric tape measure and yardstick to roughly measure the dimensions I needed for my costume.  I carefully made cutting lines onto the fabric with chalk. I had just barely enough material to make the costume from the 2 yards I purchased so I had to be very precise in my layout and cutting.
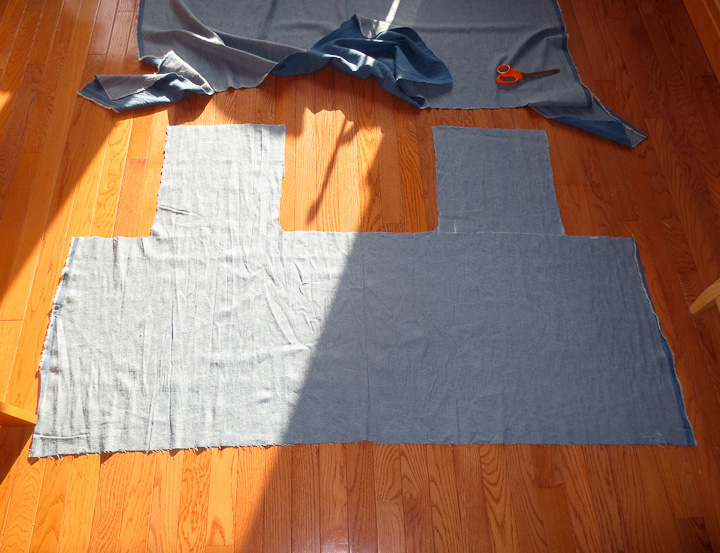
How to Make A Minion Costume Halloween-8511

After cutting the fabric, the one side seam was sewn up by machine quickly.  Then all of the edges up top around the bib folded over and finished.  Sewing on a machine makes very fast work of straight edges and the lightweight denim fabric was not problematic to sew, unlike heavy denim can be.
How to Make A Minion Costume Halloween-8513

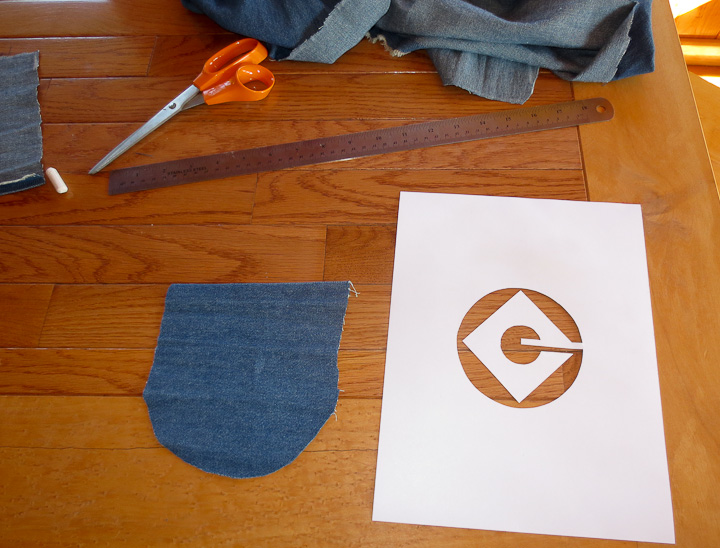
For the pocket I cut out a printed Grue logo I drew up in illustrator. I used a sharp hobby knife to cut out the logo from the 110lb card stock I printed it onto creating a pattern or mask.  Application of spray adhesive allowed me to attach the logo mask onto the denim “pocket”.  Be careful here that you spray the foam on the correct side of your logo mask.  I then used automotive black Vinyl and Fabric spray dye to make a very nice looking Gru logo on the pocket.   This took 5-6 carefully sprayed on thin coats but the final product looks very much like it was screen printed with plastisol ink.  This method can be used for one off printing on fabrics and leathers. It saves the hassle of having to make a screen.   Also you can make this technique work on round, or other non flat surfaces onto which it is impossible to screen print.  I stitched the pocket on to finished the Minion overalls.

Salt Water Powered Robot Kit-8577

To keep the short stumpy legs look (in the above photo) and the tubular shape of the body, I used a piece of 3/8″ PEX tubing from the plumbing section. I carefully cut it to the right length to stretch out the bottom of the pants keeping the Minion-esque shape.  Using a simple brass PEX union, I was able to bend the tube into a hoop.  The hoop slides into a pocket sewn on the inside of the pants pulling the bottom flat and adding just enough weight to get the right drape needed for the costume.
Foam head minion costume

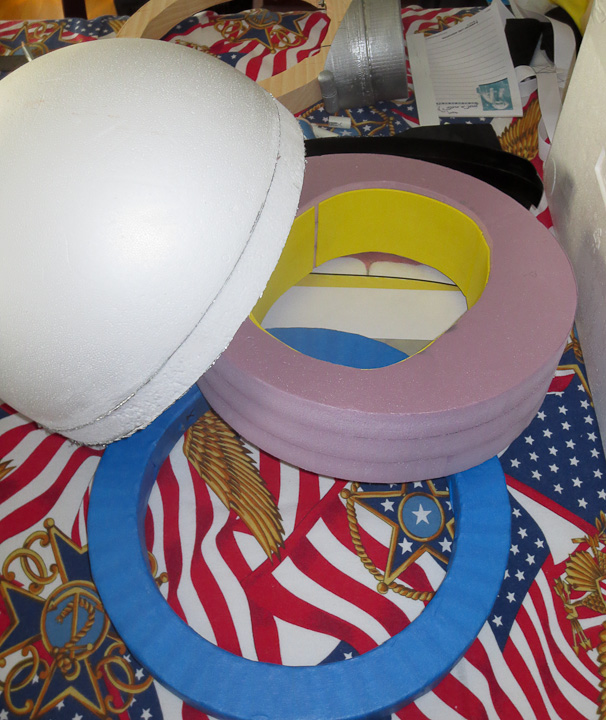
For the minion head, I used hard styrofoam sheet cut into 12 inche diameter circles and laminated together with a half sphere I purchased.   I had a hard time finding a foam sphere the size I wanted.  My costume is largely designed around the 12″ hollow half sphere that I purchased at the Hobby Lobby I really would have liked a 14″ or 16″ one to hide my shoulders better but I could not find anything in that size at reasonable cost and designed around the 12″ diameter.  I cut pink foam board on a band saw into 12″ diameter disks. I then cut out a rough “head shape” so this could all be worn as a hat/helmet.
How to Make A Minion Costume Halloween-8560    How to Make A Minion Costume Halloween-8562

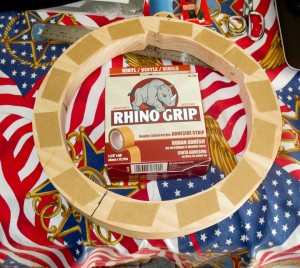
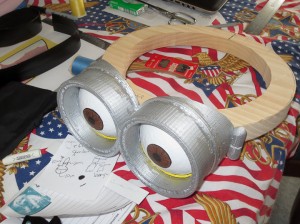
I originally planned to mount the Minion goggles (see my previous post) from my 3d printer directly onto a foam ring, but even with epoxy reinforced plastic tubes added to strengthen the foam it was quickly apparent that the foam was not strong enough to support the weight of the goggles.  I cut a 12″ outer diameter ring out of some very light white pine to handle the load from the almost 1 lb goggles.
How to Make A Minion Costume Halloween-8559   How to Make A Minion Costume Halloween-8555

I’m a huge fan of the Rhino Grip Acrylic adhesive tape shown above in the left hand photo.  It’s sold in the roll flooring section at Home Depot and Lowes. It’s officially used for modified loose lay installation of vinyl floors.   It’s perfect for sticking foam, or anything else together.   The goggles were attached to the wooden ring through two holes drilled into it.  I had epoxied two  #10 threaded rod sections into the goggles for mounting into the ring.  I wanted to be able to take the head apart and felt threaded fasteners for mounting was the best option.

How to Make A Minion Costume Halloween-8562   How to Make A Minion Costume Halloween-8563

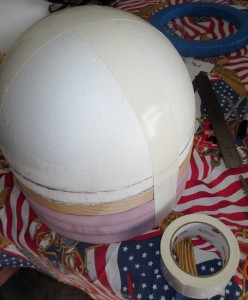
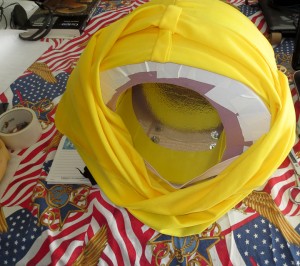
I bought white duct tape at Walmart (the only place local that had it) and covered the entire foam construct with white tape. This was partially to hide seams and partially to provide a nice smooth surface to slide into the yellow knit fabric “skin” I sewed up for the head/neck.
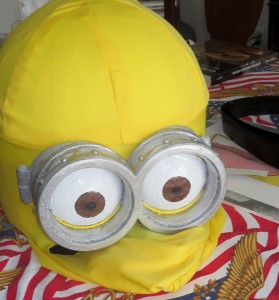
 How to Make A Minion Costume Halloween-8573    How to Make A Minion Costume Halloween-8567

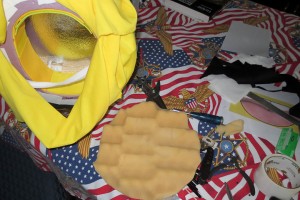
   With the addition of an elastic neck strap to the minion head it was possible to wear the helmet but the Goggles made it very front heavy.  My solution was to add a counter weight in the form of a 1/8″ x 4″ x 6″ steel plate hammer formed to the 12″ diameter on the back of the head.  This brings the weight of the entire helmet to about 2.5 lbs.  I added some soft foam to the inside to help spread the load making it more comfortable to wear.
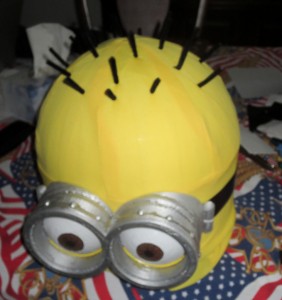
How to Make A Minion Costume Halloween-8575    How to Make A Minion Costume Halloween-8576

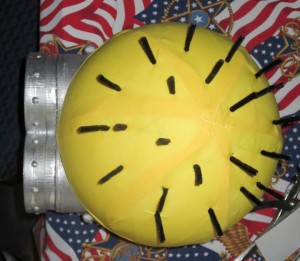
For the hair I used standard black pipe cleaners.   I cut the pipe cleaner down to 3″ lengths and carefully poked it directly into the foam.  With the right   technique it went in through the fabric, the duct tape, and foam easily.   The last steps of my costume involved hand stitching some black screen/mesh for a mouth.  I had hoped to print out some sort of mouth on the 3d printer with teeth and tongue but I ran out of time.  In the end I am very happy with this years Halloween Costume. 
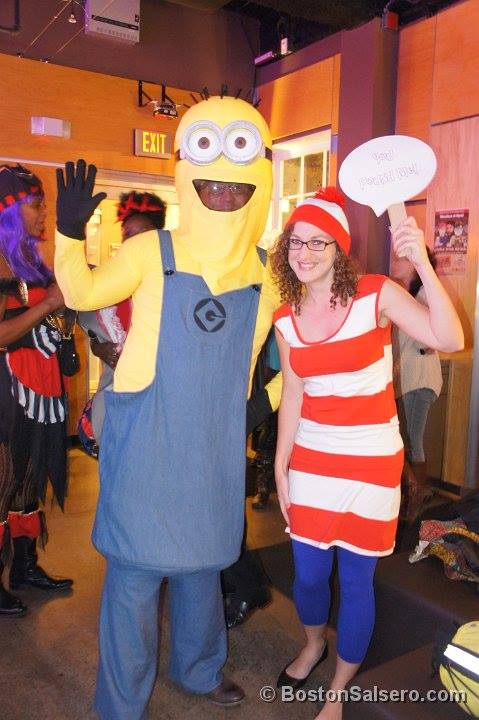
Halloween Minion Costume

I hope my three posts on this subject (Links to: Part 1 and  Part2 ) have helped you with your Despicable Me Minion Halloween Costume Construction.  I am already thinking about what I will make for next Halloween, though I am considering wearing one of my last three costumes.  
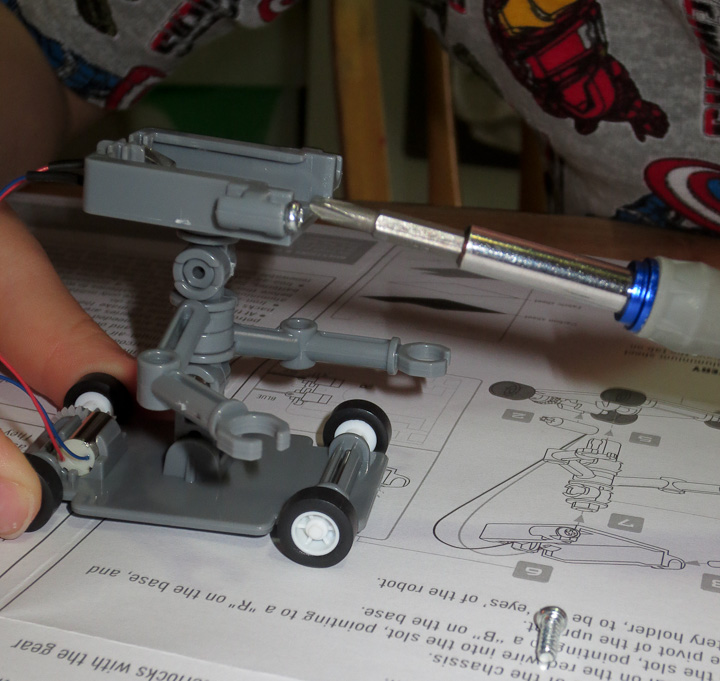
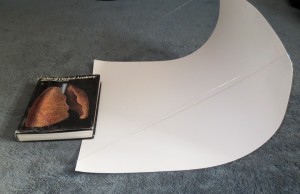
Cheap Fast DIY Lightbox for Photography from Tape, String, and Posterboard

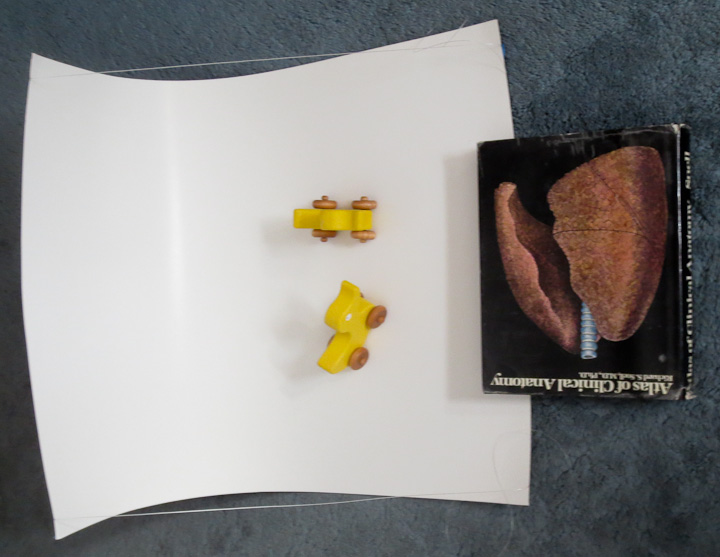
How to make a photography ightbox     I have been helping a small NYC based startup build and develop new online outlets for their products.  One of the items we discussed was uniformity of their online shop’s product photographs.  It is important that the primary shop photos tie together brand image and clearly portray the product for sale. Additional, less focused photographs showing models wearing their products and full displays with products in use environments can be shown on each individual products page along with more details and specifications in text.  The owner decided they wanted to go with all white (high key) product images to draw focus to their products for the primary shop photos.  Not having the money to hire a professional to redo all of their product photos, nor wanting to invest in and store a bulky commercial light tent setup in their shop, I shared with them something I came up with years ago.  I call it the poor mans lightbox.   Made from a piece of poster board, tape, and string, this white high key set up will allow you to take excellent product photos, using a point and shoot camera hand held.  It’s perfect for taking photos of small items  you built, to list on Ebay, or as I did with the images taken during this post,  use for your Etsy shop.

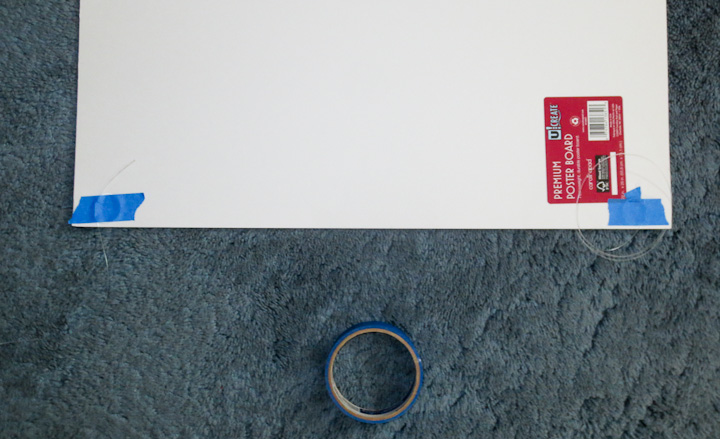
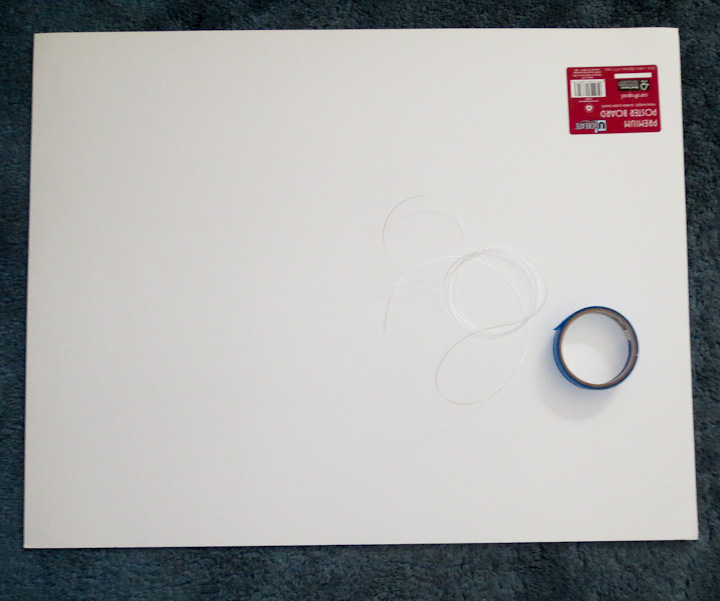
DIY light tent for photographing itemsFirst step is to gather materials. You will need a piece of white poster board, or you can use a colored poster board if you so choose.  Approximately 7-8 feet of string or in my example photos fishing line, and some tape.  These three items are the only items you need to make a quick photography light tent.

DIY Photography Light Tent      MAking a light box for High Key Photography

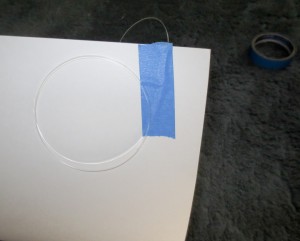
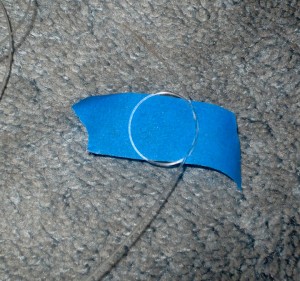
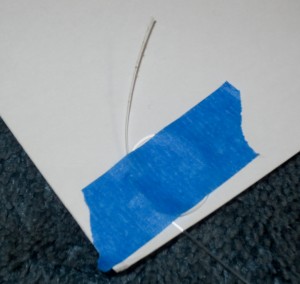
Make a loop on one end of your string and put it on some tape as in the above left photo.  I’m using blue masking tape but any tape will do the trick. I’m a huge fan of blue painters tape. In my book it is even better then the almighty and venerable Duct Tape.  The loop keeps the string from slipping.  You want one side of your string to be firmly attached.  Tape it to a corner with the string coming out the short side. This will become the top of your lightbox.

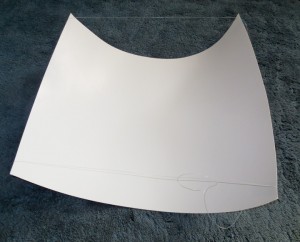
DIY Light Tent for High Key PhotographyRepeat for the other side so your posterboard looks like the above photo.  Cut your string in half.

Fast Cheap DIY Lightbox for photography-8685     Posterboard Light box

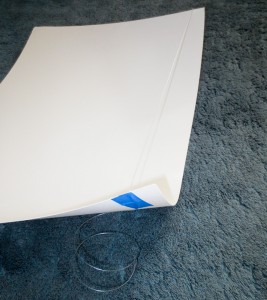
Take the free end of the string from one of the corners and pull it around the “bottom”  (the other short side) of your posterboard.  Put a piece of tape over the string, this time not making a loop.  By not making a loop you can pull and adjust the tension on the string allowing you to adjust the light box later.  Repeat this for the other string.

Fast Cheap DIY Lightbox for photography-8687    Fast Cheap DIY Lightbox for photography-8688

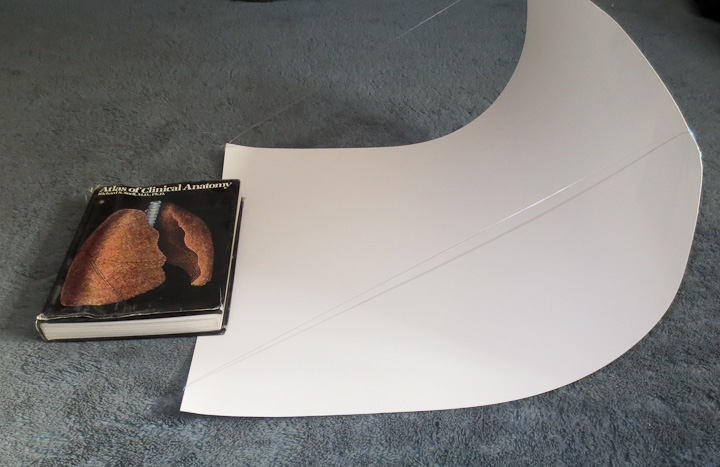
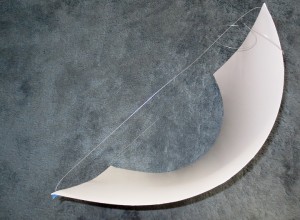
Pull the second side until your poster board is bent as in  the above photos.  You want both strings to be approximately the same length so the bend goes across perpendicular to the long edge of the poster board.

Fast Cheap DIY Lightbox for photography-8689     How to make a photography ightbox

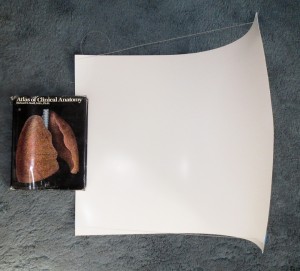
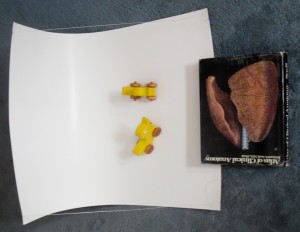
Find something heavy and flat to hold the bottom of your lightbox down. I’ve used shoes in the past (on the road traveling for work) but I usually find a book or short stack of magazines to hold down the bottom.  Gravity and tension do the rest. You now have your very own mini high key photography lighting set up.

Fast Cheap DIY Lightbox for photography-8702     Fast Cheap DIY Lightbox for photography-8703

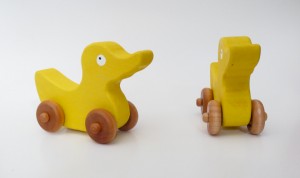
The above photo shows the set up in use.  Ideally you want to place your objects near the front/bottom of your lightbox. This allows the background to be a little out of focus if you use a Macro mode on your camera.  If you can, adjust the exposure up +1 stop on your camera.  I took the above right photo of my wooden rubber ducky roller toy for sale on Etsy using an Cannon Elph 110 HS Point and Shoot Camera to prove that this works perfectly, even with a simple point and shoot camera.  In fact, all of the photos for the painted rubber ducky inspired wooden toy were taken with this set up rather then my typical set up which uses  a dSLR, a large light cube, and 1000WS  white lighting studio strobes.
Fast Cheap DIY Lightbox for photography-8706        using a light box to photograph objects.
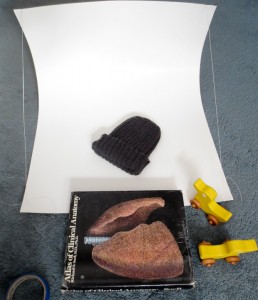
Another example of product photography using the same set up.  You can get very nice results, placing this set up on a table or the floor out of the path of direct sunlight but with the primary light source to the front.  Even using the on camera flash if you want, although be careful to avoid harsh shadows, and over exposed “burnt” highlights.  I hope this post helps you take some better pictures of your crafts for sharing online, or items for sale.   When you are done using your poster board lightbox, simply pull the strings loose and stick it behind a desk, couch, etc for easy storage.


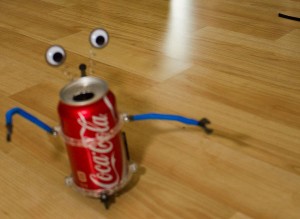
What defines a robot? The Tin Can Robot build

Tin Can Robot walking

What defines a robot? Lately I have had many discussions with my nephew about robots.  He is going through a robot loving phase of his childhood.  We’ve spent countless hours on the phone talking about the CNC machine and 3D printer.  Both of these are “robots” in essence.  When he first saw pictures of the 3D printer his comment was, it did not look like a robot at all and therefore was not a robot.  We then had a lengthy discussion about what makes something as a robot.

Webster defines a robot as

  1.   a machine that looks like a human being and performs various complex acts (as walking or talking) of a human being; also : a similar but fictional machine whose lack of capacity for human emotions is often emphasize
  2. a device that automatically performs complicated often repetitive tasks
  3. a mechanism guided by automatic control
Hard to argue with those definitions. Which brings us to the project part of this post, the 4M Tin Can Robot by Toy Smith.  This little project was fun to build, but is it really a robot?  Does walking forward in a straight line make it a robot? We concluded that because it is a toy robot, it is indeed a robot  but it was not a real robot because it did not actually perform any task and was not controlled.  That being said, it is a great project for a young robot lover. My nephew built the Tin Can Robot Kit almost entirely by himself under some close Uncle Zac supervision.

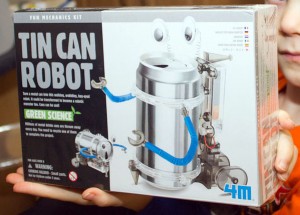
Tin Can robot in the box

Above you see the Tin Can Robot in the box.  It comes in a rather large box considering what is inside.  The parts are packaged in small plastic bags and the instruction sheet in the box was easy to follow.  It does not come with the two AA batteries you need to have real robot action once it is assembled. Be sure to have them handy for the build so you can see the Tin Can Robot come to life upon completion.  If you want to purchase one of these great kits you can find them available here.

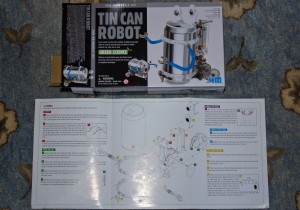
Tin Can Robot assembly Instruction

The assembly instructions for the Tin Can Robot are clearly illustrated (click on the above image for legible full size image if you lost your instructions or need to reference the Tin Can Robot instructions).  The only part I helped my nephew with directly was the insertion of the wires into small brass rivets with little plastic plugs.  It required a fair bit of force and my nephew was not capable of pushing the plastic plugs into the rivets.  There are a lot of small screws in this kit.  It’s best to open the parts bags over a tray or bin of some sort to keep them from getting lost on the floor.  Because the screws are small, my nephew was capable of screwing each one in with a small screwdriver on his own.

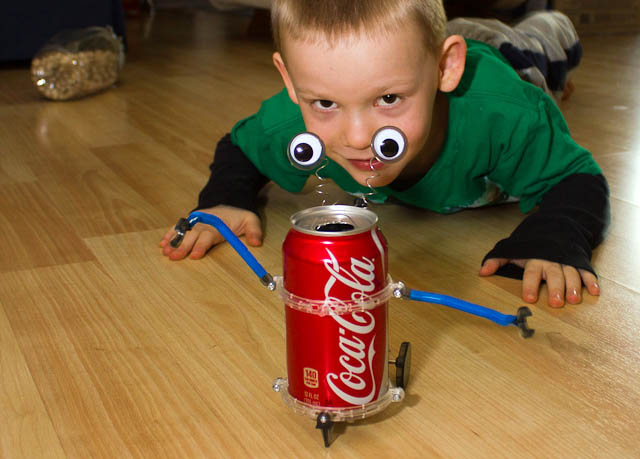
Tincan Robot action shot

The Tin Can Robot sits in a special place on a shelf proudly displayed by my nephew when not in use.  It was a great project for and both of us had lots of fun both building and playing with this toy robot kit.

Here’s a short video clip of the robot in action (sound affects added post production):