All posts by Zac

Building a Cafe Racer Custom Exhaust – Part 1

Building a cafe racer custom exhaust system

I started in on the exhaust system for my CX-500  Cafe Racer project.   I started with the rear of the exhaust for the CX500 Cafe Racer, placing the muffler exactly where I wanted it to be on the bike as the first step.  This build was going to be a 2 into 1 style motorcycle exhaust,  with only one muffler for a  cleaner and cooler look.   Investigating hundreds of photos and parts catalogs I could not find exactly what I wanted for a muffler. I did not want anything chrome, megaphone or cone style mufflers, or anything flash in general.   I wanted something vintage,  flat black, and a little bit crude to go with the Cafe Racer style.  I ended up buying some mandrel bent tubing, and a bare muffler core to fabricate a custom exhaust.  I’ve done a lot of custom exhaust builds over the years, check out an earlier post where I show an exhaust build on a Ferrari 308   from last summer.

Custom Cafe Racer Exhaust system parts

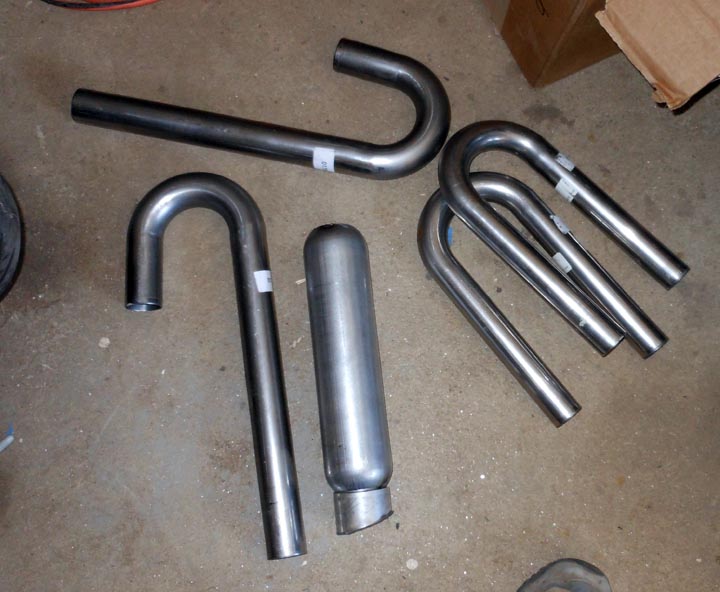
Here are the parts needed to build the custom exhaust system for my cafe racer CX500 motorcycle exhaust.  I ordered up two 1.5″ diameter  U bends (PN: SCH-015016U) ,  two 1.75″ diameter J Bends (PN: SCH-017516J),  & a 12″ muffler core (PN: JEX-A3012B)   from Summit Racing.   Summit Racing is a great cheap place to buy exhaust tubing and mufflers.  They have been my go to auto parts supplier since high school.   I have a fairly large selection of nominal auto exhaust tubing in stock from previous projects but nothing in the motorcycle size range so I ordered everything needed to build the Cafe Racer Exhaust.  The tip on the muffler core I fabricated from some 2.5″ tubing and I will put an internal removable baffle into it to help quiet the exhaust some.  I am certain that  just the core it will be louder then  I want for regular daily riding.

Cafe Racer Exhaust build  muffler mounting    

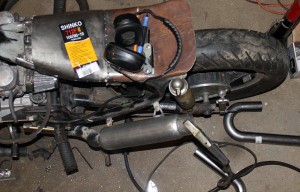
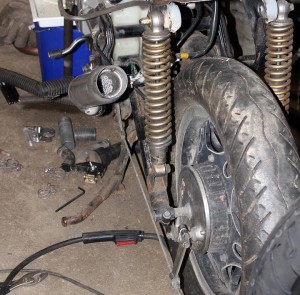
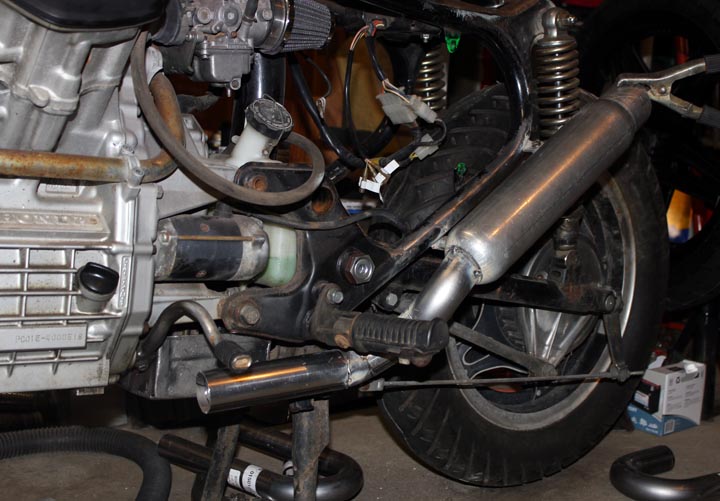
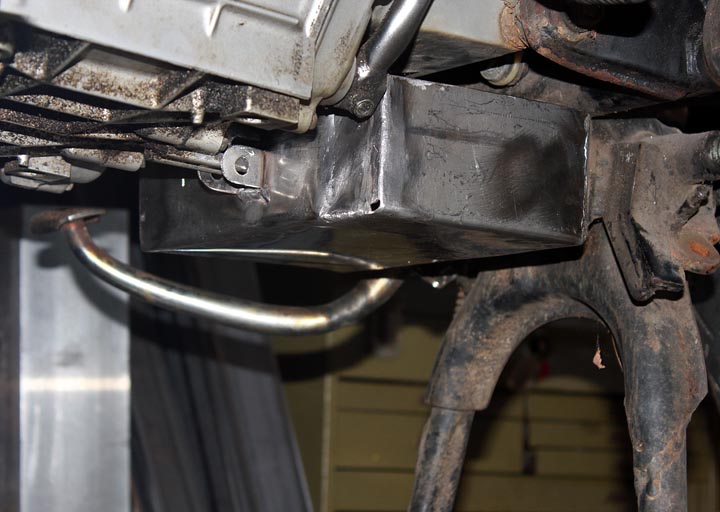
Mounting the muffler was trickier then I anticipated. I had my CNC Milling Machine  bang out a variety of different mounting brackets for this project.  I ended up using several of the smallest of the three sizes I made and one of the larger skeletonized mounting tabs to put the muffler on the bike.   In the above pictures you can see where I located the muffler on the bike.  I am pretty happy with where it is mounted.

custom motorcycle exhaust build for cafe racer CX500

The exhaust tubing runs inboard and under the lower motor/frame mounting. This is important as I plan to lower the foot pegs a bit and make a new foot shift lever for the bike.  I find with the new seat and the low forward clubman handlebars that it is a bit uncomfortable with the stock foot pegs on the bike.

In the next post on the cafe racer custom exhaust system build,  I show how I make the 2 primary pipes merge into this rear exhaust system.

Mounting and Balancing a CX500 motorcycle tire

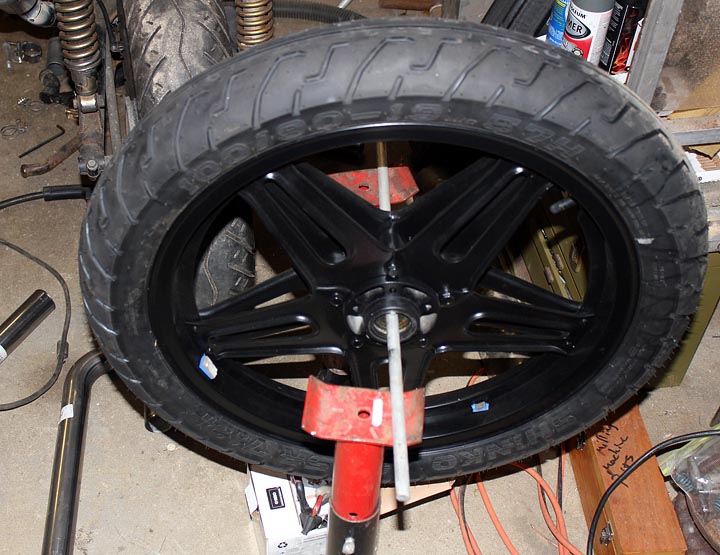
Bonus Photo:  The mounted and balanced new front tire on the painted wheel.  I will paint the wheel weights black before mounting them permanently with double sided tape.
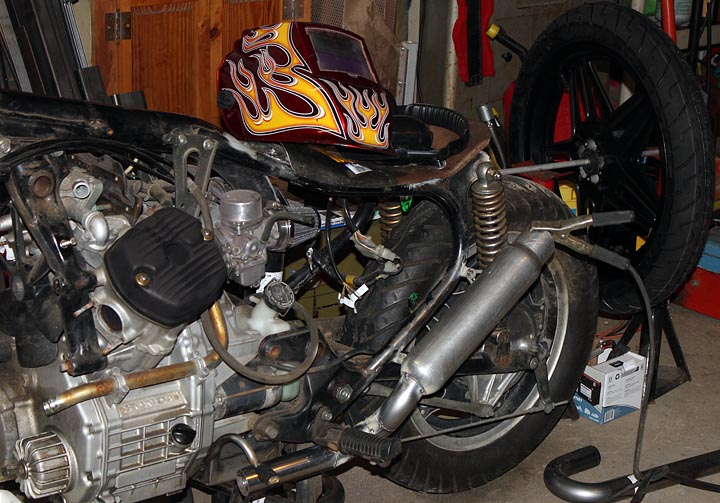
Honda CX500 Cafe Racer Build Progress

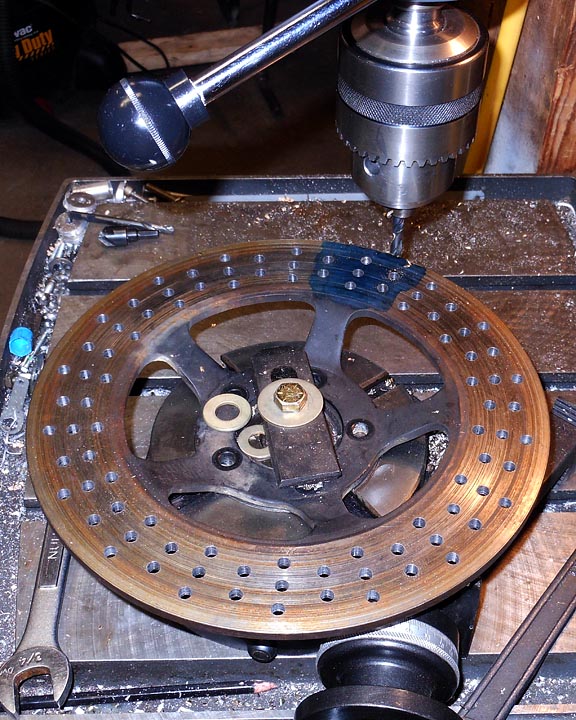
Drilling the rotor Honda CX500 Cafe Racer build

Just a quick progress report on the CX 500 Cafe Racer Build project,   I’ve cross drilled the rotor using a rotary table.  This was surprisingly quick once I dialed in the rotor to the rotary table eliminating any run out.  It went so well that I suspect I will be cross drilling lots of rotors in the future.

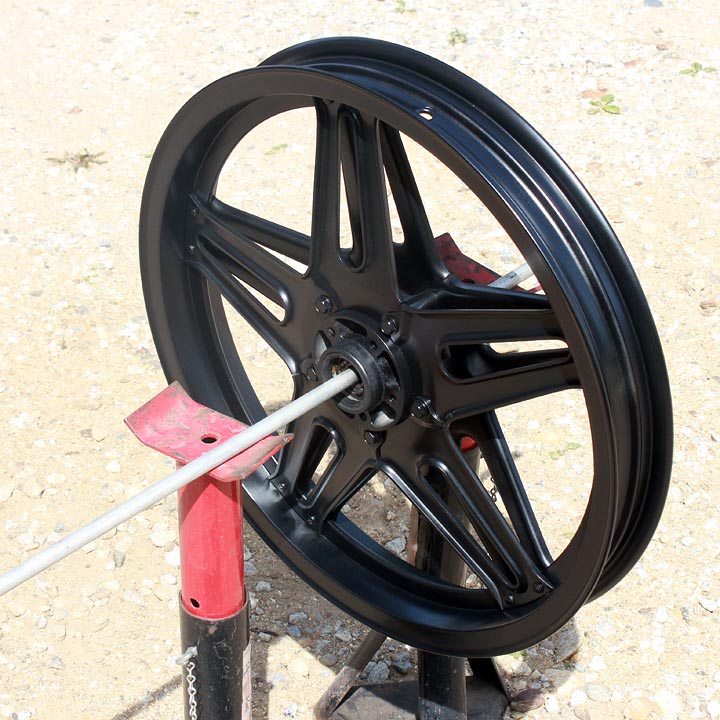
Painting a motorcycle wheel tips

I stripped, sanded, and painted the front rim with some quality satin black wheel paint and it looks awesome.   I used a large plastic tub that fit the wheel and wet sanded the entire thing by hand.  Sandblasting would have been considerably easier but my blast cabinet is not large enough.  Sanding all of the backside and the nooks took forever.  Next time I would pay to have it blasted at a shop.  It came out looking awesome though and I can’t wait to see the now completed front end reassembled on the bike.

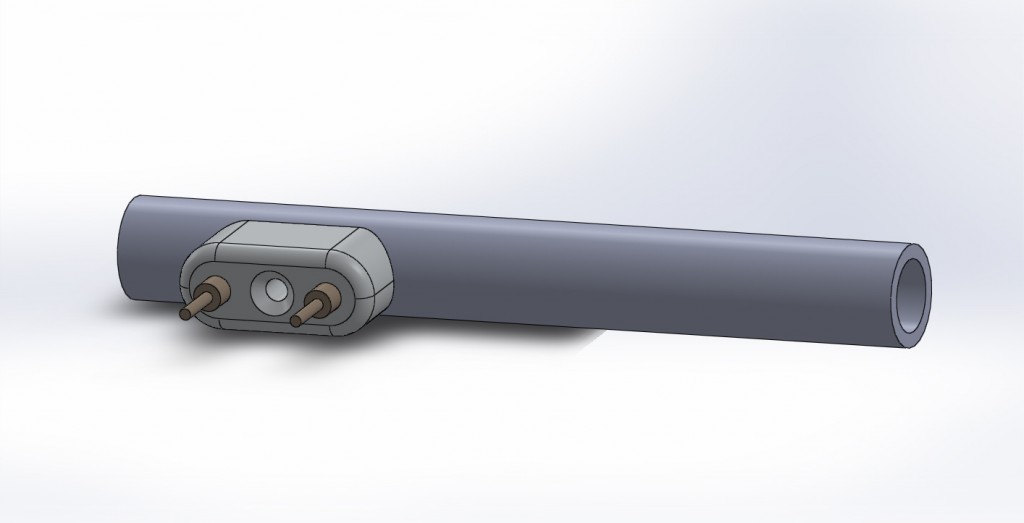
Cafe racer handlebar controls 3d Model

You have to use your imagination a little bit for the above image, but this is the 3d model of the handle bar switches I will use on the bike in place of the stock ones.  I will have the CNC machine bang out two of these.   They can each house 2 switches or buttons. I ordered the right size cutter some time ago to make these and plan to get them machined in the coming week.  The wires will run through the handlebars and it will be a nice clean installation.

Battery box for CX500 Cafe Racer Build

Above is the battery box on the bike.   I built this to relocate and clean up the install of the battery and starter solenoid on the bike.  I’d like to get a mini ATO fuse block that mounts through the side of  this as well.  I will sandblast and paint the box satin black, even though it’s made from 316 SS.  Here’s a pattern if you want cut and fold a battery box of your own for the CX500:  battery box Sheet metal pattern for Honda cx500 cafe racer build

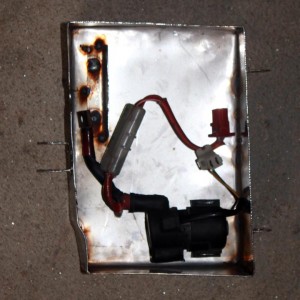
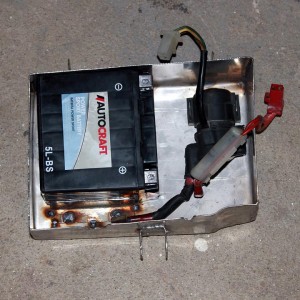
CX500 Starter solenoid inside battery box    

You can see the battery and solenoid fitment in the belly box.  Sadly it warped a bit when I welded it up. I did not take my time and regret it.  I’ve hammered it back a bit and used the press to get it to fit comfortably in place.  You can not tell on the bike but seeing it from the top like this it is apparent that it is a bit skewed.   I will make a bolt in hold down strap for the battery and this bit of custom fabrication will be 100% done.   I will need to address the wiring as well in the reassembly stage which I am fast approaching.

That’s all for now, more soon as I want to get this project finished and out the door ASAP.

CX-500 Cafe Racer – seat pan fabrication part II

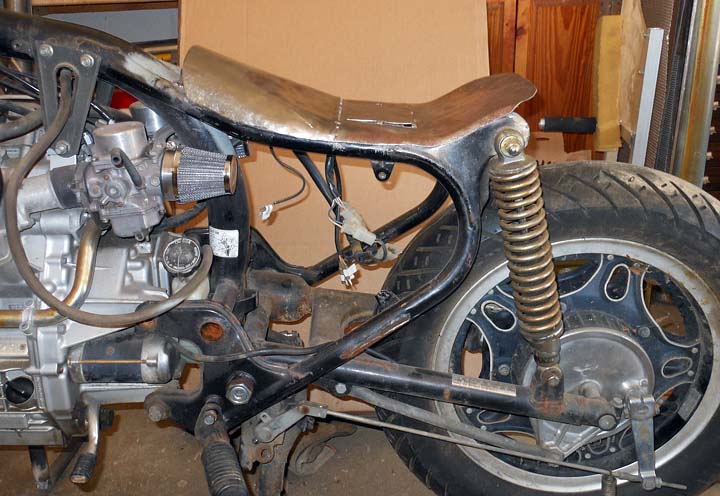
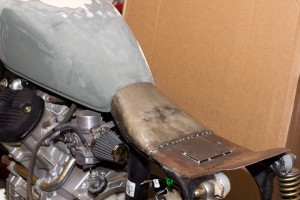
Cafe racer build side view of Custom motorcycle seat pan

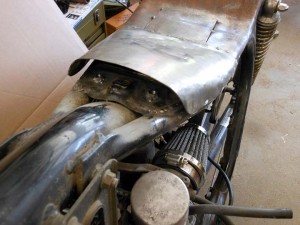
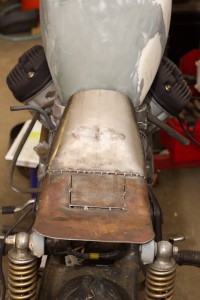
This post is the long overdue continuation of the motorcycle seat pan fabrication for my CX500 Cafe Racer Build Project.  Part I can be found here: Fabricating a custom motorcycle seat for the CX-500 Cafe Racer.  I’m a bit behind on this project, as I had hoped to have the bike done for May 1st.  I’m suspecting that I’ll be lucky if she’s done for May 15th or even May 30th.   Back on post topic,  I have finished the front mount on the seat, the overall pan shape and the fitment of the pan to the bike.

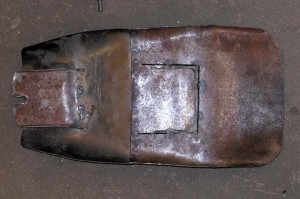
   underside of cafe racer seat pan

I decided to make the front of the seat match the contours of the tank, this is a bit away from the traditional flat seat look most Cafe Bikes have, but I think with the new sleeker tank from the CX500 Custom it looks better this way.  The front of the seat mounts by sliding under the rear fuel tank mounting point.  This took some careful fabrication and welding.  It can actually be screwed in by 2 M6x1.0 mm button head cap screws but it does not need the front screws as it is quite secure.

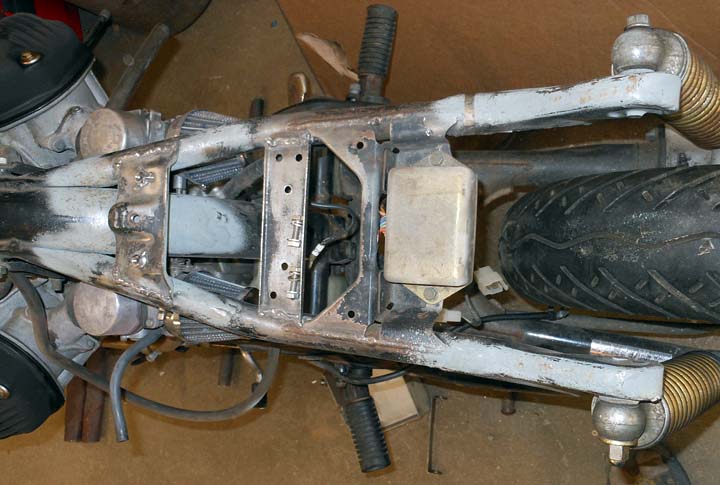
Honda CX500 Frame modifications for relocating electronics.

Above you can see the frame modifications,  I moved the rectifier up under the seat and put an additional cross brace to mount it in place.  I also plan to attach the wires to this cross piece to keep them from dropping down.  With the seat on the bike all of the electronics are nicely hidden away up underneath.  The solenoid and battery will be mounted into a belly box under the middle of the bike (post coming soon on that).

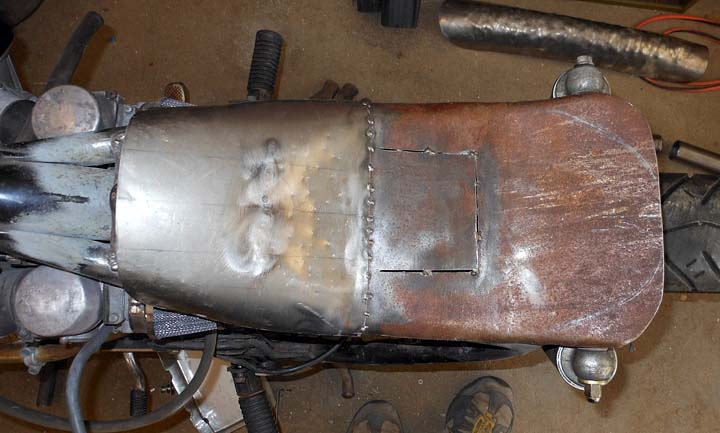
Top view of the seat pan on the bike.  I have not added rear mounting points yet. I’m debating how to do it still.  I will either weld on two nuts to the seat pan, or weld a bolt underneath the pan and make brackets on the frame to secure it to the bike.  You can also see the lines at the rear.  I am waiting until I finish the rear mini-fender before I make the final cuts to the back of the seat pan.  I want the mini fender to mount directly to the seat pan rather then the frame.  I was originally shooting for a metal rear fender but I suspect I will end up molding a fiberglass fender off the rear tire instead.

 seat pan with new custom fuel tank on Honda CX500 Cafe Racer       seat pan with new custom fuel tank on Honda CX500 Cafe Racer

I took the above pics with the tank loosely resting in place so you can see the seat mounted up to the tank and how it matches the contour of the tank.  I’m still doing paint prep on the tank so it is not firmly mounted for these pics and a bit tilted but you get the idea.

Stay tuned for Part III of the Custom Seat Fabrication for my Cafe Racer Honda CX500 build.


Making name signs, a fun project for kids

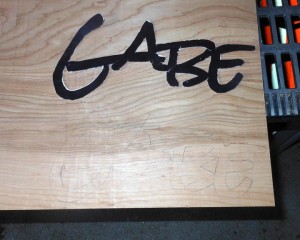
Painted name sign for childrens names

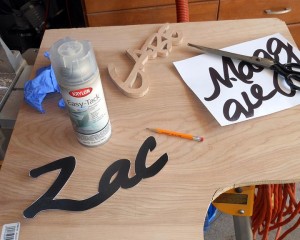
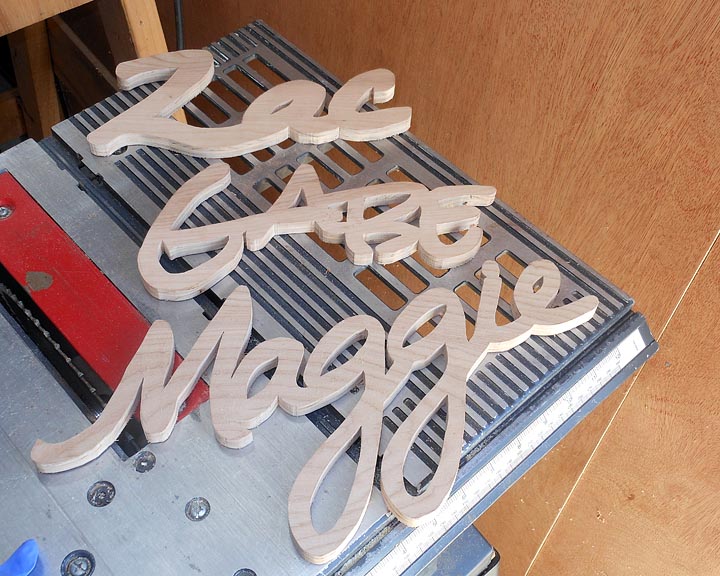
This is a fun activity for you to do with your own little ones, or visiting friends little ones in my case.   Every little kid loves their own name.  Often their name is one of the first things they learn to spell and write.  This projects gives them the chance to paint a sign of their name and they can then hang it in their room on the door, a wall or a shelf.  This project was inspired by a friend who shared that she still had as an adult her name sign cut from wood that she had painted with her uncle as a child.  I had an hour to kill one day so I decided to prepare for a future visit by some little ones and cut out the kids names for them to paint.

use paper templates printed on the computer to trace a pattern on the wood

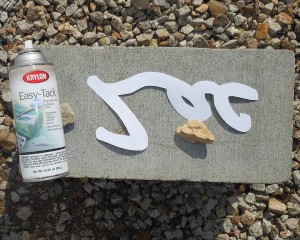
Writing up projects and activities for projectsbyzac.com has been enlightening.  One such item of enlightenment has been how often a project, be it in metal, wood, plaster, plastic, etc  starts with the same basic task: making a template in paper.  Paper is cheap, easy to work with, you can print off from a computer if you aren’t good at drawing, and is completely recyclable.  Please recycle all of your paper and paper scraps from projects.  This project started with me drawing the kid’s names out on the computer and then doing some graphic work to get them to touch at each letter. I then printed them out on 110 lb cardstock paper.


A good way to hold a template in place is craft spray adhesive.  I like Krylons Easy-Tack spray adhesive as well as Elmer’s Craft Bond Spray Adhesive for use on all of my projects.  Both are readily available at craft and home improvement stores.    After drawing or printing out your pattern, cut it out with a pair of sharp high quality shears.   In our modern disposable world,  a pair of high quality shears is no longer commonplace but you should spring for at least one pair as they cut better and last longer then the cheap disposable scissors.  I’ve gone through dozens of cheap and not so cheap fiskar/other modern scissors but my trusty shears have lasted forever and are easily resharpened when dulled.


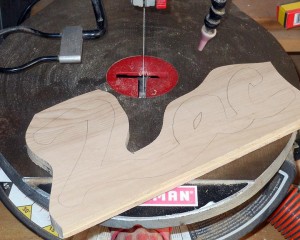
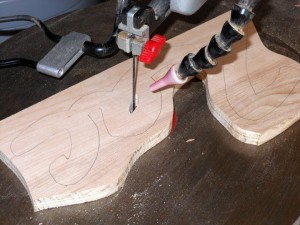
After transferring the name pattern onto some 1/2″ birch plywood with a pencil I did a fast rough cut with my band saw.  Then I moved over to a scroll saw to finish the detail cutting.   The Scroll saw cuts finely enough that minimal sanding is needed afterward.

Depending on the age of the kids you are planning on doing this project with you could have them help you with the cutting out of the names.  In my case the kids in question are quite young.  They are not ready for any sort of power tool type cutting of wood.   I prepared the wooden name signs well in advance of when we actually got to the painting part of this project.

  sanding before painting   

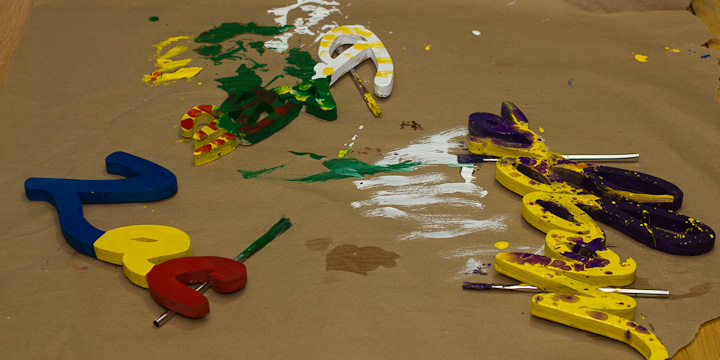
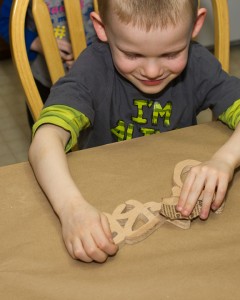
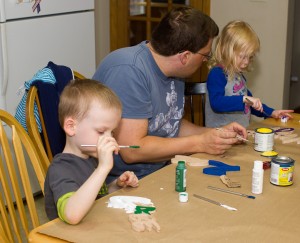
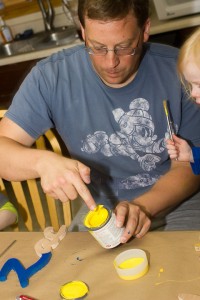
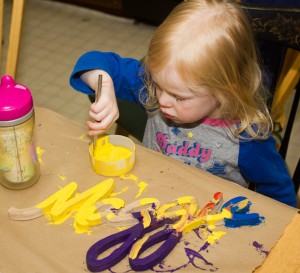
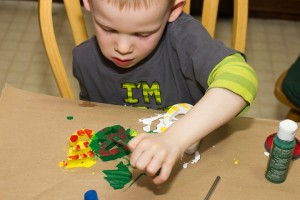
I started by having the kids sand their name signs with small pieces of 180 grit paper.  We then moved onto the fun part, painting them.   I pulled out a selection of nontoxic child safe paint and craft paint for this project,  all water based.  I did not guide them at all in how to paint their names. I let them choose their own colors  as they saw fit.

use kraft paper for mess management    

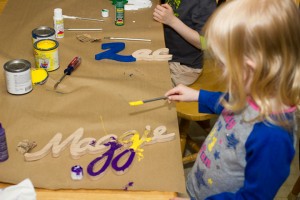
When painting with kids, be sure to pour out small amounts from the primary paint cans into small cups.  Often the paint will get knocked over, spilling to make a mess. Using small cups results in smaller spills.  In addition, mess management is made easy by keeping a roll of kraft paper around to cover tables.  A roll of kraft paper is cheap and can be bought anywhere.  Newspaper also works, but spilled paint can get between the pages and sometimes will bleed through newspapers so rolled kraft paper is better.


It might take a while, but eventually the kids were able to do a good job painting and decorating their names.  In order to paint colors on top of colors it is handy to have a hair drier (not photographed, sorry) on hand to speed up the base coat drying.

Painted name sign for childrens names

All in all making and painting signs of the kids names was a very fun project, the cost was nothing as I had left over materials on hand from previous projects.  The kids really enjoyed painting their name and now proudly display them on their doors to their rooms at home. Give this a try with some kids and you will see how much  fun they have as well.