It has been a while since I last updated my CX-500 Cafe Racer project. There has been lots of progress on the bike, but very little posting. I hope to get caught up on sharing this project here on projectsbyzac.com in the coming weeks. In my previous post I shared some of the trials and tribulations involved in building a custom exhaust for my cafe racer bike. I started with the back half of the exhaust as I knew where I wanted the muffler to be placed on the bike. This post shares the issues working with the front section of the exhaust from the cylinders to the previously built back half.
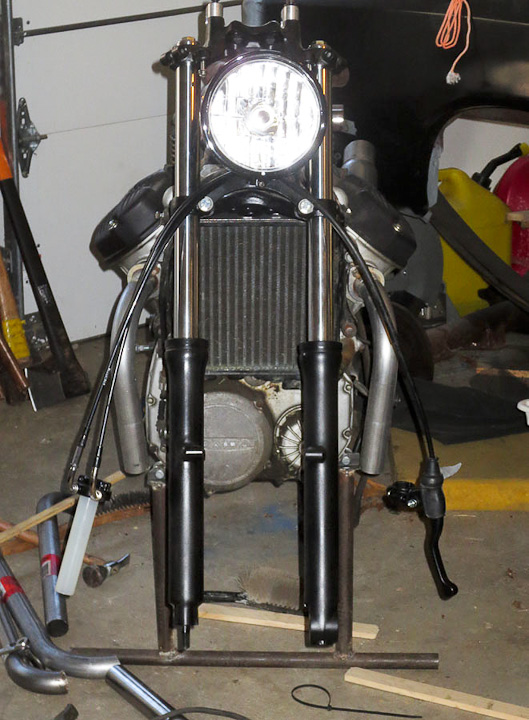
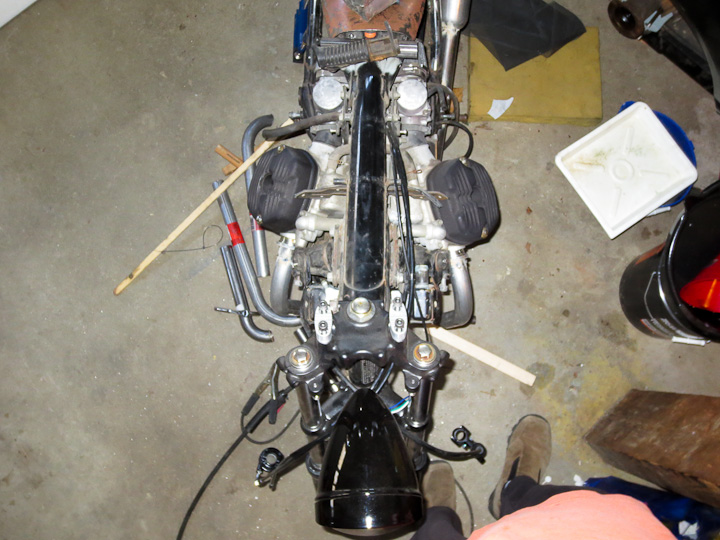
Far and away the most difficult part of the entire exhaust build was balancing and centering the front pipes. My first attempt used mandrel bent tubing that was too tight a radius. The tight bend radius(2.5″ radius) of the turn downs coming out of the cylinders looked nothing less then ridiculous. I switched to a larger 4.5″ radius tubing. Additionally the cylinders are offset so centering and matching the length was challenging. Work slowly, drop a center plumb bob line and measure everything with a magnetic angle guage three times before welding the pipes in place. I also had to machine short clamps and spacers for this step of the build. So I could align and weld to the original exhaust flanges that mount to the heads. You can see them in the above picture. I used the cnc mill to machine them from 1/4″ steel. Here is the drawing of the Honda Cx500 exhaust clamp flange showing dimensions for those that want to make your own exhaust clamps or need to have replacements machined.
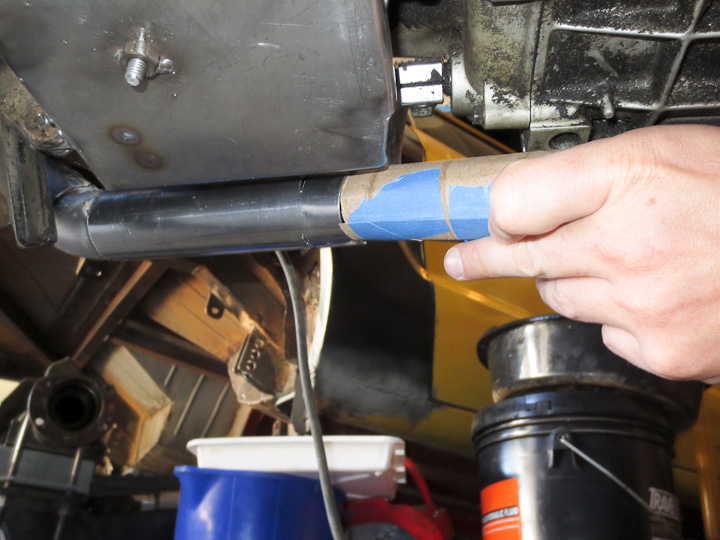
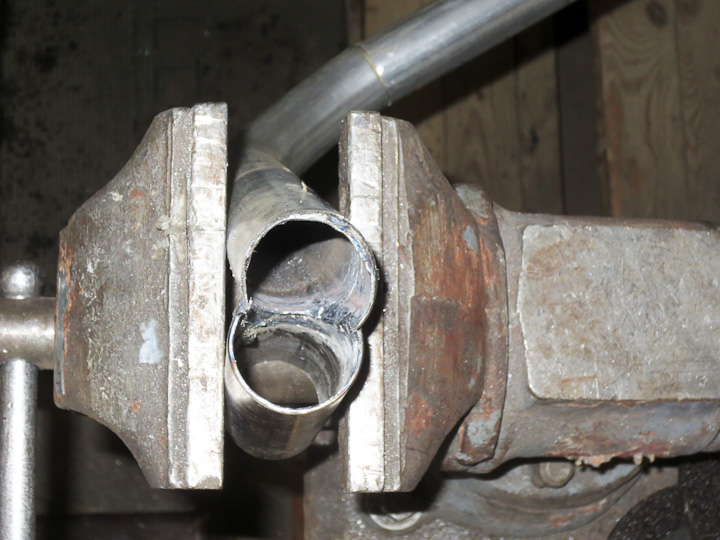
The next challenge was making a smooth merger for the 2 to 1 exhaust pipe transition. I was certain I only wanted one muffler on my bike. This is a much more difficult exhaust to build then one with two matching independent mufflers, but is lighter and more refined. I also hope that the exhaust pulses will smooth out the sound and cancel out some of the noise. To make the y-pipe merger I used a template made from a cut up cardboard tube. I slit the tube and made it the same diameter as the 1.5″ pipe with some tape. Then I notched the cardboard (much easier to work in paper then metal) to fit at the precise angle I wanted.

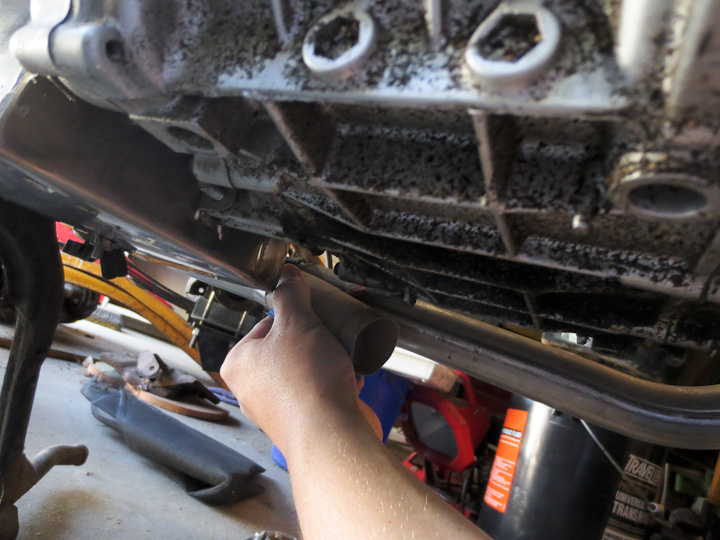
After transferring the pattern to the steel tubing I easily cut a clean notch out. I spot welded the tube in place on the bike to make sure I had the precise location, fit and angle. I used a hole saw matching the inner diameter of the tubing and a hand drill to cut out the notch slug from the tube the notched stubb of tube was welded onto. This is an easy way to make the second notch in the tubing.
When making custom exhaust mergers, take the time to go in after fully welding and clean up the inside of the pipe with a carbide burr. You are taking all of the time to build a custom exhaust for your ride so spend the extra few minutes to clean up the insides of transitions. If you have ever done any fluid flow analysis and modeling at a merger you would understand how much a little time spent smoothing the inside aids in maintaining a nice laminar flow as the two streams mix.
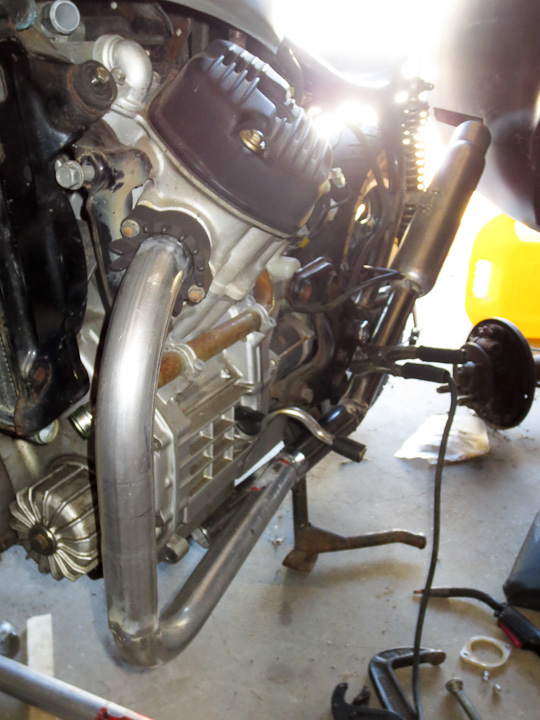
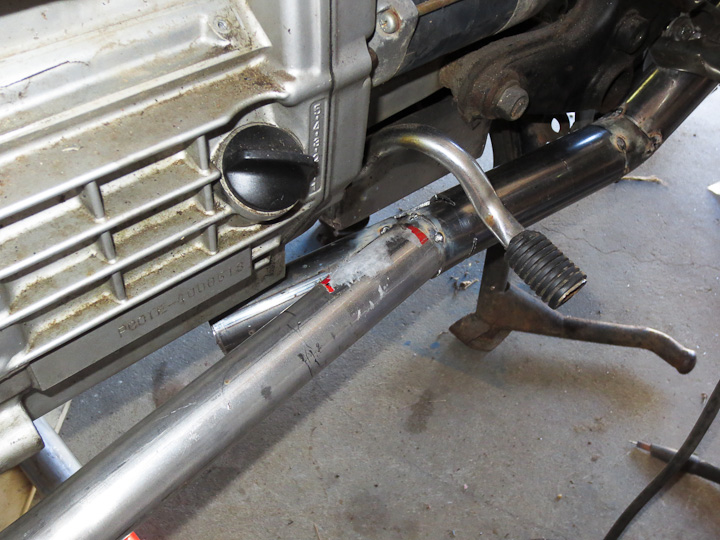
The fully welded merger in place, the last step is to fit some pipe between the other cylinder and the merger. Pretty straight forward.
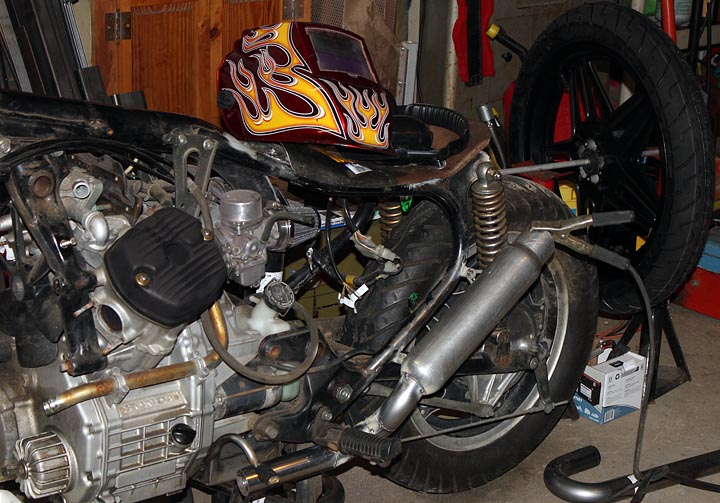
That finishes up the exhaust build. I still need to finish all the welding at the joints and then clean it up in this photo. I realize this is not a symetrical design. If I cared a bit more I may have gone through the trouble of turning both exhausts in and under the center of the bike making a more equal length flow path for the gases and a more symmetrical look on the bike. I think I’ll leave that for the next bike I build. I plan on building a bolt in baffle on the exit of the muffler should the noise level be louder then I want it to be.
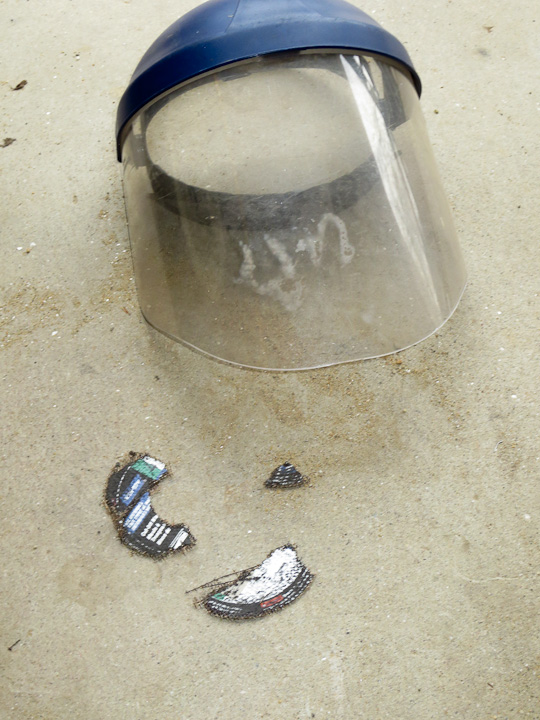
A final note about project and shop safety. I’m often asked what tool I consider to be the most dangerous in my shop. I typically respond: right angle grinders. I have 4 of them in different sizes. One always fitted with a knotted wire wheel for cleaning joints up just prior to welding. I’ve had more scary incidents with right angle grinders then any other tool, for example a cutting wheel explodes. I always use a face shield when using a right angle grinders and you should too! Sure safety glasses are going to protect your eyes, but a full face shield is mandatory in my shop when using grinders. The cutting wheel in the picture below bounced of the face shield with quite a bit of force while I was trimming the stubb of tubing I welded on making the y connector in this project. I’d hate to have pulled bits of cutting wheel out of my face had I not been wearing the full face shield.