Monoprice Select Mini 3D Printer Upgrades – Improved Knob / Button

MP select mini 3D printer knob

The first upgrade to the Monoprice Select Mini 3D printer has to be replacing the god awful input knob/button that came on the printer.  This printer uses a standard rotary encoder with push button for it’s single user input.  The UX is pretty miserable with the OEM knob/button.  I designed a nice SLA printable version, and have included an FDM version as well for those without access to higher quality 3D printing options on printers like Objets or Formlabs.   I printed mine in Formlabs Tough resin, because with the led lighting this translucent material looks magical on the printer.

3D printer upgrade MP select Mini knob


This button upgrade is available for download for free on Pinshape here at this link:  Link to Monoprice MP select Mini 3D printer upgraded button knob.  Installation required me to bend some stiff wire with short 90 degree ends to get under the original button and pull it off. It takes a bit of force to remove the OEM knob/button but it comes off with some careful pulling/wiggling.


MP select Mini 3D printer upgrade button knob

I hope you print one of these for yourself and it makes your mini 3D printer experience more enjoyable.


Monoprice MP Select mini 3D Printer Upgrades – Introduction to this amazing 3D Printer

Best little 3D printer I am often asked by friends and colleagues which 3D printer they should buy for themselves.  I work with 3D printers professionally which provides me with access to most types of 3D printing technologies available today.  That plus having been involved in 3D printing for about a decade now makes me everyone’s go to guy for 3D printer questions.  I love 3D printing and see it as a revolutionary tool that is being used to change the world for the better every day.

I have two answers for those that ask me which printer to purchase:  If they are interested in using it for professional business use I highly recommend the Formlabs Form2 printer.  This machine produces high accuracy prints in a range of materials suitable for professional applications such as prototyping as well as fit form finish models for user testing.  They have a good range of material options, and their surface finish in printed parts is second to none.  The price point of ~$3500 is a bit high for home use, but in the professional world this is barely worth consideration.  The value the Form2 part quality brings is substantial over even the best of the desktop FDM 3D printers which are comparably priced such as the Ultimaker 3.   If the asker is interested in having a 3D printer as a hobby/learning tool for their family, I recommend the Monoprice select mini 3D printer.   This little $200 3D printer does something most cheap (and expensive) FDM printers do not.  It works, and works well.   I have now purchased 3 of these units, and each is amazing in both reliability, quality and ease of use.  It is still a $200 3D printer so it has some flaws, which I have engineered some upgrades to eliminate.  This is the first of a series of posts on my upgrades to make this tiny printer an even better machine.

best 3D printer

The Story:

Last year, in the fall I picked up a Monoprice Mini 3D printer for just under $200.   Thinking of it as a toy more than a functional 3D printer at the time.  Boy was I wrong.  I was planning on setting up the Monoprice Select mini printer to test it before giving it as a Christmas present.  My first print out of the box with some garbage filament I had leftover from my custom built large format 3D printer came out magically perfect.  I was shocked. I did a few more prints, then ordered a second one for the gift and kept the first.   Since then I have printed about 5 kG of resin through this small but fabulous 3D printer.  The Select Mini 3D printer from Monoprice.com prints like a boss, and is the best value in 3D printing today.

With the mpiii select mini 3D printer’s  smaller 120mm x 120mmx120mm  build volume, it can’t compete with larger printers on the size of things you print.  Chances are that most of the things you will find yourself printing easily fall inside this volume.   When I purchased my first one, I was in fact building a small 3D printer for myself with a 100mm cubed build volume as I had realized most of my prints were of small enough size to fit in this volume.  Using my large 3D printer requires significant heat up time as well as a large amount of energy to heat up the chamber.  The startup time on the Monoprice select mini is only about 2-3 minutes from start of preheat to printing with PLA filament.

best affordable 3d printer you can buy

The printer include everything you need to print in the box, but you will want to purchase a few extras, as well as some filament.  It comes with a micro SD card, a plastic scraper, some small allen wrenches, a power supply and a USB cable.   These will allow you to start the first print, but they include only a very small sample of PLA filament in the box.   You will want to purchse a kg of decent PLA filament along with your printer.  I love the Hatchbox 1.75mm filament.  And for your first spool, I suggest getting Grey.   You can buy this great PLA filament on Amazon, and while it is not the cheapest PLA filament, it has proven itself to be the best.  The other things I recommend purchasing is a roll of 2″ blue painters tape, as well as  one of these 3D print removal tools. best 3D print removal tool


In the next series of posts I will share individual upgrades I have made to my Monoprice select mini 3D printer.  Most of these are 3D printable, a few require drilling or punching in the metal side panels of the printer.


Tips for furniture finishing demonstrated on the American Girl Doll Bunk Bed I made

American Girl Doll Bunk Bed Dimensions

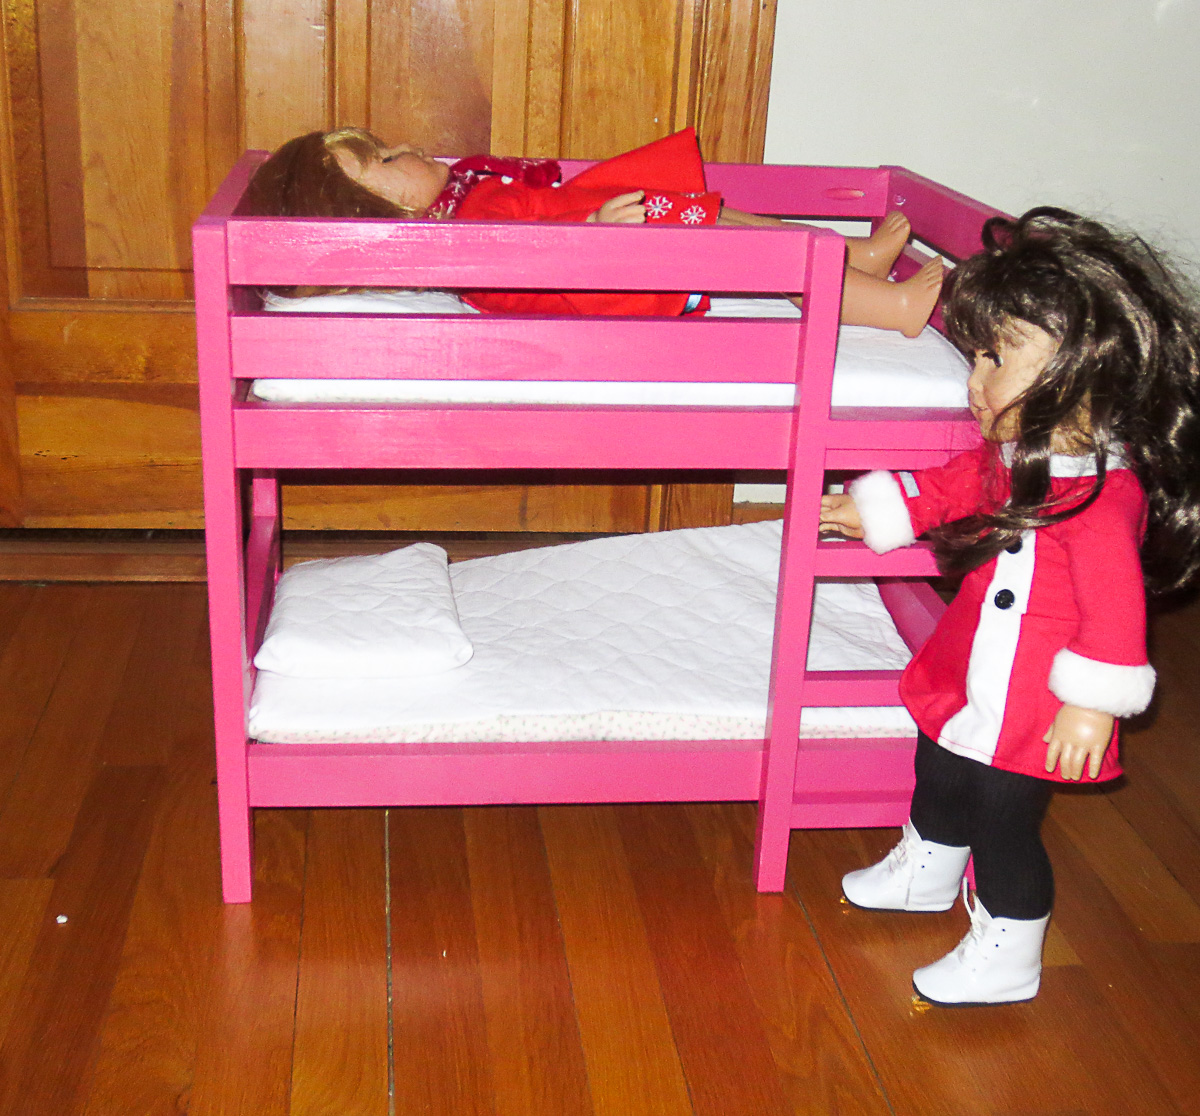
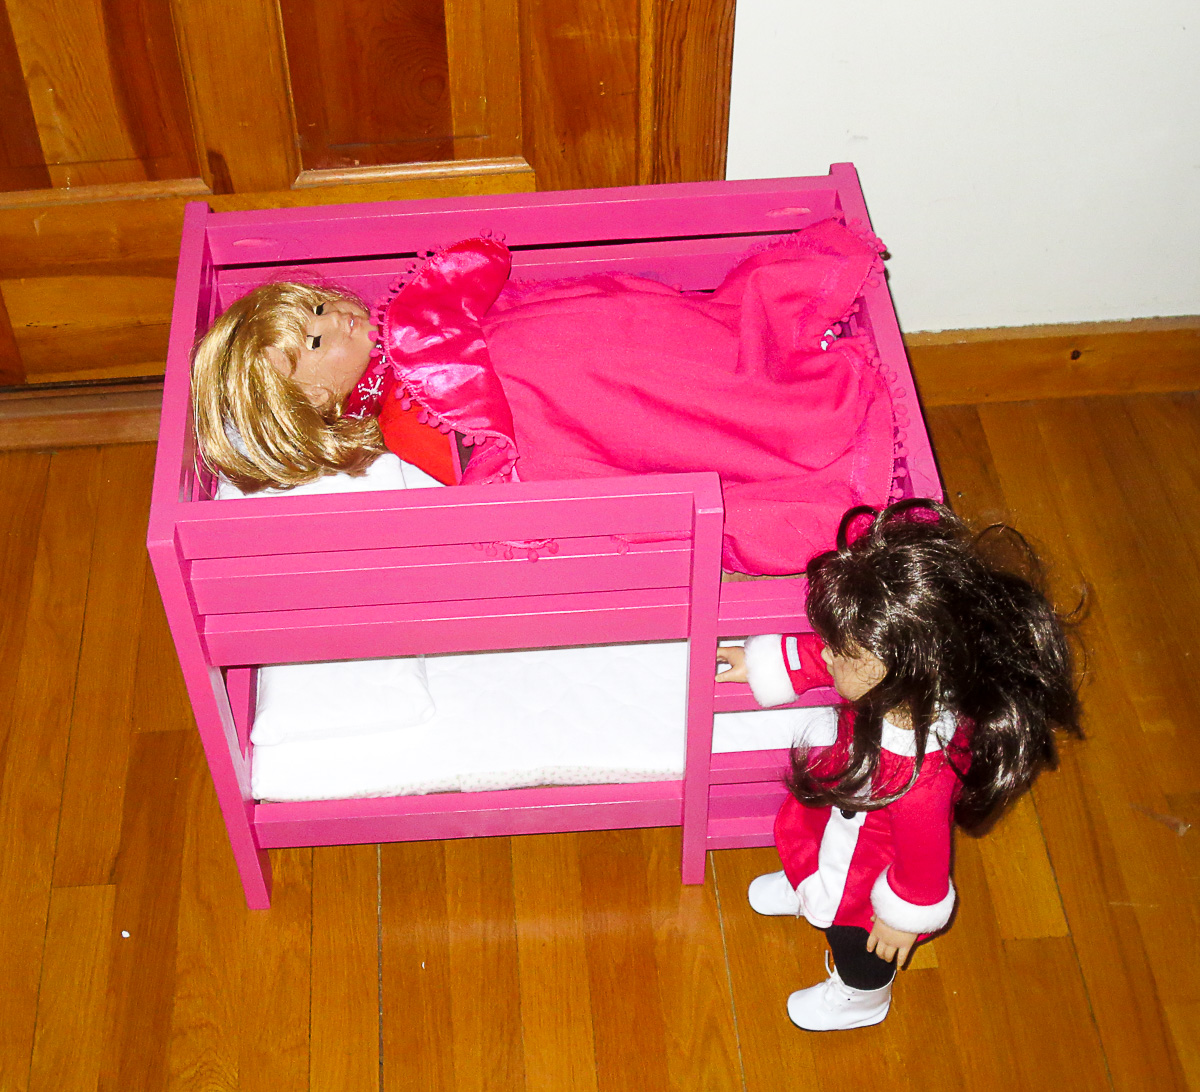
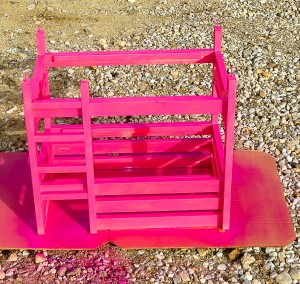
For the second Christmas in a row I was asked to make an American Girl Doll Bunk Bed for my nieces “Babies”.  They were sleeping three to a single bed on their side and she really wanted a bunk bed, and it HAD to be pink.   This post is 20% showing off the bed I built for her, and 80% about a furniture finishing tip that is useful for when you are pressed for time, or working with a special finish that needs a single wet coat application for it to work.

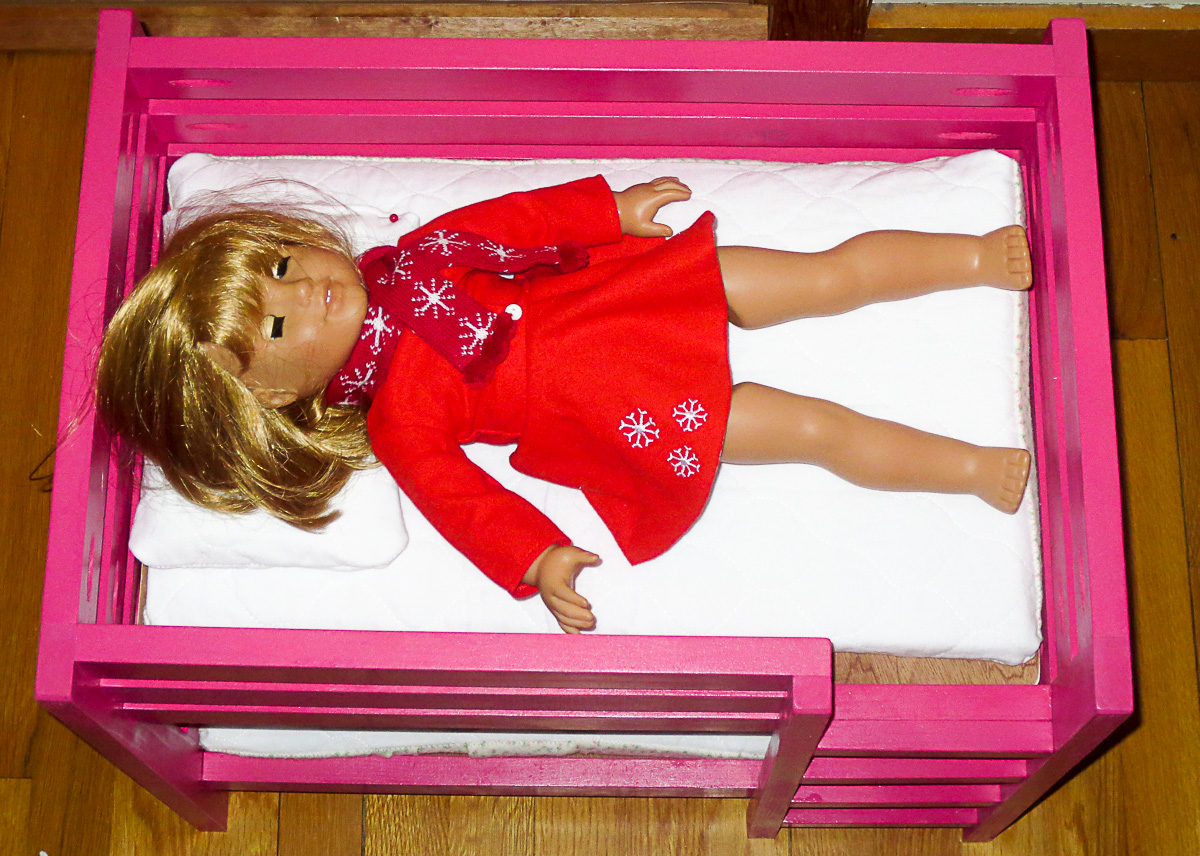
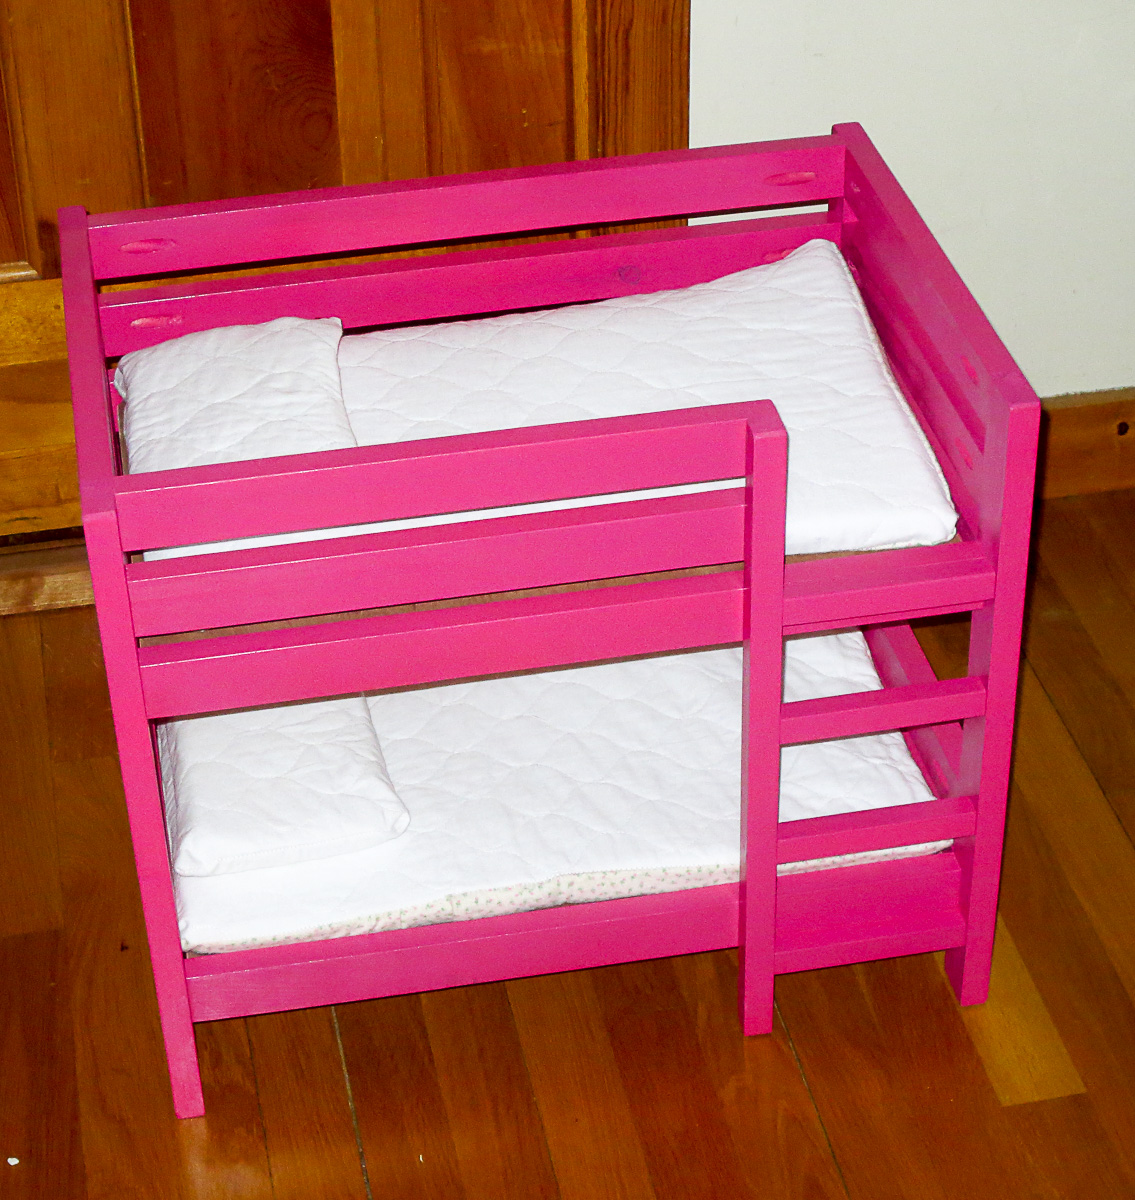
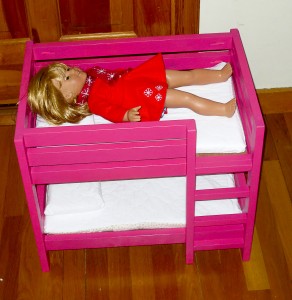
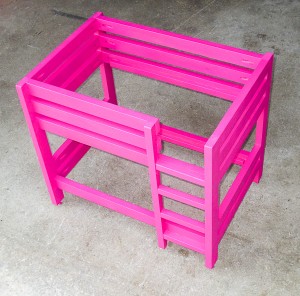
I want to share this bit of knowledge,  Dimensions for an American Girl Doll bed should be 12″x19.5″.  This is the inside “mattress size”, not the outside dimensions of the frame.  You could make it a little bit larger, but I would not make it any smaller.  As you can see in the photos below this is a good fit for the dolls. I had a surprisingly hard time finding any size or dimensions for  an American Girl Doll bed online.  I  hope this info helps someone else build a bed.

010216  Build an American Girl Doll Bed Dimensions-4223       010216  Build an American Girl Doll Bed Dimensions-4222

As I said, this is mostly a post about a tip on furniture finishing, not the American Girl Doll bed I designed and built to match the real bed.  I picked this tip up somewhere, and I have used it many times on both large and small projects.  It works great and allows you to get that nice perfect single coat finish on projects.

Building American Girl Doll Bunk Bed

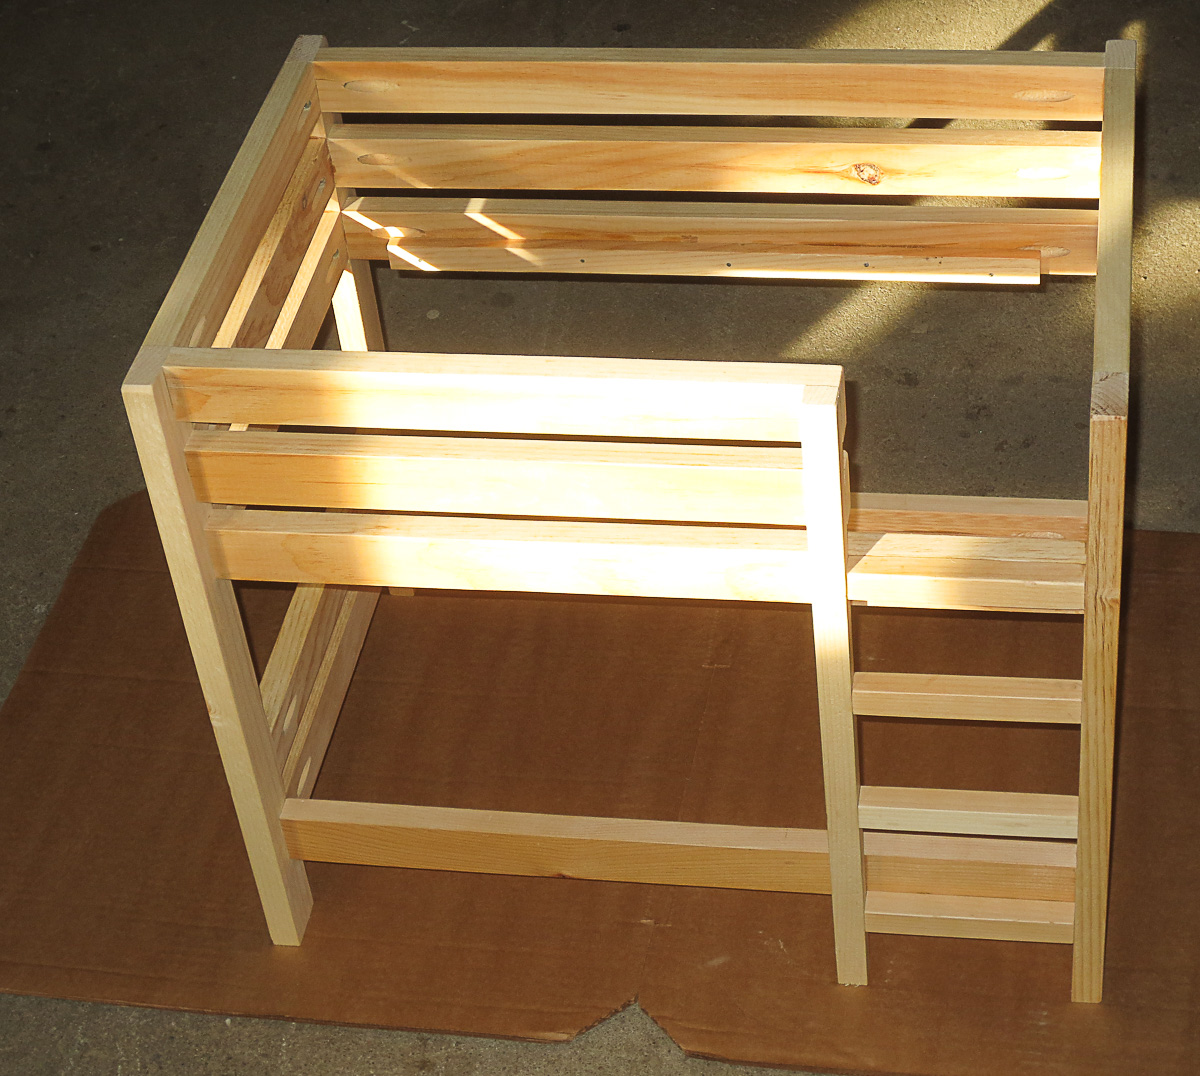
You need your unfinished bit of furniture.  Doesn’t matter if you built it yourself, or bought it at one of those unfinished furniture outlets.  I of course designed and built this bed to match my nieces real bunk bed.  I suppose I could draw up plans if anyone is interested, leave me a comment.  If there is interest I’ll put together a post with plans in the future.

Tips for Painting unfinished furniture     Tips for Painting unfinished furniture

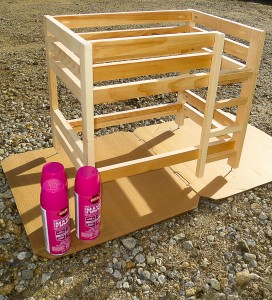
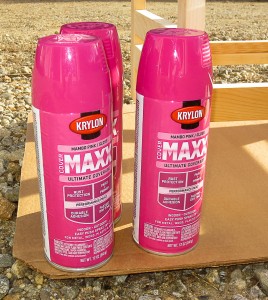
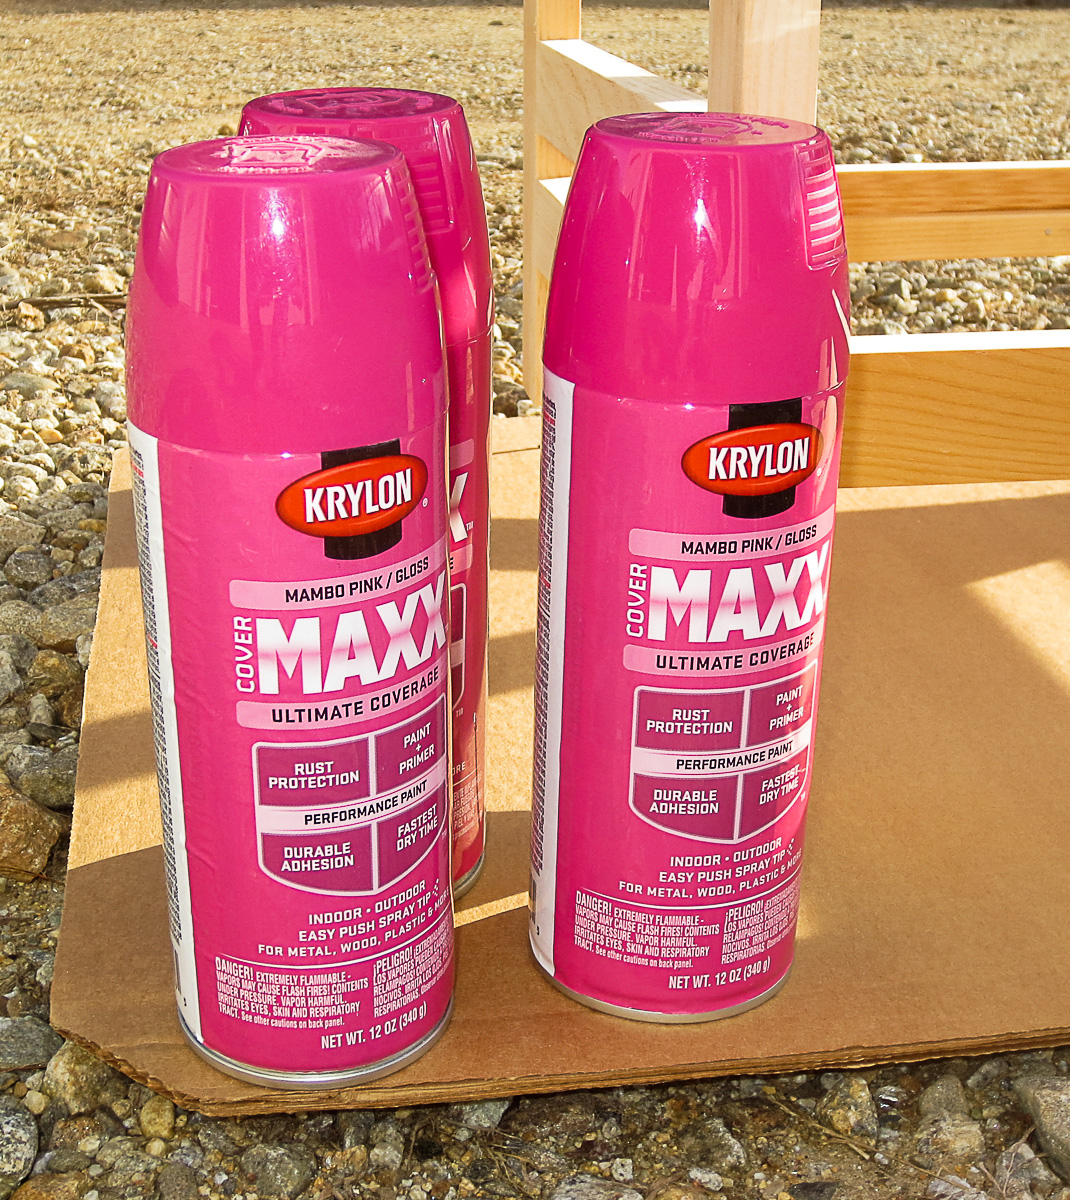
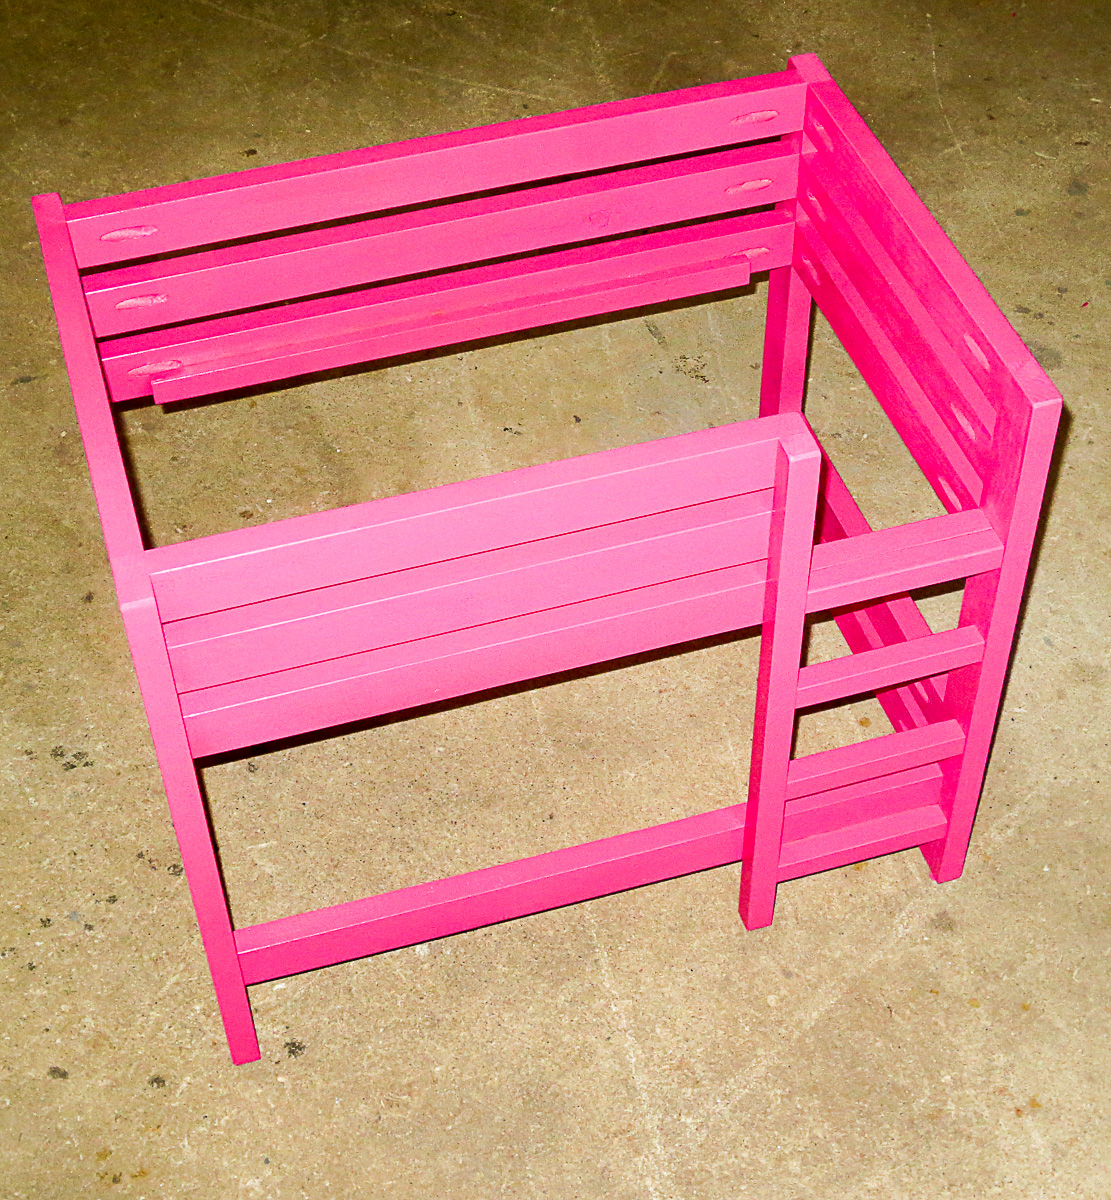
Next you need to select your finish for the project.  I was pressed for time on this project and went with a quick drying spray paint.  Christmas was fast approaching and I was way behind on all my holiday gift making.  I selected Krylon Cover Max Paint in Mambo Pink Gloss for the American Girl Doll bed I built.   I get asked which paints I prefer quite often.  In general,  I prefer to use Krylon brand spray paint over Rustoleum Brand paints.  Both will give you a great long lasting finish.  The Krylon paints always dry tack free so you can handle them at considerably shorter times then Rustoleum spray paints.  Historically in my project experience faster drying = higher likely hood for a successful finish free of defects.

Tip for Painting furniture

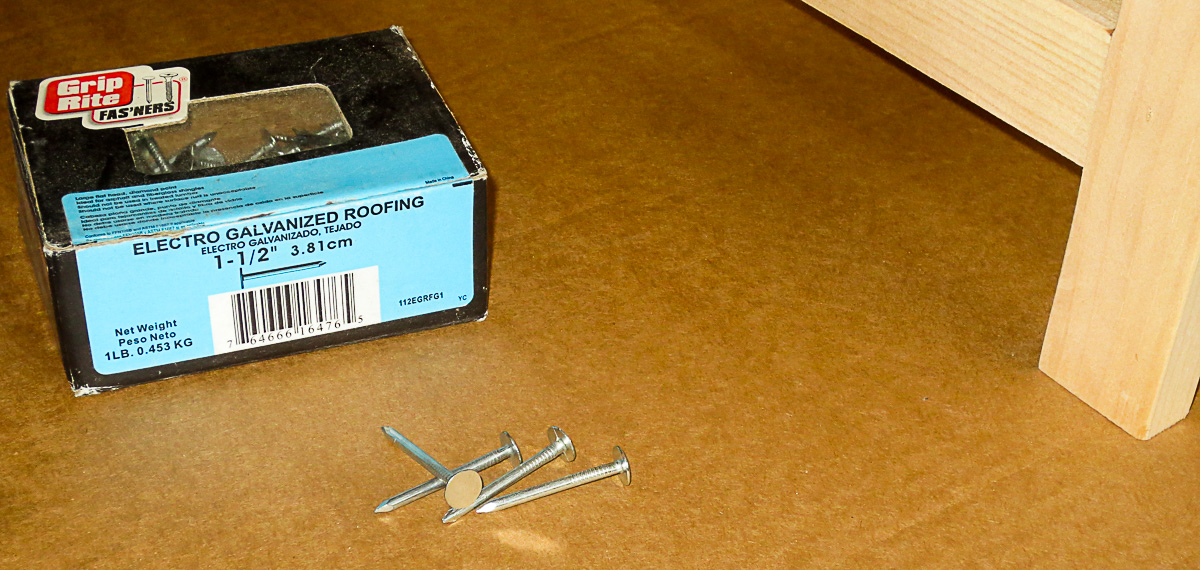
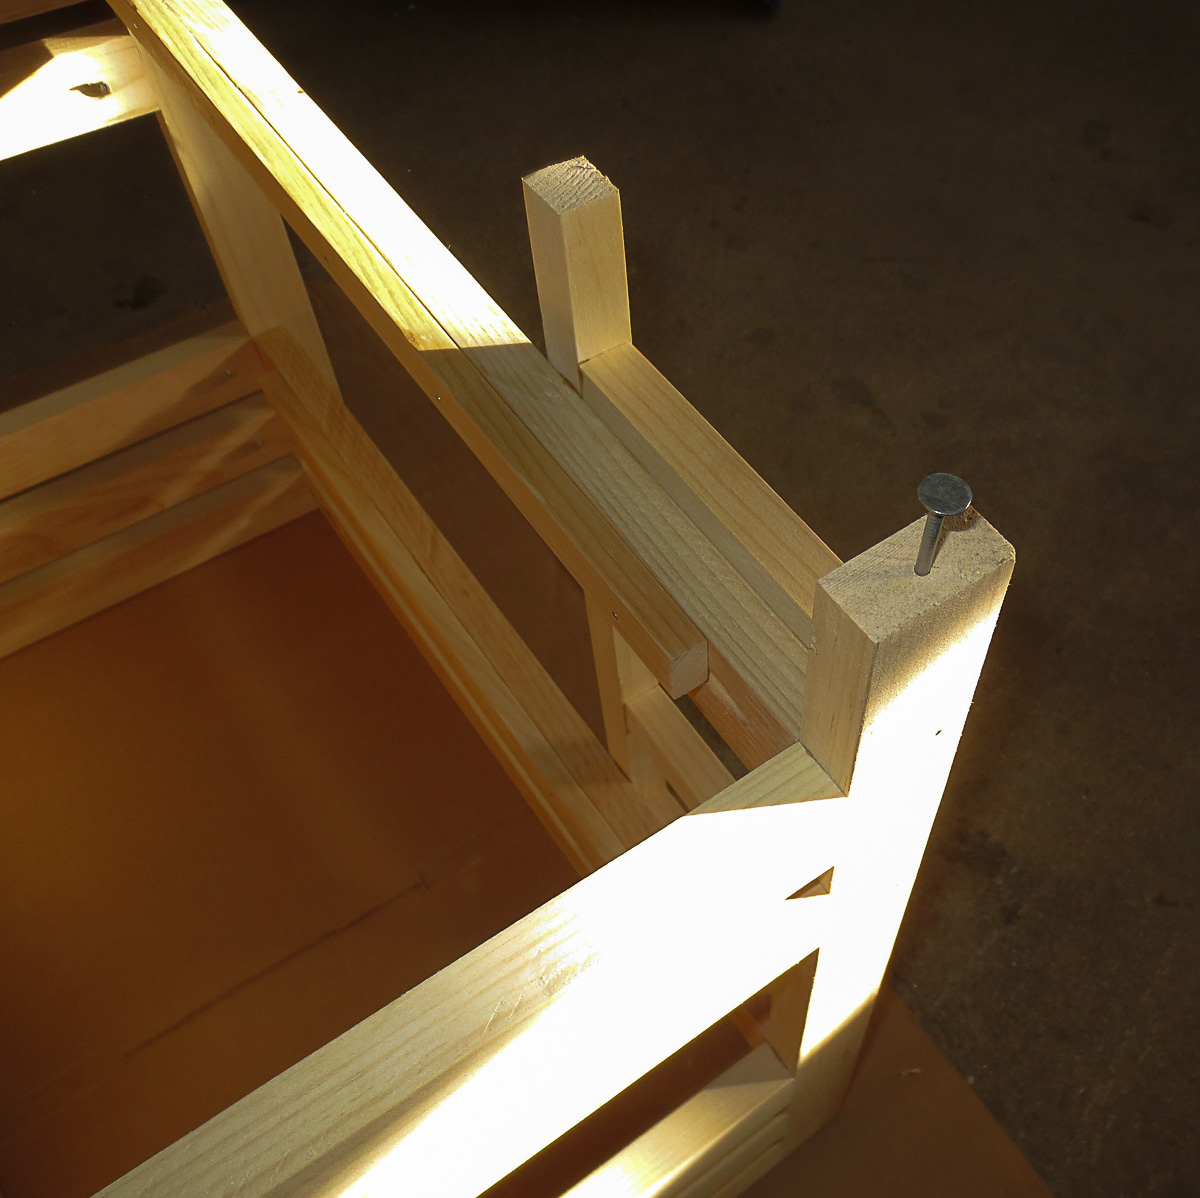
These roofing nails are your friend.  Get yourself a box to have on hand.    These nails are handy for many things in the shop, but no use is better then the one I’m about to share.  The broad flat heads act as nice temporary standoffs for your furniture project during finishing. The thing about furniture type projects is they almost all have legs of feet that will be on the floor.  This is the perfect place to use these nails as standoffs for finishing your project.  I almost always put felt pads or sliders on everything, so even the whole is hidden if perchance a project is flipped up side down.

 010216  Build an American Girl Doll Bed Dimensions-4191    010216  Build an American Girl Doll Bed Dimensions-4192

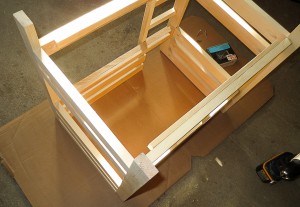
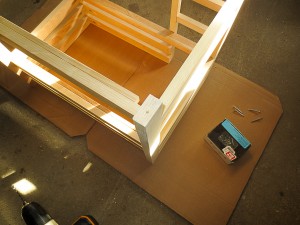
Flip your project over onto a nice safe surface, I’m using some scrap cardboard I saved for this purpose.  Mark the center of the legs, or base of your project, where it contacts the floor and drill a short ~0.5″ hole the diameter of your roofing nail, ~0.125″ in this case.  This lets your nail stay in and support your project without any chance of splitting the wood, falling out, etc.  You want to easily remove the nail later.  Drilling the hole is the trick to being able to easily remove it while allowing the nail to provide adequate support.

010216  Build an American Girl Doll Bed Dimensions-4193     010216  Build an American Girl Doll Bed Dimensions-4194

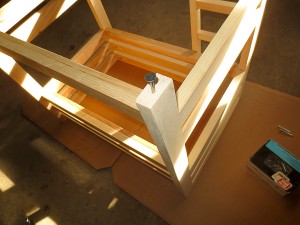
Put a roofing nail in each whole you drilled at every corner of your projects.  While it is usually sufficient, very large projects may require more then the 4 corners be supported with nails.    The nails will keep your project off the ground, allow the paint to dry and you to finish in one single go, rather then waiting for it to dry between flipping it over and doing all the surfaces.

010216  Build an American Girl Doll Bed Dimensions-4196

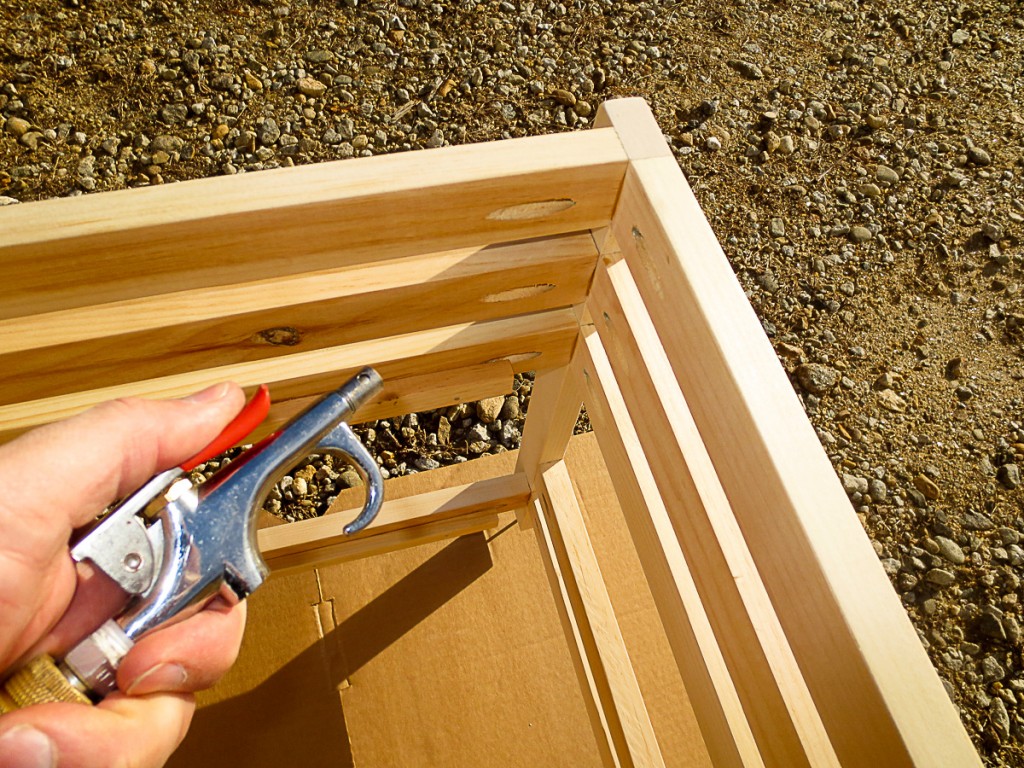
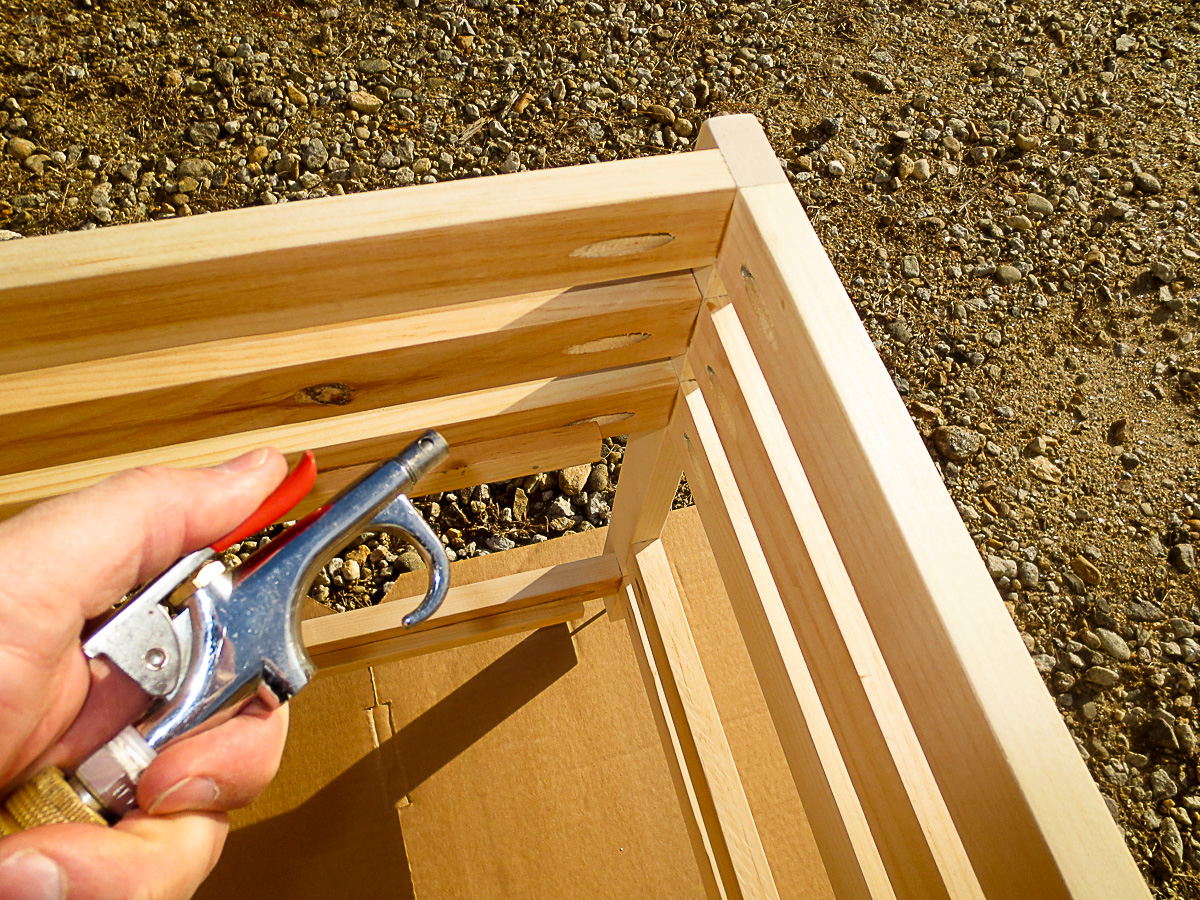
Make sure you remove any bits or dust from your project.  Tack cloths are great at this, but so is blowing the project clear of dust with an air gun.  In the best case, blow it clean, then use a tack cloth to get any particles that stuck in the fiber.  I used pocket hole joinery in this project.  Pay special attention to removing dust and wood particles from the pockets.   Often there is buildup from sanding or drilling in these pockets.

American Girl Doll Bed Plans        American Girl Doll Bunk Bed dimensions

Starting with your project upside down,  paint all of the surfaces that are “up” in this orientation.  These are the bottom of the project, and you want to get them coated first.

010216  Build an American Girl Doll Bed Dimensions-4203      010216  Build an American Girl Doll Bed Dimensions-4206

Finish up by flipping the project over and continuing to apply your paint or coating to the top sides.  This lets you get a nice single coating on the entire project.   In this project I am spray painting from a can.  Single wet coating is less important in this case.  For some fine finishes, wet look epoxy for example,  having a single wet coating in one step is critical.  This tip is a must for those situations.

DIY MAtress for American Girl Doll bed

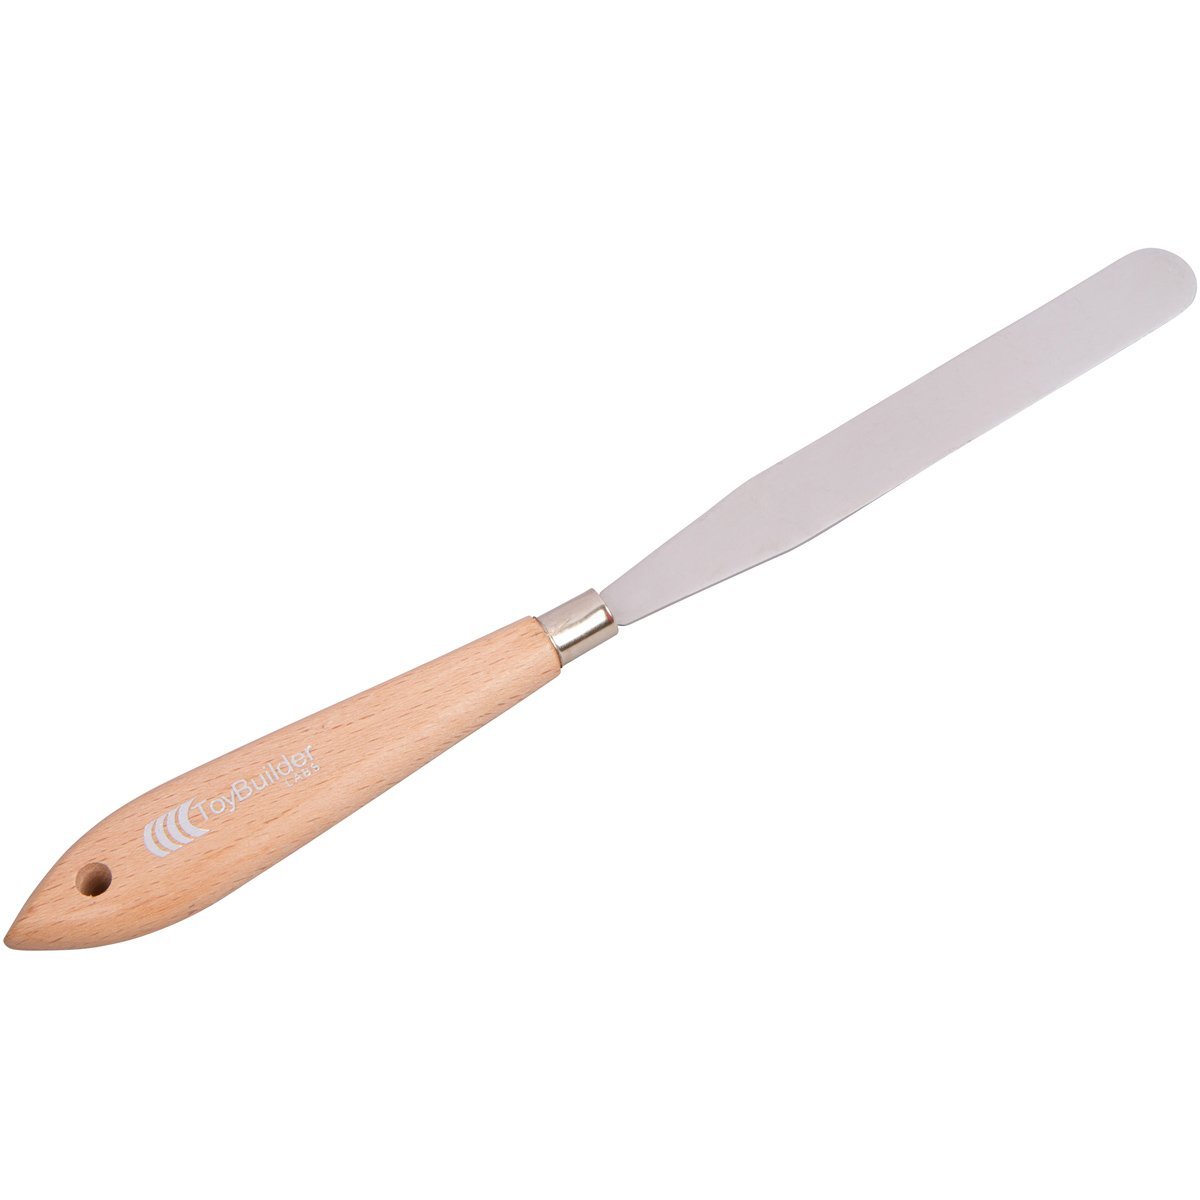
The bed is finished up with 1/4″ plywood paneling cut to size and dropped into place.   I chose to leave the panels loose.  It’s a kid’s toy and I expect it to get stepped on as a stool or something in the future and the panels to break.  Loose panels are easy to replace in this case.  The American Girl Doll Bed mattresses are made from 1″ Polyurethane foam I purchased in the craft section of Walmart.  I cut the foam to size, 11.75″x19.25″ with a sharp project knife.   I used the serger I rebuilt in an earlier post with some scrap quilted batting to sew up a split back pillow case style mattress cover for the bed.  The pillows are made exactly the same way.    I am off the hook for bedding as they have several  blankets/sheets  for the existing single doll bed.

DIY American Girl Doll Bunk Bed

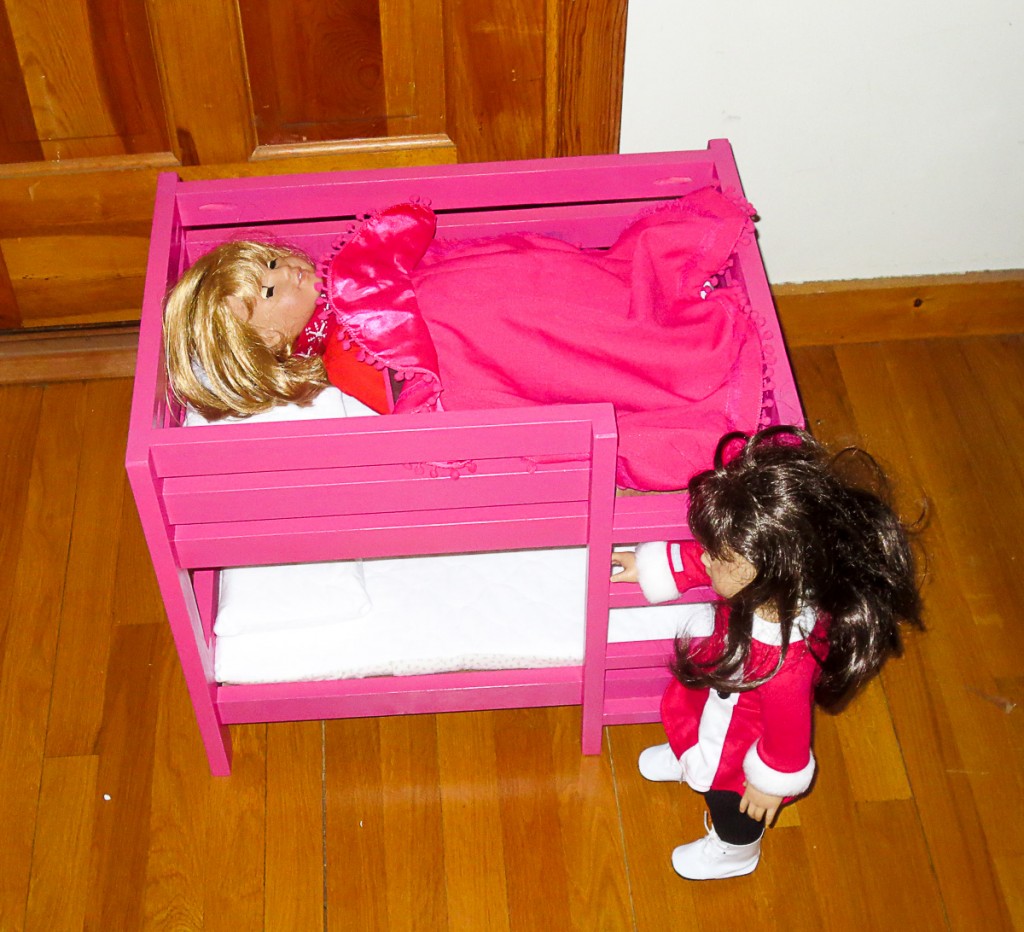
I got lots of love from the lil one for making her this pink bed.  She loves that it matches her bed, and that her babies are not sleeping three to a bed stacked on their side like sardines anymore.  Mostly she loves that it is pink.    Hope you found this post on furniture finishing useful, and it can help you with your projects.
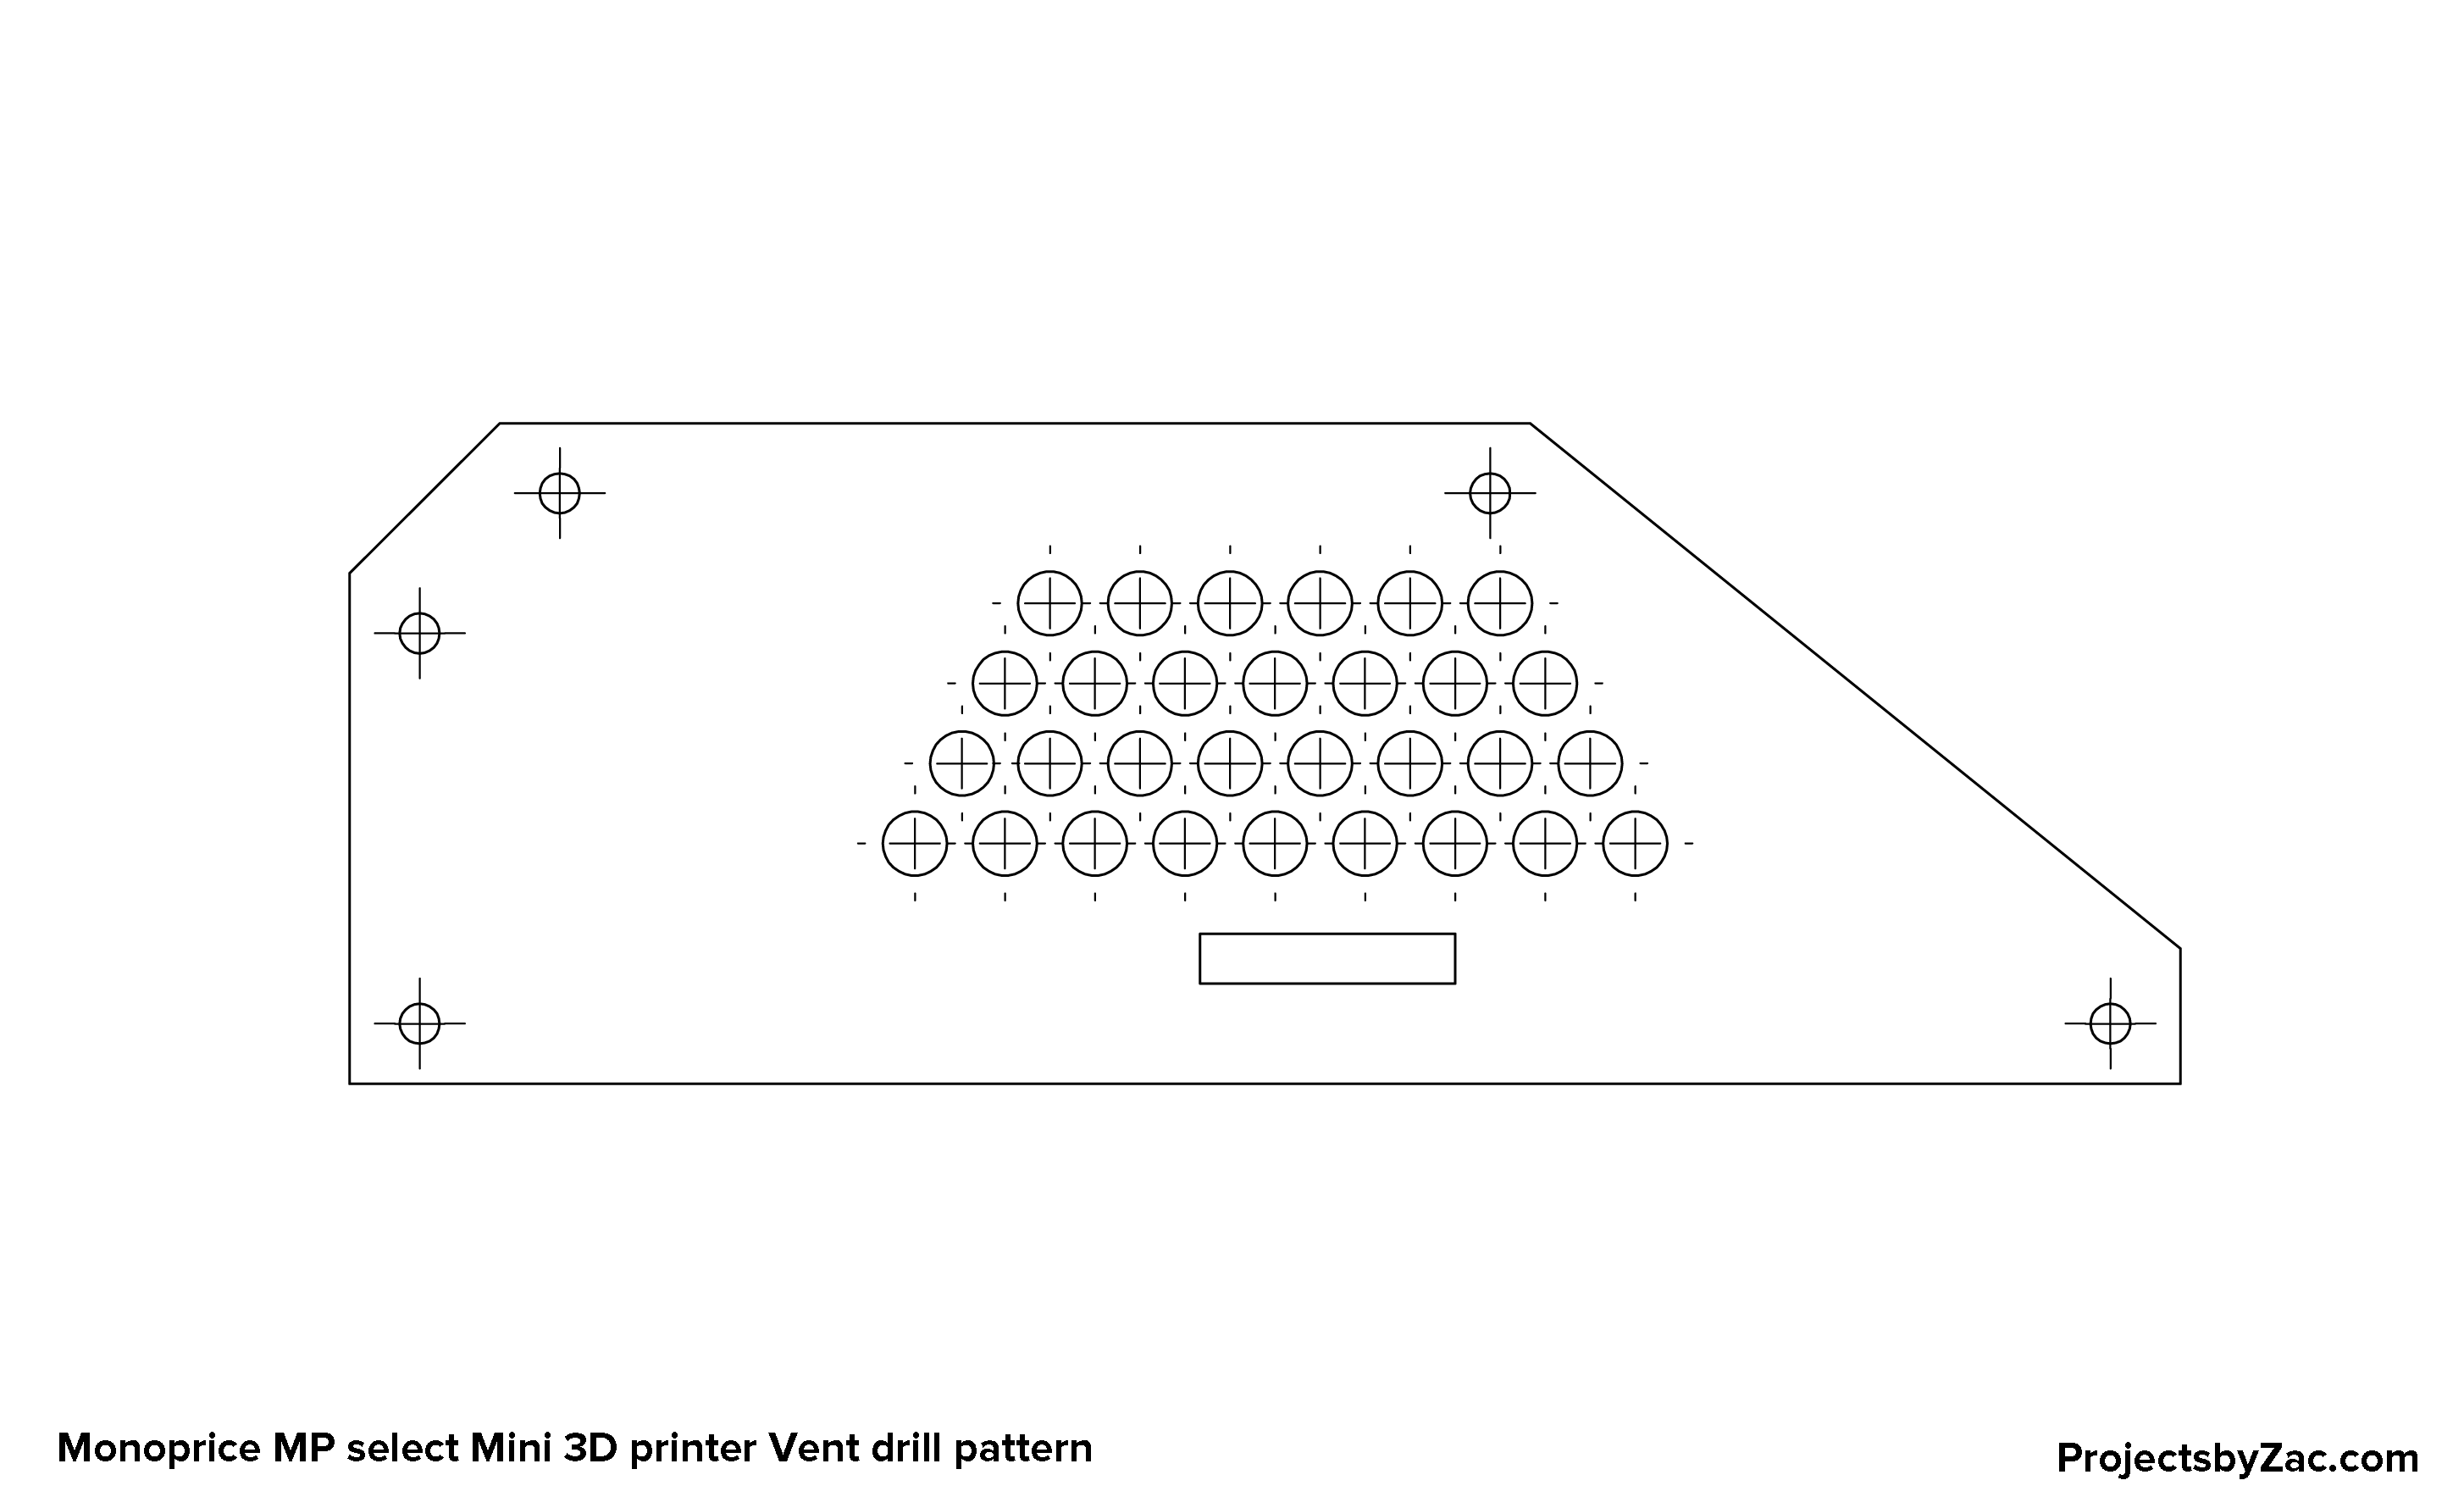
Making a DIY Printed Circuit Board (PCB) vise

Printed Circuit Board holder

I have needed a printed circuit board vise of some sort for a while and have not found a lot of good affordable options that I liked.  I had an old Panavise style hobby vise kicking around the shop for years and I recently decided it was the perfect solution for this project.   I used two different types of 3D printers to make the parts for this project.  My printer, an FDM machine I built myself was used to print up the ABS stronger quick attach mount to attach the vise to my electronics bench.   I used a Formlabs Form1+ SLS 3D Printer to print the PCB holders/grips in a tough 3D printable material that was launched a few months back, appropriately called “Tough”.

 Printed Circuit board Clamping fixtures SLA printed -3321        Printed Circuit board Clamping fixtures SLA printed -3318

The backbone of this project is an old wide opening Panavise.  These were a staple of the hobby world.  I routinely see them for <$1 at flea markets and yard sales.  I had this one kicking around in my metalworking shop for ages.   I must have  picked up somewhere for $0.25 as it still had the yard sale sticker on it.   These originally came with a variety of low quality rubber “grips” and some sort of mount, often a poor quality plastic suction cup thing meant to quickly attach to your presumably smooth workbench.  I gave away a handful of these to fellow hobbyists a couple years ago but this one survived the culling, and I’m glad it did.

Formlabs Touch SLA Printed grips

All of my previous posts on 3D printing used my machine.  I now have available to me one of the other types of 3D printing technologies, SLA.   This type of printer grows parts out of liquid resin, typically with a laser or projector system.  I’ve been using a Form1+ model SLA printer.  It’s a pretty fantastic machine with amazing resolution and detail.  There are also some great materials with different properties that I can not print on my Zac built FDM type 3D printer.   These include the Tough material I used to make the PCB grips for the old panavise clamp I wanted to put to good use for this project.  Formlabs tough resin is, well tough.   Meaning it’s not brittle like may SLA resins.  It also has a good feel to it and excellent mechanical properties for things like vise jaws.  The vise jaws are shown on the build platform after printing.  These are designed to slip over the metal “jaws” of the old Panavise I am using.  If you want to print out your own set of these jaws, circuit board vise jaws for panavise vice clamps.


FDM printed Vise quick attach mount

The other piece of the puzzle I needed to make this project work was a way to quickly attach and detach this vise from my electronics bench.  I do not plan to use this vise all the time.   It would be in my way a lot, meaning it needed a quick attach system.  I quickly drew one up and printed it out on my personal 3D printer.   I print in ABS and for this application this material is perfect.   Thequick attach vise mount for workbench.


081715  PCB holder 3d printed vise inserts-3551      081715  PCB holder 3d printed vise inserts-3550

Both parts of the quick attach vise mount printed out in a few hours.   The mounting bolt on the panavise clamp is threaded 3/8-24.  I ended up using a bolt and a nut to tighten the clamp to the mount.

081715  PCB holder 3d printed vise inserts-3553            081715  PCB holder 3d printed vise inserts-3554

As you can see the two parts interlock.  there is a taper that locks the vise in place, but comes free with a quick tap upwards from underneath.

Panavise quick attach workbench PCB vise

Testing the location on the bench.  Can you see what’s wrong with my design.  I had a home ‘doh! moment when I saw what I did.

081715  PCB holder 3d printed vise inserts-3556      Printed Circuit Board holder

081715  PCB holder 3d printed vise inserts-3557

The thing I did wrong, is design the quick attach mount with the upper screws at the top.  The problem is that this design screws in edgewise to the plywood top of my workbench.  It is never a great idea to screw into the edge of plywood and expect it to hold.  This application is low force so I think I will be ok.  A better design would have the upper screw mounts 0.75″ lower, I will change my part files for others who want to use my design for themselves have a better design.

Printed Circuit Board holder

081715  PCB holder 3d printed vise inserts-3558

081715  PCB holder 3d printed vise inserts-3561

The above pics shows the vice holding an audio amp circuit board I needed to do some testing on.   As you can see the new PCB vise works great.  It can also hold smaller circuit boards vertically with the middle groove I added in my third and final iteration on the design.  I have used this great circuit board vise a handful of times already and I love it.

More on my other PCB holding and testing stations experiences in a future post when I have time.