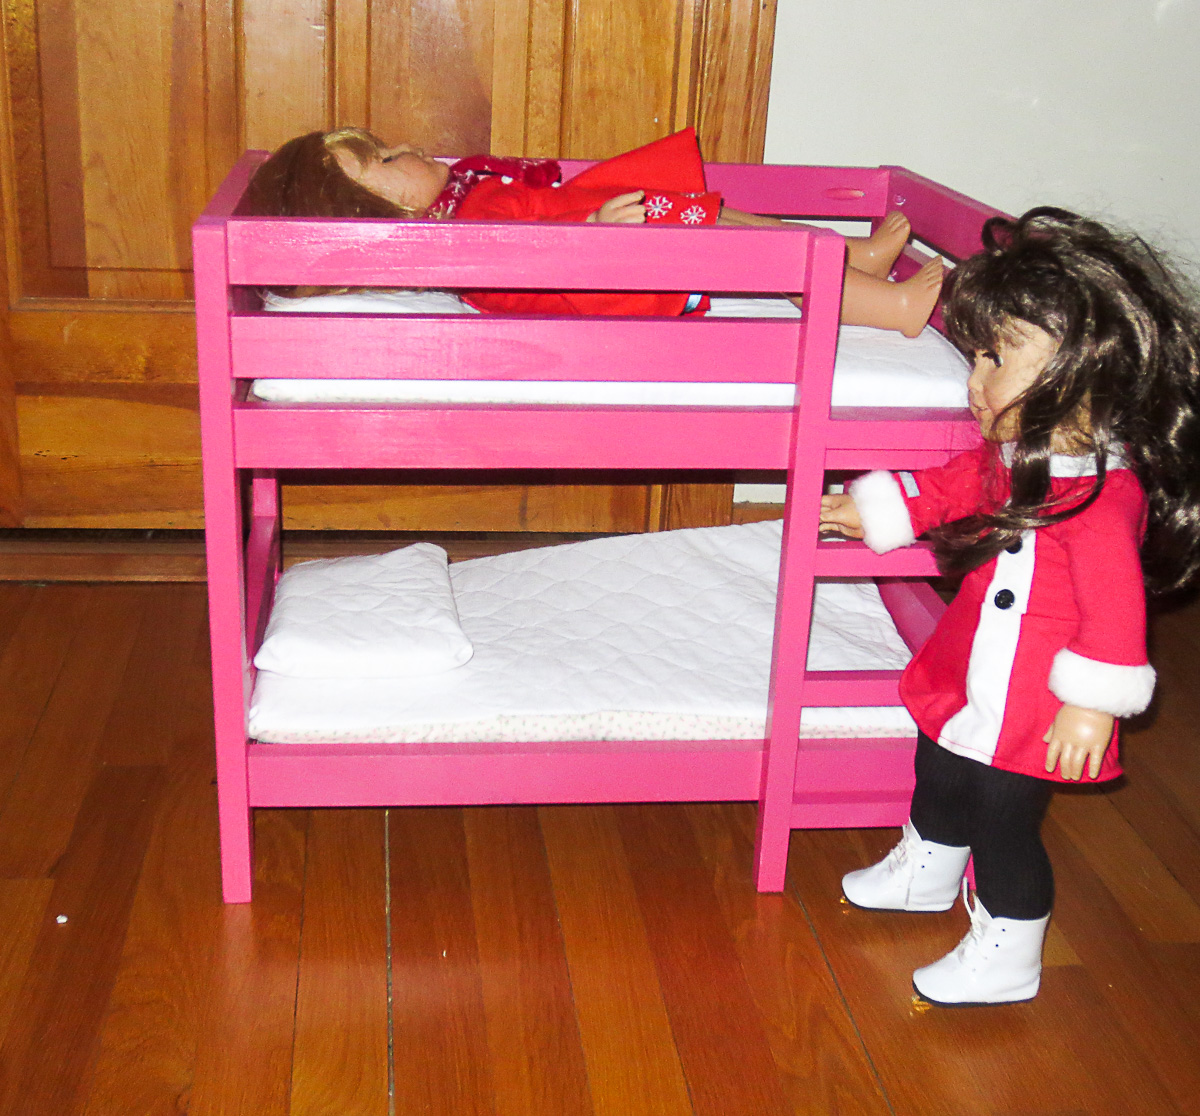
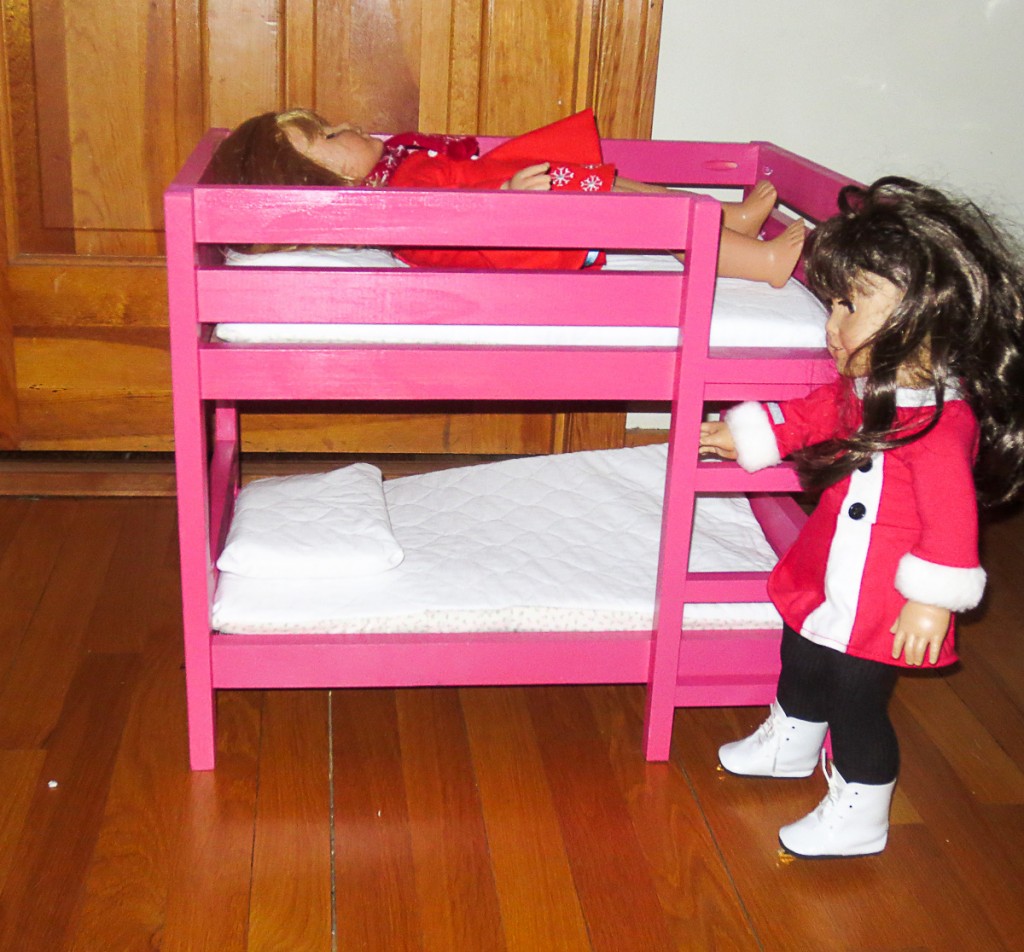
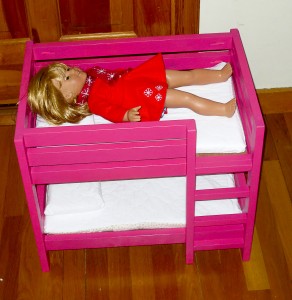
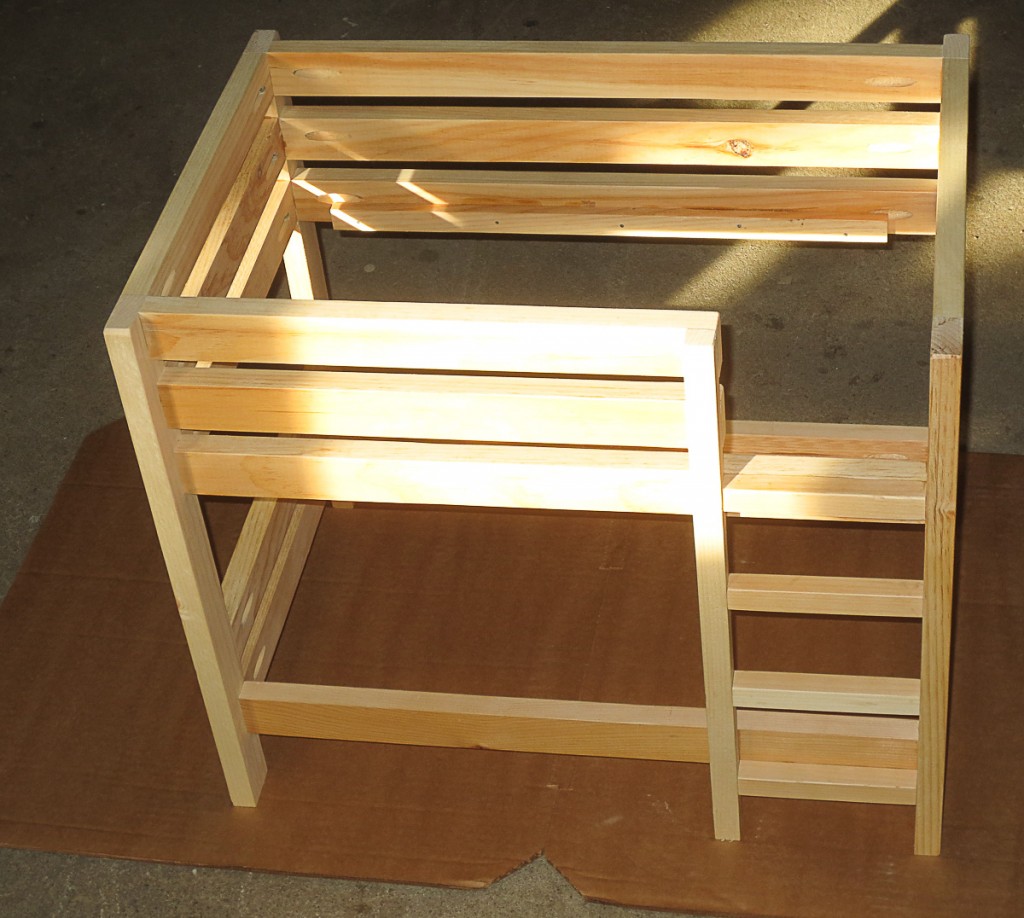
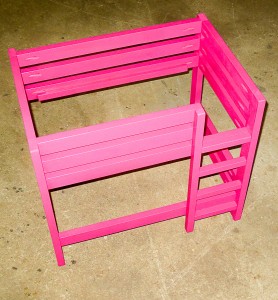
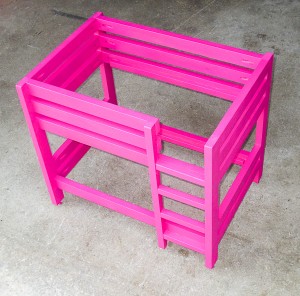
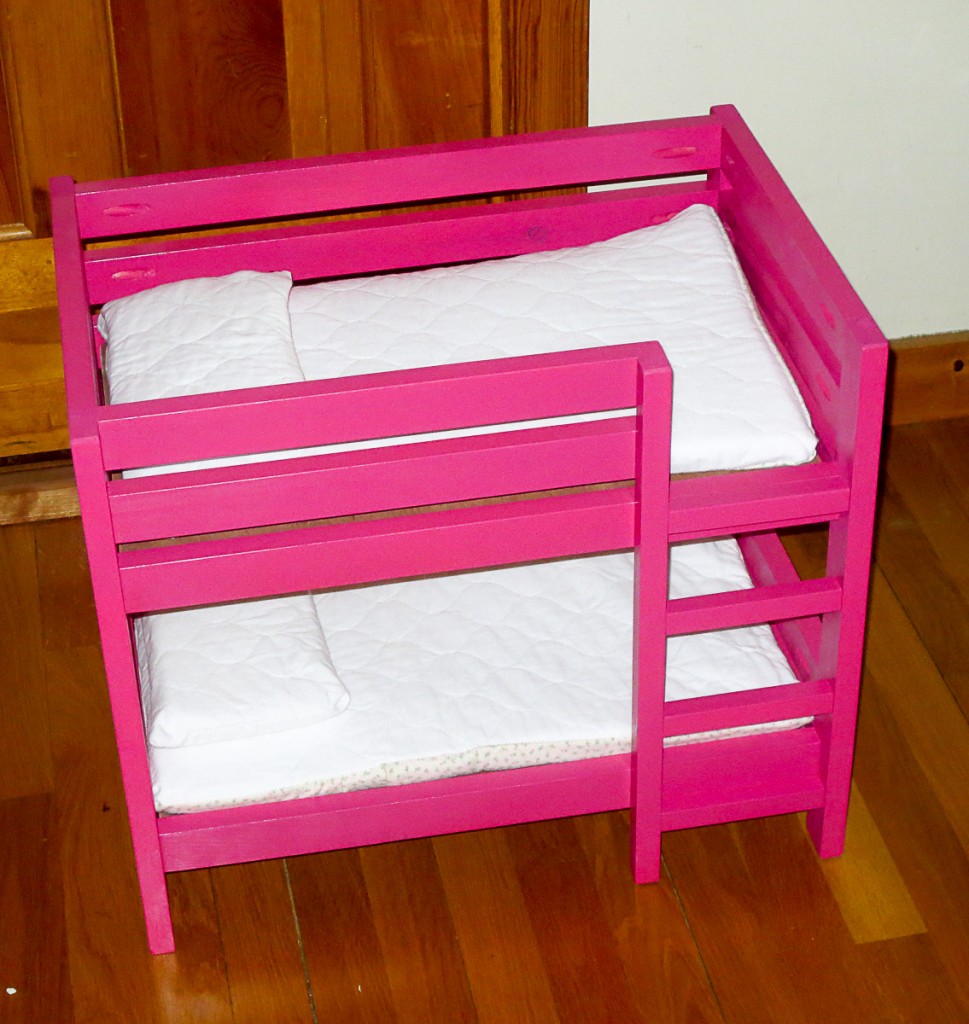
For the second Christmas in a row I was asked to make an American Girl Doll Bunk Bed for my nieces “Babies”. They were sleeping three to a single bed on their side and she really wanted a bunk bed, and it HAD to be pink. This post is 20% showing off the bed I built for her, and 80% about a furniture finishing tip that is useful for when you are pressed for time, or working with a special finish that needs a single wet coat application for it to work.
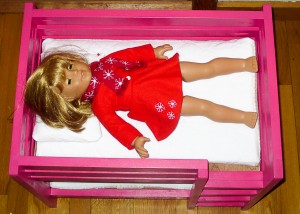
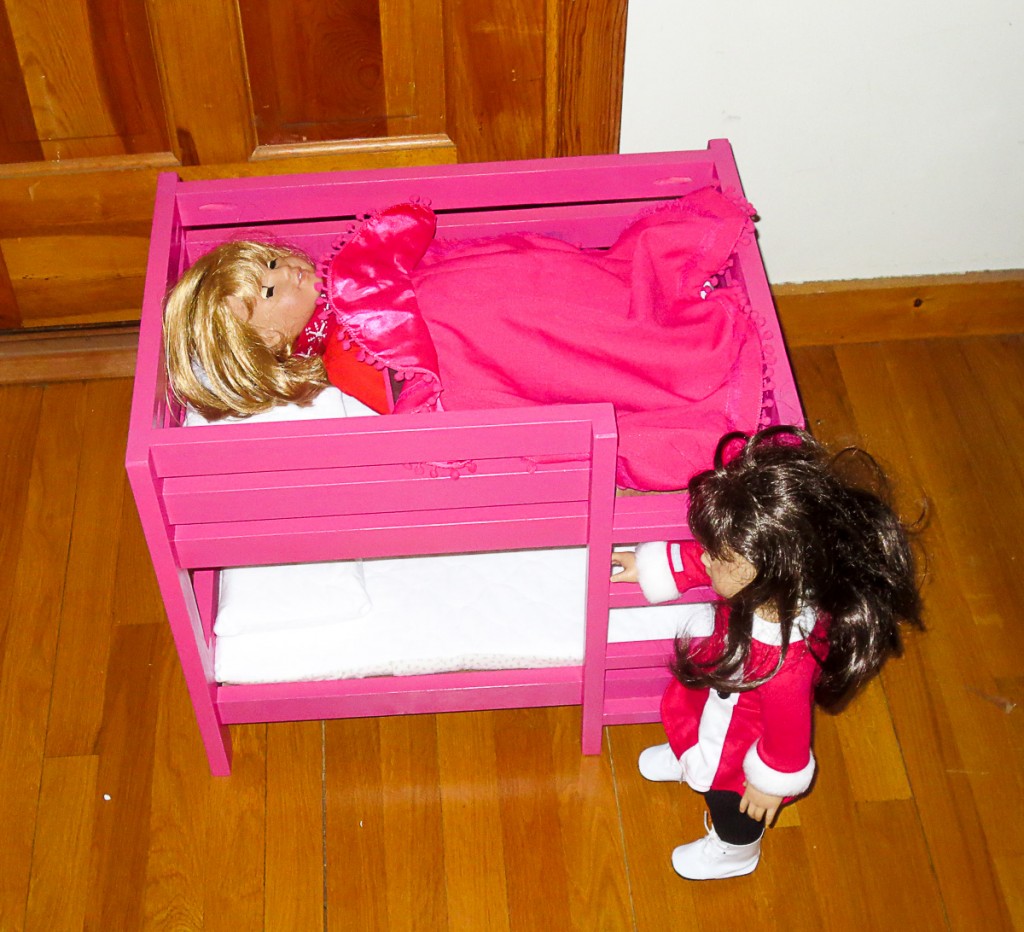
I want to share this bit of knowledge, Dimensions for an American Girl Doll bed should be 12″x19.5″. This is the inside “mattress size”, not the outside dimensions of the frame. You could make it a little bit larger, but I would not make it any smaller. As you can see in the photos below this is a good fit for the dolls. I had a surprisingly hard time finding any size or dimensions for an American Girl Doll bed online. I hope this info helps someone else build a bed.
As I said, this is mostly a post about a tip on furniture finishing, not the American Girl Doll bed I designed and built to match the real bed. I picked this tip up somewhere, and I have used it many times on both large and small projects. It works great and allows you to get that nice perfect single coat finish on projects.
You need your unfinished bit of furniture. Doesn’t matter if you built it yourself, or bought it at one of those unfinished furniture outlets. I of course designed and built this bed to match my nieces real bunk bed. I suppose I could draw up plans if anyone is interested, leave me a comment. If there is interest I’ll put together a post with plans in the future.
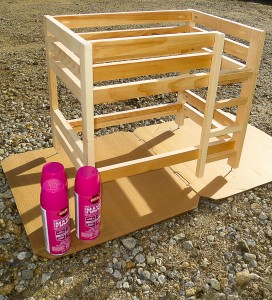
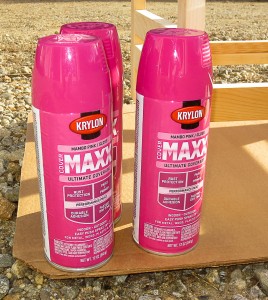
Next you need to select your finish for the project. I was pressed for time on this project and went with a quick drying spray paint. Christmas was fast approaching and I was way behind on all my holiday gift making. I selected Krylon Cover Max Paint in Mambo Pink Gloss for the American Girl Doll bed I built. I get asked which paints I prefer quite often. In general, I prefer to use Krylon brand spray paint over Rustoleum Brand paints. Both will give you a great long lasting finish. The Krylon paints always dry tack free so you can handle them at considerably shorter times then Rustoleum spray paints. Historically in my project experience faster drying = higher likely hood for a successful finish free of defects.
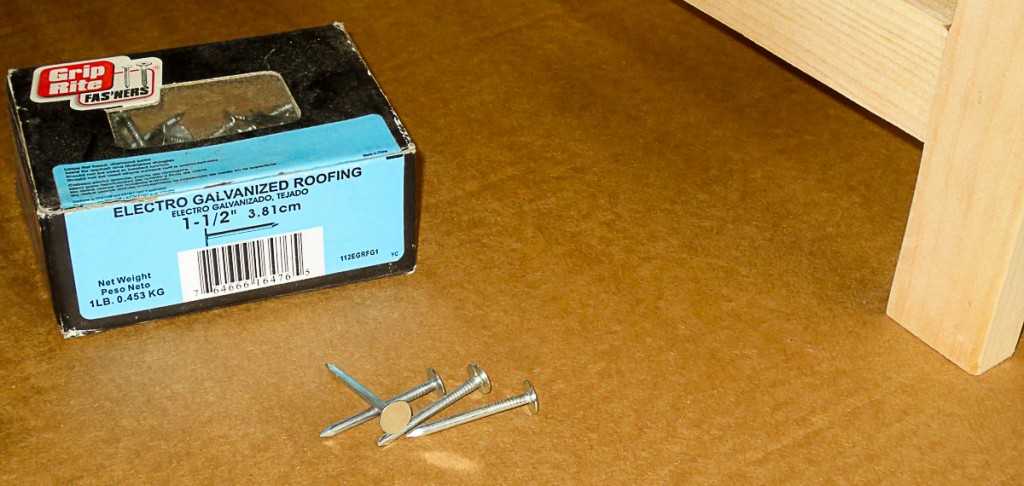
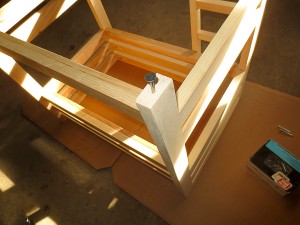
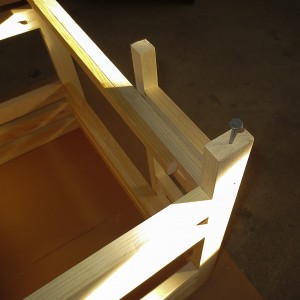
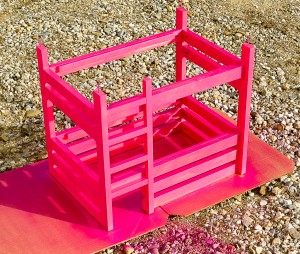
These roofing nails are your friend. Get yourself a box to have on hand. These nails are handy for many things in the shop, but no use is better then the one I’m about to share. The broad flat heads act as nice temporary standoffs for your furniture project during finishing. The thing about furniture type projects is they almost all have legs of feet that will be on the floor. This is the perfect place to use these nails as standoffs for finishing your project. I almost always put felt pads or sliders on everything, so even the whole is hidden if perchance a project is flipped up side down.
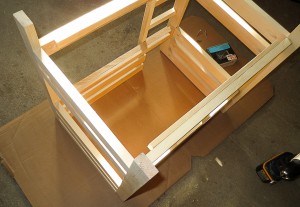
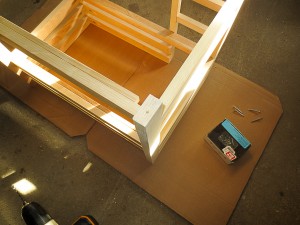
Flip your project over onto a nice safe surface, I’m using some scrap cardboard I saved for this purpose. Mark the center of the legs, or base of your project, where it contacts the floor and drill a short ~0.5″ hole the diameter of your roofing nail, ~0.125″ in this case. This lets your nail stay in and support your project without any chance of splitting the wood, falling out, etc. You want to easily remove the nail later. Drilling the hole is the trick to being able to easily remove it while allowing the nail to provide adequate support.
Put a roofing nail in each whole you drilled at every corner of your projects. While it is usually sufficient, very large projects may require more then the 4 corners be supported with nails. The nails will keep your project off the ground, allow the paint to dry and you to finish in one single go, rather then waiting for it to dry between flipping it over and doing all the surfaces.
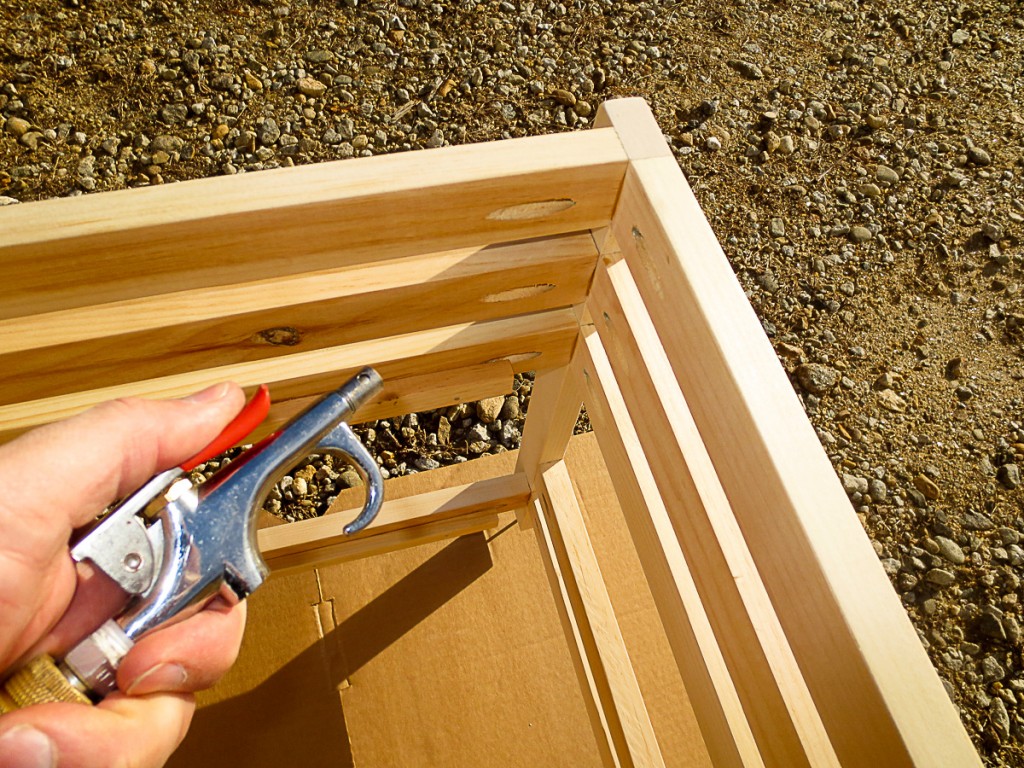
Make sure you remove any bits or dust from your project. Tack cloths are great at this, but so is blowing the project clear of dust with an air gun. In the best case, blow it clean, then use a tack cloth to get any particles that stuck in the fiber. I used pocket hole joinery in this project. Pay special attention to removing dust and wood particles from the pockets. Often there is buildup from sanding or drilling in these pockets.
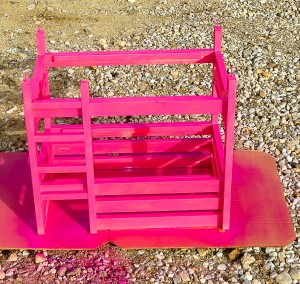
Starting with your project upside down, paint all of the surfaces that are “up” in this orientation. These are the bottom of the project, and you want to get them coated first.
Finish up by flipping the project over and continuing to apply your paint or coating to the top sides. This lets you get a nice single coating on the entire project. In this project I am spray painting from a can. Single wet coating is less important in this case. For some fine finishes, wet look epoxy for example, having a single wet coating in one step is critical. This tip is a must for those situations.
The bed is finished up with 1/4″ plywood paneling cut to size and dropped into place. I chose to leave the panels loose. It’s a kid’s toy and I expect it to get stepped on as a stool or something in the future and the panels to break. Loose panels are easy to replace in this case. The American Girl Doll Bed mattresses are made from 1″ Polyurethane foam I purchased in the craft section of Walmart. I cut the foam to size, 11.75″x19.25″ with a sharp project knife. I used the serger I rebuilt in an earlier post with some scrap quilted batting to sew up a split back pillow case style mattress cover for the bed. The pillows are made exactly the same way. I am off the hook for bedding as they have several blankets/sheets for the existing single doll bed.
I got lots of love from the lil one for making her this pink bed. She loves that it matches her bed, and that her babies are not sleeping three to a bed stacked on their side like sardines anymore. Mostly she loves that it is pink. Hope you found this post on furniture finishing useful, and it can help you with your projects.
