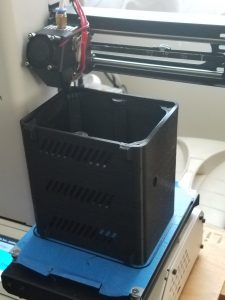
I was doing some larger almost full build volume prints (for the MP select Mini 3d Printer) on my tiny printer when I noticed the extruder stepper motor was clicking. You can see the print where I noticed this successfully completed in the image below. This is a housing for a PID temperature control and 25 Amp SSR that I will write up in another blog post.
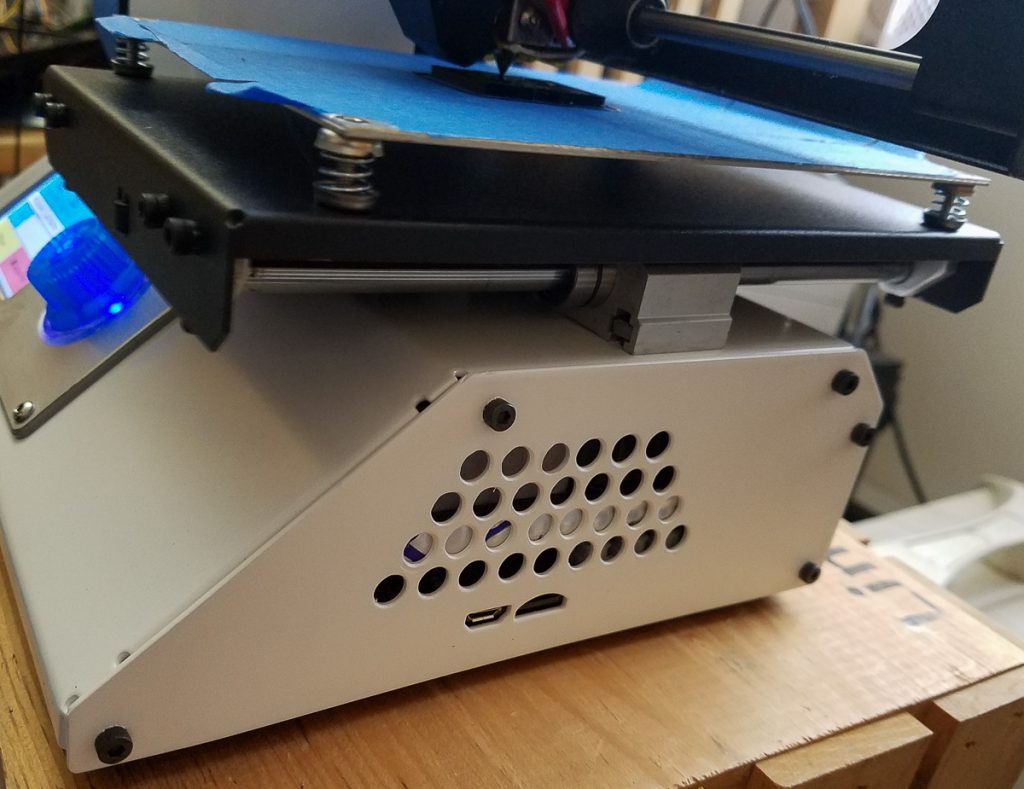
This clicking sound is a sign of a skipping stepper motors. I was concerned my extruder was not to temperature, but upon checking and finding it to be at the correct temperature I considered other options. After a bit of online research this turned out to be something of a known issue with the MP select Mini 3D printer. What I found was that the motor driver heat sinks can over heat due to poor ventilation. Only the bottom panel of this 3D printer has any vent holes cut into it. I decided to add vent holes to the side panel where the PCB is located with the motor drivers.
Remove your side panel by unscrewing the 5 screws holding it in place. Tip: do no undo both the side and bottom panel at the same time. The 3D printer housing is a bit sprung. When you take both panels off you will find you need a clamp to squish it back into place in order to install all of the screws.
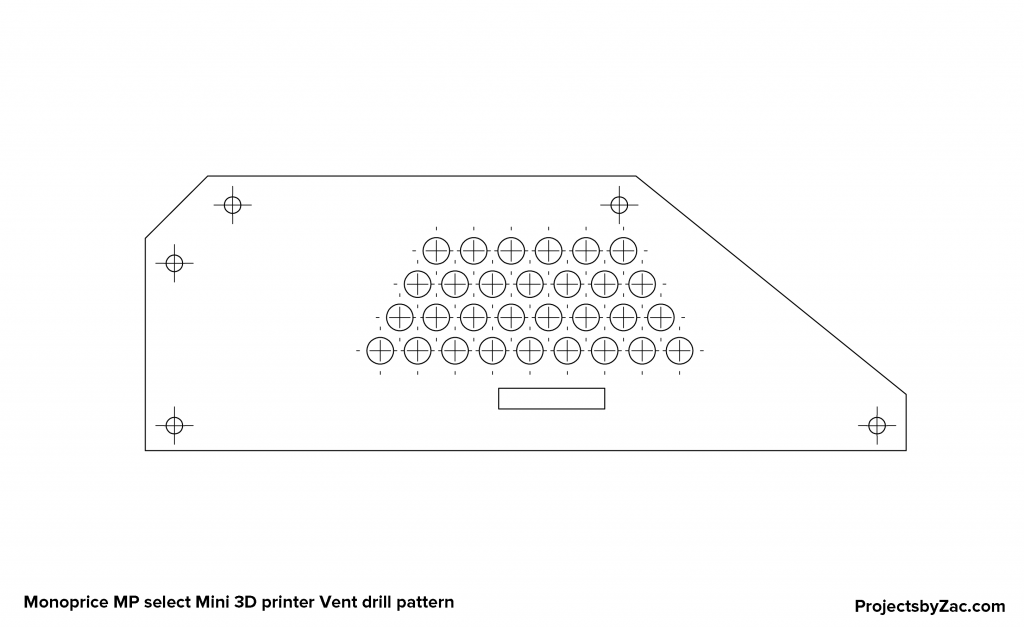
I have included the drilling template for the above as a PDF at the bottom of this post. You can download it to help you drill out the vent hole pattern.
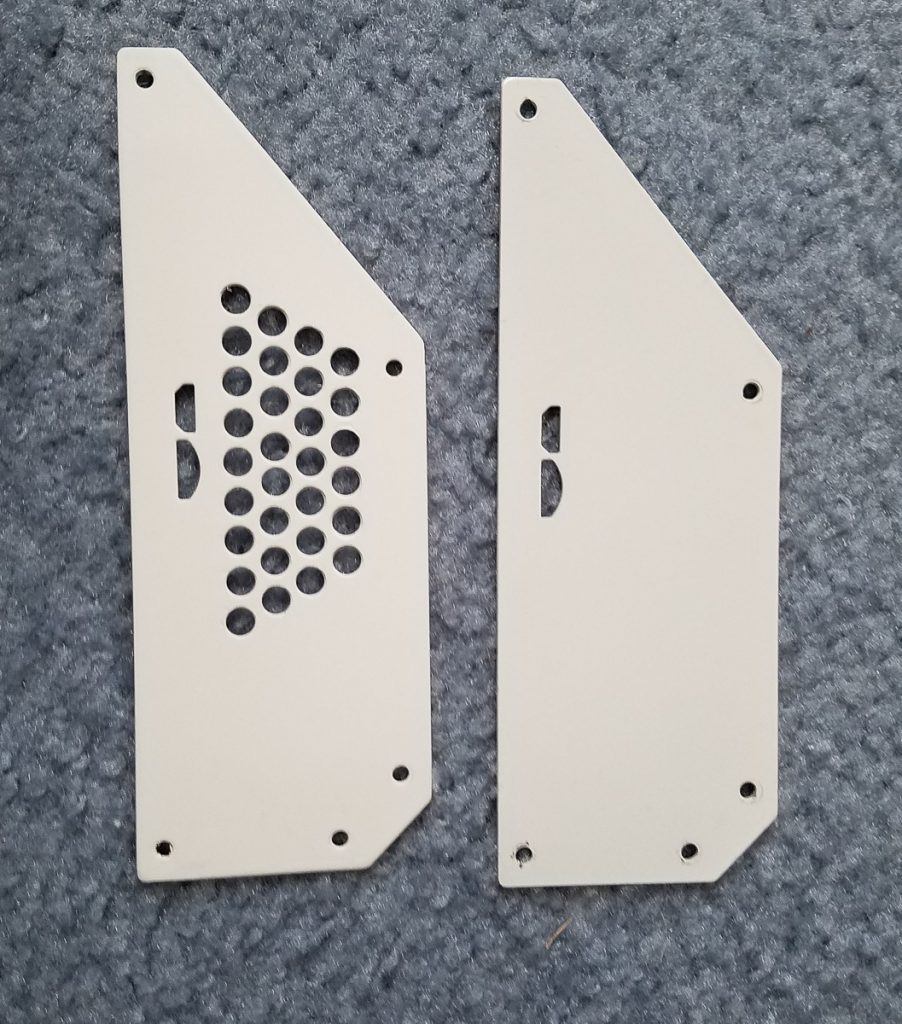
Above is a side by side of the finished ventilated side panel with an unmodified one. These side panels are some pretty heavy sheet metal, 16 gauge steel I think. You can drill them out. I used my Roper Whitney hand punch as it was faster and involved less set up time. After printing the PDF out at “actual size” I cut out the outline of the side panel. I used some blue painters tape and a bright light to carefully align and mount the template to the side panel. I then center punched each hole using the printed template as a guide. This left nice punch marks in the steel which facilitated aligning my hand punch before squeezing to knock out the holes. Above you see an image generated of the template pdf which you can download below. Do not use the image as it will not be scaled correctly when you print it. Please use the pdf as it can be printed out as “actual size” easily.
The PDF for the template: MP select Mini 3D Printer – Side panel venting template.pdf


