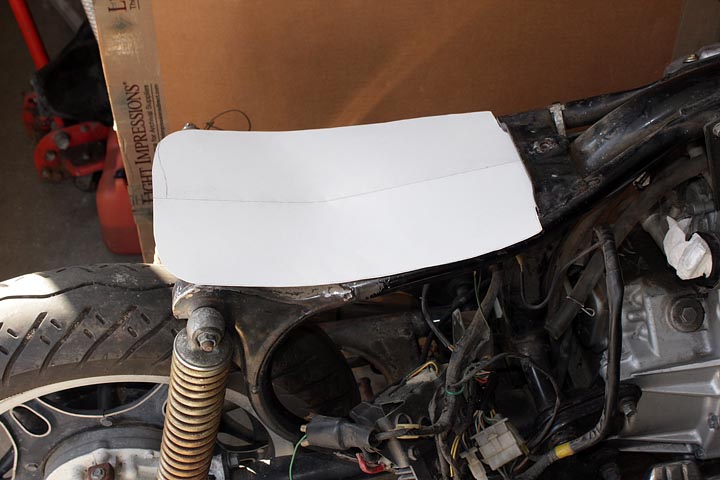
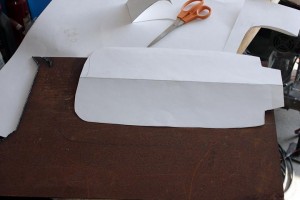
The first step in any one off fabrication process is to make some templates. I always have foam core, heavy poster board, and cardboard stock on hand for making quick templates. In this case I started with cardboard, but it was too rigid and didn’t fit the contours of the frame well enough so I switched to poster board. The result is the poster board template you see above in the picture.
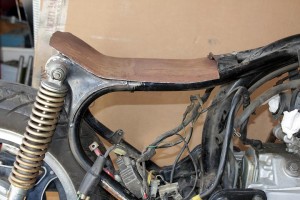
The template is then used to transfer the pattern onto some 16 ga cold rolled steel. There are many ways to cut sheet steel. I have a plasma cutter but you can see the rough hard raised edge it leaves on the left most part of the template picture above. I chose to use an air nibbler to cut this template out. The air nibbler allows for good clean edges and tight radius cuts without any distortion as you would get from shearing. The next step was to run it through the plannishing hammer to shape the pan to fit the frame. A bit of work with some slappers and it’s all tightly rolled up around the frame rails and fits well.
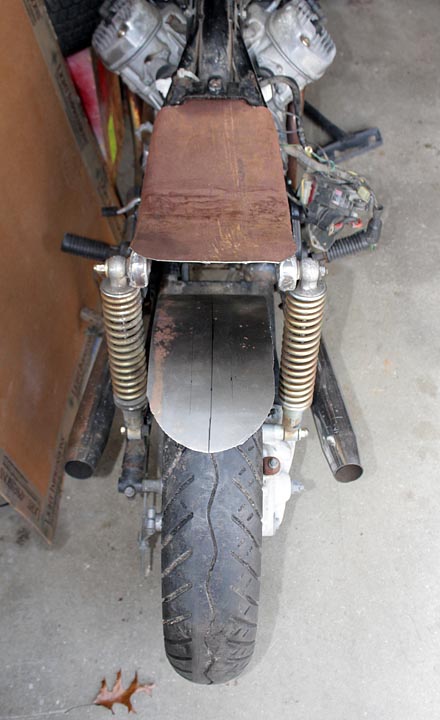
As you can see, the seat pan fits well. I’m still debating on edge treatment. I think I might run a weld bead along it to round it some or possibly fold some 22ga steel over it and tack weld it in place so when I stretch the vinyl over the seat pan it does not wear and rip over time. I’ve also started the rear fender as you can see above. I’m thinking about tucking it up into the seat pan and welding the two together into one part, or possibly keeping it tight one the tire and mounting it to the rear swing arm.
This post Continues in part II here: CX-500 Cafe Racer – seat pan fabrication part II


