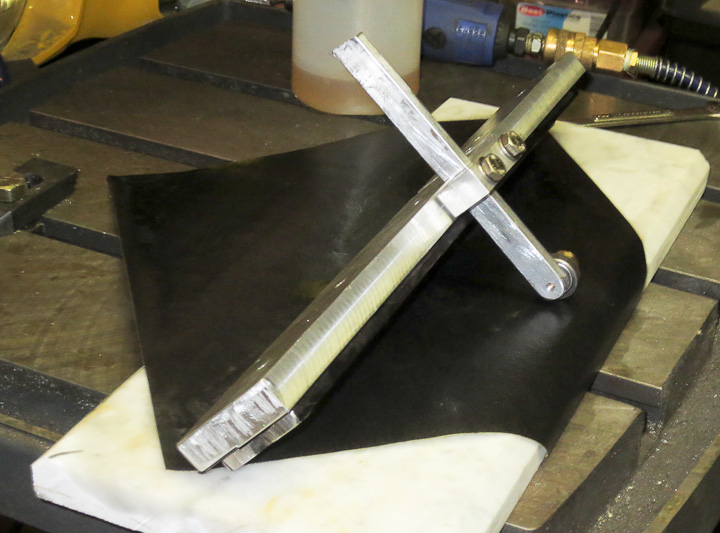
 Every serious woodworker has a thickness planer in their shop. The best lumber is often sold rough, allowing the craftsman to plane it down to the perfect thickness without having to worry about getting nicks or scratches in the surface while storing/transporting it. Since I have been milling my own lumber I rarely buy wood but all of my wood needs to be planed smooth to thickness. This has resulted in significantly more wear on my thickness planer blades and an increase in frequency to my sharpening the planer blades. To help with the sharpening chore I built a hand sharpening jig out of stock I had in the materials bin using my CNC Milling machine.
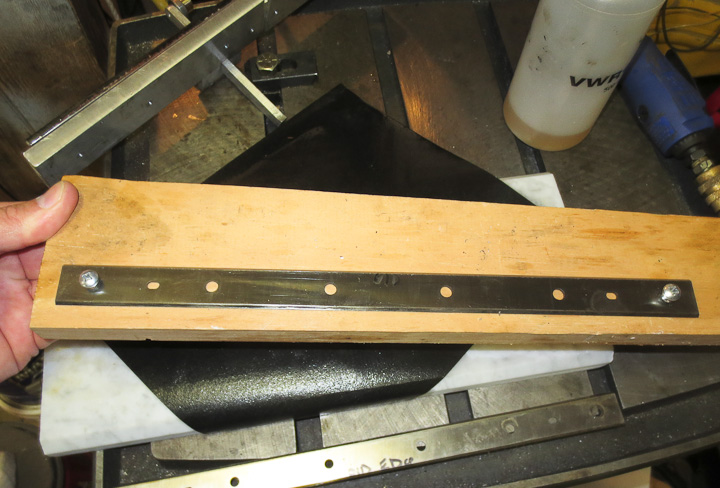 My planer blades are 13.5 inches of double edged sharper then a razor tool steel about 1/8″ thick. I found the best way to handle, move and store them between the planer and sharpening is by attaching them to a bit of scrap wood. This eliminates any chances of accidental cuts or chipping the cutting edges. After a couple hundred board feet of lumber goes through the blades need to be honed to allow for perfectly smooth surfaces on the boards. As the edge dulls or worse gets a nick, it leaves raised marks and imperfections along the length of the lumber as it passes through the thickness planer. It can be surprisingly hard to remove the marks left on the surface by sanding, making regular sharpening of the blades a must.
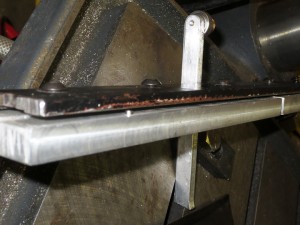
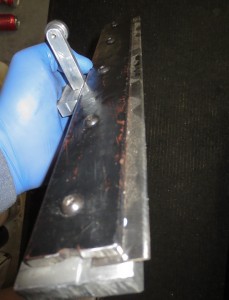
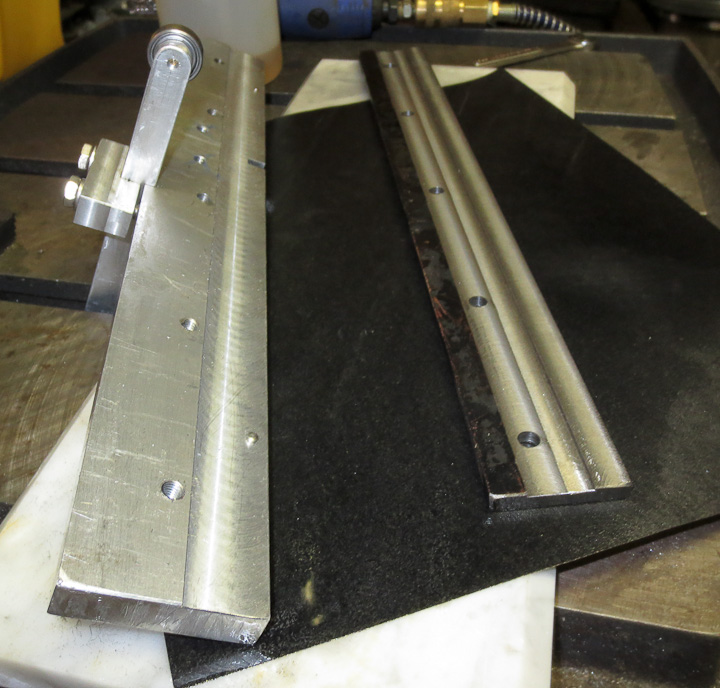 The sharpening jig I designed and built is pretty simple. I believe my original idea came from something I saw in Woodsmith or Wood magazine years ago. In the past, it was reasonable to have my planer blades professionally sharpened (~$15 a pair) or purchase (~$30 a pair) but today with rising prices (almost 50 bucks for sharpening and 90 for new blades) coupled with the increased frequency I need to sharpen them I can not justify the cost. The jig consists of a bearing mounted on the end of an adjustable arm that allows for changes in the sharpening angle. The arm is attached to the body which is essentially a stiff clamp that holds the blades parallel using two dowel pins for alignment.
The above left photo shows the clamping piece, it’s machined flat where it clamps down on the blade. In addition the center is milled out so all of the clamping force from the machine screws goes onto the center of the blade. This is an important feature. If you use a piece of unmmachined flat stock you risk having your planer blade rocking or being loose during sharpening.
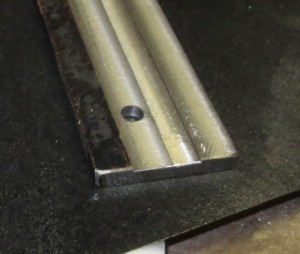
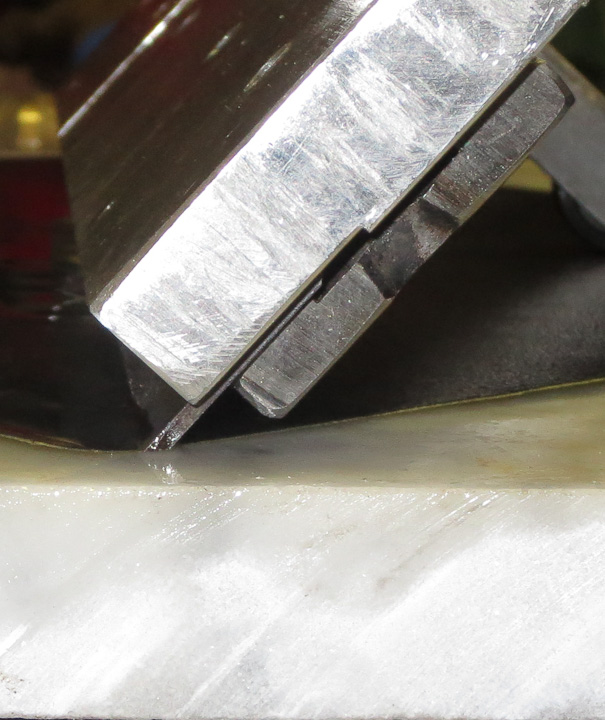
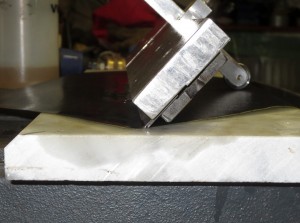
The above close up photo shows the blade clamped in the jig from the end. You can see the milled slot and how it functions to hold the planer blade completely flat against the other half of the jig.
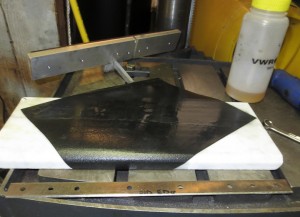
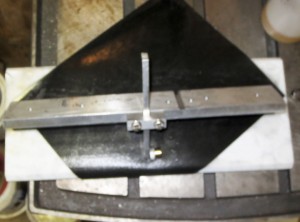
For a sharpening surface I’m using a piece of mirror polished Marble I had left over from some restoration work I helped a friend in Beacon Hill with a couple years ago. It’s a hard flat surface. I’m using wet or dry sand paper and emery (for the rougher treatments) to sharpen the blades on the marble slab. Turned diagonal a standard sheet of sandpaper is wide enough to allow me to sharpen my 13.5″ planer blades. Use plenty of light oil or WD40 to keep the metal particles from clogging the paper.
After careful initial setting of the angle by adjusting the length of the bearing arm, sharpening is simply a matter of olling the blade forward and back across the paper with light pressure. This method takes 10-15 minutes of time but the results are spectacular. I usually go from 120 up through 800 grit paper when sharpening my edges. As I have only used this jig for my longer planer blades to date, after the initial angle setting I have not had to change the angle again and a resharpening goes quickly. I may make a second smaller unit for sharpening my 6 1/4″ jointer blades in the near future. This handy little jig cost me nothing, as I made it from materials on hand, and has been used numerous times to quickly sharpen my blades saving me the time and expense of sending them out to be sharpened.
Great, thanks your help, i with learing and Sharpening my JET JWP 12 planer blades, it is very with help me.