Category Archives: Woodworking and Furniture

A Simple Cherry End Table

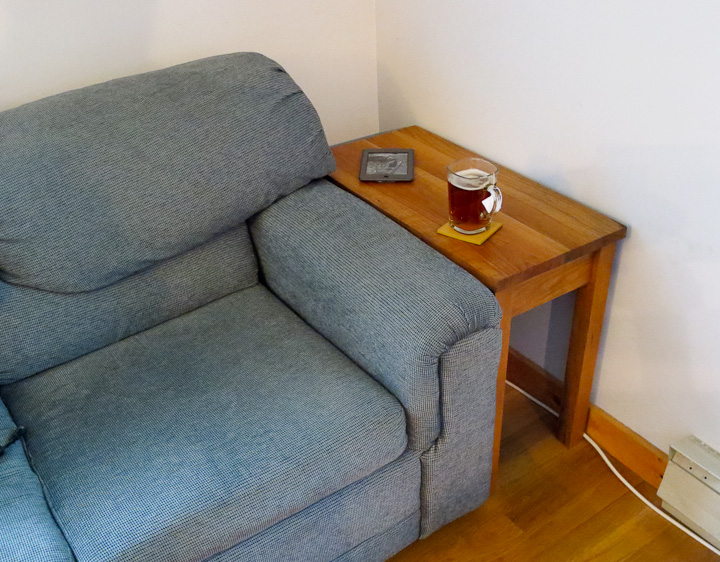
Simple to make Cherry End Table

I love working with wood and have been working with it since elementary school. I almost always have one or two woodworking projects going for those days when I want to sequester myself from life for a few hours in the shop.  However, I can’t remember the last time I built a piece of furniture for myself.   Usually I’m building something for a family member or friend, and occasionally a stranger who saw my wood craft or was referred from a past customer.  This project is for myself and will see daily use.

Simple to make Cherry End Table

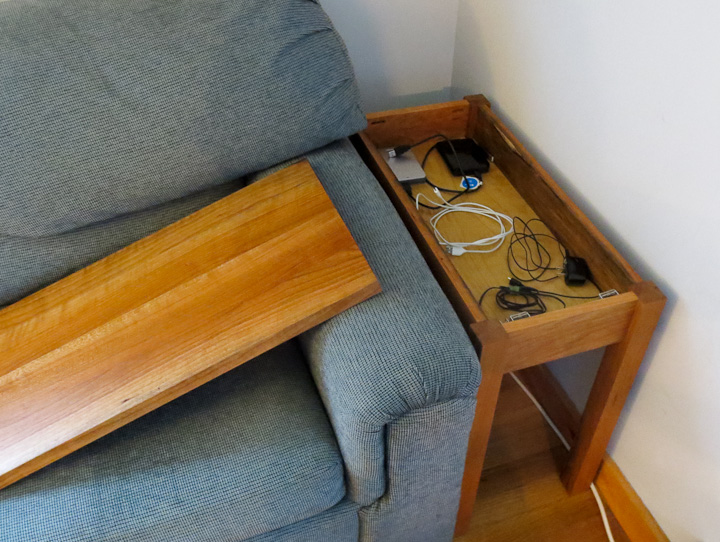
The last time my brother in law visited I had him help me move a couch into my office.  After putting the couch in place I was left with a very odd space that quickly accumulated clutter.  I enjoy reading on the couch and use it when I video conference as well.  A clutter spot was not acceptable.  I took some measurements and quickly drew up a simple design for an end table to fill the space.  I settled on a style that roughly falls between shaker and american country.  Practical, simple and built Zac tough.  Know yourself as they say, inevitably at some moment in the future this table will either end up as a bench or step stool.  With this table’s mortise and tenon construction and thicker boards, it will be up to the task of supporting my large mass.

Simple to make Cherry End Table

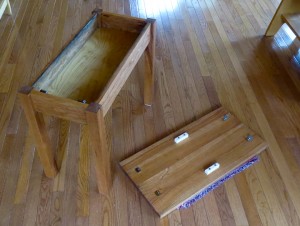
When designing the table, I originally included a shaker style drawer.  When I started cutting the wood, I realized how small and useless the drawer would be in terms of storage.  With small tables, the space needed for the drawer itself results in a loss of a large percentage of the available storage space.  I decided I would go with a flip up top.   However, with a lack of readily available hinges with the correct overlay, I changed to a lift off design.  This way I maximized the storage space for my seldom used electronic wires and other small items.

How to make a cherry end table -2216    How to make a cherry end table -2220

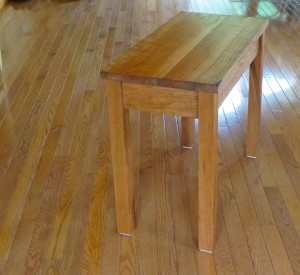
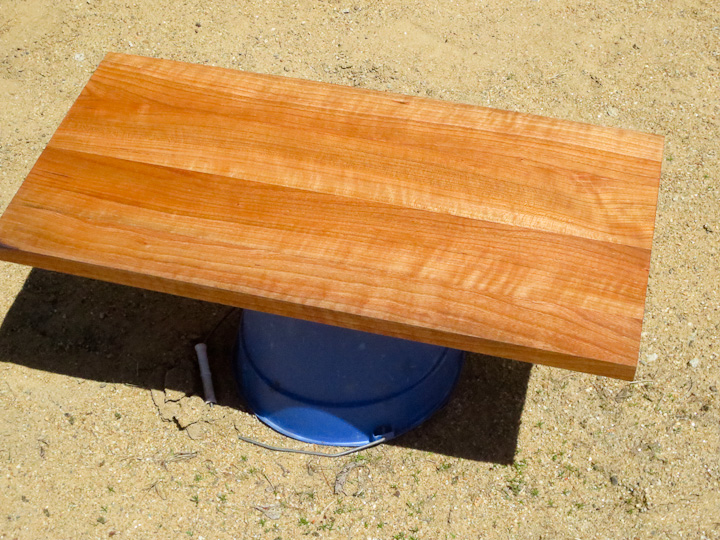
I chose a simple Danish Oil Finish for this table.  I like oil finishes. They are easy to apply and typically bring out the beauty of the wood grain.  If you get a ding or scratch they are easy to repair by simply re-applying more of the oil.  As this table will see tough daily use, in a few weeks when the oil has fully dried,  I will take the top and put a few thin coats of a durable polyurethane to seal the top.

How to make a cherry end table -2189   How to make a cherry end table -2187

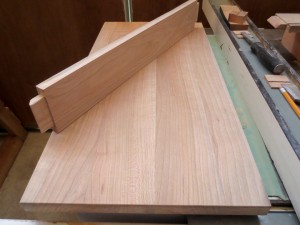
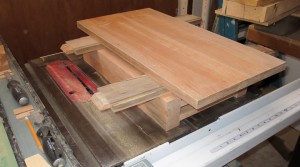
Not much to a small table like this,  you can see the entire table stacked up on the saw prior to assembly in the above right photo.

How to make a cherry end table -2192    How to make a cherry end table -2191

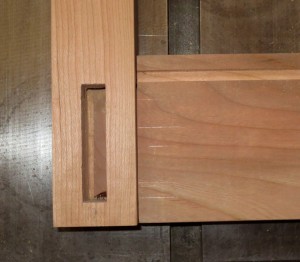
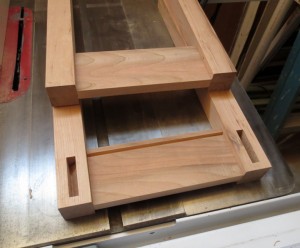
Some shots showing the details of the mortise and tenon work on the table.

How to make a cherry end table -2212     How to make a cherry end table -2211

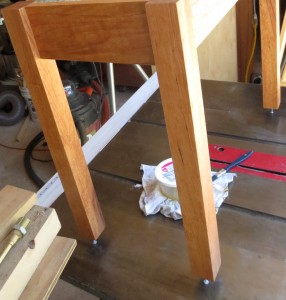
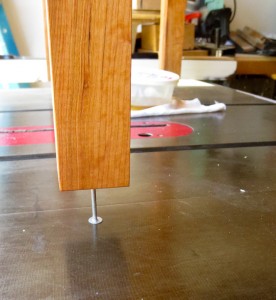
Here’s a useful tip.  When finishing table and chair legs.  Drill a small shallow hole just undersize of a roofing nail.  That way you can stand the project off with a roofing nail to allow prevent it from picking up any grit while the finish is drying.   With oil finishes I also like to let the end grain soak up oil by resting it in a plastic tub full of the oil finish.  End grain can soak up a lot of finish and this ensures it will be well sealed.

How to make a cherry end table -2209

Cherry is a beautiful wood.  Left au naturale  cherry shows off a beautiful grain and color of the wood.   Cherry darkens with time nicely but I enjoy the lighter feel of the natural wood when it is new. In a year this will be twice as dark.  Part of the joy of Cherry is the gradual color change as the wood oxidizes.  All to often people are quick to stain cherry dark.

In closing, I built this table almost entirely from wood I milled from a short cherry long my friends father had cut when we lived near each other as kids.  He had this log in the garage for all these years.  Late last summer he clearcut some trees and let me come snag a log to turn into lumber.  In addition he gave me the cherry log he had kept in the garage.  While the log was badly checked with cracks, I was able to get some usable wood and build this small project from it.  Thanks Mr. Field for the log!  This is what I did with the lumber I cut from it.
Drying rough lumber and turning it into usable boards – lessons learned

Planned to dimension Alaskan sawmill cut cherry board

I recently brought my hardwood lumber pile, which was cut last fall, inside for use. I have a few furniture projects planned that will use up most of this hardwood lumber.  I turned some of this rough lumber sawed with my Alaskan Chainsaw mill that I built  into finished boards using a table saw to edge them,  then a planer to remove the saw marks, and finally a jointer to square up and straighten the edges.  In this post I will share some thoughts and what I’ve learned in this last year milling, drying, and using my own lumber.

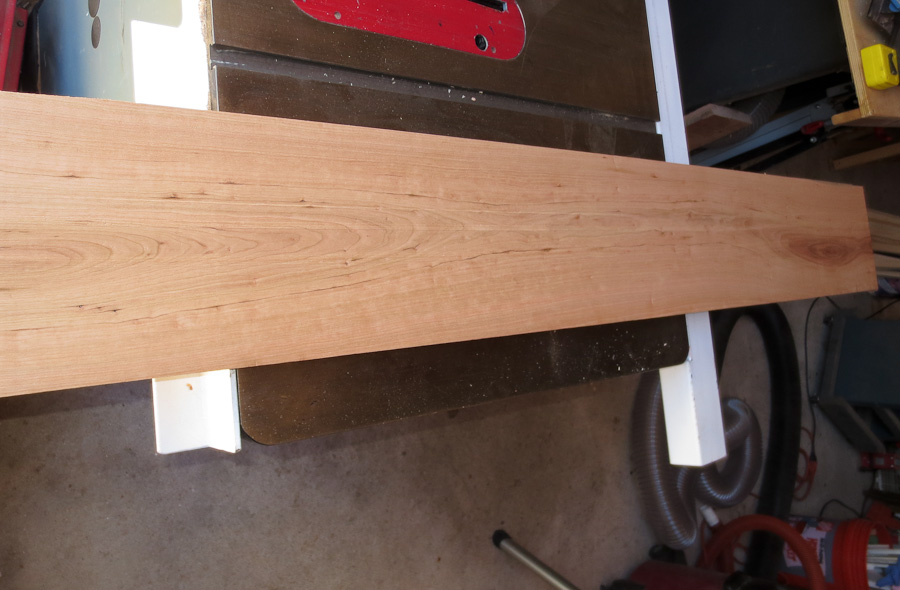
Alaskan sawmill cut rough cherry board

The above picture shows a rough cherry board I cut with my alaskan sawmill last fall.  There was a bottom land black cherry that died last summer sometime. I cut myself some logs, pulled them out of the woods, and then milled the wood into perfectly usable lumber.  I will showcase the project I’m building with these boards in a future post.

In stacking my rough cut lumber, I was good about keeping same sized boards on one level of the pile. A downside of my current alaskan style chainsaw mill is that it does not have stops or detents and on different days I got slightly different thickness boards.  In drying the lumber for one year outside,  I did not see much in the way of twisting warp during drying on any of my maple or cherry boards.  I did see strong cupping on any board cut through or near the heart of the log.  In some cases there was also cracking/splitting along the core of the tree.   In the future I may split the log in the center and then mill narrower boards from there.  I think this will yield better lumber with less loss though the boards will be only half the width of the log at the widest.

Maple rough lumber milled by alaskan sawmill      Leave planed lumber a bit oversize till you are ready to use it.

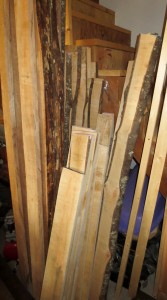
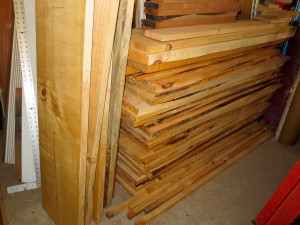
Having milled my short length (4-6′ long) pine lumber pile I now have an excess of pine lumber ready to use in the shop.  It also is taking up valuable space, therefore use it I will this fall and winter.  The standing boards are my maple.  Funny thing having all of this hardwood available, I need a specific piece for my current project and I do not have a board the right thickness/length.  Isn’t that always the way?   Another thing learned for future chainsaw milling of logs into lumber, I will cut one 8/4 board from each log.  I cut most of my lumber either 4/4  or  5/4.  I did not consider the need for thicker stock for legs and other parts of furniture.  Now I have lots of thin boards but will have to buy some thicker lumber or glue up boards to make thicker stock.

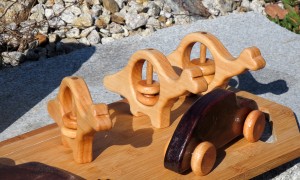
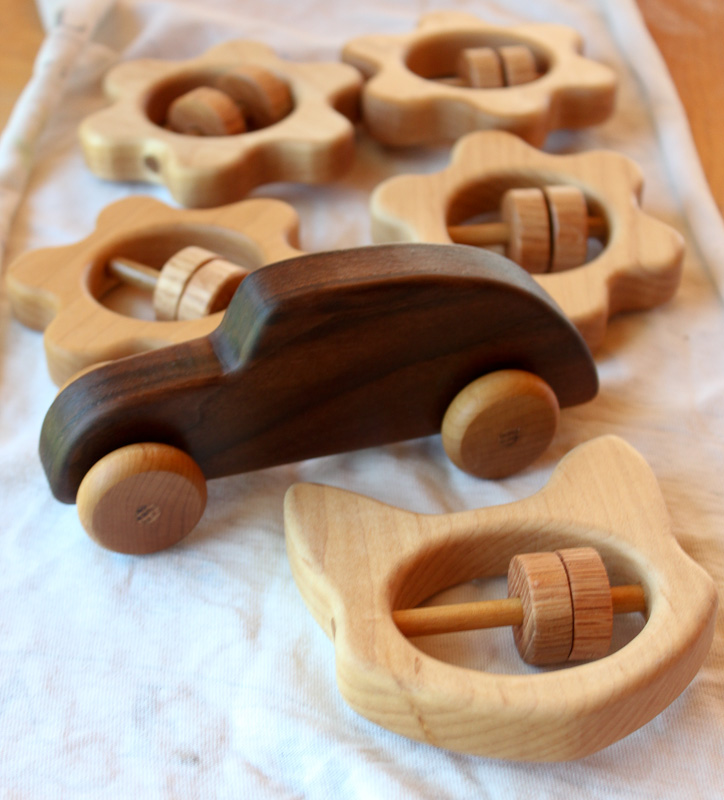
Another key thing learned from this round of milling and drying my own lumber is that how well you cut the boards in the first place dictates how they dry.  I had a number of my very first boards that I cut bow.  These boards started out bowed from my poor initial guide 2×6″ board.   The drying magnified the bowing of the boards making them only usable for short lengths or small projects like in the above picture small wooden toys.  I will use a lot of the bowed maple boards to continue making my line of wooden toys for children.  I sell these on my etsy page if you are interested in checking out more of my wooden toys.  They make great gifts for friends with new lil ones in their family.

Making Custom Computer Speaker Mounting Brackets

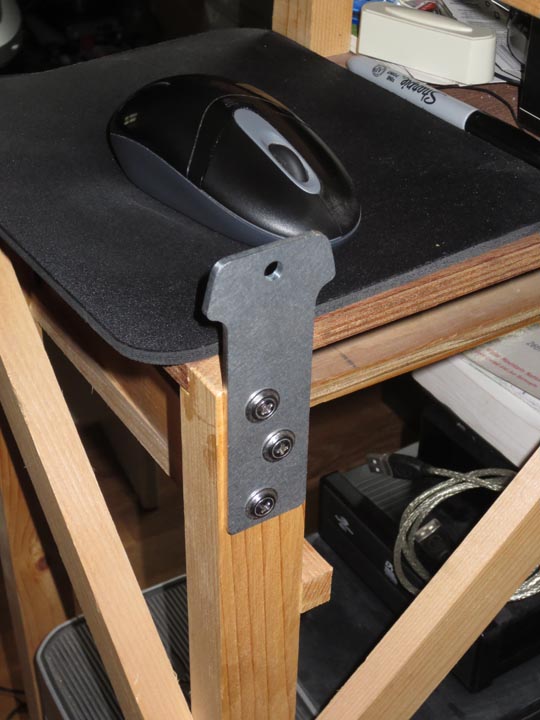
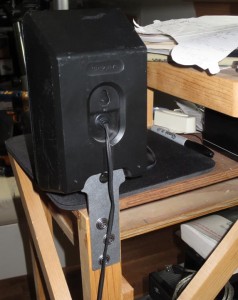
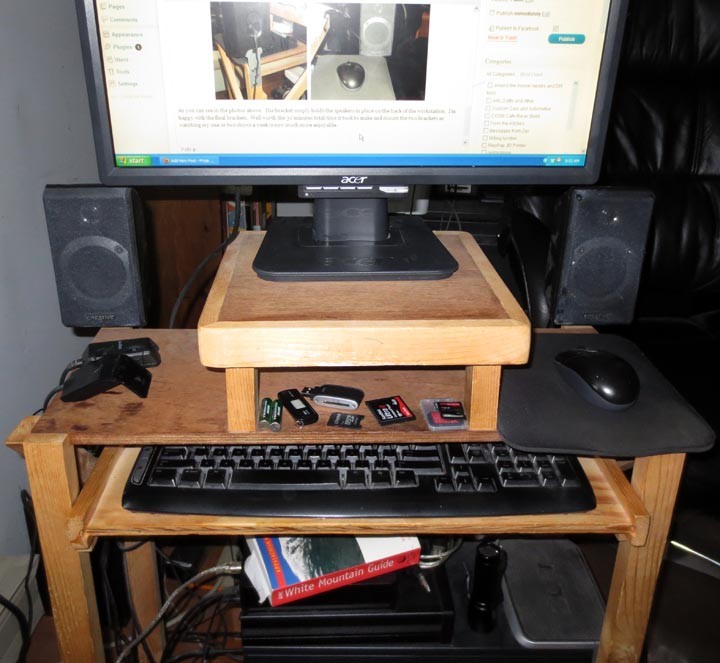
   A relatively minor project, but as I have heard from people (like my brother-in-law) that I have not been sharing any projects lately I thought I’d put up a post.   Last night, I decided to finally do something about the lack of space for speakers on the computer workstation I built years ago.  I fired up the CNC machine and had it make me some custom brackets to mount my computer speakers off the back of my workstation holding them next to the computer screen.


As you can see in the photos above.  The bracket simply holds the speakers in place on the back of the workstation.  I’m happy with the final brackets.  If I had to do it again, I would have designed them to be offset inward such that the speakers did not overhang the footprint of the workstation.  Something learned that I will consider on future projects.

I  enjoy watching the occasional television show on my computer.  With the speakers mounted near the screen, I enjoy the experience even more.  This mini project was well worth the 30 minutes total time it took to make and mount the two brackets. I only wish I had made these cnc machined speaker mounting brackets sooner.

New wooden toys in the Etsy shop, including a VW Bug inspired wooden car

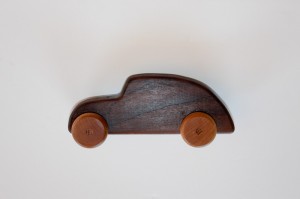
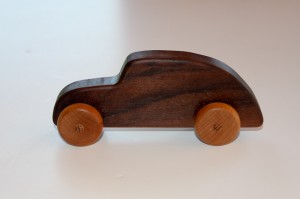
Volkswagen Beetle inspired wooden toy car

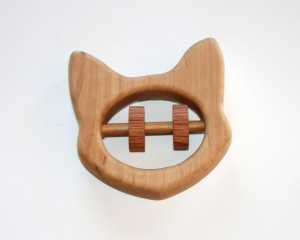
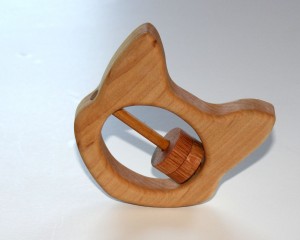
I’ve put up a few new wooden toys in my Etsy shop.  Check them out, and keep them in mind as a gift for the next little one to join your or a friends family.  The two new featured toys are a wooden kitty cat baby rattle, adding one more to the baby rattles that are selling well, and a wooden car inspired by the classic VW Bug.  Both these toys were inspired by little ones in my life.

Volkswagen Beetle inspired toy car    Volkswagen Beetle toy car

    I was inspired to make this wooden toy car design based on the classic Volkswagen Bug automobile. One of my half dozen godchildren was in love with Volkswagen Beetles after watching the classic movie Herbie and the Love Bug. He would point out every new and old VW Bug he’d see, yelling out “HERBIE!” The wood used to make this wooden toy car is black walnut and has a nice rich dark color. This cute little wooden toy car is sized (6inches long by approximately 2.5 inches tall) only slightly larger then my baby rattles. This toy is designed for children of ages 9 months to 2 years.  As with all of my wooden toys for children, it is finished in a non toxic mineral oil and beeswax finish that is child safe.  If you would like to buy one of these they are available for purchase here on my etsy page.


Kitty cat baby toy   Kitty cat baby toy and rattle

   This cat baby rattle design came about when two very dear friends shared the good news that they were expecting a little one by asking me to make them a kitty cat baby rattle. My wooden baby rattles are sized perfectly for a baby to grab, rattle, and play. I make these wooden baby rattles from maple and oak. I use a safe non-toxic natural beeswax and mineral oil finish so baby can safely play with and teeth on them without concern. They have been kid tested and mother approved.  If you’d like to buy one it is available here on my etsy shop.