Last summer, I took my niece and nephew up to Clark’s Trading Post in Lincoln, NH to see the bears. While there I went through Clark’s Florence Murray Museum of antique items and oddities. There in the display cases I saw a few antique coal irons and realized I had one exactly like them, except rusty in the loft of the barn. I made a mental note to restore mine so it looked as nice as the ones at Clark’s trading post. This post shows how I restored my Enterprise MFG Co. No 50 Laundry Iron.
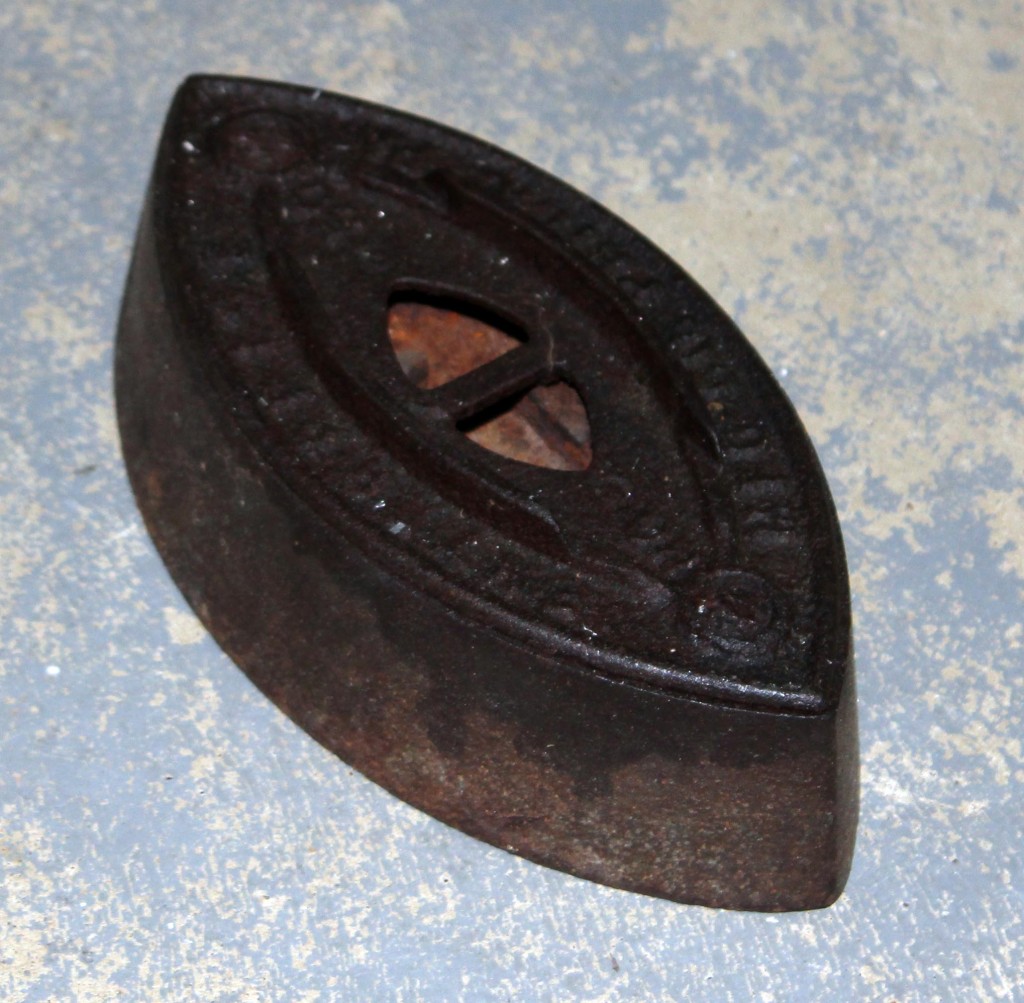
Above shows the iron as it was when I re-found it in the barn after my visit to Clark’s Trading Post. The Coal Iron is marked ENTERPRISE MFG CO PHILA PA along the outer edge with NO 50 on the inside. Enterprise Manufacturing Company was an iron works located at Dauphin St, American St, and Bodine St (SW corner) in Philadelphia, PA in the late 1800’s. They manufactured a variety of household devices, including coffee grinders and laundry irons. A bit of research shows my laundry iron is missing it’s handle as you can see in this picture of the same iron from the Okawa Museum. Even missing parts I felt my rusty hunk of metal was destined for restoration. Perhaps I’ll make a replica handle for it someday.
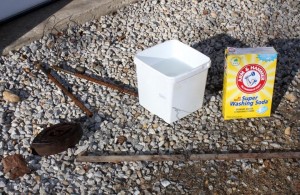
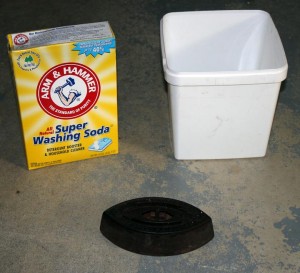
My rusty antique iron was the perfect candidate for rust removal by electrolysis. The great thing about electrolytic rust removal is that it only removes the oxidized metal. Unlike sandblasting or other mechanical means of rust removal, none of the good metal is removed during the rust cleaning process. Having learned more about electorchemistry then I ever planned while working on my phd research, I figured this was a good time to put some of it to use. All that is needed is a 12v source (another voltage is fine but keep it somewhat low to avoid excess heating and electrocution risks), a bucket, some sacrificial electrode (steel rebar cutoffs work great), Arm and Hammer Washing Soda, some steel wire and a plastic bucket.
A few words on supplies. Washing soda is what you want, it is also called sodium carbonate, Soda Ash or Na2CO3 . It’s more or less benign and doesn’t break down into any harmful chemicals during the process. Do not be tempted to substitute Borax, or baking soda. Washing soda was somewhat difficult to find locally but Rocky’s Ace Hardware still sells it. Another caution: do not use chrome plated or Stainless Steel anywhere in your set up. The heavy metal ions are toxic making the waste solution very bad for you, me and the environment. The waste solution with only washing soda and iron in it is harmless when you are done.
My rusty Iron is suspended by some steel wire twisted tightly about it to make a good electrical connection. I wire brushed the section where I attached the wire to allow for better electrical contact. Mix the Washing Soda at about 1 heaping tablespoon per gallon. Be sure to connect your 12V power source correctly. The NEGATIVE (often labeled – or black) lead goes to the part you wish to restore. The positive lead (often red or +) goes to the sacrificial electrodes( aka steel rebar scraps). If you reverse this you will dissolve and ruin your part instead of restore it. It’s an important step so be careful not to reverse the polarity.
After a long time in the electrolysis tank, the bulk of the rust was removed. The top cover was loosened up enough it wiggled but the seized screws were not freed up. Sometimes you get lucky with rust removal by electrolysis and it will free up bolts. In all likely hood, I didn’t let the process go to self limiting completion or possibly the electrical connection between the top plate and the base of my iron was not good. A nice feature of rust removal by this electrolysis is that it self limits, never harming the good metal underneath the rust.
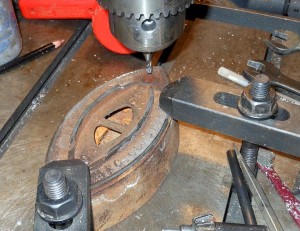
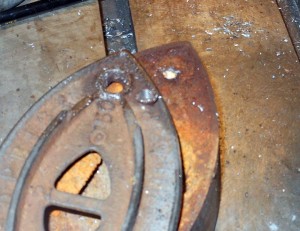
I decided it was quicker to clamp down and use an end mill to remove the heads of the screws rather then stick the iron back in the electrolysis tank. I use a center cutting end mill for this type of work as drill bits tend to wander and move off center. The goal is to remove just enough metal so that you can pop off the head of the screw. If you aren’t careful you can very easily damage the part you are trying to restore and save by drilling/milling too deeply.
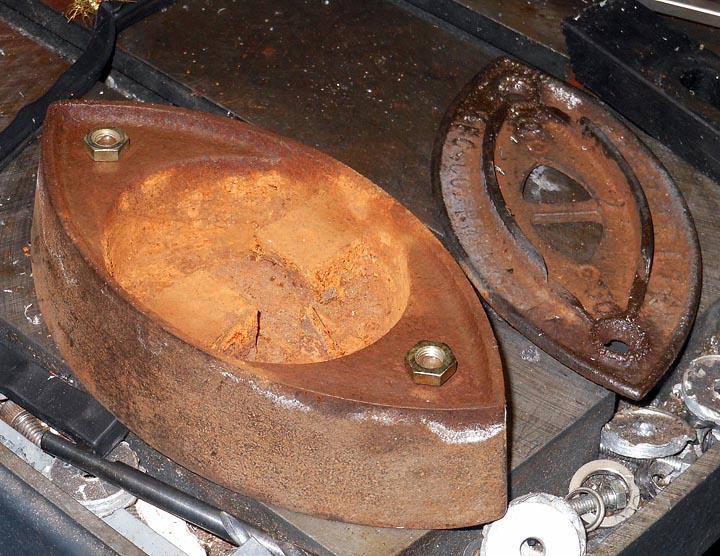
The rusty screw stubs were seized into the iron. The best trick for removing a siezed rusty screw is to weld a nut onto the stub of the screw. The heat generally breaks free the bolt/screw and a wrench provides plenty of torque to turn it out. I’ve never had a bolt I couldn’t remove by this method. Sorry, I skipped photographing the next steps. After I pulled out the screws, I cleaned up the threads with a good quality 1/4-20 tap and then put the two halves of my iron into the sandblasting cabinet. 5 minutes of abrasive cleaning took off the surface rust that formed on the parts while they sat out in the shop. I then immediately cleaned them with solvent and painted them with some high heat low gloss black paint.
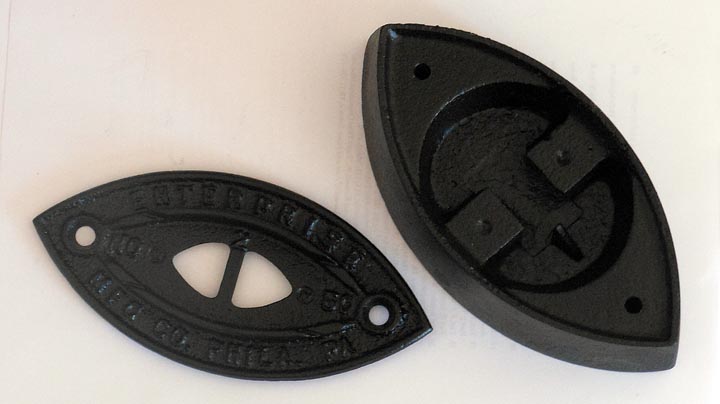 I’m quite happy with how my restoration of this antique iron went. All told I think I only spent 1 hr of actual time on this project, but it was in little bits and pieces spread out over a month and a half. This antique iron will be a nice addition to my cool old stuff I’ve come across display cabinet.

I have the exact same iron , I found it in a crawl space in my house in New Jersey. The house was but back in 1855. Do you have any idea how much it’s value is ?
Sorry, I have no idea on the value. It’s a cool treasure. I usually use Ebay for setting actual value for items like this, but When I looked there was nothing similar on there.