I’m going to skip ahead, as I need to put all of the data in a single source. I’m hoping to buy replacement trackchain and tracks for this dozer, which will likely also mean a new drive sprocket. More about why in this post showing how to pull the tracks on my Trackmaster Bulldozer restoration project.
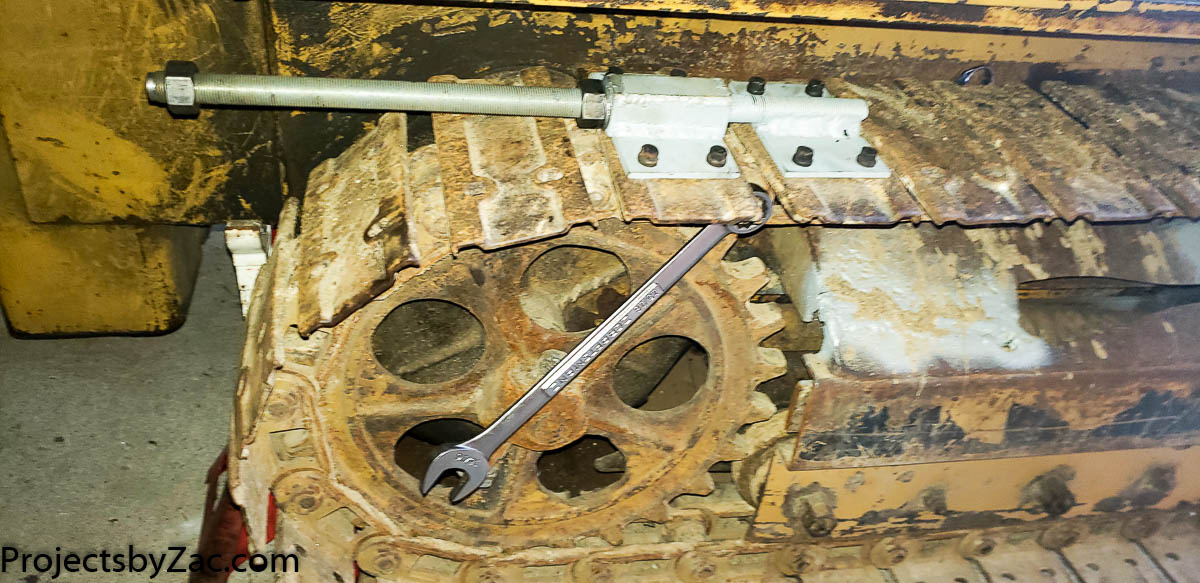
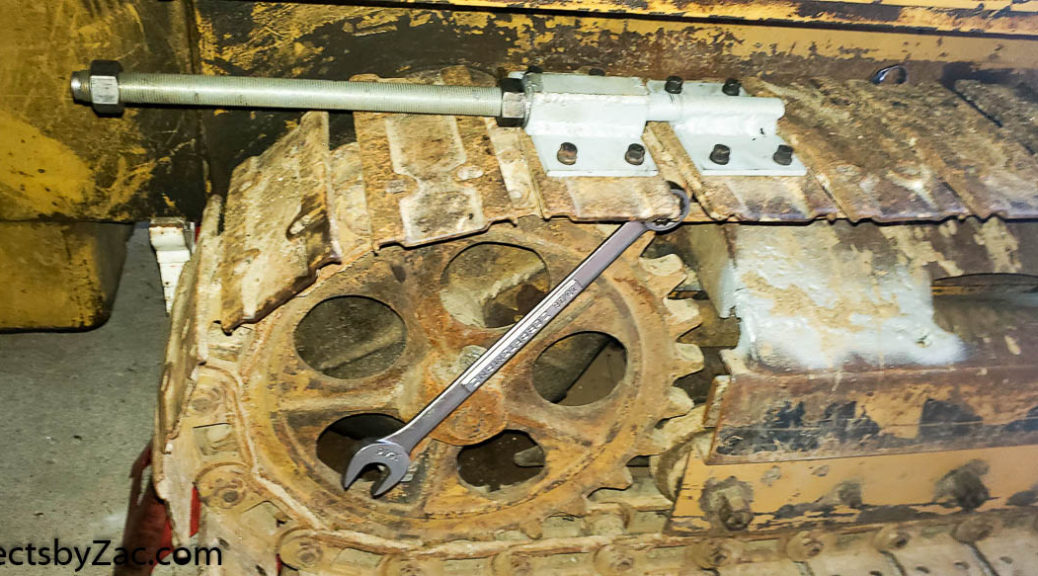
I researched how to pull the tracks apart on different track based vehicle and they all use a track puller, a tool that squeezes the master pin tracks together and allows for careful release of the stored tensioning energy.

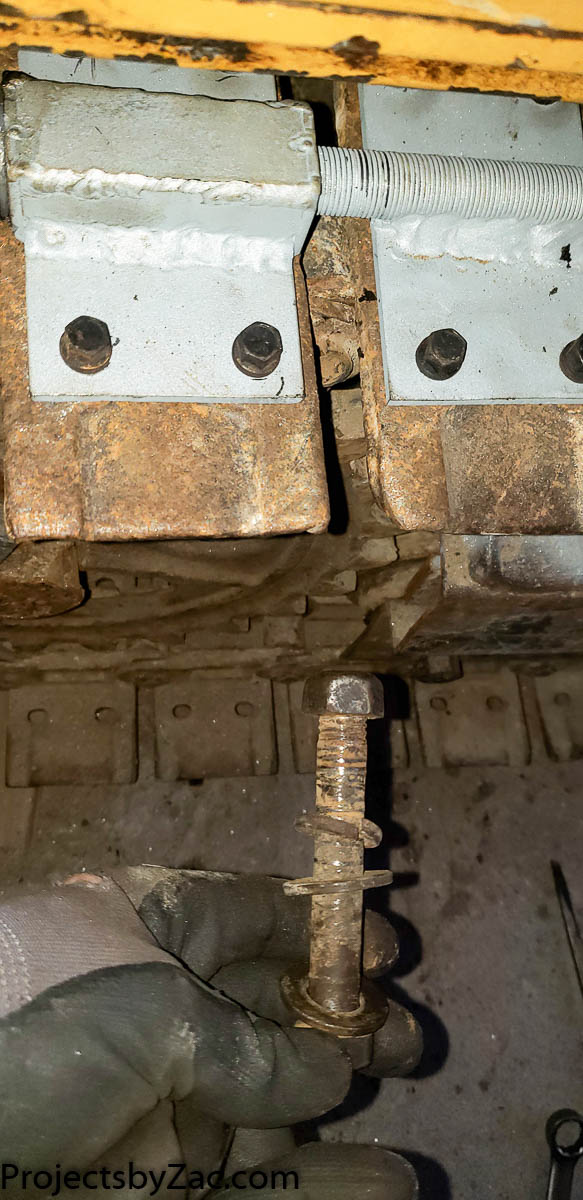
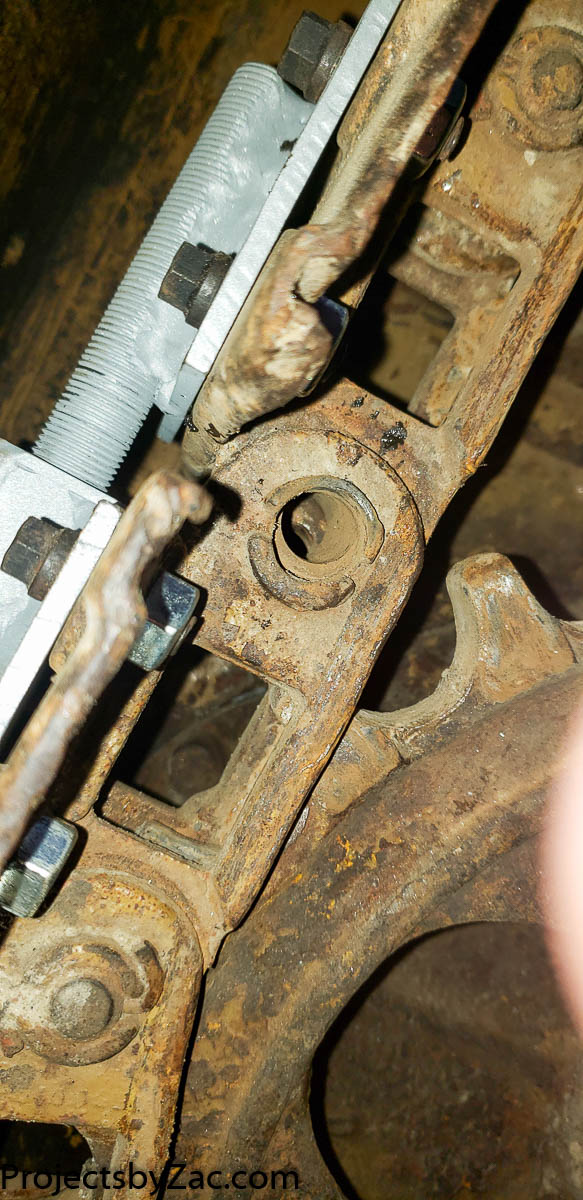
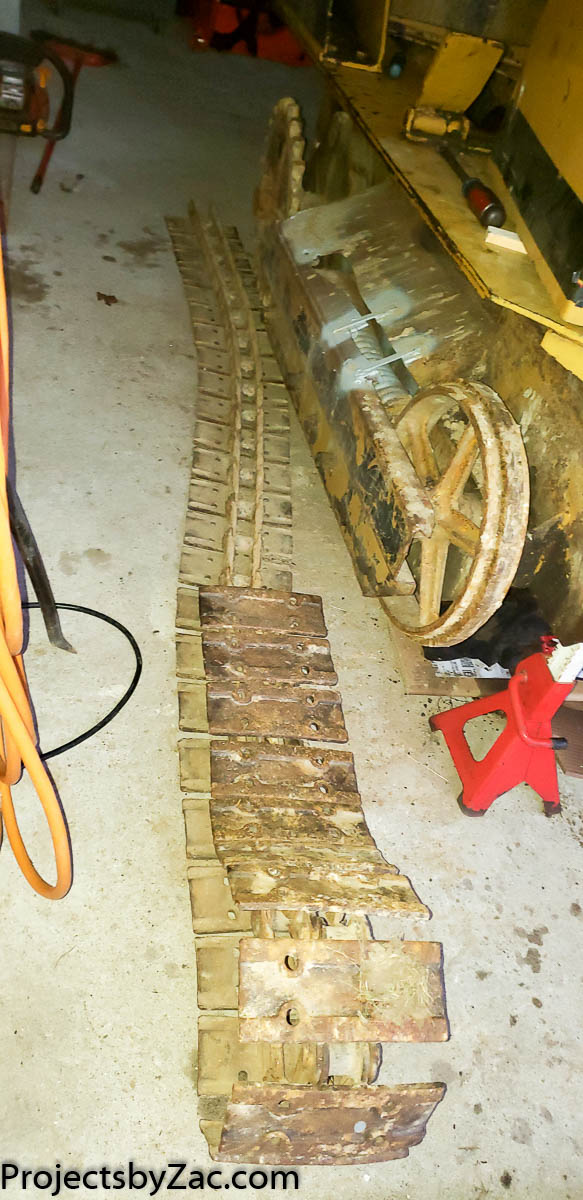
The front of the dozer is a tensioning idler type pulley on a HUGE spring. I was quite concerned it would explode the tracks apart upon pulling the bolt. As seen above, the spring is massive, and likely has an enormous quantity of stored energy. If you’ve ever taken anything apart and had a spring shoot out to go flying somewhere you understand my concern. It turned out that the compression on the spring is very small, so my concerns were likely unfoundeed, but it required the track puller to allow removal of the master link pin.

I looked at commercially available track pullers, and they are clearly developed for bigger machines. I took some track measurements and quickly fabricated a puller sized for the Trackmaster Bulldozers small treads. There are nice mounting holes for rubber track shoes on the Trackmaster crawler. I took advantage of these and used some on hand 3/8″ bolts to mount the puller to the tracks. Larger track pullers almost always have two screws, this allows you to prevent caming when you are trying to remove the master link.
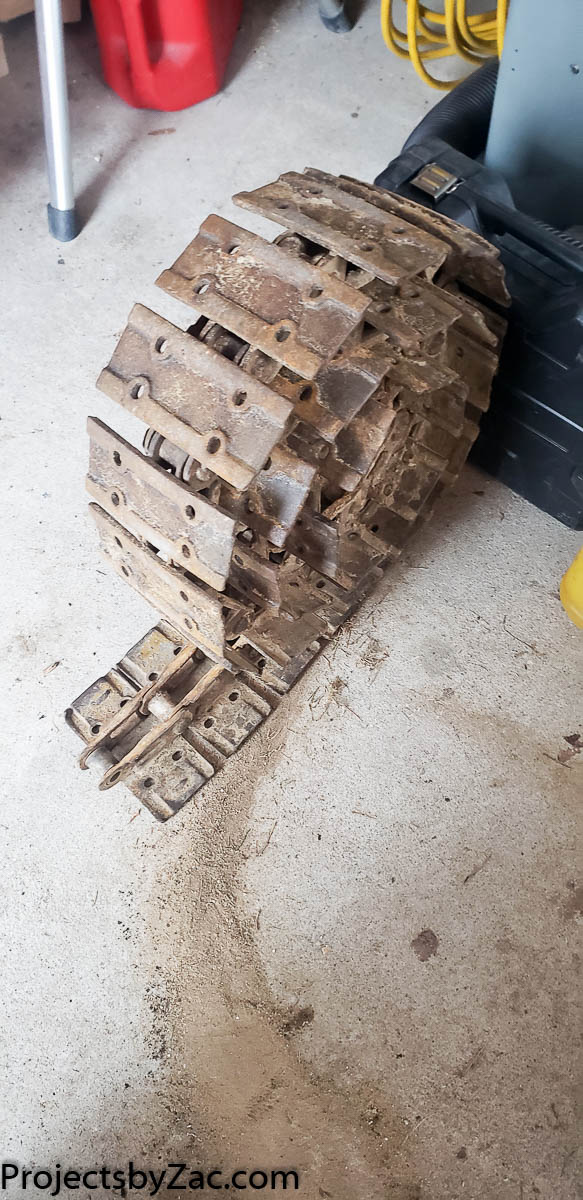
Wow, this is great and really easy was my thought pulling this first set of tracks. Boy oh boy do I regret thinkng that as I was cursed on side 2 with a friction welded master link. Now for some photos in Gallery form.

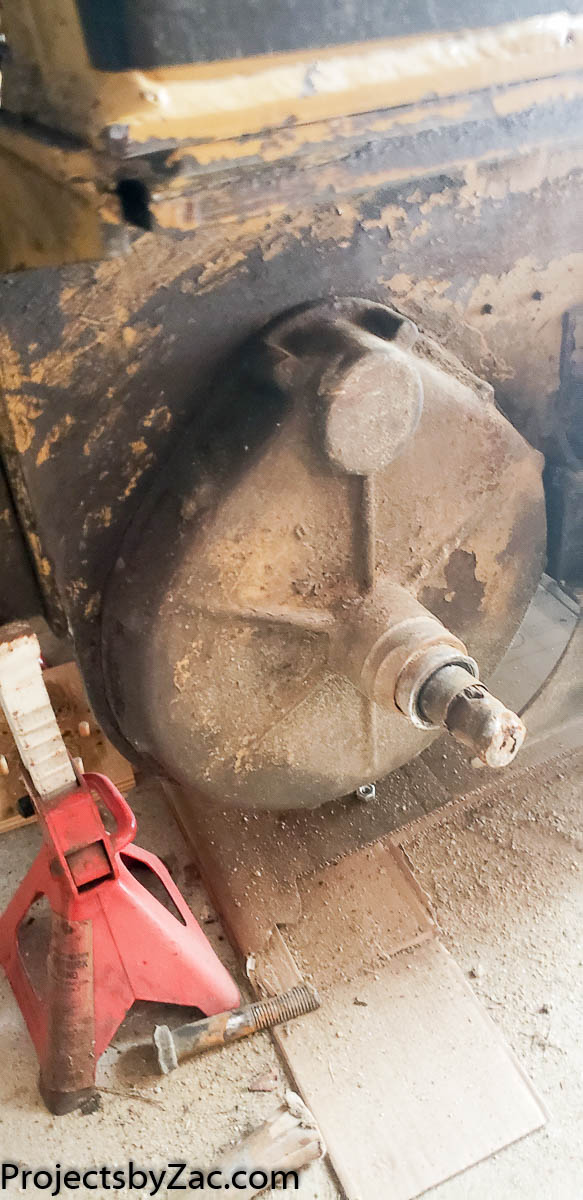
I pulled the tracks, and started inspecting the damage. I knew when I bought the dozer that I’d have to redo/repair the drive sprocket and drive sprocket shaft. Unfortunately, this shaft is a somewhat unused ANSI B91.1 1970 standard infolute spline as best I can determine at 1.5″ dia 23 splines and a 30 degree pressure angle. I figured this out from the large gear also splined in the torque hub, not the shaft. AS you will see, there’s not enough left on the shaft to be meaningful.


Some details about the tracks. The tracks themselves are 3.5″x8″ and stamped from some steel that was likely 1/8″ thick originally. The track Chain pitch is 4″, with a pin diameter of 1 1/4″, and an inner width between sidewalls of 1 1/4″. There are 33 total links/tracks on each side of the dozer. I’m going to try to source some sort of replacement. Likely a metric replacement that is close enough. I’ll share what I go with in a later post, but it seems 101mm track chain is a current standard size for small machines.
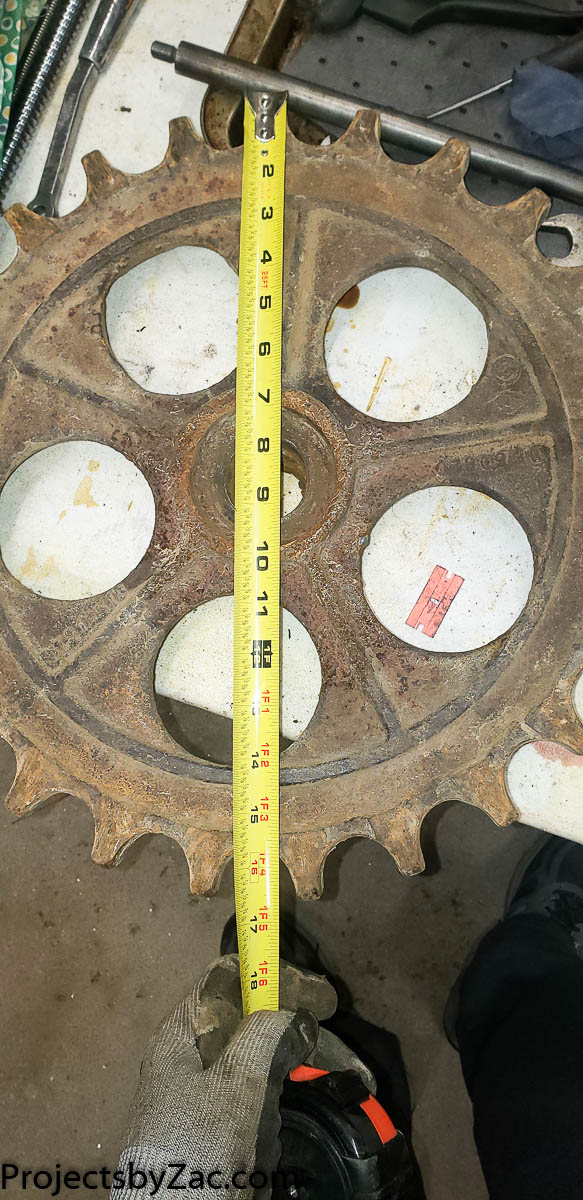
The drive sprocket has 25 teeth for the 4 inch pitch track chain on the Trackmaster Bulldozer. I’m going to have to do a complete repair of the hub, and I am debating replacing this with whatever track sprocket I can find for the 101mm pitch track chain I am currently trying to source.

Yes, someone shoved some exhaust tubing in there and poorly welded it in place. Sigh. It’s hard to believe it drove around as much as it did before I took it apart. the bolts had jammed in enough that it didn’t slip too much. I’m going to bore this out and weld in a new splined repair coupling should I keep this track sprocket. Honestly think I’ll fabricate an entirely new assembly if I can buy a new sprocket or sprocket segments. I’ll still need 25 teeth when I replace it. Stay tuned for how I fix this one
Stay tuned for the next exciting installment of my Tiny Tank Restoration