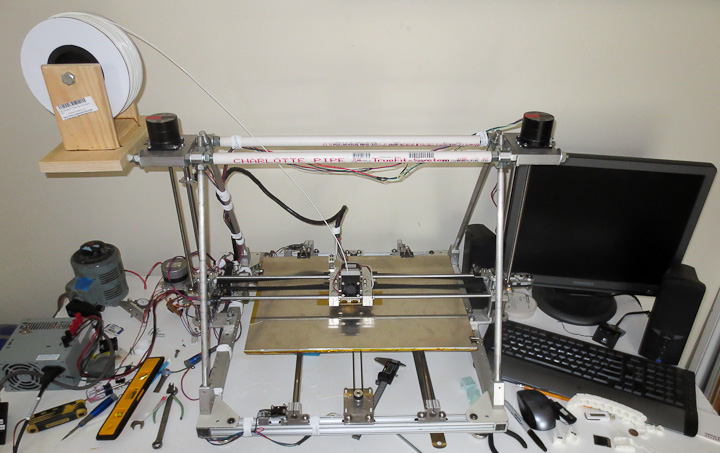
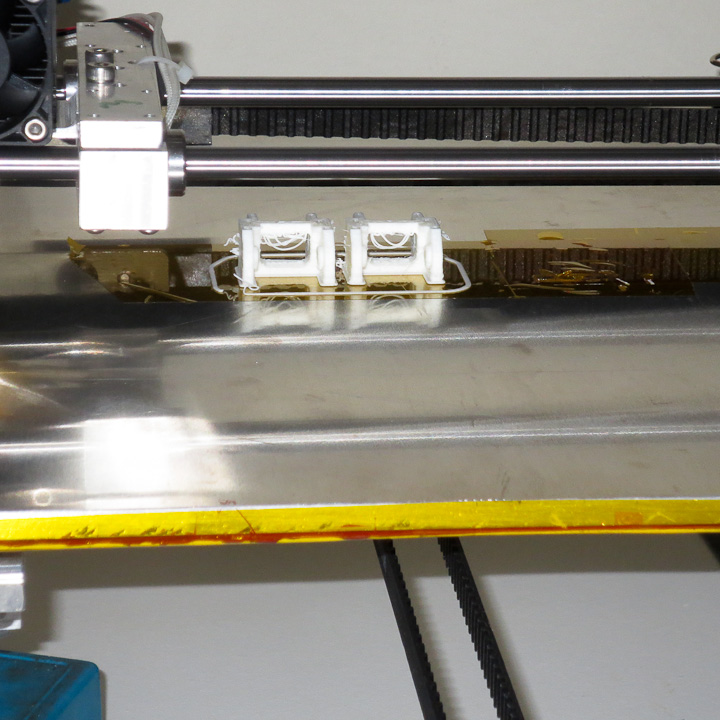
While hiking up in the White Mountains with friends this past weekend I started talking about my 3D printer project (shown in the photo above). One of my hiking companion responded with, “So how does 3D printing actually work? I get that it makes things, but not the how.” This post aims to show you, in a series of time lapse photos, how my FDM type 3D printer builds a part. I took this series of photos throughout the printing of a pair of cable chain links. The images go in order from top to bottom and left to right. Take a look and you will see the white ABS plastic growing up from the build platform as the build progresses. The layers are 0.3mm tall in this build and there are 45 layers in total. It took about 40 minutes to print these parts start to finish.
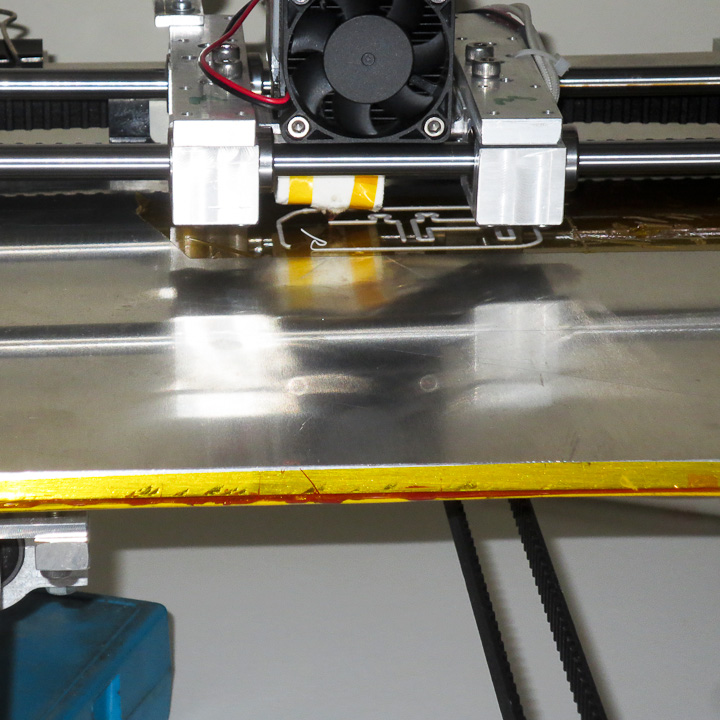

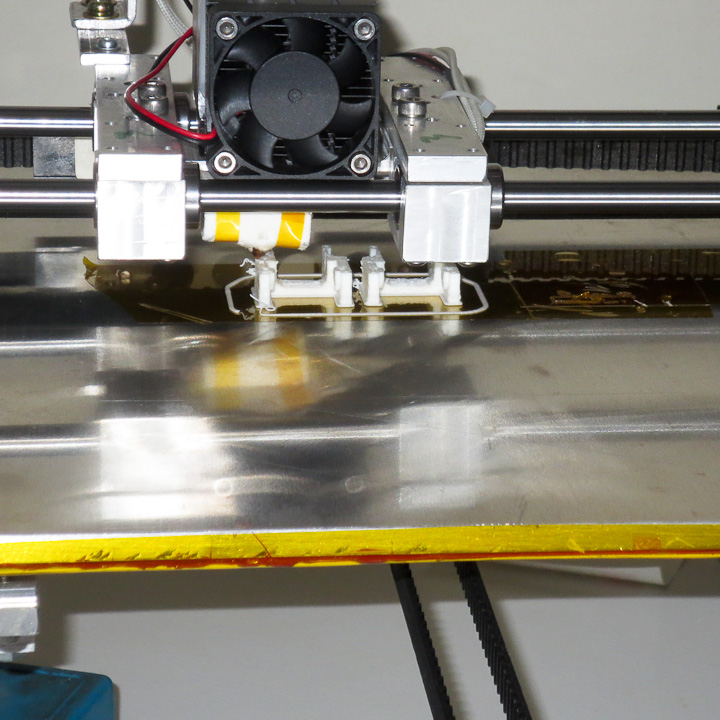
The first image (above left) shows the outlines of the first layer being put down on the build platform. The print head (or plastistruder) works a bit like a tiny hot melt glue gun, melting the plastic filament and squeezing out a tiny thin layer through a nozzle onto the solid surface. The second image (above right) shows the outline filled in on the left part.
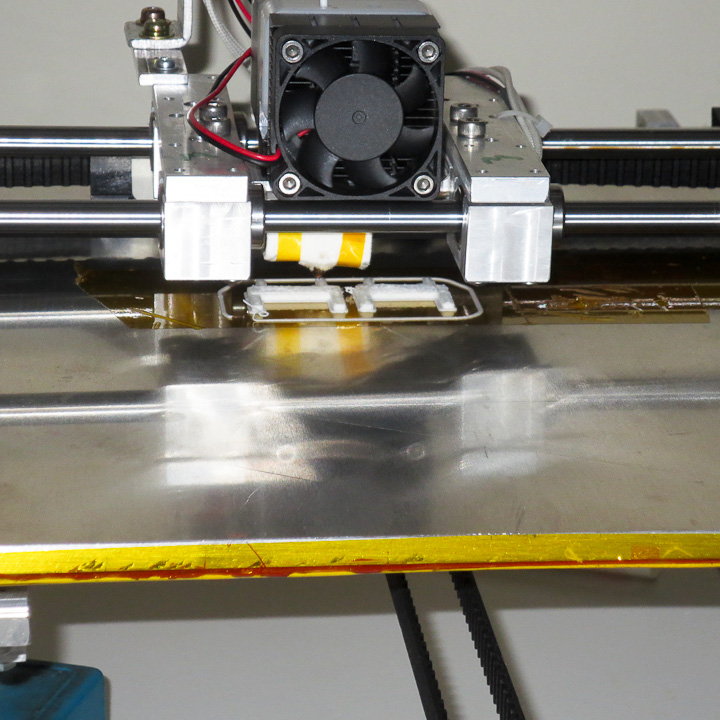
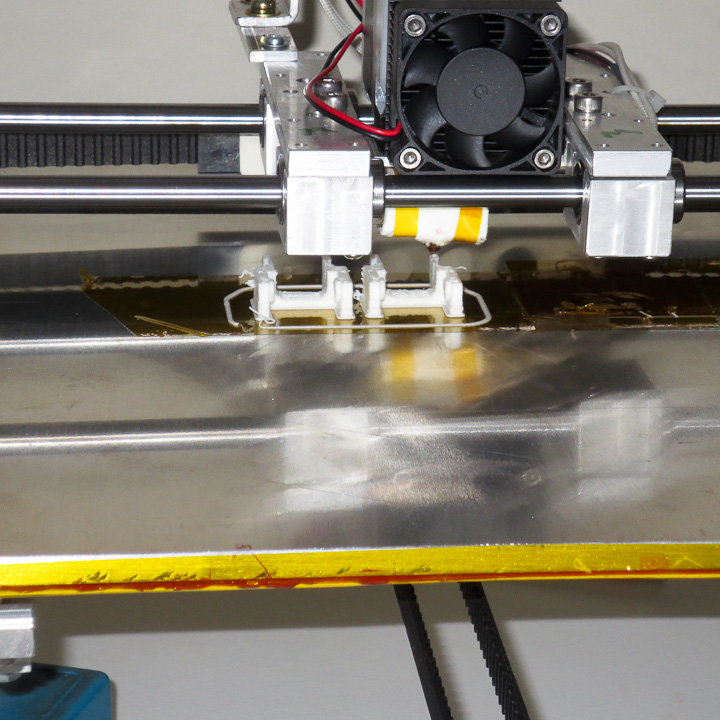
After filling in the first layer the print head is raised up 0.3mm and it prints a second layer on top of the first. This printing layer on top of layer is fundamentally how all 3D printers produce parts and is often referred to as Additive Manufacturing.
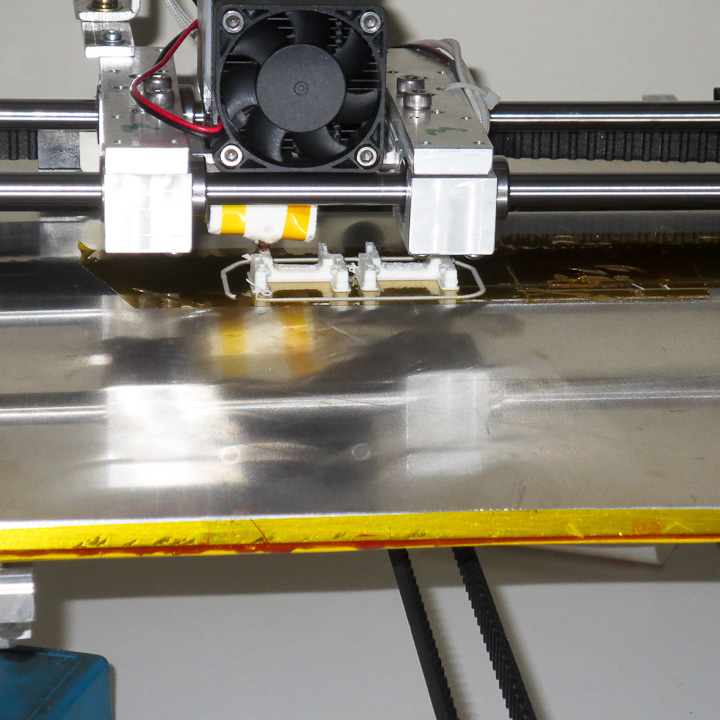
The printer continues to deposit layer on top of layer.
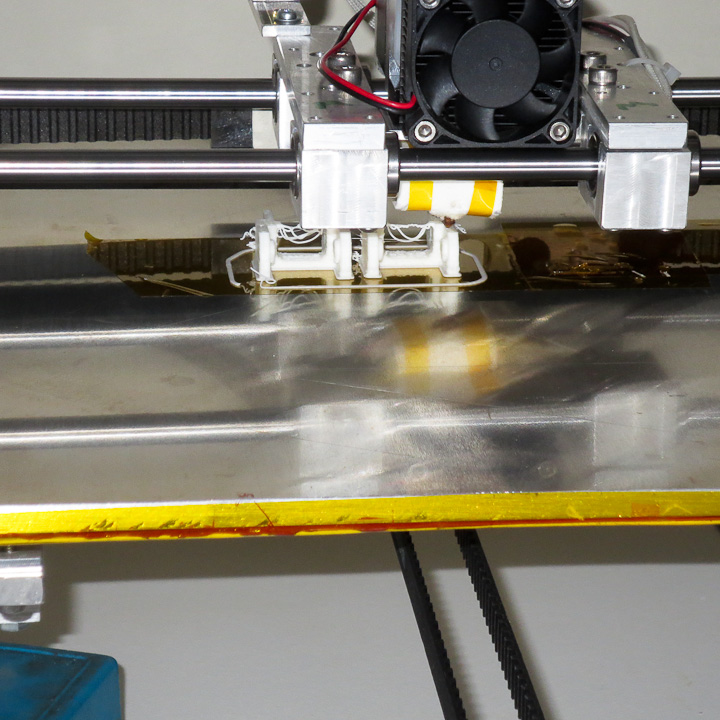
This particular cable chain link was printed without support material. You can see the plastic sagged and drooped down in the unsupported area as the printer reached the top of the part. In subsequent printing of this part, I tested different support options. The addition of computer generated support features (small towers or thin square wave walls) eliminate the sagging issue. The support material is removed readily when the part is done printing with the assistance of a small screw driver or hobby knife. Eventually I plan to install a second print head so I can use a water soluble plastic support that will dissolve away after printing. This will allow me to print finer more complicated geometries.
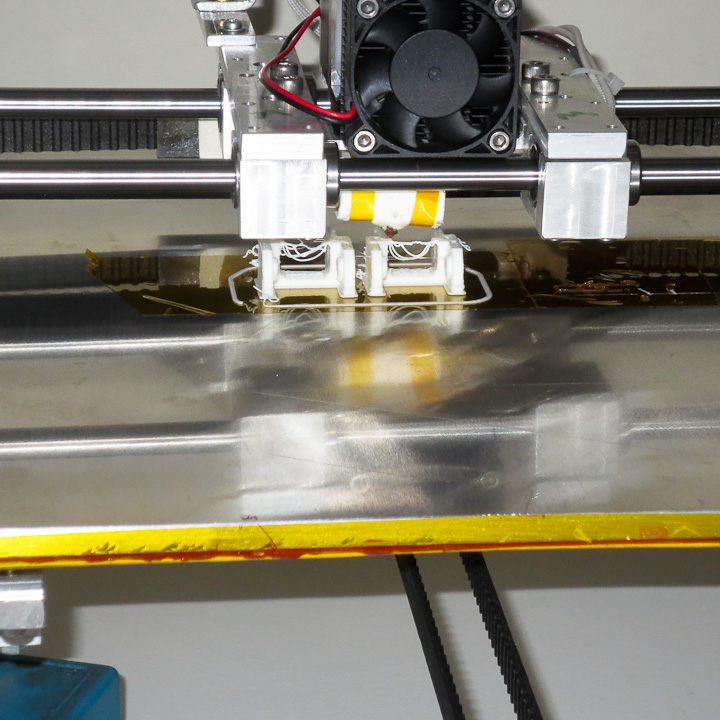
The above photo shows the final parts ready to be removed, cleaned up and snapped in the cable chain. You can see the first few strands of the upper crosspiece drooping down. These are easily removed with an sharp hobby knife. I hope this helps you to better comprehend how parts are built on a 3D printer. There are a number of different printing technologies out there but all of them use the same basic principle, depositing a single layer on top of another layer to build a solid object. Perhaps I’ll do another post comparing the different types of 3D printers out there in the near future.
As always, if you have any questions please ask.