Category Archives: Dfab Engineering Trackmaster Dozer Crawler Restoration

Trackmaster bulldozer Transmission rebuild 01 – Dissasembly and cleaning

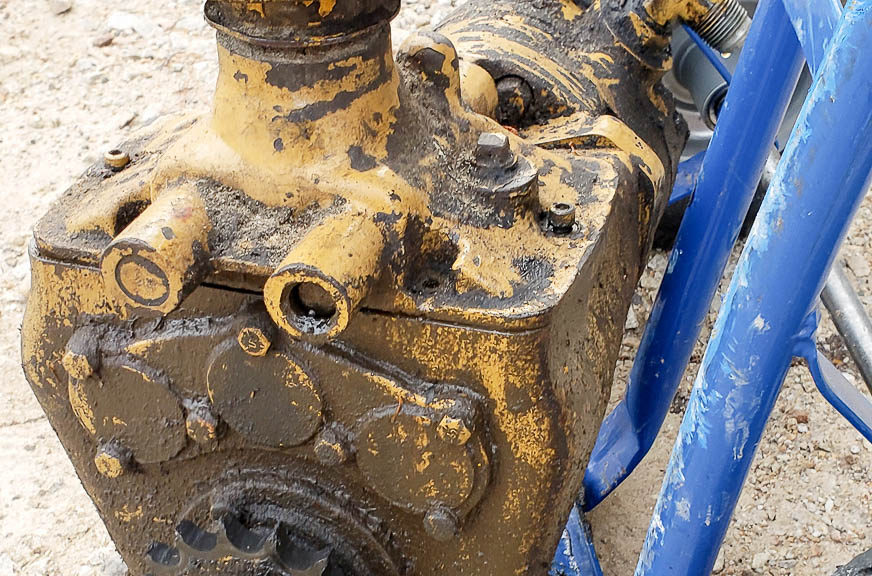
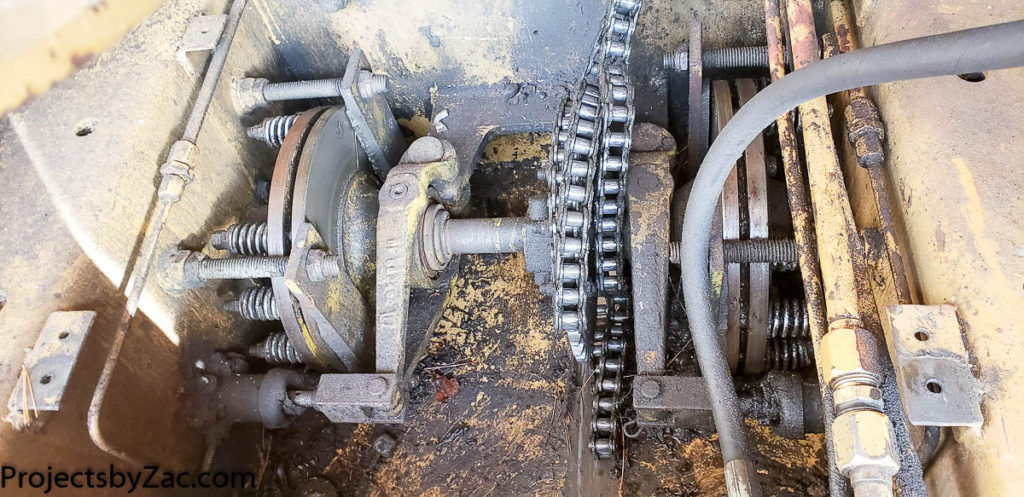
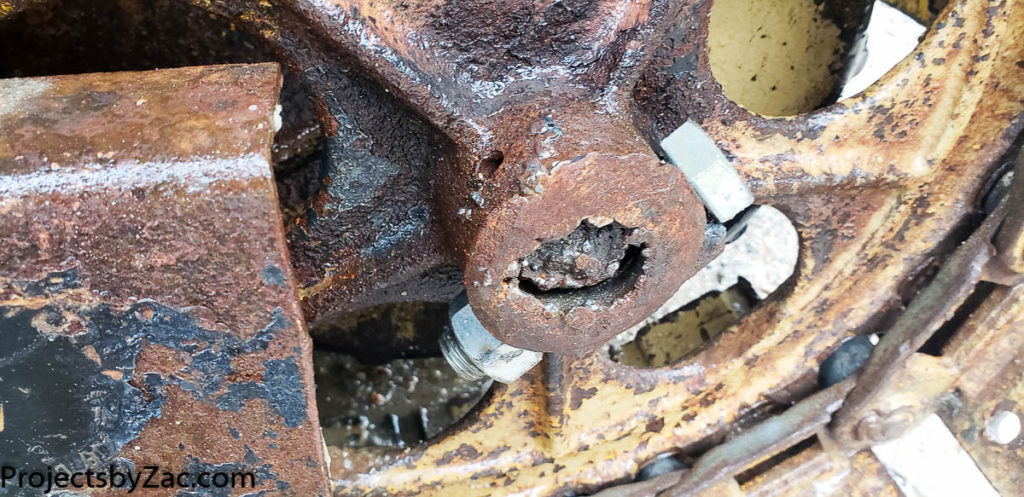
Take a good look at the photo below, Let it all soak in… Yes this is the state of the transmission when I took it apart. Makes you want to cry a wee little bit huh? But this worked, albiet loudly, it still ran even in this state.

3 speed bulldozer transmission on Trackmaster crawler loader dozer
Interior of the three speed transmission on a Trackmaster bulldozer

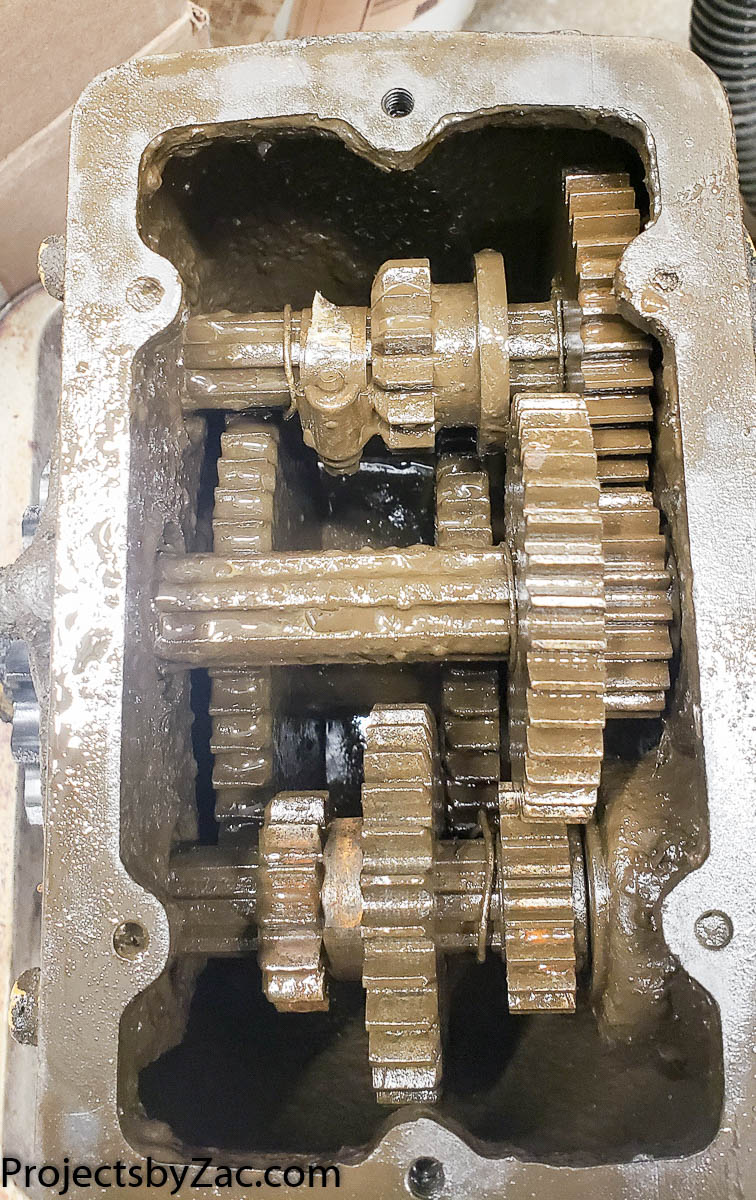
Yes and that’s not the worst part of this whole dissassembly process. In the imortal words of the late great Billy Mays, “but wait there’s more!”

Broken Shift fork on a Dfab engineering Trackmaster crawler dozer loader
Broken shift fork Trackmaster 3 speed bulldozer tranmission

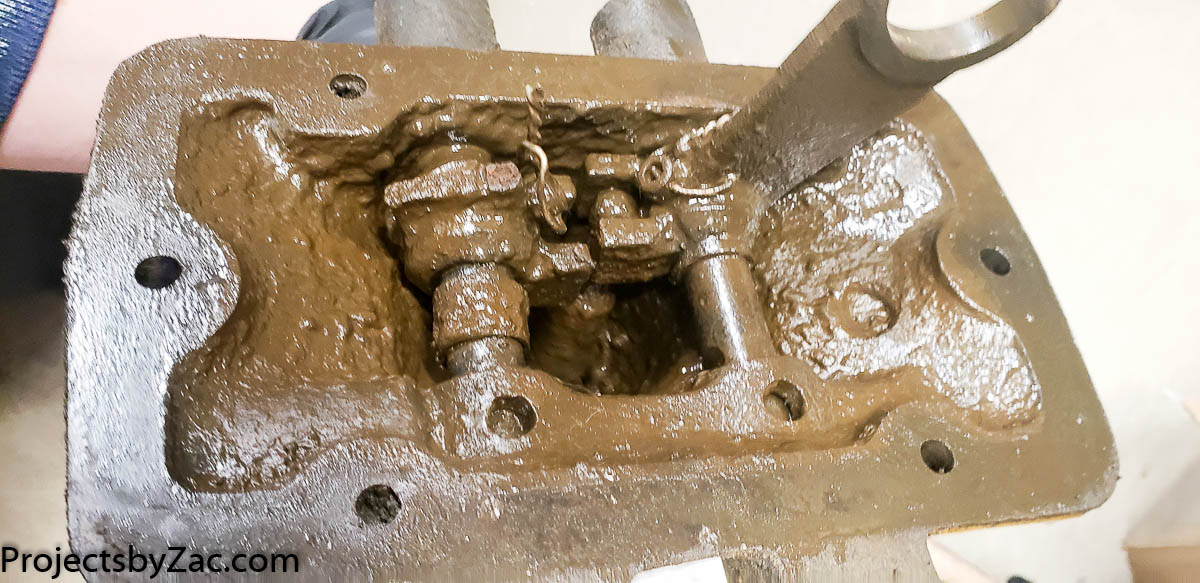
The only thing actually broken or wrong, outside of filthy, nasty yuck and a blown up bearing is that one of the shift forks is broken and gone. I’ll have to make a replacement. Thankfully the transmission is a symetrical design and I can use the existing one to aid in making the replacement. There are no parts for these lil dozers, so I’ll have to cast or machine my own new shift fork.

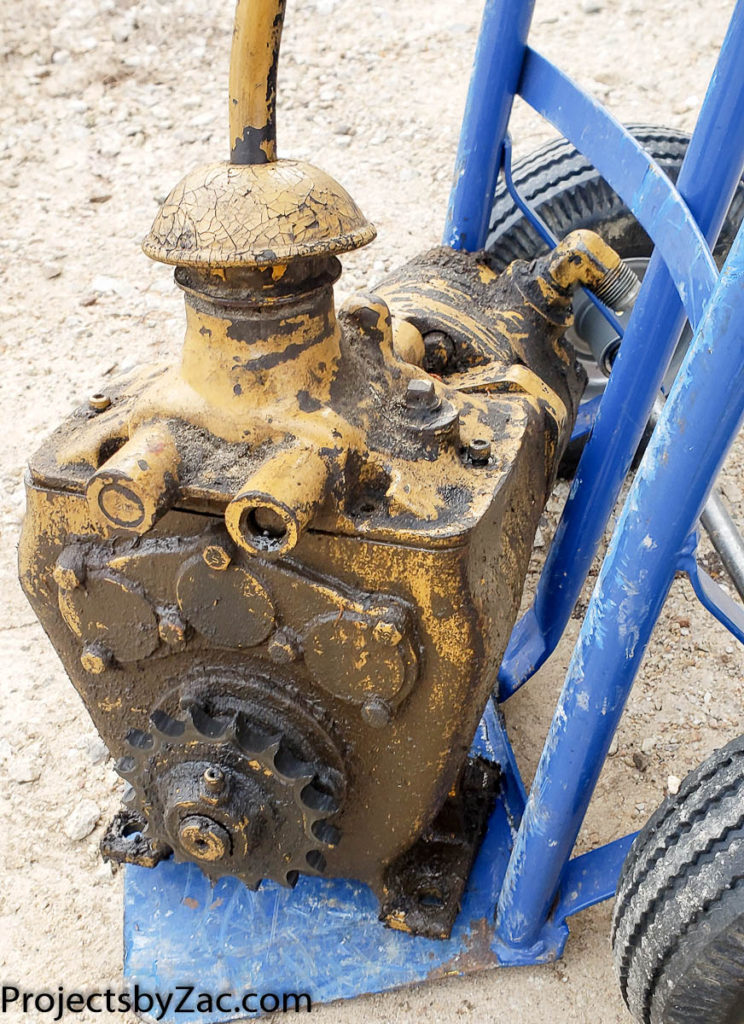
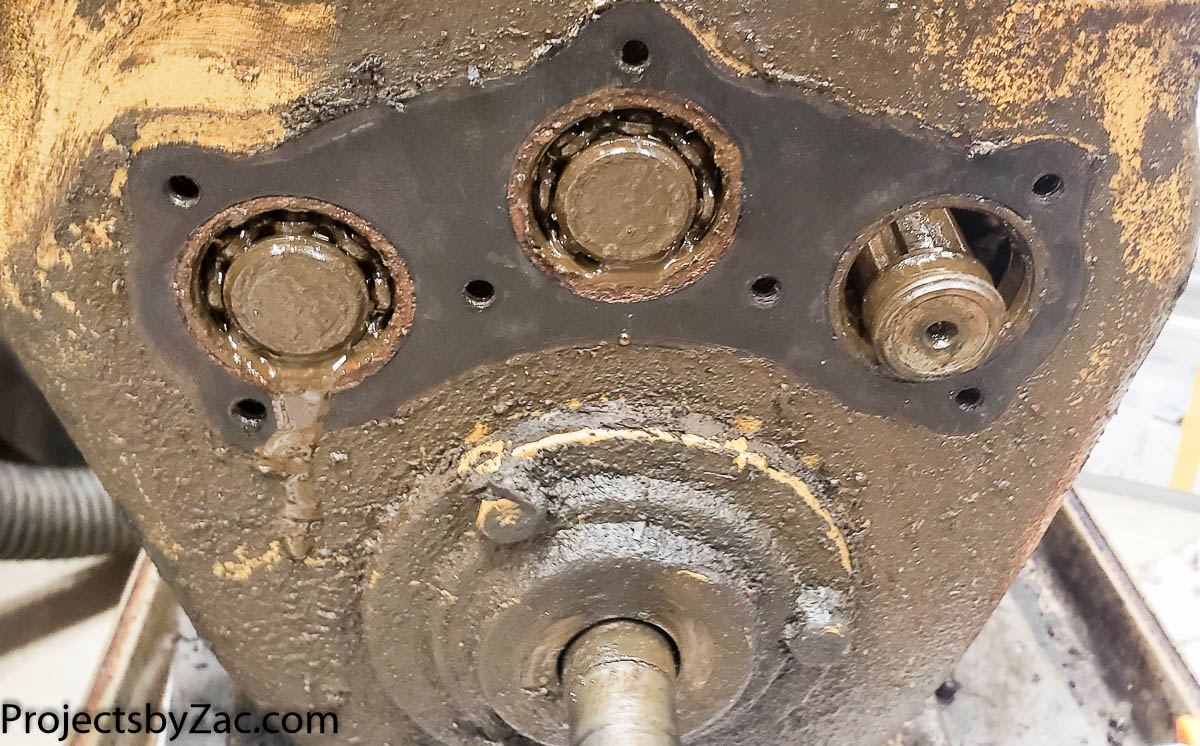
A bit about what I know about this transmission after taking it apart and studying it. The design is a three speed standard splined shaft transmission using sliding standard spur gears. A very simple and robust design, with nothing broken and no unbearable wear or damage despite it’s condition. Shafts, splines, sprockets, snap rings are all SAE. Only the bearings are metric. The three reductions of the tranmision are 1.5:1, 4.5:1, and 18.5:1. These are counted manually by turning the input shaft and counting after rebuild.

The main output shaft is 13/16″ for the sprocket. The bearing on the main shaft is a standard 6305 with bearing dimensions 25x62x17mm Deep Groove Ball Bearing. All of the other bearings are the same and are 6203 Bearings with dimensions 17x40x12mm. There is one oil seal on the output shaft it is an old out of production part Chicago Rawhide Oil Seal 8774, but a modern replacement exists if you can’t find the original. The modern replacement oil seal I found was a SKF 8796 LDS & Small Bore Seal, R Lip Code, CRW1 Style, Inch, 0.875″ Shaft Diameter, 1.624″ Bore Diameter, 0.25″ Width . I ordered this, and then found an original NOS part on Ebay and ordered that as well. they both have the same dimensions and basic design.

destroyed bearing in 3 speed transmission input shaft
A destroyed bearing on the input shaft of a 3 speed dozer transmission

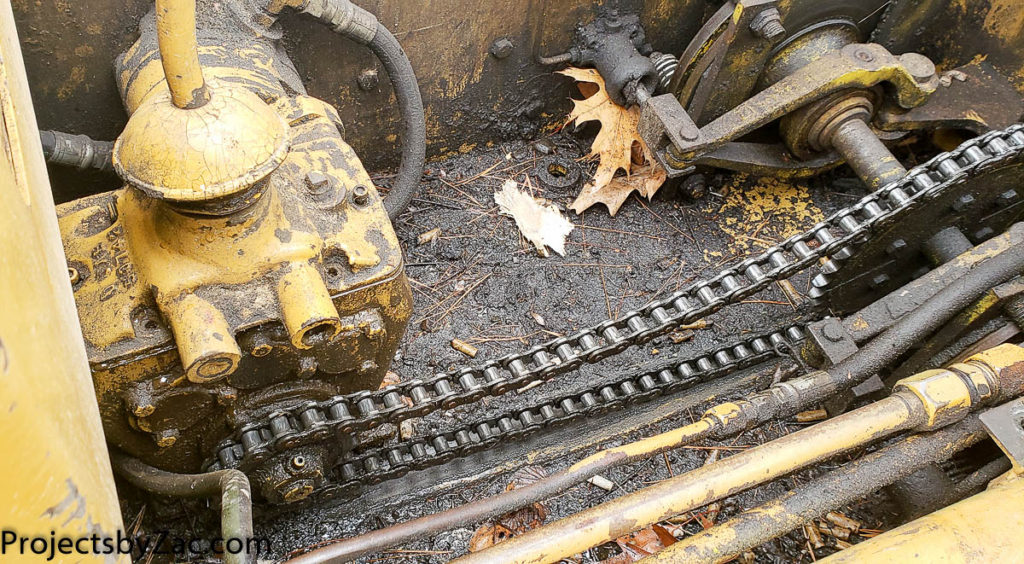
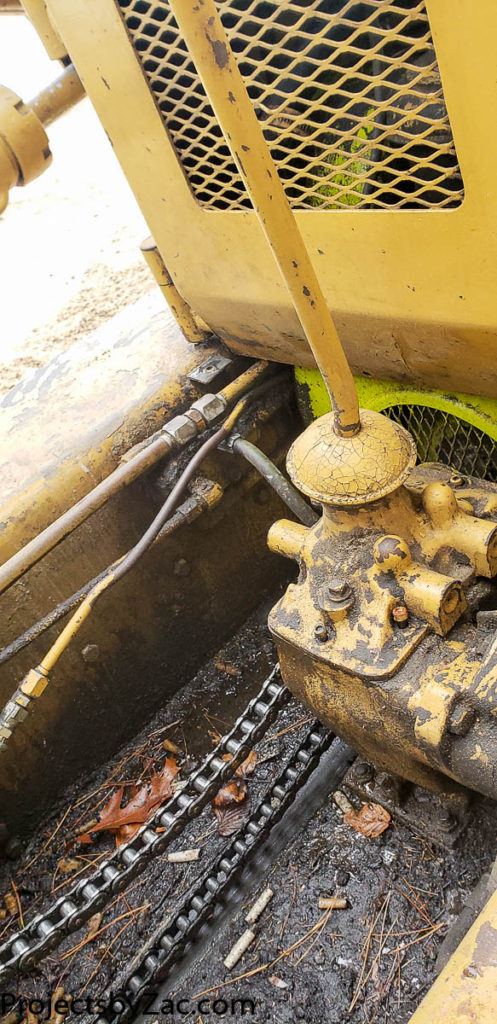
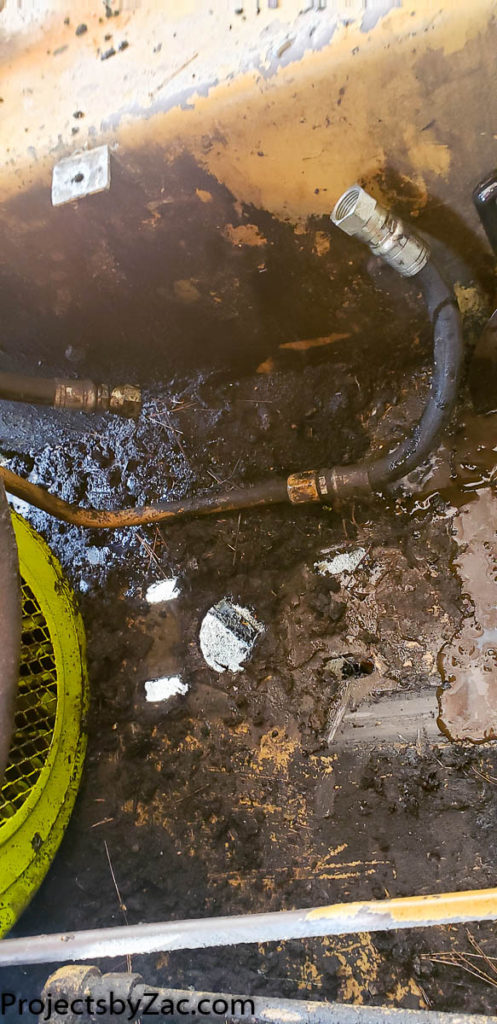
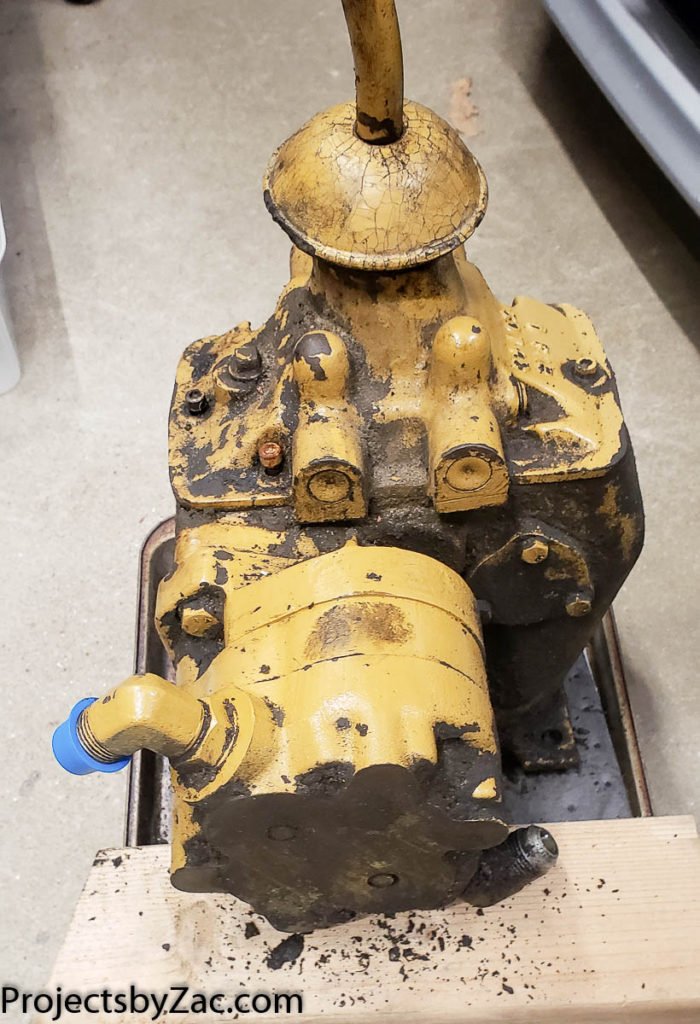
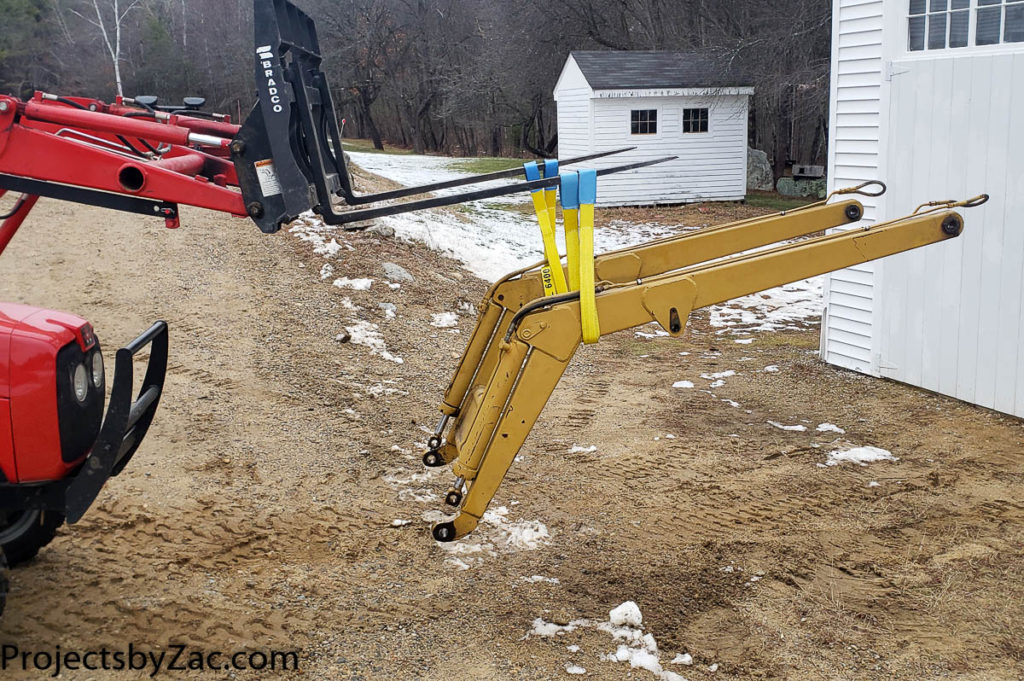
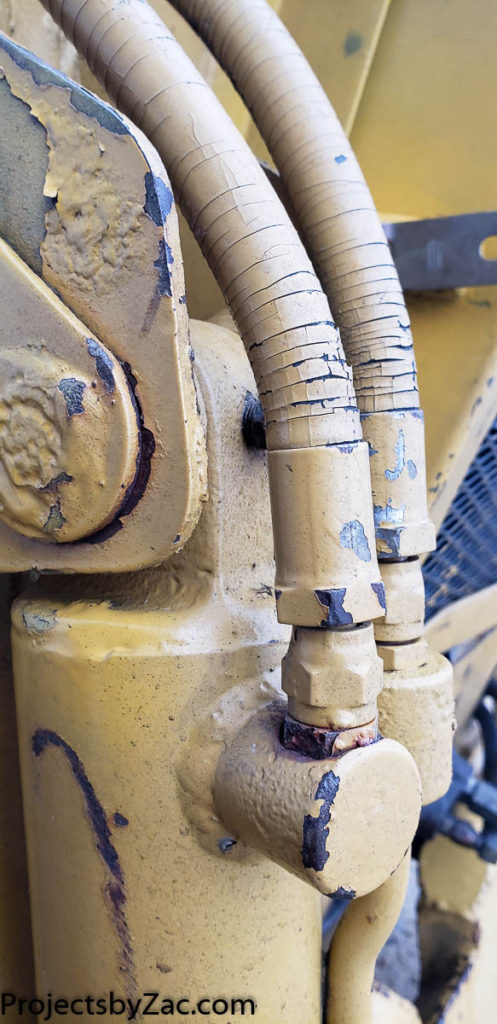
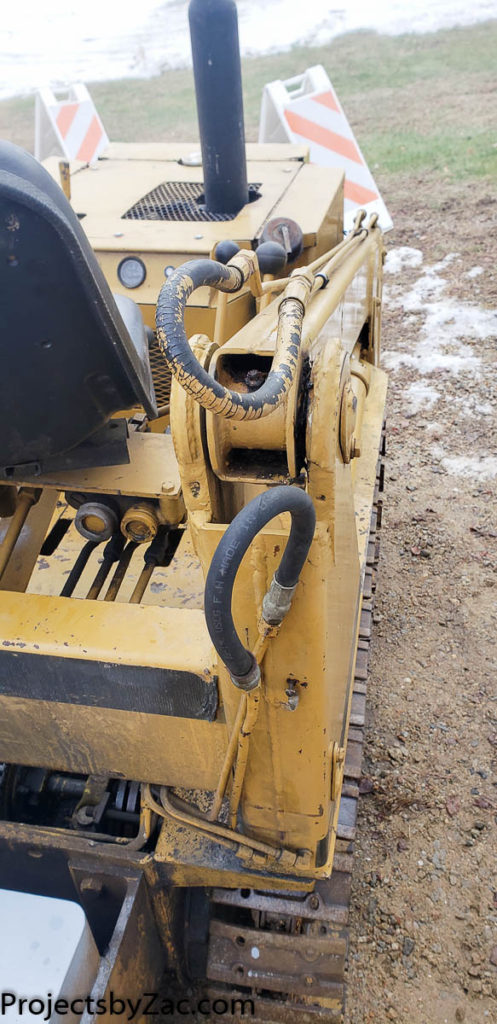
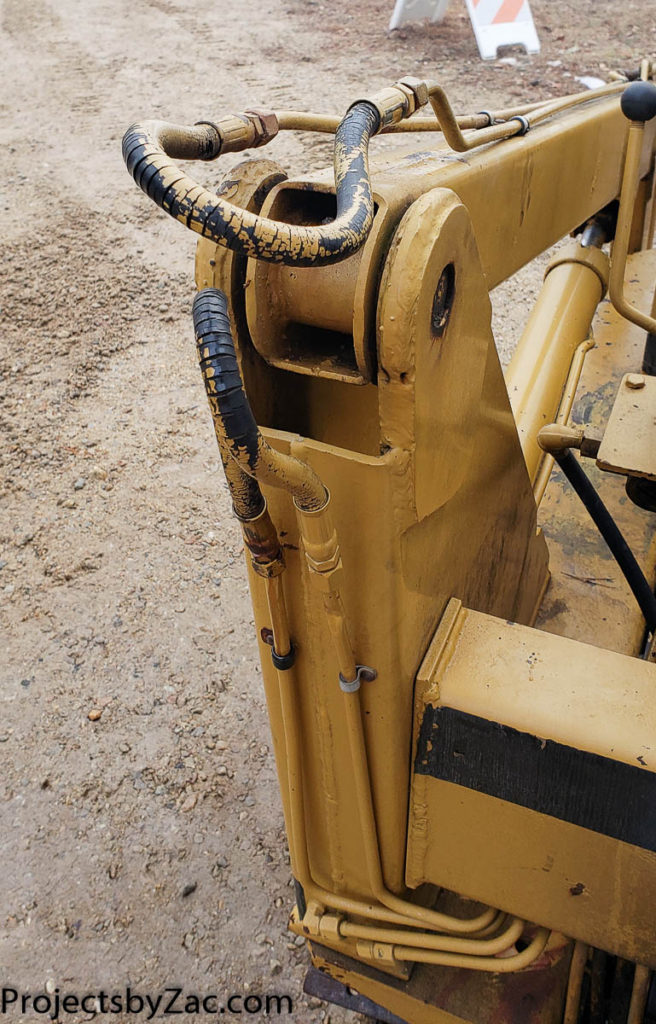
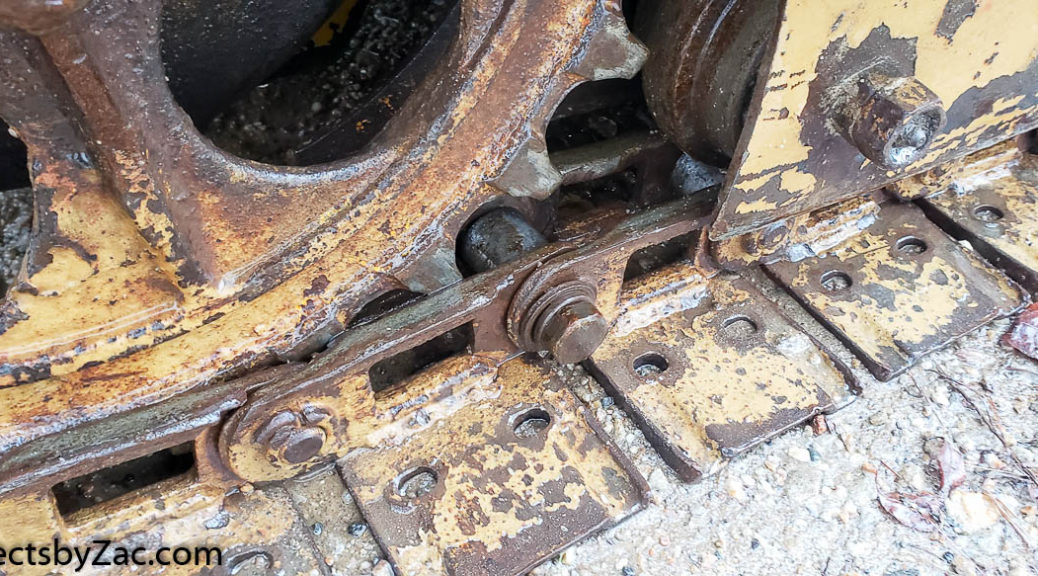
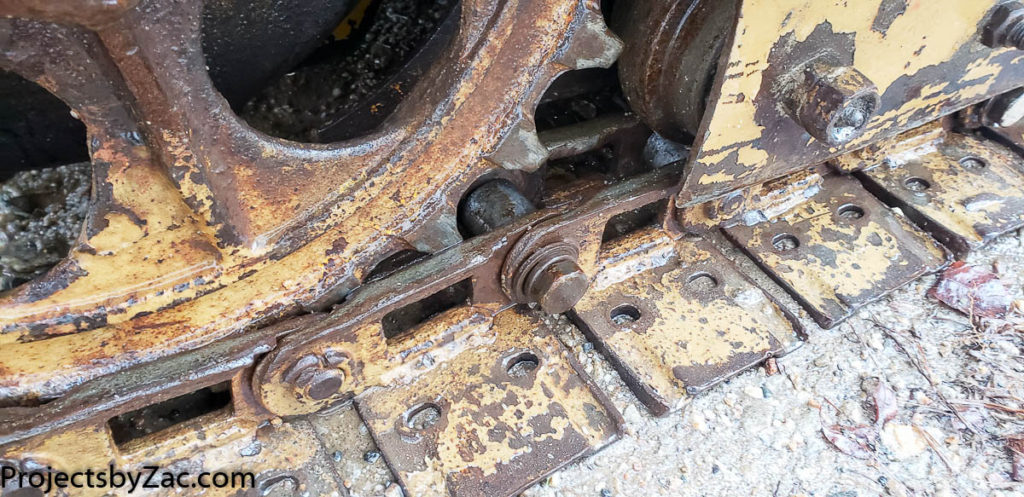
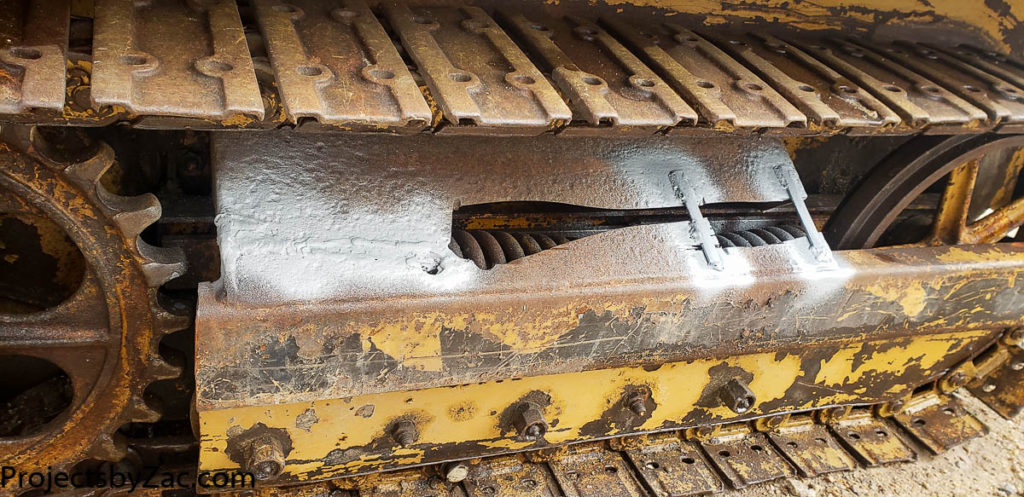
I’m going to just share the rest of the photos as a Gallery of the dissassembly of the 3 speed transmission in my Trackmaster dozer. Mine is a later model Trackmaster, with the hydraulic motor rather than a direct drive off of the motor. You are welcome to click through and look at them all. Dissassembly was relatively easy, with nothing being super siezed in place or broken other than the shift fork.

In the next post I’ll show some reassembly photos and talk a bit about the trick used to pull a blind bearing, cleaning advice for this kind of filth, and more.

If someone stumbles across this page with any information about these Dfab Engineering Trackmaster Dozers Crawlers, I’d love to know more. I’d be happy to host manuals and or parts catalogs here on my blog if you have them and are willing to share them with me. Please leave me a comment or email me at my website name on Gmail (no dot com there). I don’t check often, but I eventually will get back to you to host the information. Thanks!

Dfab Bulldozer Restoration PArt 5: Transmission and Hydraulic motor

#60 chain drive off of the 3 speed transmission on my Dfab Engineering Trackmaster Dozer

The first thing I wanted to do, was work on the transmission. Now from these photos you can see pretty clearly that there is a lot of grime, grease and gunk in the belly of this beast. I started by removing with steel scrapers as much of this as I could possibly remove. I took almost 4 gallons in 1 quart containers out by scraper. It was nasty oily gunk mixed with mud and leaves.

yes, nasty cigarette butts in the gunk that is several inches deep on tiny dozer.

Another angle of the transmission, and more of the nasty

close up of the transmission. Notice the top isn’t sealed/closed.

Now part of this restoration project was knowing that the transmission was broken. It’s stuck in it’s mid gear (didn’t know which gear it was at the time) which provides roughly 4.5:1 input: output reduction. The other two speeds are about 1.5:1, and 18.5:1. The low gear in this transmission at 18:5:1 must be feircely slow, because the middle gear is not fast. Anyways, Note the top isn’t attached, and seeing the condition of everything else I feared this would be beyond salvage.

there are three connections to the hydraulic motor, two -10 SAE male JIC and one -4 male JIC (case drain I believe), along with 4 bolts in sliding slots (to allow tensioning of the chain)

Removal of the transmission required some funky bending of my arm to get at all of the nuts. There are 4 all metal lock nuts used to hold down the transmission. The bolts are welded to steel flat (will add a photo eventually) and slide in slots for tensioning of the chain. There was likely a chain guard at some point, there are spots that look like welded steel taps broke off in the correct locations for a chain guard. Additionally there are three connections to the hydraulic motor, two -10 SAE male JIC and one -4 male JIC (case drain I believe).

After loosening the transmission you can pull the chain off. I piled mine over on the rear drive assembly.
While this is heavy, it’s not impossible to manage. I lifted it out by hand, I’d guess it weighs in with the motor attached at 150 lbs

The transmission lifts out relatively easily after disconnecting it from the chasis and hydraulic systems. I used some hydraulic JIC caps and plugs I ordered as a kit to close off the system on the tractor side. This will ensure it doesn’t get any contamination in the fluid causing wear or damage in the future.

In the main shop, ready for some serious TLC

The removed hydraulic motor and transmission assembly. In the next post I’ll show photos of the dissassembly and problems discovered on this part of the Trackmaster crawler.

If someone stumbles across this page with any information about these Dfab Engineering Trackmaster Dozers Crawlers, I’d love to know more. I’d be happy to host manuals and or parts catalogs here on my blog if you have them and are willing to share them with me. Please leave me a comment or email me at my website name on Gmail (no dot com there). I don’t check often, but I eventually will get back to you to host the information. Thanks!

Trackmaster Dozer Restoration – Part 04 removing the front end loader

Pulling the Front End Loader from a Dfab Engineering Trackmaster Crawler (Loader Dozer, not a Bulldozer)

I backed the tiny Trackmaster Dozer into the barn and got it centered as best I could for the winter. Not a huge amount of room around the tractor to work on it, but there’s enough. I needed to pull the front end loader arms to get access to all of the components

The cylinder connections and hoses have seen better days. Throughout the Trackmaster crawler uses standard SAE JIC 37 degrees fittings and O-Ring Boss to pumps and motors.

The hoses and fittings have seen better days. I’ll likely repair a lot of these as part of the restoration, either right away or in the future at some point.

Closing off the hydraulics, both lines are the same size and ends I bent them ad sealed off both sides.
Using the hydraulic hose to keep both systems sealed and clean prior to pulling the arms.

The hoses are pretty bad throughout. I’ll be replacing them all in turn. None of them leaked though, and the hydraulics worked well. I used the hoses to seal off the hydraulic systems on both the loader and the dozer side. I want to make sure to keep these systems clean and free of contamination.

If someone stumbles across this page with any information about these Dfab Engineering Trackmaster Dozers Crawlers, I’d love to know more. I’d be happy to host manuals and or parts catalogs here on my blog if you have them and are willing to share them with me. Please leave me a comment or email me at my website name on Gmail (no dot com there). I don’t check often, but I eventually will get back to you to host the information. Thanks!

Trackmaster Loader crawler Restoration PArt 03 welding repairs

The master link pin on the Tracks for my Dfab Trackmaster.

I promised a few pics of the damaged track drive sprockets to some friends, so the first pics of this post are just that. Further down I’ll get to some minor welding repairs pre dissassembly.

Stripped and poorly welded repairs by some hack who tried to fix this before me.
Stripped and poorly welded repairs by some hack who tried to fix this before me. Note the oversized bolt they used to try and lock it in place on the stripped shaft. Sadness

As you can see in the above photos, I’m going to have some fun fixing this sprockets. I’m not sure if I’ll weld metal back on nicely, and then remachine, or cut it all off and weld in a new hub, possibly of a larger more standard size. The spines on these sprockets, and the interior torque hub gears are bothe ANSI B92.1 1-1/2″ diameter shaft with 23 splines, 16/32DP and 30 deg angle. This is a standard involute spline that unfortunately does not seem to have survived to this day and age. Both the 1-3/4″ and 1-3/8″ see lots of use still today. I will have to figure out what to do after I see and learn more about the small Dozers drive setup.

The dirt guard had been cut/split by someone.

The roller/tensioner dirt shield had been split or cut at some point. It was definitely snapped in the rear section, the front had signs of cutting. I clamped/levered this back together and welded it up. Both the upper and lower parts are attached solidly to the frame and it wasn’t hard to pull the split section perfectly together. It didn’t really require much work to weld this up quickly with some flux. I added a few small strips to the front section. I primarily wanted to prevent misalignment from happening if and when I choose to take this apart this winter.

Counterweight on the back of Tiny Dozer, my Trackmaster by Dfab Engineering

Above you see the counterweight on the rear of the Trackmaster. some of these had backhoes on them. Mine has a counterweight. Near as I can tell, these are Solid steel/iron bars welded together, not tubes filled. I measured and did the math, this weighs about 650 lbs. I wanted to pull this off for the repairs this winter. To do that I needed to replace the Lifting hook on the top of it.

Test fitting a new lift hook onto the counterweight on the tiny bulldozer

I found some 5/8″ steel round bar in my stock pile of metal, got my bender out, and bent up a U shape out of it. I’m quite sad I didn’t take a picture of this, I have a Harbor Freight Bending tool, I mounted to a hitch so I can put it on the back of my truck. I didn’t have a location to bolt it to the floor in my shop, and wanted an immovable rugged mounting for it. Turns out this 5/8″ round was pretty challenging to bend up using it. It does list 5/8″ as the maximum thickness, and it definitely is after trying this out.

Repaired new lifting hook for the ~650lb counterweight on the back of my Trackmaster loader dozer

It was a short quick fix, but it felt good to have actually made a repair. While I was at it I cleaned up the factory welds, metal finished them flat, dressed the corners/edges a bit and sprayed it with a weld through/cold Galvinizing paint to keep it all from rusting. I want to pull this with the tractor and it’ll sit outside all winter. Don’t want my new repair to rust.

Stay tuned for more exciting Tiny Tank Progress and repairs.

If someone stumbles across this page with any information about these Dfab Engineering Trackmaster Dozers Crawlers, I’d love to know more. I’d be happy to host manuals and or parts catalogs here on my blog if you have them and are willing to share them with me. Please leave me a comment or email me at my website name on Gmail (no dot com there). I don’t check often, but I eventually will get back to you to host the information. Thanks!