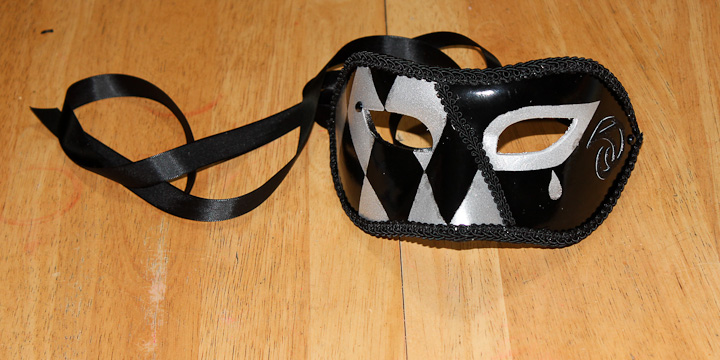
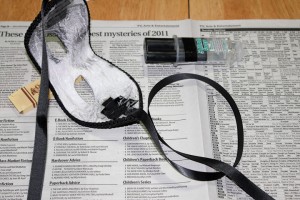
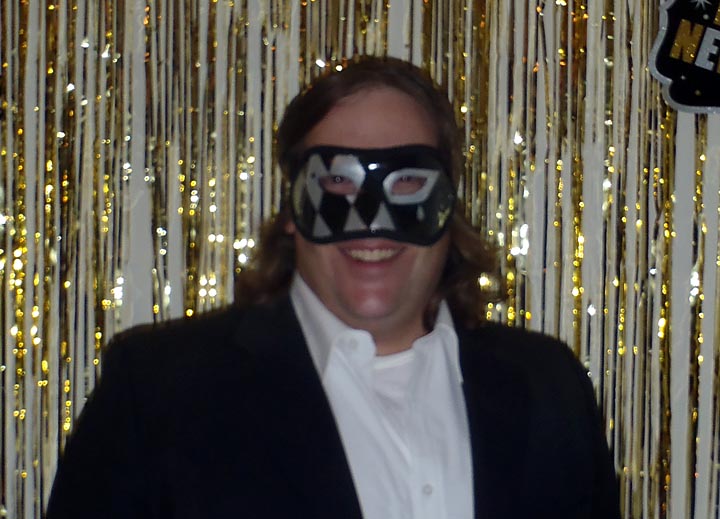
Happy New Year everyone! I went to a Formal Masquerade party last night to ring in 2012. As a masquerade I of course needed a venetian mask. I borrowed several very nice Venetian Masks from family and friends, and tried on several blanks at various stores to no avail. It’s tough being a big guy, I don’t fit in chairs (or just break them) and apparently standard masks don’t fit me. I decided the only thing was to make one. I had about a week before the party so I hit the internet for some quick research on styles, form, materials, etc. I decided I wanted a Colombina style Venetian Mask for myself and set about making one.
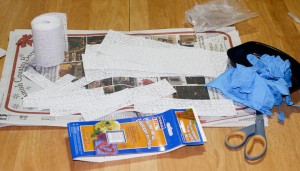
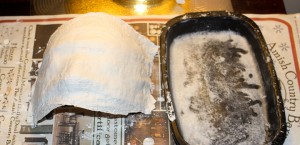
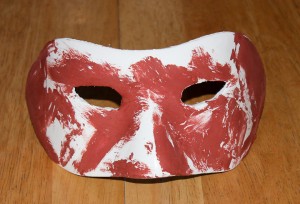
First I gathered some basic materials, plaster impregnated cloth tape is sold at Walmart, Michaels, and other craft stores inexpensively, some gloves, scissors, paper, and a helper. I used saran wrap to wrap my head from the upper lip up. I layed down on the floor, had a helper wet and lay the plaster strips over my head. My helper put on several layers and I took a nap on the floor for 20 minutes until my base mask hardened enough to safely be removed.
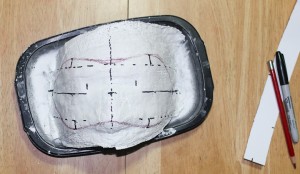
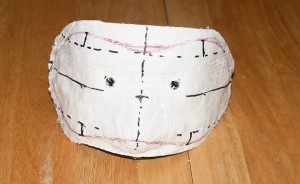
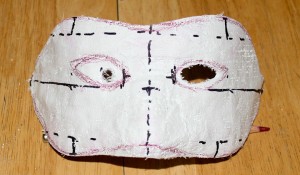
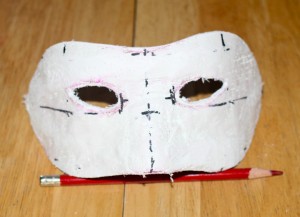
This part was tricky. I had a hard time finding a center line on my mask blank. Eventually I came to use a card stock strip to mark a center line vertically up the nose. I think used the same card stock strip and a small ruler to make guidelines horizontally on the venetian mask blank. I roughly drew a symetrical mask based on the pictures I found onlone and made a rough cut well away from the drawn in mask.
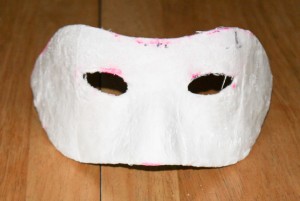
Getting the shape of the venetian mask blank right was the hardest part of this project. I used a stationary belt sander to slowly work my way around, carefully eyeballing the final shape. In the end I didn’t match my drawn in rough mask, instead going with what looked best in the mirror. Roughing in the eye openings was done with a 3/8″ drill bit followed by a dremel tool with a 1/8″diameter carbide burr.
With the shape of the mask defined I set about getting the outer surface of my venetian mask blank porcelain smooth. This was not so easy as I thought. I first tried plaster of paris, but the mask is plaster and it instantly sucked the water from the “wet” plaster of paris before it could be smoothed. I then tried some Bondo Spot Putty and filler I had kicking around the shop. It can fill ships and dings on a car and sands glass smooth. Unfortunately, the spot putty had the same problem as the plaster of paris, the porous mask sucked the solvent drying the putty instantly and making a real mess of the mask.
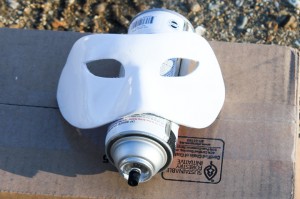
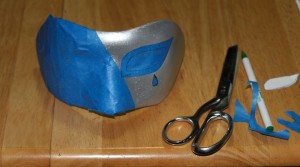
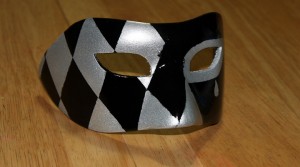
The answer to the smoothing problem was to seal the plaster. I gave the mask several heavy coats with a gloss white spray paint and cured it rapidly with my trusty shop hairdrier. From there on out spot putty and sanding produced an acceptably smooth surface. I made a cardstock template, centered and cut the eye openings to their final shape. I then sprayed the entire mask with a metalic silver paint. I used an exacto knife to carefully cut some masking patterns for the next coat of black paint. It is always better to paint over lighter colors with darker ones, so I started with white, went to silver, and finally black. If you go the other way you will have bleed through of the darker colors in many cases.
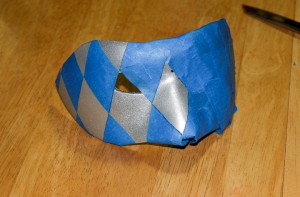
I continued on with another layer of masking and spraying black onto the mask. The bulk of the design on my mask was applied in this fashion. I was running out of days and time so I chose this faster method of painting. Originally I planned to hand paint some Baroque style patterns onto the mask.
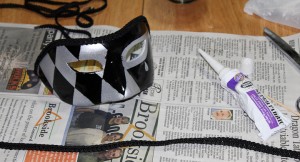
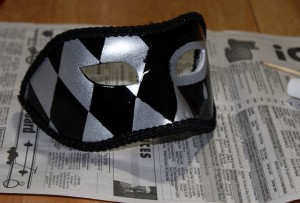
Every venetian mask image online was trimmed in some form of lace or rickrack. I figured this was to hide the imperfections on the edge. I picked up a yard each of two different sizes of the same lace pattern in black for the edge on my mask. There are many types of adhesives and glues out there, choosing the right one for the job is sometimes difficult. I used a solvent based fabric glue as it is quick drying, absorbs some into the fabric and sticks well to smooth surfaces. It worked well and dries transparent.
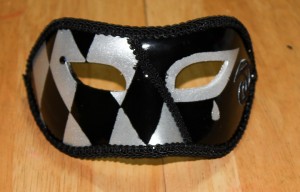
I added some additional decoration, a few sparkle fake jewels and a glitter puffy sticker to the black side. I had thought to paint the lines on the harlequin pattern with a 3d paint, but when I tried that on a test piece it was quickly apparent that I didn’t have time for it to dry so I forwent that detail. I did a bit of touch up work on paint where the black bleed through the edge of the blue painters masking tape to clean up the lines. I went with a traditional tied ribbon on my venetian mask I attached it with 5 minute epoxy and cross layed a few saturated pieces of ribbon to spread the load on the mask.
The finished mask was lined with some red velvet via spray adhesive on the inside. The soft velvet made wearing the mask much more comfortable. My Venetian mask was well received at the party, survived the night unscathed, and I was happy it came out as well as it did. After having worn my venetian mask for an entire evening I would make some changes if I were to make another one. I would add a layer of cloth to my face underneath the saran wrap when making the very first rough mask blank to add space for the ribbon attachment inside the mask. Additionally the eye openings should be considerably larger. I felt too much like I had sight blinders on me when I was wearing my mask on account of the smaller eye openings. All in all, the Formal Masquerade was a great party and fun way to ring in the new year.
Me in the Venetian Mask I made at the welcome to the party, now stand here by the door “mug shot”.
