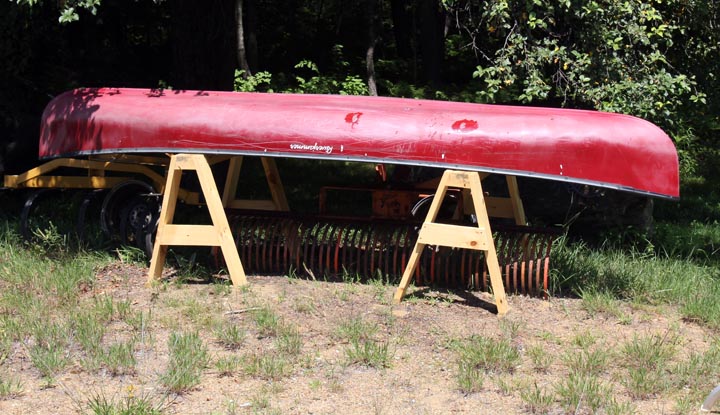
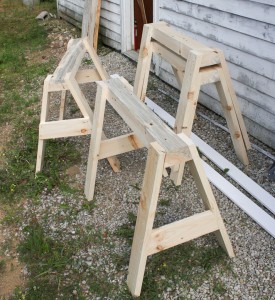
I was in need of some sawhorses to store my canoe (see my previous post on how to make a wooden canoe yoke), and my fishing buddy needed a set for his canoe at the new apartment he moved into recently. One of my first logs cut up with the Alaskan saw mill I made for my chainsaw was already chewed up by insects. There were beetle holes throughout the log and as such the boards were not really good for any sort of finished furniture project. I decided they would be the perfect boards for making a couple of sets of sawhorses to sit outside act as canoe stands. I also plan to use my set for milling logs into lumber.
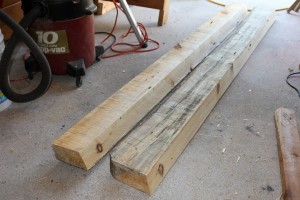
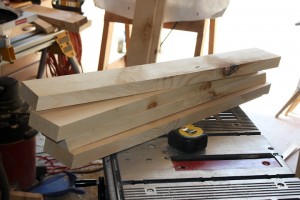
 These three boards are what I used. The two smaller boards made 2 sets of legs. The thick center board (3.5″ slab) I used to make the tops of the sawhorses. It is certainly possible to build similar sawhorses with purchased lumber. I will put up a drawing later when I have time with plans for 2 by construction of these simple but sturdy sawhorses.
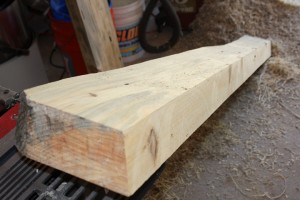
I used my thickness planer to turn the thick slab into 3″ thick dimensioned lumber. I then ripped the boards with a ripping blade on the table saw. I used a 15 degree angle on the legs. I have found that legs splayed at 15 degrees work very well to make for a sturdy support on a table or sawhorse.
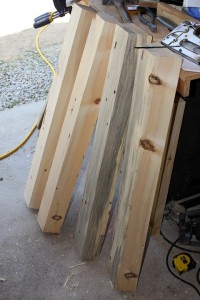
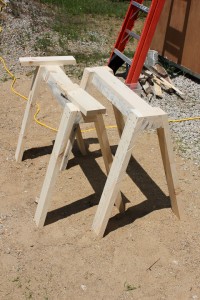
After cutting the top boards, which are in fact the main structure of this simple sawhorse design, I used the planer to make all of the surfaces straight and at the appropriate angles. I cut the tops to 39 and 38.5″ wide for each pair. The shorter sawhorse will easily stack underneath the longer one. If you make them the same length you can have issues with the anti splay bracing on the legs interfering. I cut each set of legs at one time using the first piece as the template. I made the legs 31″ long and the ends are cut at 15 degrees to match the angle of the legs. Each leg was cut and planed down to 1.25″ x 4.5″ dimensions from the rough lumber.
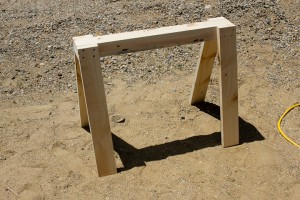
The legs were each screwed on to the top board with four 2.5″ long stainless steel deck screws. Since the wood was free, I decided to splurge and use good stainless steel screws to hold the sawhorses together. After all they will spend the majority of their time outside with a canoe on top of them. I would hate for them to rust away to nothing and find my canoe broken from the fall one morning years from now.
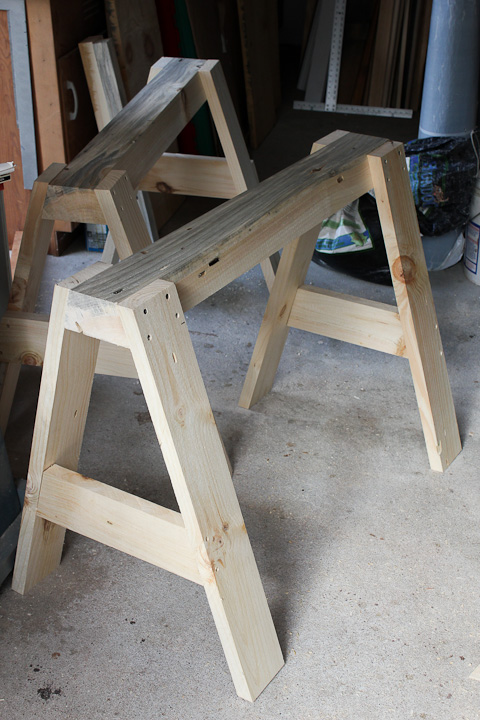
This is the second set of legs that I made a bit sturdier by the addition of the cross bracing. I put one set of bracing inside the leg, and the other outside so the two sawhorses can stack for storage if I am not using them to hold my canoe or for Alaskan chainsaw milling of logs . I’ll take a pic of the canoe on the stands, as well as put up some drawings of the sawhorse designs in the near future.
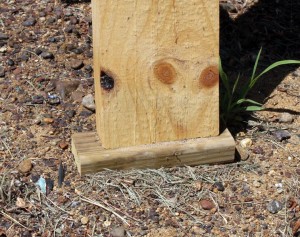
The finished sawhorses / canoe stands got some pressure treated feet. Icut up some left over scrap pressure treated 5/4″ decking boards into feet for the sawhorses. I attached them with a couple stainless steel deck screws. This should extend the life of the pine sawhorses considerably by keeping the less rot resistant pine legs off of the ground and dry.
