Category Archives: around the house repairs and DIY fixes

Cherry Medicine Cabinet

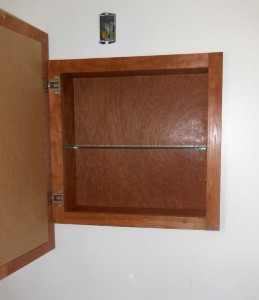
Last fall I ended up overhauling two of the bathrooms at the house.  Both seemed to fall apart at the same time which is not surprising as they were some 40 years old.  One of the bathrooms got a shiny new vanity along with the new floor and other bathroom items.  The vanity I selected had no option for a  matching medicine cabinet.  No store bought cabinet would fit the atypical opening in the wall.  Months of staring at a gaping 2’x2′ hole in the wall  got old.  I decided that the first of the year would be well spent making a new medicine cabinet to fill the ugly hole in the wall.  It actually took the 1st and 2nd day of the year to build. I blame that on having only 3.25 hrs sleep on the first due to fun new years celebrations.


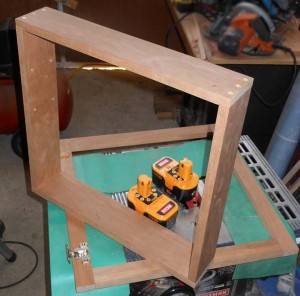
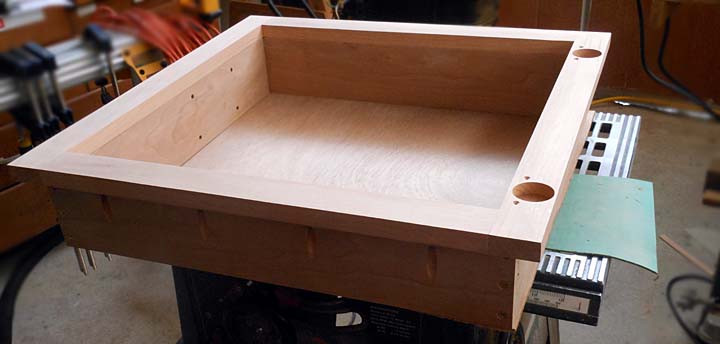
I chose basic construction practices for the design.  I made the entire project from a single cherry board I milled back in the summer.  The tree had been 2 years dead standing prior to my milling it into a board and the wood measured dry enough.   I used basic rabbit butt joints on the box with some 1.5″ brass screws I had on hand.  I assembled the face frame with pocket hole screws.

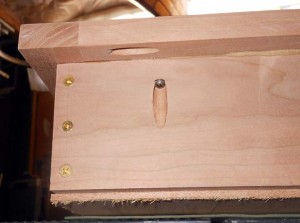
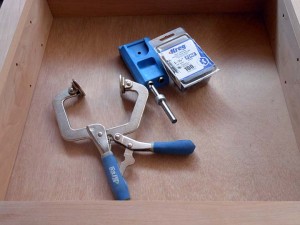
pocket hole screw joints  

Pocket hole screws (above left photo) are one of the best things ever for cabinetry and quick strong construction.  I bought my KREG pocket hole jig  (above right photo) when they first came into their own while still in high school.  Pocket hole screws are put in at a 15 degree angle and quickly clamp and secure wood pieces together.  The KREG jig is the greatest of all modern woodworking innovations in my opinion.  It allows you to quickly build cabinets, boxes, face frames, etc.  I’ve used it to screw in studs and braces in rough construction. I have built many cabinets with it.  I even used it when I built my regatta winning boat one summer because of it makes for quick easy joinery.  It used to be, one had to go to a woodworking store to buy the pocket hole screws and jigs but they are now sold at Lowes everywhere.


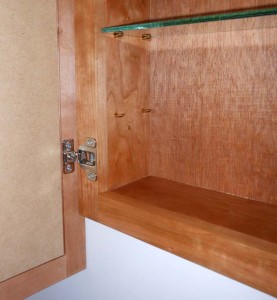
The cabinet came out well.  I had to invert the cabinet hinges to make them work with the mirror.  The cherry I selected matches the wood on the mirror well enough that you might think they came together.  I added shelf pins and bought some 1/4″ plate glass at Granite State Glass in Concord for the middle shelf.  I may get a second shelf, and drilled the holes for one.  Right now I think I like it with just the one shelf.  Granite State Glass is the place to go for any of your project glass or mirror needs in New Hampshire.  They are friendly, affordable, and always willing to help me when I’m not certain what grade/thickness I might need.
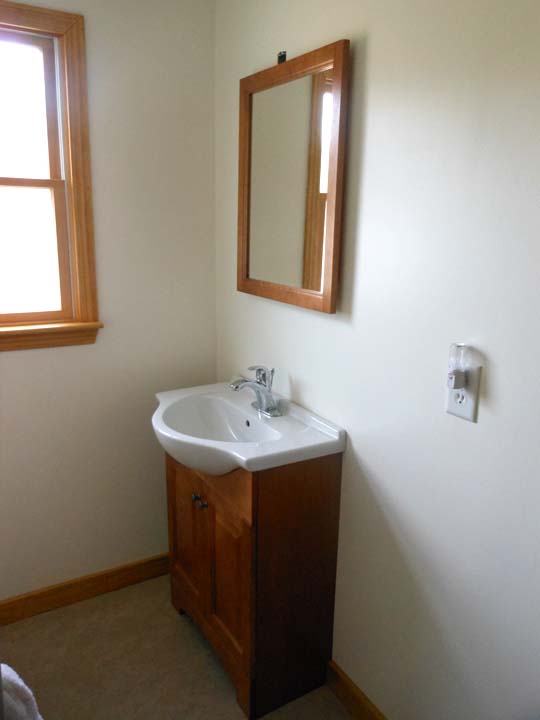
I’m pretty happy with how my cherry medicine cabinet came out and with how well it matched my St Pauls Chelsea vanity/sink.  Now all I have to do is come up with or select a light to put over the top of my new cabinet/mirror to complete the bathroom renovations.
Installing a Gentran 3028 transfer switch

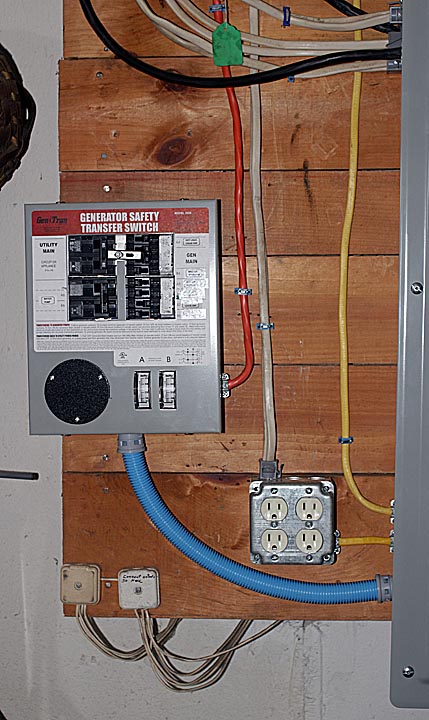
I lose power here, on average 2.7 times per month.  I’ve been keeping a log of all the power outages for the last year.  I was not sure if we were losing it all the time or it just seemed that way due to unhappiness over losing power.  I did some homework, talked with folks who have transfer switches, and those that install them regularly to make a decision on what transfer switch to put in.  I settled on the Gentran 3028, a PREWIRED 8-Circuit Transfer Switch, for up to 7500 watts.  This is larger then my current generator, but I plan to upgrade that to match the Transfer switch in the future.  I bought my gentran 3028 from Amazon and it arrived in 3 days with super saver shipping.

My reasons for selecting the Gentran 3028 versus other prewired models, or wiring my own subpanel as a transfer switch are as follows:  First, it’s pre-wired with nicely labeled wires going into the box.  This covers the inconvenience factor, which made the installation a lot smoother and easier.  Additionally I didn’t need to buy a bunch of  various wire in different sizes and colors to wire my own.  Second was the load meters in line on the Gentran 3028 transfer switch. This allows me to balance the loads on the generator.  Third, I didn’t want to spend a week of evenings wiring up my own subpanel.  There is a lot to be said for a prewired unit you just connect in place.


This is not a project for the unskilled homeowner.  If you do not know exactly what you are doing when it comes to electrical wiring, then you need to hire a professional electrician to have him install a transfer switch.

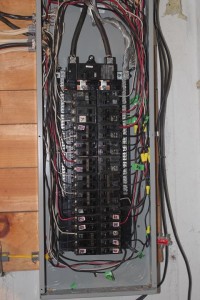
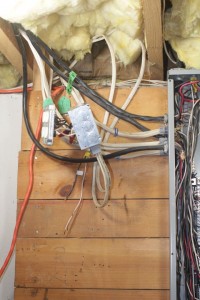
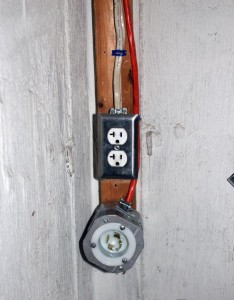
First up is turning off the main breaker, aka service disconnect.  I always  make sure to shut down and unplug all of the sensitive electronics in the house prior to powering down a main panel. I like to take each breaker down one by one before switching the main. That way when you turn it on, there’s not a massive surge to everything that’s plugged in.   The main panel was recently replaced by an electrician due to corrosion damage to the original.  This was my first time in there since then and I was not impressed with some of what he did.   I had to move the outlet you see in the right photo.  I put it back after mounting the transfer switch in place.

The prewired Gentran 3028 transfer switch is just wonderful.  The labeled wires make installation very easy.  You simply wire in the transfer switch main feeds to a 60 Amp breaker you install in your existing main panel.  Then just disconnect the hot wire from the breaker for each circuit you are moving in your box, twist and wire nut them to the clearly labeled wires from the Gentran transfer switch.  I was impressed with how well everything went, and the clearly labeled wires made the installation go much faster then I anticipated.  I definitely recommend this transfer switch in a big way.

The only other piece of the puzzle is the plug in the garage.  I didn’t want to spend another 50 bucks on the fancy outlets they sell premounted. The transfer switch came with the NEMA L14-30 male wall recepticle, so I used an octagonal boxe, and had my cnc machine make me a nice mounting plate from some 1/4″ aluminum stock.

I’m now ready for the power to go out.  Instead of a 2 hr hook up time running 5 large extension cords everywhere, I’ll now be able to simply wheel out the generator, plug it in and flip the switch.  I’m absolutely certain now that I spend all of this money and time installing the transfer switch in place I’m not going to lose power for a long long time… *sigh*

Emergency Bathroom plumbing repairs

Glacier bay Model N2316 Toilet installation

I’ve often said, a Chemical Engineer is nothing more then a glorified plumber.  Having designed and built numerous industrial and laboratory chemical reactor set ups I find it to be true in some regards.  Last saturday I spent a great day shopping for micro four thirds cameras, and test driving Porsches with my friends.  I returned home in the early evening to find the first floor ceiling on the floor and water coming out of it.  With some reluctance and a good bit of colorful language I ripped open the access panels to determine exactly what was going on.   Turns out it was the shower valve inside the wall.  The toilet had died several weeks before and I had simply been procrastinating the repairs.  Since I was now forced to deal with the plumbing by the new issues I decided it was time to take action.

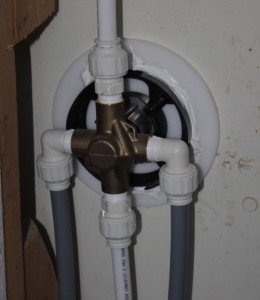
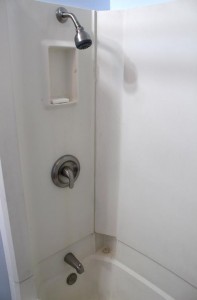
Machined acetal shower opening adapter flange     New Moen shower fixtures installed tub side


At some point in the past a less then adequate plumbing repair was made to the shower.  This made things fun for me.  In addition, it turns out the old panel mount shower fixtures used much larger openings, causing a real problem.   I decided to machine a new adapter ring. I went to Plastic Supply in Manchester, NH (it’s in the industrial park dr area) and Derek let me look through their drops bin for some cheap plastic to machine.  I picked some Acetal sheet up, along with some delrin and acrylic pieces I need for laser cutting stepstruder heads on the Reprap 3D printer project.   Other then machining the adapter (the white flange in the left pic above) the install of the shower was basic straight forward plumbing 101.

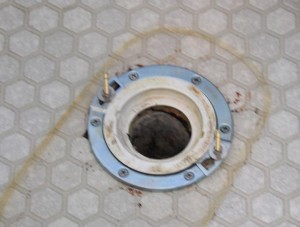
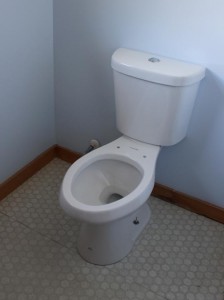
Closet Flange Repair adapter installed         High Efficiency Elongated Dual Flush All-in-One Toilet

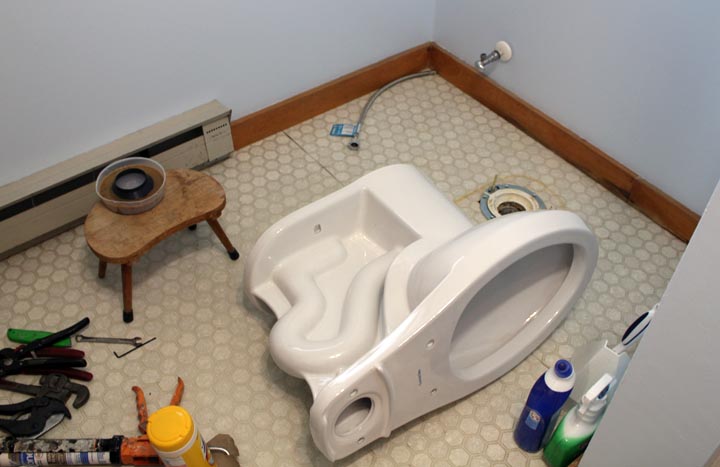
The toilet project was not as simple as the shower.  While unlike the last toilet replacement 6 months ago, there was no damage to the subfloor on this toilet, the closet flange was 100% corroded away underneath this toilet.   Why people would use a painted steel flange I will never understand.  I generally prefer the all PVC flanges for residential and recently replaced a cast iron one in a friends flat in the city.  Both are much better alternatives to the painted steel ring flanges at Home Depot and Lowes.   I bought a repair flange, realizing it will likely only last so long.  I plan to redo the flooring in this bathroom next year sometime so I will replace the entire flange at that time.   The toilet I selected is the same model I used in another bathroom I recently renovated completely.  It’s a Glacier Bay Model N2316 High Efficiency Elongated Dual Flush All-in-One Toilet that works well and is a large improvement over the early 1970’s model that was in her before.   My month of touring Europe introduced me to the dual flush toilets.  I think it’s great, and at the same time will conserve water and reduce pumping costs.  Very happy with the new install.

A  Tip about successful wax ring sealing on a toilet install.  The trick to a successful toilet install is to have everything good and warm.  With electric heat in the bathroom I just turned it up to 85 F and came back 4 hrs later.  Everything in the room was toasty warm and equilibrated to 85F.   I know all wax rings say have the ring at least 70, but warmer is better.  I’ve done 6 wax ring installs this way and every time it’s worked perfectly with a 100% success rate.  So use electric heaters,  run hair driers, whatever you have to do to get the bathroom hot.  Preheating  the entire room, including the closet flange, the toilet and ring to 80+ will work wonders and insure a successful wax ring seal around the bottom of the toilet.

A second tip, that a reader suggested I should mention and I overlooked, is to use a nut and washer on the bolts on top of the closet flange.  This helps to keep the T bolts from shifting and moving around when you need to drop the toilet onto the wax ring.